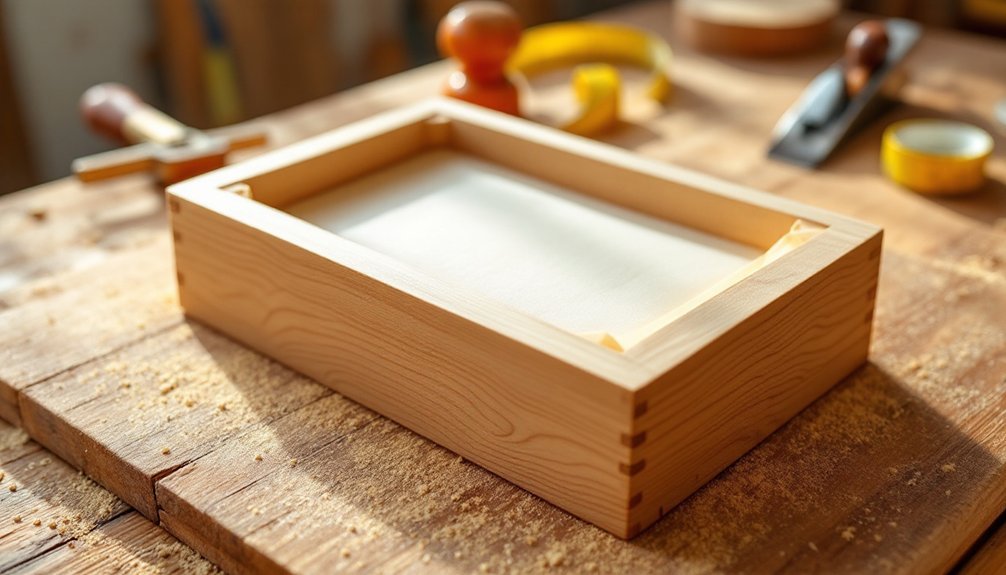
Build a classic wooden soap mold with 1/2-inch poplar wood or Baltic birch plywood for durability. You'll need two 12×4 inch sides, two 3.5×4 inch ends, and one 3.5×11 inch bottom piece. Secure the pieces using wood glue and steel bolts, adding washers for stability. Don't forget to line your mold with freezer paper before pouring soap. With proper maintenance and storage, your handcrafted mold will serve you well—let's explore the complete construction process.
Essential Materials and Wood Selection Guidelines
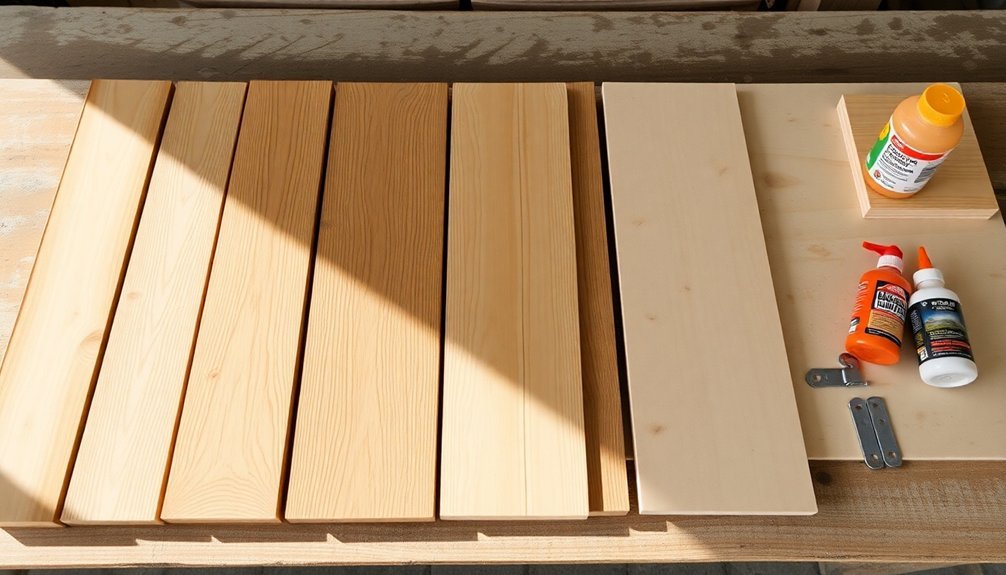
When crafting a wooden soap molds, selecting the right materials will greatly impact your project's success. Choose poplar wood for its excellent durability and insulation properties, or opt for Baltic birch plywood as a reliable alternative.
The thickness of wood should be 1/2 inch to guarantee your mold remains sturdy during use.
You'll need steel bolts and fasteners measuring 5/8 inch in diameter to secure your mold properly. When planning dimensions for the mold, keep the end board height one inch above your soap fill capacity, and don't exceed 18 inches in length or 12 inches in width.
While craft wood can work well, avoid chemically treated woods, especially for CPOP soap making. This precaution guarantees your finished soap remains pure and high-quality.
Calculating Perfect Mold Dimensions
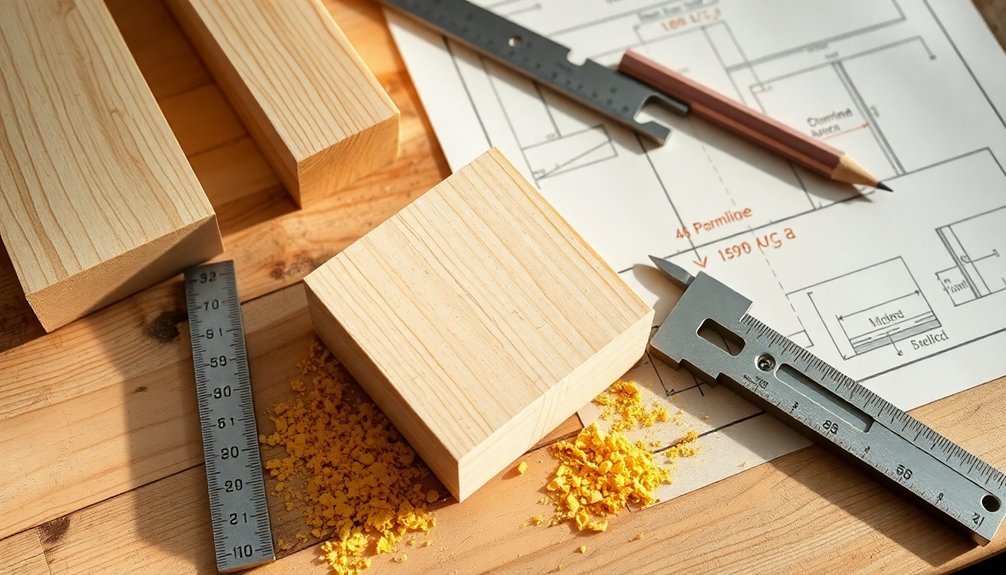
Now that you've gathered the right materials, accurate mold dimensions will determine your soap's final size and shape. When making wooden molds for soap loaf production, you'll need precise measurements to guarantee proper curing and durability.
For ideal results when calculating your mold dimensions:
- Add 1 inch to your desired soap height for the end boards to accommodate expansion during curing.
- Calculate sideboard length by adding end board thickness to your desired soap loaf length.
- Verify your baseboard width accounts for sideboard thickness (example: for a 3.5-inch soap, use 4.5-inch baseboard).
Keep in mind that larger molds require additional support. While you can build molds up to 18 inches long, staying within these dimensions will maintain structural integrity when converting your soap into bars.
Assembly Tools and Hardware Requirements
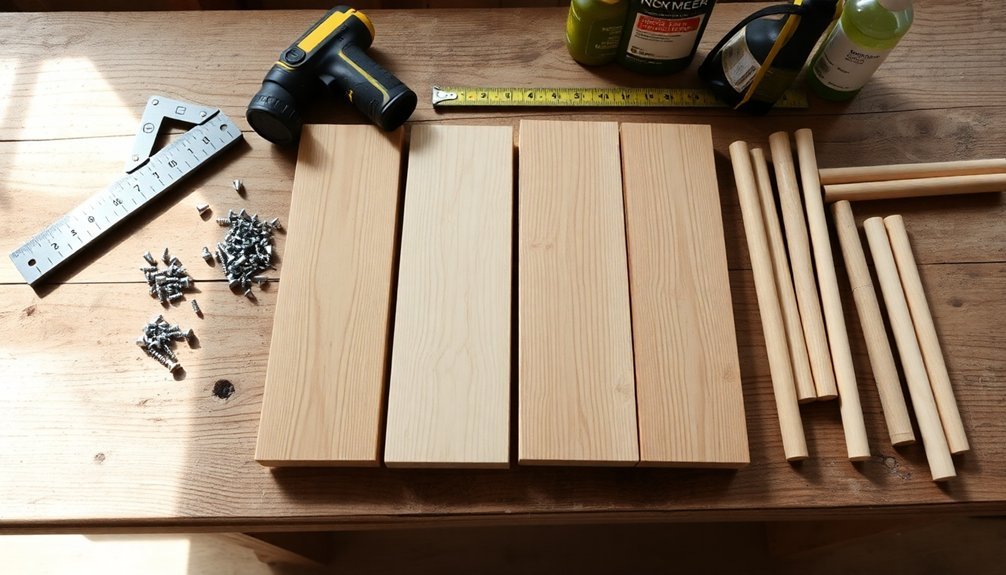
Three essential tools form the foundation of your soap mold assembly: wood clamps, a power drill, and proper fasteners. You'll need wood glue or screws to secure the joints, using at least two screws per two inches of mold length. The 1/2-inch wood thickness works best with poplar, Baltic birch plywood, or untreated pine.
| Hardware | Quantity | Purpose |
|---|---|---|
| Steel Bolts | 4 sets | Secure sides and ends |
| Wood Screws | 1 per 2" | Join boards |
| Wood Clamps | 4-6 pieces | Hold during assembly |
For proper assembly, pre-drill holes for your screws and 5/8-inch steel bolts. You can add washers between the bolts and wood for extra stability. Choose either hex or carriage bolts based on what's readily available to you.
Step-by-Step Construction Process

With your tools and hardware ready, the construction of your wooden soap mold follows a precise sequence.
Begin by selecting 1/2 inch craft wood or Baltic birch plywood for safe soap making. Cut your wood to specific dimensions: two 12×4 inch sides, two 3.5×4 inch ends, and a 3.5×11 inch bottom piece.
- Assemble the mold by fitting short sides inside long sides, creating a rectangular shape.
- Secure joints with wood glue and optional screws, allowing complete drying time.
- Line your mold with freezer paper or a trash bag before pouring the soap.
Once you've poured the soap mixture, let it set for 24-36 hours.
After setting, gently loosen the sides and remove your soap block for cutting. The completed bars will then continue their curing process for several weeks.
Maintenance and Usage Best Practices

Proper maintenance of your wooden soap mold guarantees its longevity and consistent soap-making results.
After each use, clean your mold with warm water and mild soap, avoiding harsh chemicals that could compromise future batches. You'll want to line the mold with freezer paper or a trash bag before pouring to protect the wood and guarantee easy soap removal.
When it comes to usage, respect the 24-36 hour cure time before unmolding to achieve the best results.
Always inspect the mold for signs of wear, addressing any cracks or splits promptly to maintain its structural integrity.
For storage, keep your mold in a cool, dry place to prevent warping.
These simple maintenance practices will help your wooden soap mold serve you well for years to come.
Frequently Asked Questions
What Is the Best Wood for Soap Molds?
You'll find poplar is your best choice for soap molds due to its excellent durability and insulation. If that's unavailable, you can use Baltic birch plywood, but avoid pine as it's prone to warping.
How to Calculate How Much Soap a Mold Will Hold?
Multiply your mold's length, width, and height (in inches) to get cubic inches. Then multiply that by 0.554113 to convert to fluid ounces. This'll tell you exactly how much soap your mold can hold.
What Is the Best Material for a Soap Mold?
You'll get the best results using Baltic birch plywood or poplar wood for durability, or silicone for easy release. Both materials resist lye effectively, won't contaminate your soap, and maintain their shape over time.
Can I Use Parchment Paper to Line My Soap Mold?
Yes, you can use parchment paper to line your soap mold. It's an effective non-stick solution that'll make removal easier. Just make sure it fits snugly and consider taping the edges for extra security.
In Summary
You've now mastered building your own classic wooden soap mold, an essential tool for any soap maker. Keep your mold well-maintained by oiling it regularly and storing it in a dry place when not in use. Don't forget to line it with parchment paper before each pour. With proper care, your handcrafted wooden mold will serve you reliably for years of successful soap making projects.


Leave a Reply