
To test the pH levels in your handmade soap, create a 1% solution by mixing 1 gram of soap with 99 grams of distilled water. Use quality pH strips or an electronic pH meter for accurate readings. Test cold process soap 5 days after pouring and again after 4-6 weeks of curing. Safe pH levels range between 7-10, with readings above 10 indicating lye-heavy soap. Proper pH testing guarantees your soap is both effective and gentle on skin.
How to Test Ph Levels in Handmade Soap
Three reliable methods exist for testing the pH of your handmade soap.
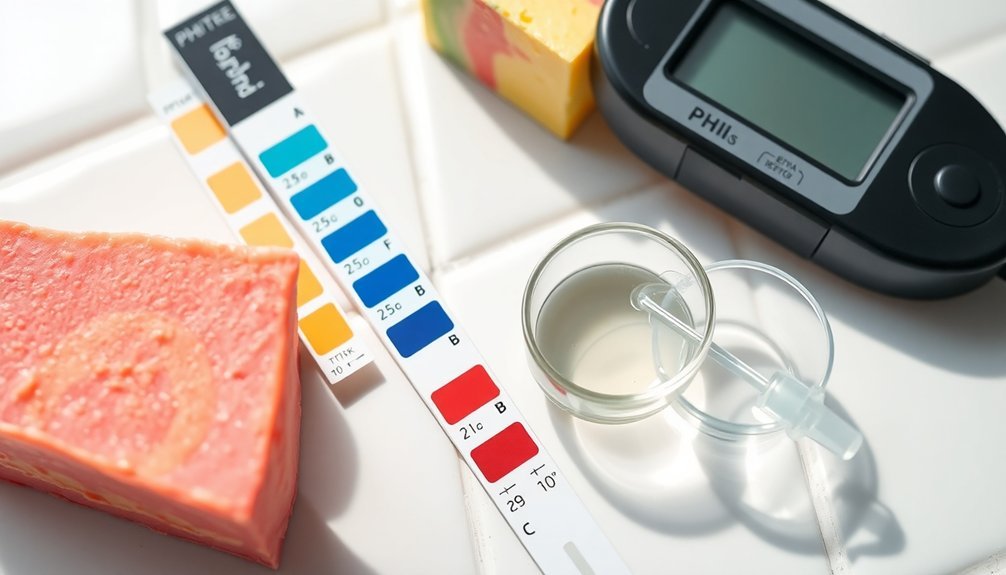
First, create a 1% solution by mixing a small amount of soap with distilled water into a paste. This provides the most accurate pH testing foundation for both cold process soap and liquid soap.
Next, use high-quality pH strips or an electronic pH meter rather than standard strips, which often give inaccurate readings due to water quality and soap concentration variables.
For cold process soap, test approximately 5 days after pouring, then again after 4-6 weeks of curing process completion. Safe pH levels range between 7 and 10. Readings above 10 indicate lye-heavy soap that may irritate skin.
If your liquid soap's pH is too high, you can neutralize it with citric acid, carefully monitoring to maintain a more neutral pH soap.
Why Ph Matters in Soap Making
Understanding the pH of your handmade soap isn't just chemistry trivia—it's essential for creating safe, effective products. When you monitor pH levels during the soap-making process, you're ensuring that saponification has completed properly, with no remaining lye that could cause skin irritation or chemical burns.
Your handmade soap should typically fall between pH 7-10, with most finishing around 9-10. Readings above this range often indicate lye-heavy soap that could harm users, while lower readings suggest a product that won't cleanse effectively.
Regular pH testing serves as a valuable troubleshooting tool for common issues like cloudiness or excessive oiliness. By maintaining consistent product quality through proper pH monitoring, you're guaranteeing both safety and effectiveness for consumers.
Essential Tools for Accurate Ph Testing
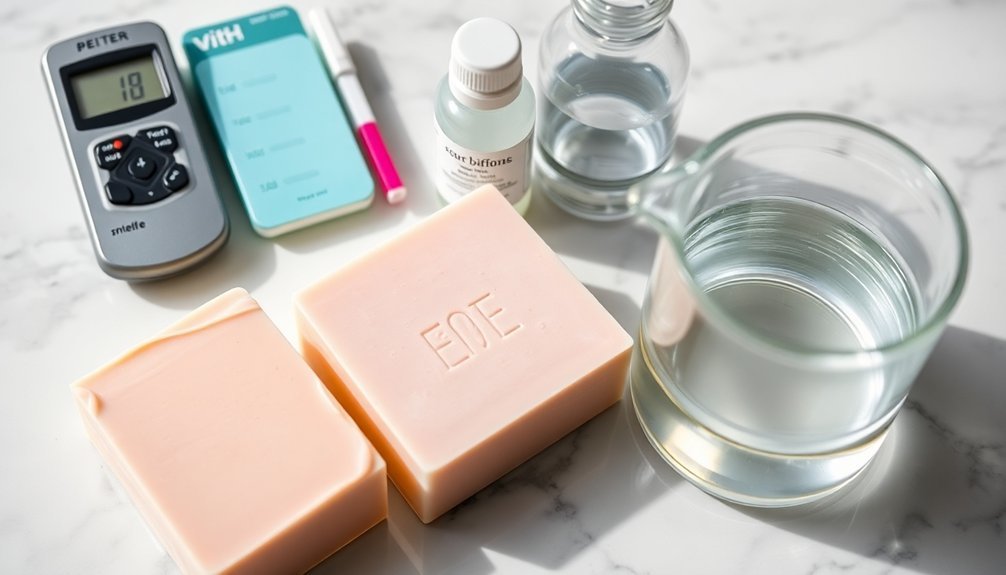
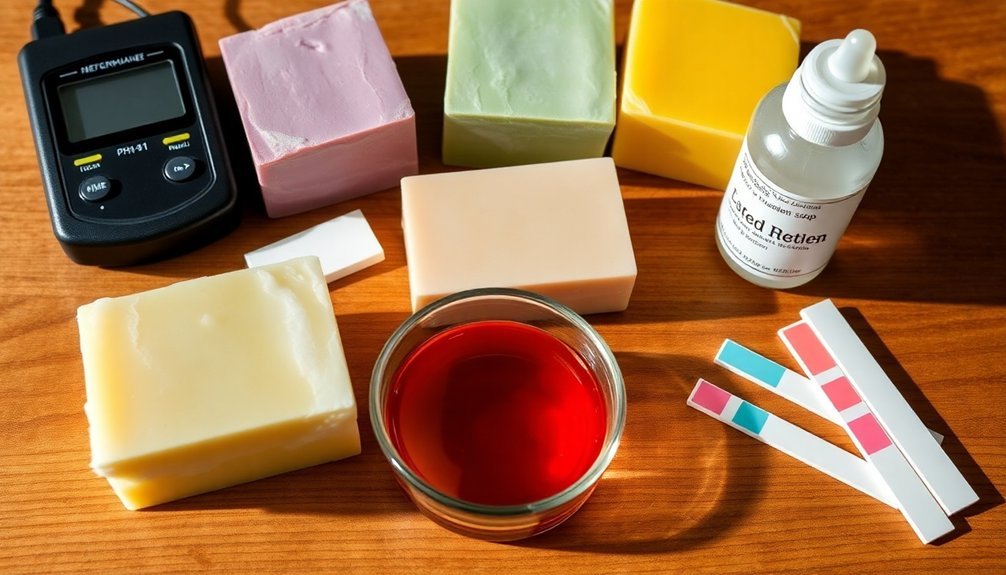
Reliable pH testing begins with having the right tools at your disposal. For accurate pH testing of handmade soap, invest in either high-quality pH strips specifically designed for soap or an electronic pH meter that provides precise readings.
To prepare samples properly, you'll need a digital scale to create a 1% soap solution by mixing 1 gram of soap with 99 grams of distilled water. For enhanced accuracy, use distilled water that's been boiled to remove carbon dioxide, which can interfere with readings.
Apera pH meters are particularly recommended for their temperature compensation capabilities, ensuring consistent results regardless of solution temperature.
Don't forget that regular calibration of pH meters is essential for maintaining accuracy. Universal indicators can serve as helpful backups to verify your readings, ensuring you'll always obtain reliable measurements of your handmade soap's pH.
Preparing Your Soap Sample for Testing

Begin by ensuring your soap has properly solidified—at least 12 hours for cold process or until waxy for hot process—before shaving off approximately 1 gram into a clean cup.
You'll need to boil distilled water to remove carbon dioxide that might interfere with dissolution.
Create a precise 1% solution by combining your soap shavings with 99 grams of the boiled water, stirring thoroughly to dissolve completely before testing.
Sample Collection Methods
When your handmade soap has fully cured, you'll need to collect a proper sample for accurate pH testing. Wait at least 12 hours for cold process soaps to solidify or until hot process soaps develop a waxy appearance before attempting sample collection.
Using a clean container to avoid contamination, shave or cut approximately 1 gram of your soap sample into small pieces. This measured amount is essential for creating a proper 1% solution by combining it with 99 grams of distilled water. The smaller pieces will dissolve more quickly, saving you time during preparation.
Once you've added your soap to the distilled water, stir the mixture thoroughly to guarantee even distribution. This careful preparation guarantees reliable pH readings whether you're using test strips or a pH meter for your assessment.
Water-Soap Paste Preparation
Creating a proper soap-water paste forms the foundation of accurate pH testing for handmade soaps.
To prepare your soap sample, shave about 1 gram into small pieces for better dissolution. You'll need boiled distilled water (cooled) to eliminate carbon dioxide that might skew your pH reading.
For the most accurate measurement, follow these steps:
- Mix 1 gram of your soap sample with 99 grams of cooled distilled water to create a precise 1% soap solution.
- Stir the mixture thoroughly until you achieve a uniform paste with no undissolved soap particles.
- Allow your soap-water paste to rest for a few minutes to stabilize the solution before testing.
This preparation guarantees your pH testing results will be reliable and consistent across different batches.
Using Ph Strips: Step-By-Step Method
Testing your handmade soap's pH requires careful preparation of your strips and solution before taking measurements.
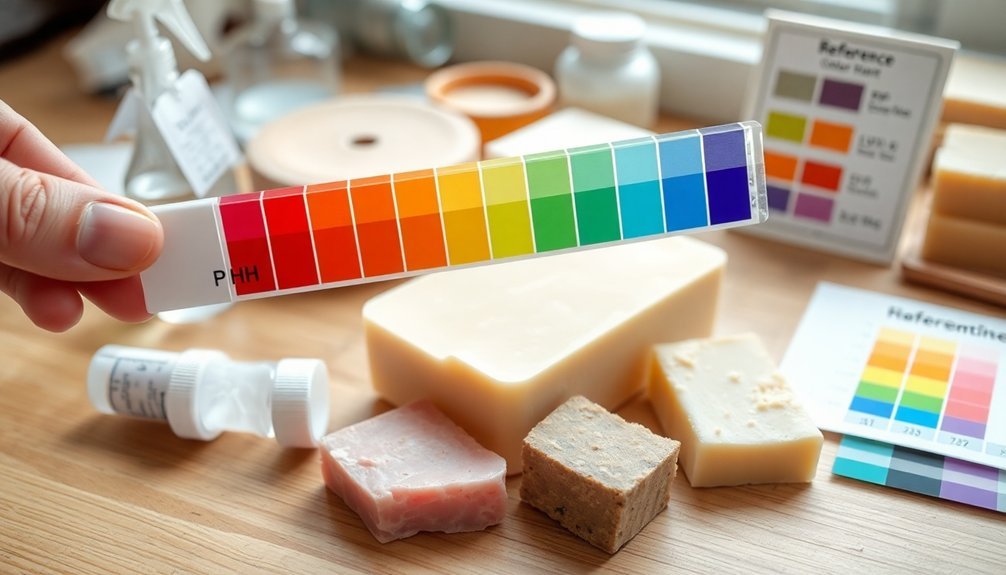
You'll need to fully submerge the pH strip in your 1% soap solution for the time specified on the packaging, then immediately compare the resulting color against the provided chart.
Accurate interpretation of these color changes will tell you if your soap falls within the safe pH range of 7-10, with higher numbers indicating more alkaline soap.
Test Preparation Steps
Before diving into pH testing, you'll need to properly prepare your soap solution for accurate results. Proper test preparation guarantees reliable pH readings that reflect your soap's true acidity or alkalinity level.
Wait until your handmade soap has cured for at least 5 days to allow the saponification process to complete.
- Create a 1% soap solution by shaving 1 gram of your cured soap into small pieces and mixing with 99 grams of distilled water in a clean disposable cup.
- Boil the distilled water before using it to eliminate carbon dioxide that could interfere with soap dissolution and affect your pH readings.
- Select high-quality pH strips specifically designed for soap testing, capable of providing readings across the full 1-14 pH range.
Interpreting Color Results
Three key indicators on your pH strip will reveal essential information about your soap's safety and quality.
First, match the changed color against the provided color chart to determine the exact pH level of your soap paste.
Second, verify if your reading falls within the safe pH range of 7-10 for handmade soap.
Third, check if the color indicates a value above 10, which signals a potentially lye-heavy product that could cause skin irritation.
Record your findings for each batch you test, as consistent monitoring provides valuable insights into the curing process.
You'll often notice the pH gradually decreases as your soap cures properly.
This documentation creates a helpful performance history that aids you in perfecting your soap-making process and guarantees you're creating a product that's both effective and gentle on skin.
Alternative Testing Methods: Red Cabbage Indicator
When commercial pH strips aren't available, nature provides an elegant solution in your produce drawer. Red cabbage juice functions as a natural pH indicator, allowing soapmakers to test the pH of their creations visually. This anthocyanin-rich juice changes color based on pH levels—showing purple at neutral pH, blue for safe alkaline soap (pH 8-10), and green or yellow for potentially harsh, lye-heavy formulations.
Creating your own pH indicator is straightforward:
- Boil chopped red cabbage in water for 10-15 minutes to extract the anthocyanin pigment.
- Strain the liquid and allow it to cool before testing.
- Mix a small soap sample with the cabbage juice and observe the color change.
This cost-effective method offers a reliable alternative for measuring pH when precision instruments aren't available, though it won't provide exact numerical readings.
Common Ph Issues and Their Causes
Despite your best efforts at formulation, handmade soap can develop pH problems that affect both quality and safety. High pH levels (above 10) often indicate lye-heavy soap, which may cause skin irritation or chemical burns if used prematurely. This typically results from miscalculating lye amounts or incomplete saponification due to inadequate mixing or improper temperatures.
Conversely, soft, oily soap with cloudy consistency suggests excess unreacted oils, which can lower pH but compromise quality. If your pH testing reveals levels of 12 or higher, consider your soap unsafe for skin use—it requires rebatching or repurposing for non-skin applications.
Regular pH testing throughout the curing process helps identify issues early, allowing for formulation adjustments before problems become severe. This proactive approach guarantees you're creating a safe product that customers can trust against their skin.
Adjusting High Ph Levels in Finished Soap
Discovering your handmade soap has a pH higher than 10 doesn't mean you need to discard your batch. Lye heaviness can be corrected with proper adjustments.
Regular pH testing throughout the soap-making process allows you to identify issues before they become problematic.
To fix high pH in your finished soap:
- Mix 0.5 ounces of citric acid with 4 tablespoons of distilled water and add at trace to effectively lower pH levels.
- Try superfatting your recipe with 4-8% excess oils to counteract harshness while enhancing moisturizing properties.
- Continue monitoring pH during curing, as chemical reactions continue for weeks after pouring.
If your soap remains uncomfortably alkaline despite these interventions, consider repurposing it for laundry use rather than risking skin irritation.
Frequently Asked Questions
How to Test Ph Levels in Homemade Soap?
Mix your soap with distilled water to create a paste. Use pH strips or a meter to test it after 5 days of curing. You'll want readings between 7-10, with 9-10 being typical.
How Do You Test Ph in Saponification?
To test pH in saponification, mix your soap with distilled water to create a 1% solution. Use pH strips or a digital meter to measure levels, ensuring they're between 7-10. Wait at least 5 days before testing.
What Is the Best Ph for Hand Soap?
For your handmade hand soap, aim for a pH between 7 and 10, with 8-9 being ideal. You'll want to stay below 10 to avoid skin irritation while ensuring your soap effectively cleanses.
How to Know if a Soap Is Ph Neutral?
You'll know a soap is pH neutral if it tests at around 7 on pH strips or a meter. Dissolve a small amount in distilled water, test it, and check that it's not alkaline (8-10).
In Summary
Testing your soap's pH isn't just about safety—it's about creating the best product possible. You'll find that with regular testing, you'll develop an intuition for your recipes. Remember, aim for that sweet spot between 8-10 pH for balanced, gentle soap. Don't be discouraged by occasional pH issues—they're valuable learning opportunities that'll ultimately improve your soap making skills.


Leave a Reply