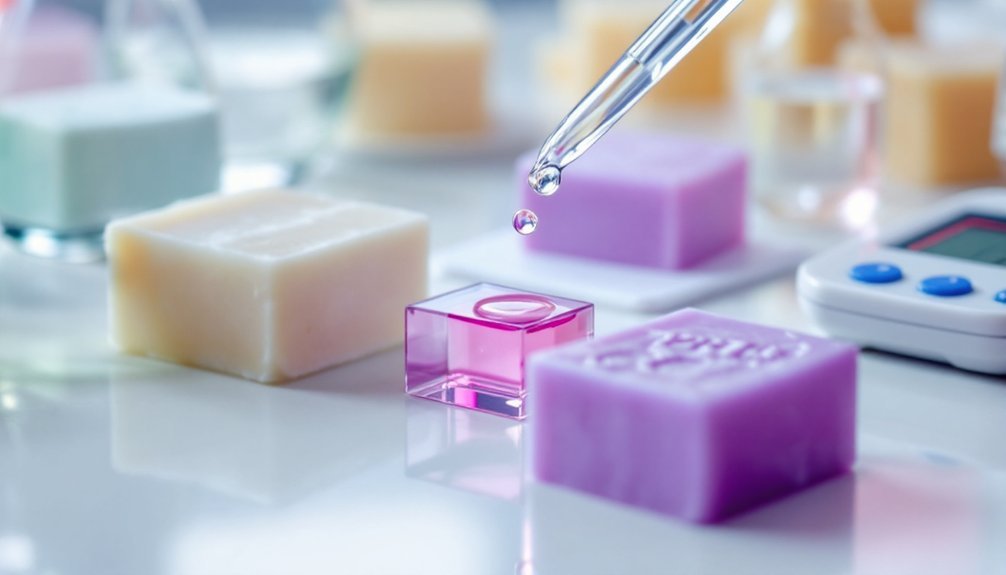
To test your handmade soap's pH with phenolphthalein, dissolve 1 gram of fully cured soap (4-6 weeks old) in 99 grams of distilled water. Apply one drop of 1% phenolphthalein solution directly to the soap or solution. If it remains colorless, your soap is safe to use; if it turns pink, it contains excess lye. Always wear gloves and eye protection during testing. The following guide reveals essential testing nuances that guarantee consistent, safe products.
How to Ph Test Handmade Soap Using Phenolphthalein
Phenolphthalein offers a reliable method for testing your handmade soap's pH level. To begin, prepare a 1% soap solution by dissolving 1 gram of soap in 99 grams of boiled distilled water. Boiling helps remove carbon dioxide that could affect your accurate reading.
Always test soap that has completed the curing process, typically 4-6 weeks after making. This guarantees pH levels have stabilized.
Apply a drop of 1% phenolphthalein solution to your prepared soap sample—a colorless result indicates safe pH, while pink suggests lye-heavy soap.
When handling phenolphthalein, wear gloves and eye protection. Test only small samples to avoid contamination.
This simple technique gives you confidence that your handmade soap is safe for use without the harshness of excess lye.
Understanding Ph Basics in Soap Making
Before you can properly test your soap, you'll need to grasp the fundamentals of pH. The pH scale measures hydrogen ions concentration in solutions, with lower numbers indicating higher acidity and higher numbers showing alkalinity.
When testing handmade soap, remember these key points:
- Properly made soap typically has a pH between 8-11, which is alkaline but safe for skin use.
- Neutral pH is 7, but true soap can't be neutral as it's composed of alkali salts of fatty acids.
- High pH readings (above 11) may indicate free lye, making the soap potentially harmful.
- Phenolphthalein is an effective indicator that turns pink in the presence of excessive alkalinity.
Understanding these basics guarantees your testing effectively identifies if your soap is properly cured and safe for use.
Benefits of Using Phenolphthalein for Soap Testing
While many soapmakers rely on pH strips, using phenolphthalein offers distinct advantages that can elevate your testing process. This cost-effective 1% solution provides clearer, more accurate readings of your soap's alkalinity compared to traditional pH test strips.
When you apply phenolphthalein to your soap, the color change instantly communicates critical safety information—colorless indicates safe soap, while magenta pink reveals potentially irritating lye-heavy soap.
You'll appreciate the flexibility of testing both dry soap and samples dissolved in water or alcohol, allowing for thorough assessment of different batches.
Implementing regular phenolphthalein testing enhances your quality control process, ensuring your products consistently fall within the ideal pH range of 8-11 for skin compatibility.
This simple test helps identify saponification inconsistencies before your soap reaches customers' hands.
Essential Equipment and Safety Precautions
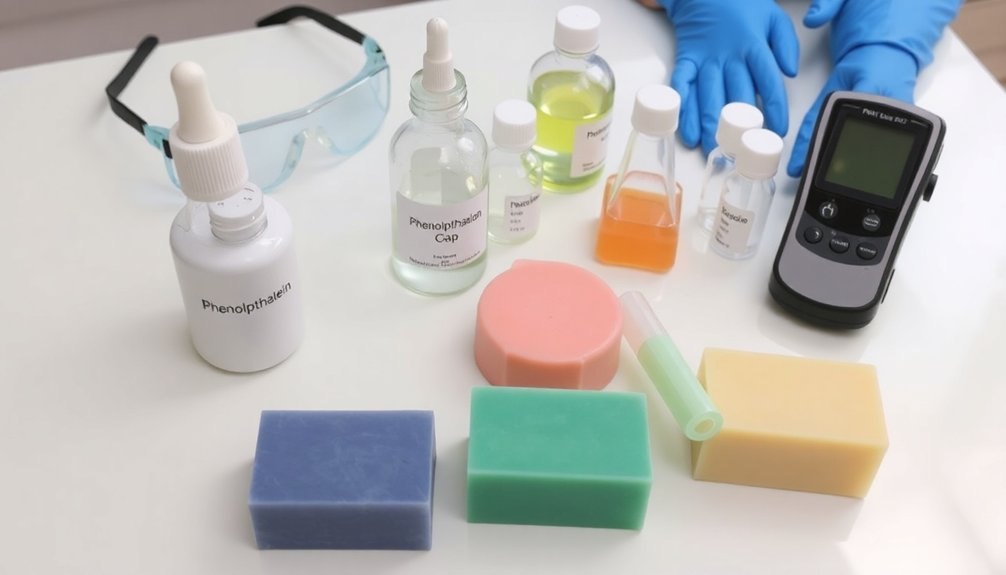
Before you test your handmade soap with phenolphthalein, put on gloves and eye protection to shield yourself from potential chemical hazards.
Set up your testing area away from food preparation spaces and guarantee you have all necessary equipment nearby, including your 1% phenolphthalein solution, clean cup, scale, and stirring tool.
You'll want to cover your workspace with protective material to catch any spills and keep paper towels handy for quick cleanup if needed.
Protective Gear First
Safety comes first when pH testing your handmade soap with phenolphthalein. Before handling this chemical indicator, make certain you've equipped yourself with the proper protective gear to prevent any potential hazards.
- Always wear chemical-resistant gloves to protect your skin from direct contact with phenolphthalein, which can cause irritation.
- Don safety goggles to shield your eyes from accidental splashes that might occur during testing.
- Put on a lab coat or apron to safeguard your clothing from unexpected spills when working with soap samples.
- Review the safety data sheets (SDS) for phenolphthalein to understand all handling precautions.
Remember to conduct your testing in a well-ventilated area to minimize inhalation risks.
Always prepare a separate soap sample specifically for testing to maintain the integrity of your main batch.
Preparing Your Workspace
Setting up a proper testing area guarantees accurate results and prevents unnecessary exposure to chemicals when checking your soap's pH. Before beginning, make sure your workspace is clean and well-ventilated to minimize contamination risks. Review safety data sheets for phenolphthalein to understand proper handling procedures.
| Essential Equipment | Safety Precautions |
|---|---|
| Phenolphthalein solution (1% in ethanol) | Wear gloves and safety goggles |
| Clean disposable cups | Keep testing materials away from food |
| Digital scale for soap | Work in well-ventilated area |
| Distilled water | Have SDS readily available |
Designate a specific area for testing that's free from food and drink to prevent accidental ingestion. When preparing your workspace, organize all materials within easy reach but safely arranged to avoid spills or cross-contamination.
Preparing Your Soap Sample for Accurate Testing
While many soapmakers rely on intuition, properly preparing your soap sample is crucial for obtaining precise pH readings. When testing with phenolphthalein, you'll need a consistent soap solution to achieve accurate results.
Start your preparation by:
- Cutting a small, uniform 1-gram slice of your soap to guarantee consistency
- Creating a 1% solution by dissolving your soap sample in 99 grams of boiled distilled water
- Alternatively, using a 50/50 mixture of distilled water and alcohol for clearer test results
- Placing your soap sample in a clean, disposable cup to prevent contamination
Remember that boiling your distilled water beforehand removes carbon dioxide, which can interfere with dissolution and alter your pH readings when preparing your solution for phenolphthalein testing.
Step-By-Step Testing Procedure With Phenolphthalein
Once your soap sample is properly prepared, you'll need to follow a precise testing methodology to guarantee reliable pH results.
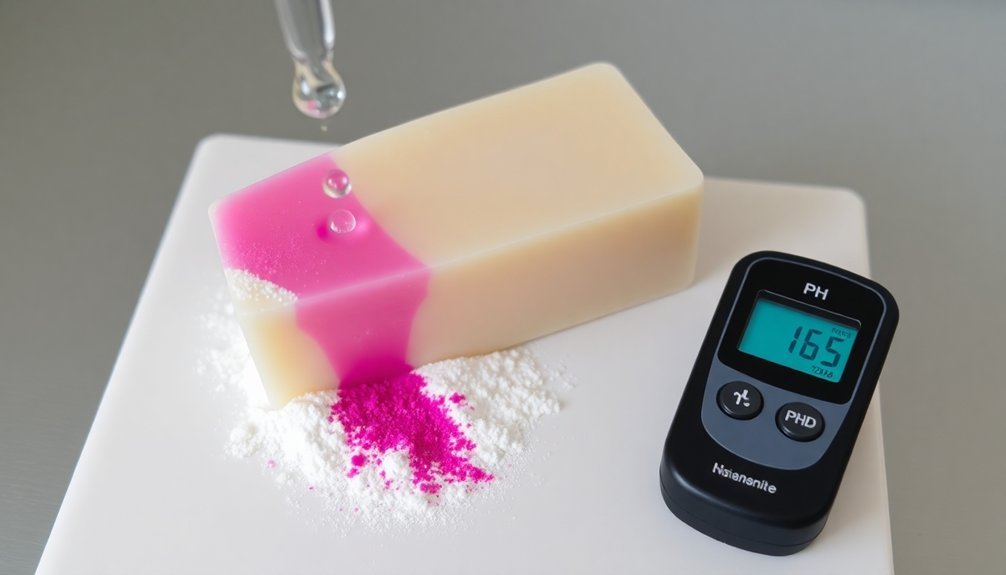
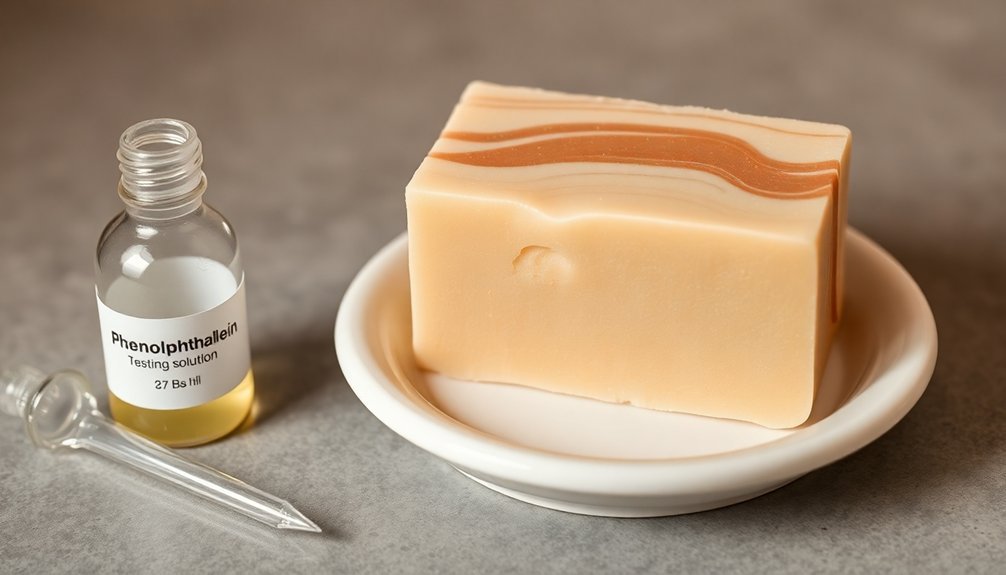
Begin by cutting a small test slice of clean soap. While wearing protective gloves and eyewear, apply one drop of 1% phenolphthalein pH indicator directly onto the dry soap surface.
Watch carefully for any color change. If the phenolphthalein remains colorless, your soap isn't lye-heavy and is safe to use. However, if it turns magenta pink, this indicates excess alkalinity and potentially dangerous lye-heavy soap.
For more accurate measurement of hydrogen ions, dissolve a small soap amount in distilled water to create a 1% solution before testing.
This method provides more precise results when you test the pH than applying the indicator directly to solid soap.
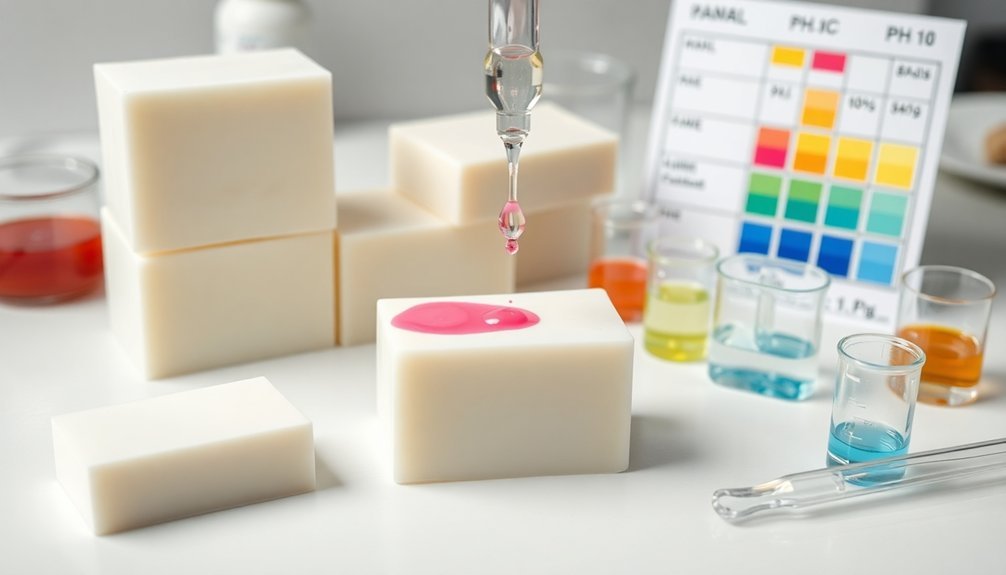
Interpreting Color Changes and Ph Results
Understanding the pH test results of your handmade soap requires careful observation of color changes in the phenolphthalein indicator.
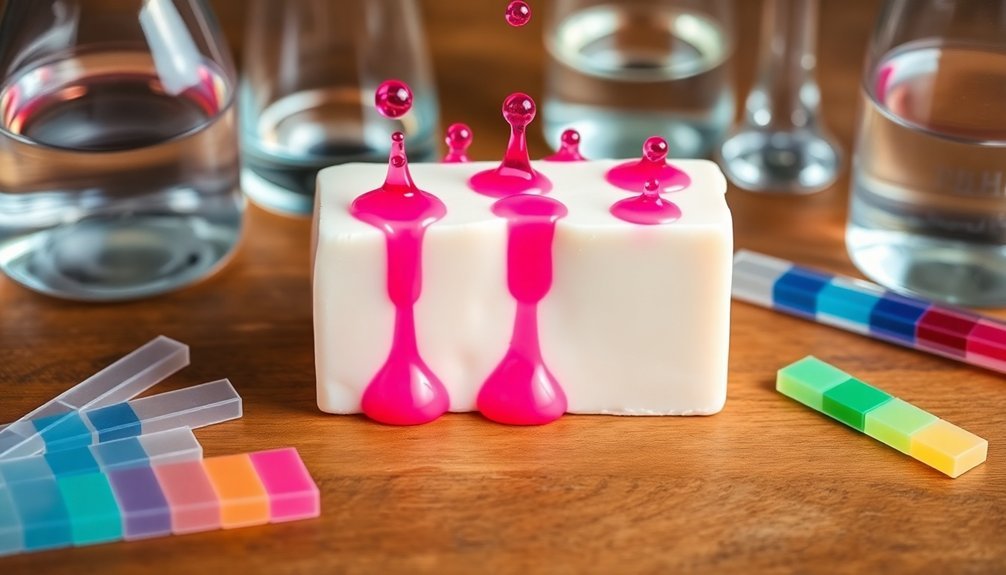
When testing your soap with phenolphthalein, you'll see one of two results: clear (safe) or magenta pink (lye-heavy).
For accurate assessment when performing pH tests on your handmade soap:
- Clear result: Indicates your soap has properly cured and is safe to use
- Magenta pink: Shows alkaline conditions with pH above 8.5, meaning your soap is lye-heavy
- Light pink: Suggests borderline alkalinity that may need additional curing time
- Spotty pink results: May indicate uneven lye distribution in your soap batch
Troubleshooting Common Testing Errors
Despite following proper soap-making procedures, you may still encounter confusing or inconsistent pH test results. Most errors occur when testing soap that hasn't fully cured—residual lye can dissipate over time, so a soap that tested lye-heavy initially might test ok weeks later.
Using contaminated cutting tools can introduce substances that affect your phenolphthalein test results. Always use a clean, dry knife when preparing samples.
When applying phenolphthalein to test your soap, use a 1% solution for the most accurate color change indication.
Avoid testing overly wet or lathered samples as water dilution skews pH readings. If you're uncertain about interpreting results, compare the color change against a controlled reference—this helps eliminate subjective errors when determining if your soap is lye-heavy or safe for use.
When to Test: Curing Timeline Recommendations
Proper timing makes all the difference in soap pH testing. For accurate results, you should test your soap after it's fully cured—typically 4 to 6 weeks after production. During this period, saponification completes and excess lye finishes reacting with oils.
- Wait a minimum of 4 weeks before applying Phenolphthalein drops to test your handmade soap.
- Testing too early (1-2 weeks) may show falsely high pH readings due to unreacted lye.
- Use regular testing intervals throughout the curing timeline to monitor changes in pH.
- Combine pH testing with physical observations like hardness and lack of "zap" sensation.
Remember that pH is a measurement that evolves during curing. Testing at the right times guarantees your final product is both safe and effective for your customers.
Frequently Asked Questions
How to Test Ph Levels in Homemade Soap?
To test pH levels in homemade soap, dissolve a small piece in distilled water making a 1% solution. You'll need to apply phenolphthalein or use a calibrated pH meter for accurate readings after proper curing.
How to Use Phenolphthalein in Soap?
To use phenolphthalein in soap, mix 1 gram of soap with 99 grams of distilled water, wear gloves and eye protection, then add a drop to your solution. Pink color indicates pH above 8.5.
How to Use Phenolphthalein to Test for Ph?
To test pH with phenolphthalein, apply a drop to your sample or dissolve it in distilled water first. You'll see pink/magenta if it's alkaline (above 8.5) and colorless if acidic or neutral.
What Happens if Phenolphthalein Is Placed in Soapy Water?
When you place phenolphthalein in soapy water, it'll turn magenta pink if the pH is above 8.5, indicating excess alkalinity. If the soap's pH is neutral, the solution will remain colorless.
In Summary
Testing your handmade soap with phenolphthalein isn't complicated once you've got the hang of it. You'll find it's an essential skill for ensuring your products are skin-safe and properly cured. Remember to wear protective gear, follow the color guide carefully, and test at multiple stages of curing. With practice, you'll confidently create soaps with ideal pH levels that your customers will love.


Leave a Reply