Plant-based dyes offer you a natural, eco-friendly way to color your handmade soap while reducing skin irritation from harsh chemicals. You'll discover unique color variations that synthetic dyes can't match, from madder root's rosy pinks to indigo's deep blues. These sustainable colorants maintain their vibrancy for over a year when properly stored and can provide additional benefits like moisturizing properties. Exploring nature's palette will transform your soap-making journey into an artisanal adventure.
Understanding Plant-Based Dye Advantages
When crafting handmade soap, plant-based dyes offer compelling advantages over synthetic alternatives. You'll find these natural colorants are gentler on your skin, eliminating the harsh chemicals that can cause irritation.
By using plant material like roots, leaves, and seeds, you're creating unique color variations that synthetic dyes simply can't match. These eco-friendly dyes respond differently to factors like soil conditions and pH levels, giving your soaps a distinctive, artisanal quality.
While they may fade faster than synthetic options, plant-based colors can maintain their vibrancy for over a year when properly stored. You're also meeting the growing consumer demand for sustainable products, which gives your handmade soaps a competitive edge in the market.
Best of all, you're protecting both the environment and your customers' health with these natural alternatives.
Essential Tools and Equipment for Natural Dyeing
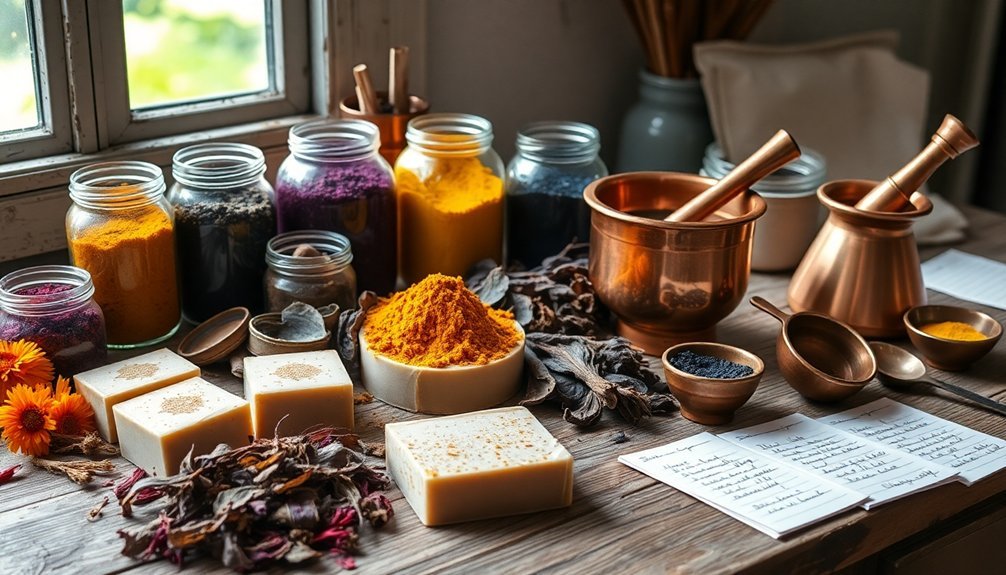
Three core tools form the foundation of natural soap dyeing: a reliable heat source, proper vessels, and precise measuring equipment.
You'll need a stove or hot plate to achieve the right temperatures for extracting colors from plant materials. Use stainless steel or enamel pots instead of aluminum to prevent unwanted color reactions.
Containing your dye powders in cheesecloth or mesh bags makes straining easier and cleanup more efficient.
Using cheesecloth or mesh bags to contain natural dye powders simplifies the straining process and makes post-dyeing cleanup a breeze.
- Monitor temperatures carefully with a reliable thermometer – different plant dyes release their colors at specific heat levels.
- Invest in a digital scale to measure essential tools and ingredients precisely – consistency is key for reproducible results.
- Choose non-reactive containers and straining materials to maintain color purity and prevent contamination.
These essential tools will help you create consistently beautiful, naturally-dyed soaps with professional results.
Popular Plant Sources for Soap Coloring
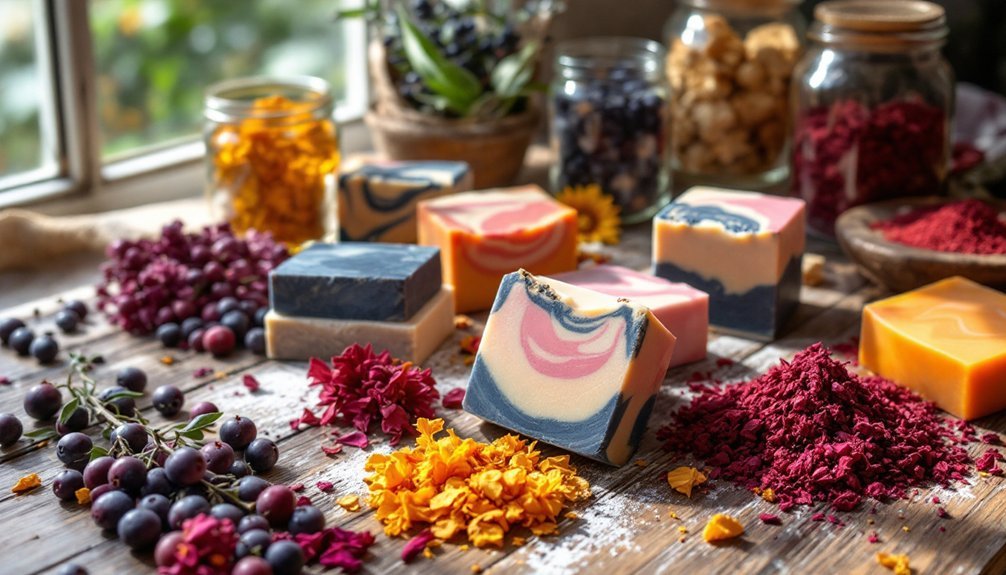
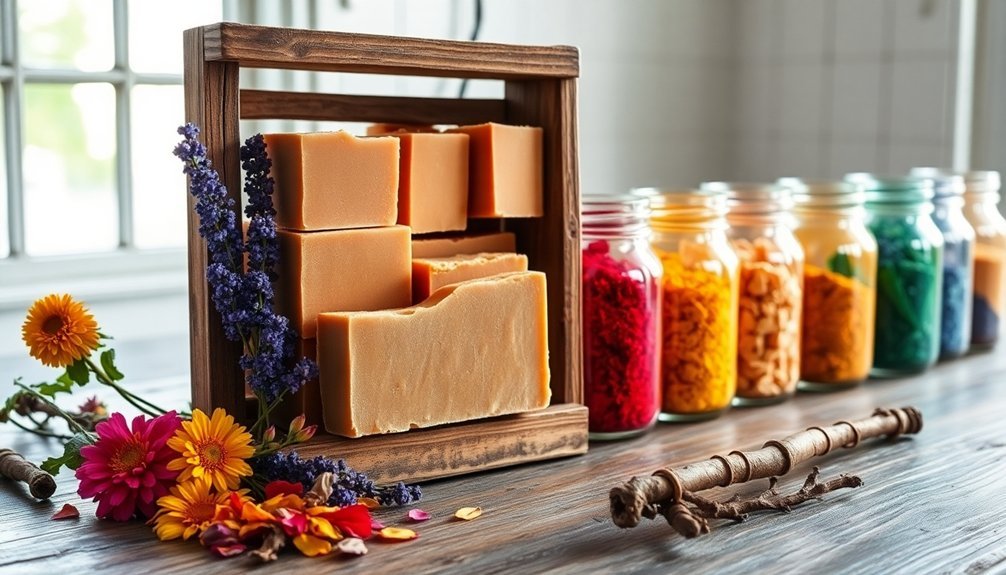
With your tools ready, you'll find an exciting array of plant-based options for coloring your handmade soaps. Madder root gives you beautiful red to pink tones, while annatto seeds create vibrant orange hues that'll brighten your natural dye palette.
If you're looking for deep blues, indigo's your go-to plant source, though you'll need to handle it carefully to guarantee even coloring. For yellow shades, weld proves invaluable, and you can mix it with indigo to achieve green colors in your soap.
When you're aiming for purple tones, alkanet root offers an interesting option, though its results can be less predictable than other plant sources. Each of these natural dye choices brings its own unique characteristics to your soap-making process, allowing you to create truly distinctive colors without synthetic additives.
Proper Preparation and Storage Methods
Proper measuring is essential when working with plant-based dyes, so you'll want to stick to the recommended ratio of 3 grams of dye powder per pound of soap and create a smooth slurry with distilled water.
You'll need to follow safe handling practices by mixing clay-based dyes into your oils before adding lye, which prevents speckles and guarantees even color distribution.
To protect your dyes' vibrancy and potency, store both finished soaps and unused dye powders in a cool, dark place away from direct sunlight.
Measuring For Best Results
Successful plant-based soap coloring relies heavily on precise measurements and careful preparation techniques.
You'll need to measure approximately 3 grams of dye per pound of soap, though you can reduce this to 1 gram for darker shades like Ember Black and Indigo Green.
Don't add it directly – instead, create a slurry by mixing each gram of dye with 1 teaspoon of distilled water.
For measuring for best results, follow these key steps:
- Mix pigment-based dyes with distilled water before incorporating lye
- Blend clay-based dyes into your oils before adding the lye solution
- Store your finished soaps in a dark, cool place to preserve color intensity
Remember to wear protective gear and guarantee proper ventilation when handling dry pigments to maintain safety throughout the process.
Safe Handling Practices
Safe handling of plant-based dyes demands rigorous attention to protective measures and storage protocols.
When working with dry dye powders, you'll need to wear a mask and guarantee proper ventilation to protect your respiratory system. Mix your dyes carefully by creating a slurry – combine 3 grams of powder with 1 teaspoon of distilled water per gram before adding to your soap mixture.
Your safe handling practices should extend to storage as well. Keep both plant-based dyes and lye in a secure location where children can't access them, as lye is particularly dangerous due to its caustic nature.
Remember to wash your hands thoroughly after handling these materials. To maintain the vibrancy of your finished soap, store it away from direct sunlight, which can cause natural colors to fade.
Long-Term Storage Solutions
When preserving the vibrant colors of your plant-based soap creations, long-term storage requires strategic preparation and precise environmental control. To protect your artisanal soaps from color fading, you'll need to implement proper storage solutions that shield them from harmful environmental factors.
Essential steps for maintaining the integrity of plant-based dyes:
- Cure your soaps for 4-6 weeks in a well-ventilated area before storing them to prevent moisture-related deterioration.
- Store finished products in airtight containers or wrap them in acid-free paper, keeping them away from direct sunlight.
- Monitor your stored soaps regularly and maintain detailed records of production dates and dye types used.
Remember to check your stored soaps periodically for any signs of discoloration or texture changes, as these indicators can help you adjust your long-term storage methods accordingly.
Mixing Techniques for Optimal Color Results
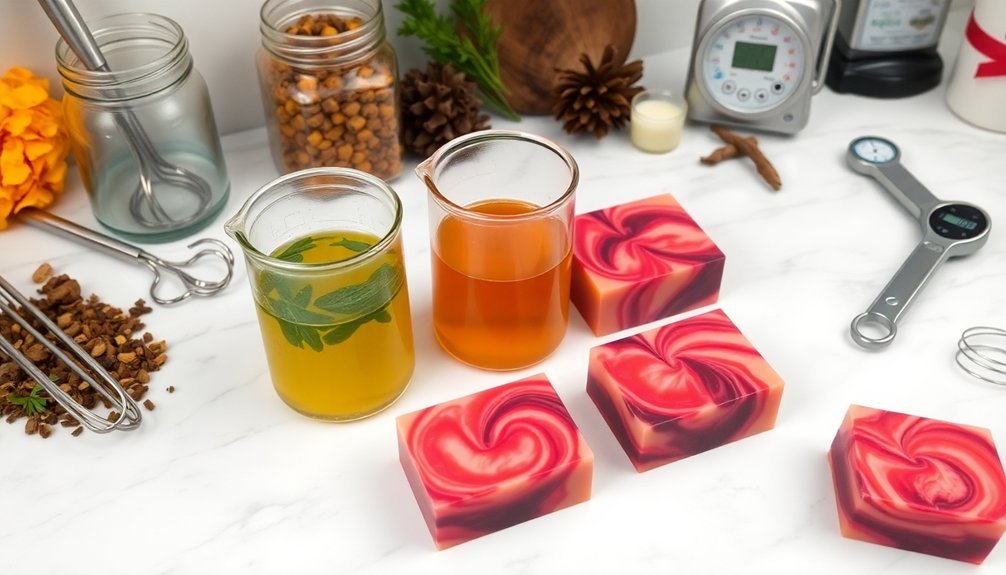
Mastering the proper mixing techniques for plant-based dyes can make the difference between vibrant, evenly distributed colors and spotty, inconsistent results in your handmade soap. When working with natural soap colors, you'll need to create a thick slurry by combining 3 grams of dye powder with 1 teaspoon of distilled water per gram.
| Dye Type | Mixing Method | Best Practice |
|---|---|---|
| Plant-based | Water slurry | Mix before soap batter |
| Pigment | Water + lye | Blend before adding oils |
| Clay | Oil infusion | Mix with oils first |
For consistent coloring soap results, don't add your plant-based dyes directly to the batter. Instead, disperse them thoroughly in liquid first. You can enhance color intensity by infusing dyes in oils, though this requires patience – either several weeks of steeping or hours in a crock pot.
Safety Considerations for Natural Colorants
After perfecting your mixing techniques, it's important to understand the safety aspects of working with natural colorants. While plant-based dyes are generally safer than synthetic alternatives, you'll still need to take proper precautions.
Always work in a well-ventilated area and wear a mask when handling dry pigments to protect your respiratory system.
Essential safety considerations when working with natural colorants:
- Test small amounts on your skin before full application to check for potential allergic reactions.
- Keep all dyes away from eyes and mouth, washing your hands thoroughly after handling.
- Use protective coverings for surfaces and clothing to prevent unwanted staining.
Remember that even though plant-based dyes are natural, they can still cause sensitivities in some people.
Handle them with care and store them properly to maintain both safety and quality.
Color Intensity and Longevity Guidelines
To achieve lasting vibrancy with plant-based dyes, you'll need to understand their unique intensity limitations and storage requirements.
When working with natural dyes in soap making, keep your colorant concentration at or below 5% of your total soap weight to prevent staining while maintaining ideal color intensity.
You'll want to test small batches first, as different soap processes can greatly affect how your colors develop.
For the best results, mix your plant-based colorants thoroughly to avoid speckling, especially when adding them at trace.
While these dyes won't match synthetic alternatives in lightfastness, you can preserve their vibrancy for a year or longer by storing your soaps away from direct sunlight.
Remember to properly cure your soaps and maintain appropriate storage conditions to maximize the longevity of your natural colors.
Seasonal Availability of Plant-Based Dyes
Since plant-based dyes depend heavily on harvest seasons, you'll need to plan your soap-making calendar around their availability.
The vibrant colors you can achieve in your soaps will shift with nature's rhythm, as different seasonal plants reach their peak potency at various times throughout the year.
Nature orchestrates a shifting palette of soap colors, as each season brings fresh plants bursting with vibrant pigments.
Working with these natural cycles lets you create unique, season-inspired soap collections.
Here's what you need to take into account when planning your soap making schedule:
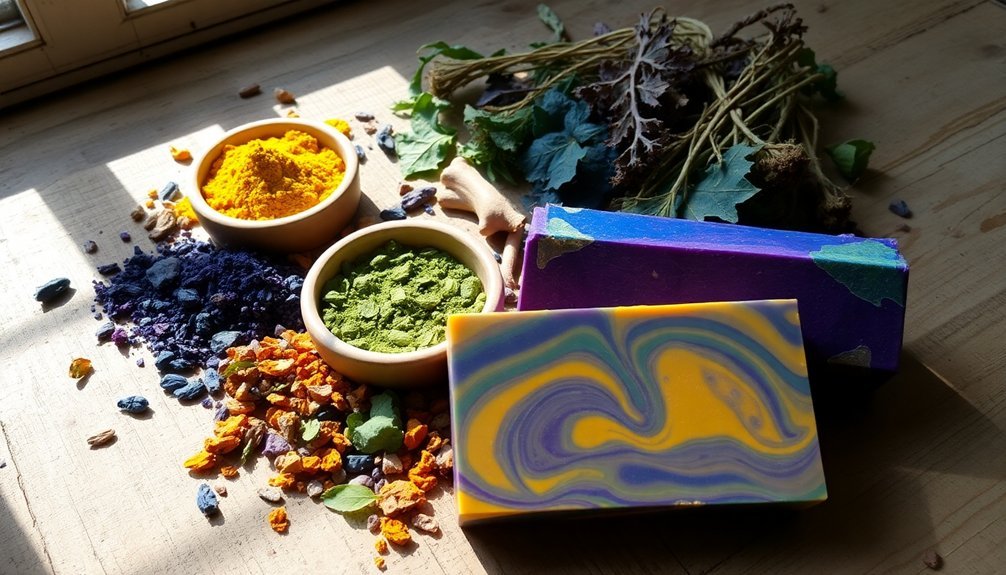
- Summer offers abundant options like turmeric and calendula, perfect for creating warm, sunny hues.
- Some plant-based dyes, like madder root and indigo, require specific harvest times, so stock up when they're available.
- Local climate and growing conditions affect dye potency, so you might need to adjust your recipes based on seasonal variations.
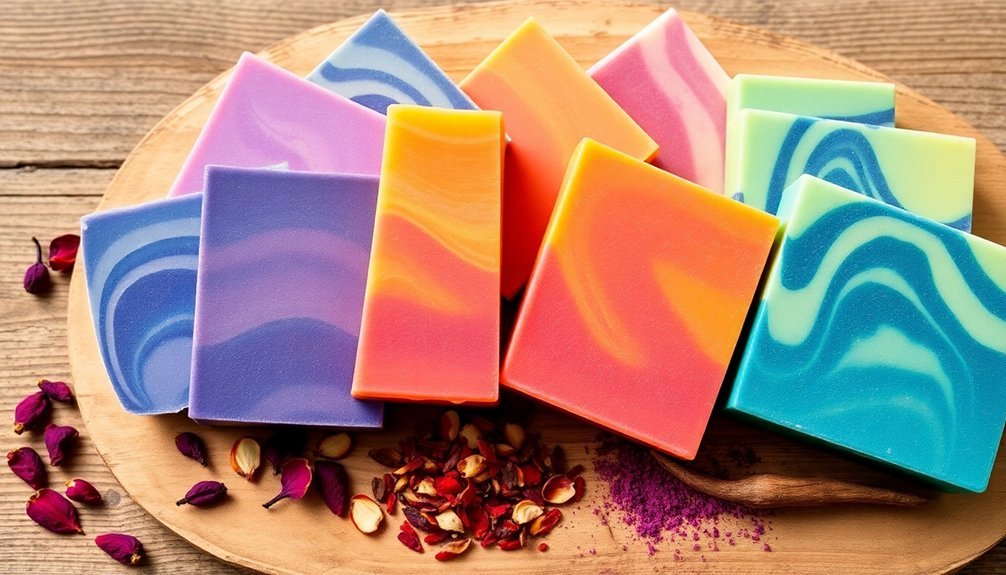
Combining Natural Dyes for Custom Shades
You'll discover endless color possibilities by layering multiple plant-based dyes at different stages of trace, creating stunning gradients and patterns in your handmade soap.
Before committing to a full batch, test various ratios of natural colorants like madder root and annatto to determine your perfect custom shade, keeping the total dye content under 5% of your soap's weight.
Time your dye additions strategically – add one color when the soap reaches light trace, then wait for medium trace to incorporate additional hues for the most striking results.
Layering Multiple Color Infusions
While individual plant-based dyes can create beautiful soaps, layering multiple color infusions opens up a world of customization possibilities.
You'll find that combining different naturally colored infusions in your base oils can produce unique and unexpected shades. When working with plant-based soap colorants, it's crucial to understand how each dye behaves during the infusion process.
To achieve successful layered infusions:
- Test small batches first to understand how different plant dyes interact and determine the ideal infusion timing for each colorant.
- Choose compatible base oils that will enhance the vibrancy of your layered colors while maintaining a consistent texture.
- Consider the specific requirements of each plant dye, as materials like madder root and indigo may need different infusion methods to achieve their full potential.
Testing Color Blend Ratios
Creating custom shades with natural dyes requires a methodical approach to testing and documentation. When testing color blend ratios, you'll want to start with small batches to experiment with different combinations of natural dyes.
Keep precise records of the weight measurements for each colorant you use, as this guarantees you can replicate successful blends later. Remember to stay within the 5% maximum colorant limit of your total soap weight to maintain vibrant colors without compromising the soap's quality.
You'll find that some natural dyes interact differently when combined, so consider using infusion methods like oil steeping or dye teas for more uniform results. As your soaps cure, watch how the colors evolve and adjust your future ratios accordingly.
This systematic approach helps you achieve consistent, beautiful shades in your handmade soaps.
Timing Your Dye Additions
The strategic timing of natural dye additions plays an essential role in achieving vibrant, consistent colors in your handmade soaps. You'll find that adding natural dyes at trace guarantees better dispersion throughout your soap batter while minimizing speckling.
For ideal results, you can infuse certain dyes in oils or prepare them as teas before incorporating them into your mixture.
When working with multiple natural dyes to create custom shades, consider these important timing factors:
- Add indigo directly to your lye solution for deeper, more uniform blues.
- Incorporate oil-infused dyes like madder root at light trace for even distribution.
- Mix pre-tested color combinations at medium trace to maintain control over the final shade.
Remember that infusion times vary greatly, so plan ahead when preparing your natural dyes for the best color development.
Troubleshooting Common Coloring Issues
Despite careful planning, you'll likely encounter some challenges when working with plant-based dyes in your soap making.
Natural soap making with plant-based dyes requires patience and persistence, as even the most meticulous preparation can present unexpected hurdles.
When troubleshooting common issues, start by examining how you're dispersing your natural colorants. If you notice speckling or uneven coloring, you'll need to mix your powders more thoroughly before adding them to your soap base.
Watch for unexpected color changes during curing, as many plant-based dyes will shift or fade, especially if exposed to sunlight.
If you're getting muddy or dull results, try adjusting your infusion time or switching to a different carrier oil for better color extraction.
Remember that pH levels can greatly impact your final shade, so keep track of your soap's alkalinity.
Always test small batches first to understand how your chosen colorants behave in your specific recipe.
Best Practices for Color Testing and Documentation
You'll want to maintain detailed records of each test batch, including precise measurements of plant-based colorants and photos of your soaps at different stages of curing.
Make it a habit to check and document any color changes daily, particularly in the first week when most transformations occur.
Creating reference color charts with successful combinations will help you quickly replicate your favorite natural soap colors and avoid past mistakes.
Record Each Test Batch
Successful natural soap coloring requires meticulous documentation of each test batch to guarantee repeatable results.
You'll need to track every detail of your dye usage and soap recipe, from the exact weight of colorants to their application methods.
Keep a detailed log of how each color develops during the curing process, and don't forget to take photos that capture the soap's appearance at different stages.
- Measure and record the precise amount of dye per pound of soap, noting whether you've added it to oils, lye solution, or directly to the batter.
- Document curing conditions, including temperature, humidity, and light exposure that might affect color development.
- Create a visual timeline with photographs showing color changes from initial pour through final cure.
Document Color Changes Daily
The daily documentation of soap color changes forms a critical foundation for successful natural dyeing practices.
When using natural dyes to color your soap, you'll need to track specific details like dye amounts, application dates, and evolving hues throughout the curing process.
To document color changes effectively, take photos under consistent lighting and match shades against a standard color chart.
You'll want to maintain detailed records of temperature and humidity, as these environmental factors can greatly impact how natural colors develop in cold process soap.
Keep notes on any speckling or fading you observe, which will help you refine your technique for future batches.
This systematic approach to documentation guarantees you'll create more predictable and consistent results while mastering plant-based soap coloring methods.
Create Reference Color Charts
Creating reliable reference color charts begins with three essential components: precise measurements, detailed documentation, and systematic testing procedures.
When you're working with plant-based dye in soap making, maintaining accurate records guarantees consistent results across different batches. You'll want to track not only the amount of colorant used but also the specific oil combinations and curing conditions that influence the final hue.
- Document exact measurements of your plant-based dye relative to soap weight, including the base oil types used in your formula.
- Record environmental factors like temperature and curing time, which can greatly impact color development.
- Photograph and note color changes throughout the curing process, creating a visual timeline for your color charts.
Keep small test samples alongside your documentation to build a thorough reference library for future soap making projects.
Frequently Asked Questions
Is Plant Based Soap Better?
You'll find plant-based soap better for your skin since it's gentler, free from harsh chemicals, and environmentally friendly. It'll give you natural benefits while avoiding potential irritants found in synthetic alternatives.
What Are the Natural Dyes From Plants for Soap?
You'll find various plant-based dyes for soap: madder root gives reds, indigo creates blues, calendula produces yellows, turmeric offers golden hues, weld makes bright yellow, and alkanet root creates purple shades.
Can You Use Food Coloring in Handmade Soap?
You shouldn't use food coloring in handmade soap. It's not stable in lye-based products, can bleed or fade, and might cause unexpected reactions. Instead, stick to plant-based dyes specifically made for soap-making.
What Herbs Are Good for Coloring Soap?
You'll get vibrant colors using madder root for red, annatto seeds for orange, alkanet root for purple, turmeric for yellow, and spirulina for green. Chamomile flowers create lovely soft yellow shades in your soap.
In Summary
Plant-based dyes offer you a natural, sustainable way to color your handmade soaps while avoiding synthetic chemicals. You'll find endless possibilities by experimenting with different plant combinations and seasonal ingredients. Remember to document your successes and challenges, test colors before large batches, and store your dyes properly. With practice and patience, you'll master the art of natural soap coloring and create unique, eco-friendly products you can be proud of.


Leave a Reply