To fix soap-making water problems: use distilled water to eliminate mineral interference, test your water's hardness with an inexpensive kit, maintain temperatures between 37-43°C for both lye solution and oils, implement a 10-15% water discount for better texture, re-emulsify separating batches with a stick blender, store soap on wire racks during curing, and consider water substitutes like herbal infusions or coconut milk for enhanced properties. These solutions will transform your soap-making experience.
7 Ways to Fix Common Soap-Making Water Problems
While creating the perfect batch of soap requires careful attention to multiple factors, water management remains one of the most critical elements for success.
If you're experiencing soft or crumbly soap, adjust the amount of water in your soap recipes—insufficient water causes brittleness, while excess water slows saponification.
Implement a water discount of 10-15% to control overheating and improve texture. This adjustment helps prevent glycerin rivers and guarantees a smoother finish.
Keep temperatures below 50°C when combining your lye solution with oils to prevent ingredient separation.
Watch your soap's consistency during the saponification process. If it thickens too quickly, reduce hard butters and solid oils while guaranteeing proper water-to-lye ratios.
These simple water adjustments can transform problematic batches into perfect soap.
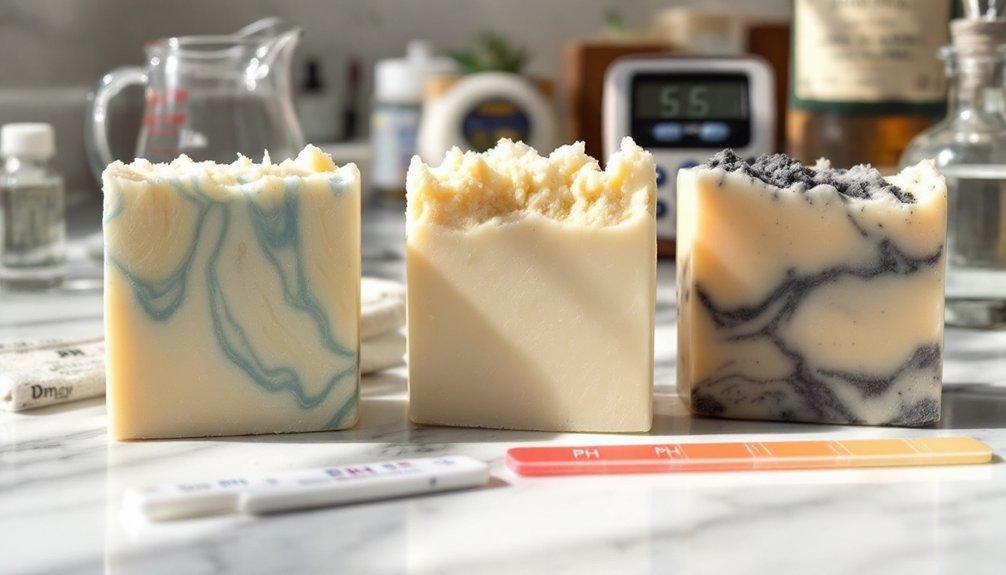
Understanding Water Hardness and Its Impact on Soap Quality
Beyond recipe adjustments, the quality of your water itself can make or break your soap-making success.
Water hardness, determined by calcium and magnesium mineral content, directly affects the saponification process in ways you'll notice in your final product.
When you use hard water, you're likely to encounter soap scum formation, reducing lather and leaving residue on skin and surfaces.
These minerals interfere with proper emulsification of oils and lye, resulting in soap with poor texture and appearance.
To guarantee consistent, high-quality results, consider testing your water's hardness with an inexpensive test kit.
For peak soap quality, you'll want to use distilled or deionized water, which eliminates the variables hard water introduces.
This simple switch can dramatically improve your soap's performance and aesthetic appeal.
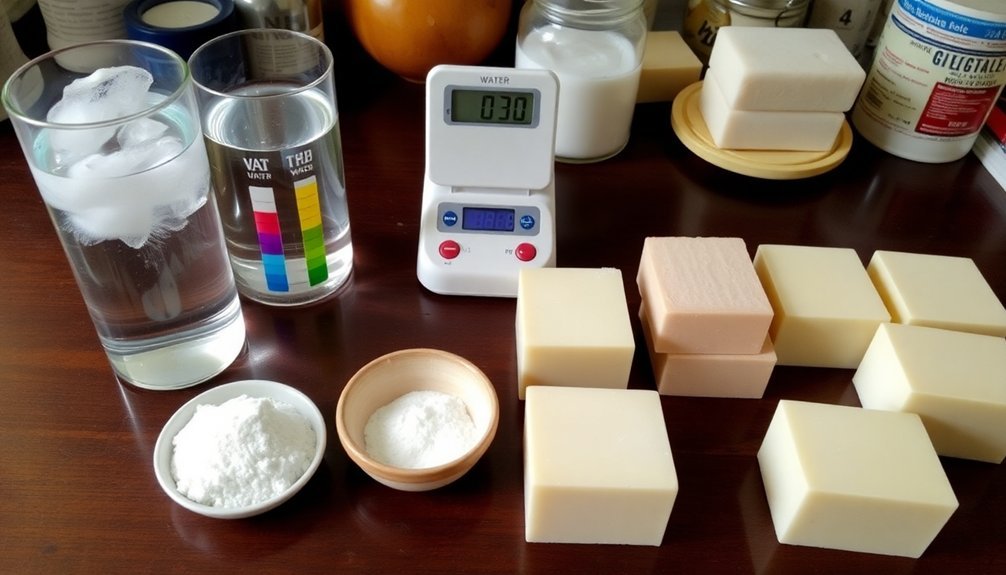
Choosing the Right Water Type for Your Soap Recipe
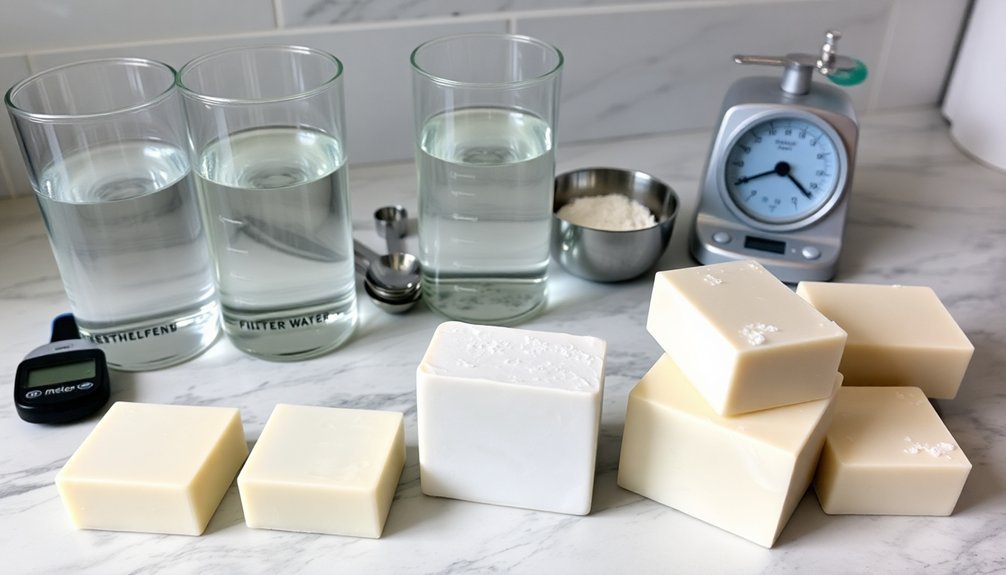
When making soap, you'll find distilled water produces the most consistent results, while tap water's minerals can create troublesome soap scum and unpredictable reactions.
Hard water's calcium and magnesium will fight against your soap's effectiveness, reducing lather and potentially leaving a residue on both your soap and skin.
Rainwater can be a wonderful natural alternative if properly collected and filtered, offering a balance of mineral content that many soap makers claim enhances their final product.
Distilled vs. Tap Water
Although many soap-making ingredients receive careful consideration, the water you choose can greatly impact your final product's quality.
Distilled water creates the most reliable lye solution because it's free from minerals and chemicals that could interfere with the saponification process.
Tap water contains impurities like chlorine and minerals that can negatively affect your soap's texture and appearance. These elements may reduce lye effectiveness and create unpredictable results in your batches.
If you're dealing with hard water, you'll likely encounter soap scum and clarity issues in your finished bars.
If distilled water isn't available, you can let tap water sit for 24 hours to allow chlorine to evaporate. However, this won't remove other minerals.
For consistent soap quality and predictable outcomes, distilled water remains your best choice.
Hard Water Challenges
Despite its common availability, hard water creates significant obstacles for soap makers due to its high mineral content. The calcium and magnesium in hard water interfere with the saponification process, leading to soap scum formation and compromised quality.
If you're experiencing problems with your soap batches, your tap water's hardness could be the culprit.
- Test your water hardness with a simple kit to determine if it's suitable for soap making
- Replace hard tap water with distilled water, which is free from minerals that affect soap consistency and lather
- Consider reverse osmosis water as an alternative water source if distilled isn't available
Rainwater Soap Benefits
Rainwater offers soap makers a pristine alternative to problematic tap water. Free from minerals and chemicals found in municipal supplies, rainwater promotes better saponification, helping you avoid common water problems in your soap making process.
The slightly acidic pH of rainwater naturally balances lye's alkalinity, resulting in a gentle soap that's ideal for sensitive skin. When you use rainwater, you'll notice enhanced quality in your final product without the interference of chlorine or other additives that can cause unwanted reactions.
For best results, collect rainwater in clean, non-reactive containers and filter out any debris before incorporating it into your recipes.
Adjusting Water-to-Lye Ratios for Perfect Consistency

Finding the ideal water-to-lye ratio stands as one of the most critical factors in achieving soap with perfect consistency. When you're planning your next batch, always use a soap calculator to determine the appropriate amounts based on your specific oils. The standard practice of using 38% water as a percentage of oils works well for best saponification.
- Higher water-to-lye ratios slow down trace, giving you more time to create intricate designs and swirls in your soap making.
- Lower ratios speed up the process but require careful monitoring to prevent overheating or separation.
- Implementing a water discount (using less water) can help you avoid common problems like soft soap while ensuring successful saponification.
Preventing Moisture Loss During the Curing Process
While achieving the perfect water-to-lye ratio marks the beginning of your soap-making journey, properly managing moisture during curing ultimately determines your soap's final quality. To prevent moisture loss, store your soap in a cool dry place with low humidity. During the first few days, consider wrapping it in plastic wrap to maintain proper hydration.
| Storage Technique | Effect on Soap Curing |
|---|---|
| Wire rack placement | Promotes even air circulation |
| Towel covering | Prevents rapid moisture evaporation |
| Plastic wrap | Retains initial moisture content |
| Sunlight avoidance | Prevents excessive drying |
| Regular monitoring | Allows for timely storage condition adjustments |
Check your soap regularly during curing and adjust storage conditions accordingly. Remember that excessive heat accelerates moisture evaporation, potentially leaving you with crumbly, brittle bars instead of perfectly cured ones.
Troubleshooting Separation Issues Caused by Water Temperature
Temperature imbalances between your lye solution and oils can trigger separation issues, with hot water accelerating trace too quickly and cold water causing phase splits during the mixing process.
You'll need to maintain both components below 50°C and within 10°C of each other to achieve proper homogenization and prevent these water-related problems.
Using a reliable thermometer to monitor your mixing temperature thresholds will help you identify the sweet spot where your soap ingredients combine smoothly without separating.
Hot Water Trace Effects
Because excessive heat can disrupt your soap-making process, monitoring water temperature is essential when troubleshooting separation issues.
When you're working with the hot process, keeping temperatures below 50°C prevents ingredient separation between your soda solution and oils. If your soap batter starts to separate, you'll notice uneven consistency or oil pooling.
To maintain proper stability during saponification:
- Cool your lye solution to room temperature before combining it with oils
- Use cooler oils (30-40°C) to slow the chemical reaction and prevent rapid thickening
- Keep your workspace at a moderate temperature to avoid external heat influences
If separation occurs despite these precautions, try re-mixing your batter while gradually reducing its temperature.
Remember that proper temperature control is your best defense against inconsistent soap texture and failed batches.
Cold Temperature Phase Splits
Just as excessive heat disrupts soap making, cold temperatures create their own set of problems.
During cold process soap making, separation occurs when your soap mixture isn't warm enough to properly emulsify. To prevent this, maintain temperatures above 50°C while mixing.
If you notice your batch separating, verify both your lye solution and oils are at similar temperatures (ideally 37-43°C) before combining.
You can salvage a separating batch by carefully re-emulsifying with a stick blender on low speed—but don't overblend and accelerate trace.
Using warm oils or gently heating your lye solution helps keep the soap batter fluid for better ingredient integration.
Don't overlook your work environment—maintaining a comfortable ambient temperature prevents unwanted cooling that can trigger separation during vital mixing stages.
Mixing Temperature Thresholds
While creating the perfect soap batch depends on many factors, maintaining precise temperature thresholds remains one of the most essential elements for preventing separation issues.
When combining your lye solution with oils, aim for temperatures between 37°C and 43°C to guarantee proper emulsification. Never exceed 50°C, as this can disrupt the saponification process and cause your ingredients to separate.
- Use a reliable thermometer for accurate temperature readings of both components before mixing
- Monitor for temperature discrepancies between your lye solution and oils, as significant differences can prevent proper integration
- Employ your stick blender in short bursts to control heat while achieving trace
If separation occurs despite your precautions, try gradually cooling the mixture or gently reheating it to help reintegrate the components without crossing critical temperature thresholds.
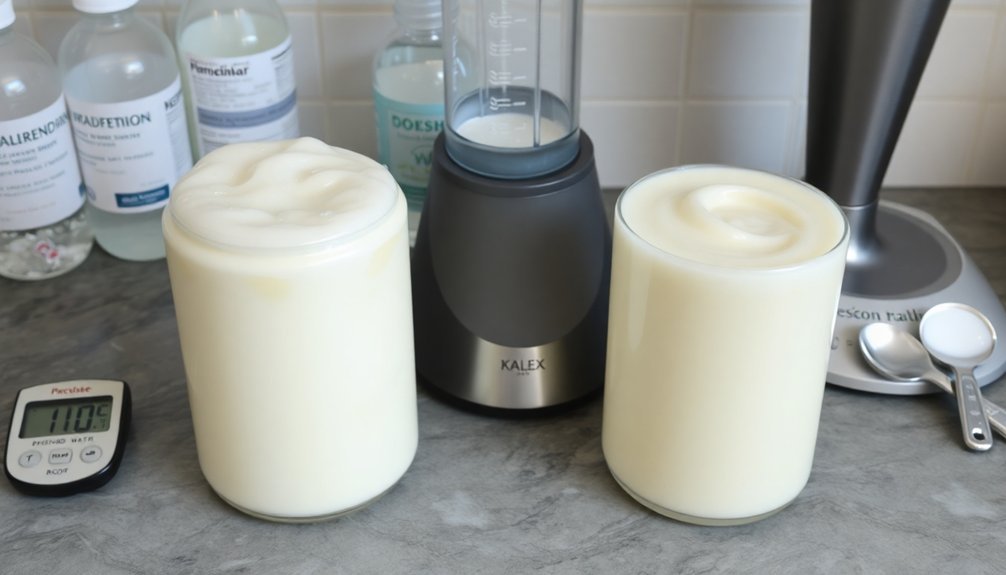
Water Substitutes and Additives for Enhanced Soap Properties
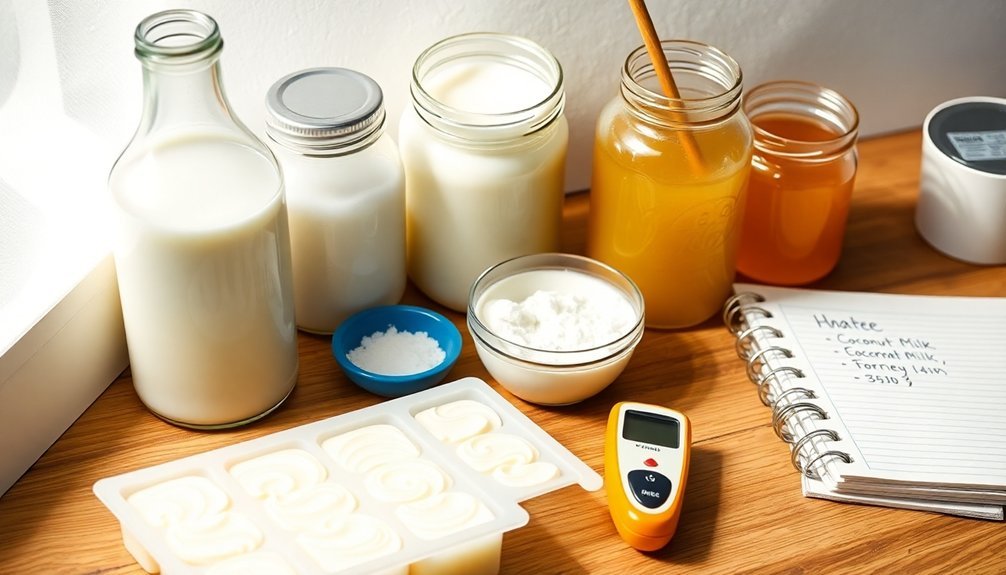
Although distilled water remains the gold standard for soap making, you can greatly enhance your soap's properties by incorporating various liquid substitutes and additives.
Herbal infusions add natural color and scent but must be thoroughly strained to prevent interference with saponification.
Coconut milk creates a creamier texture with excellent moisturizing properties, though you'll need to use it carefully as its fat content can accelerate trace.
For soothing benefits, try aloe vera juice, but add it at lower temperatures to preserve its beneficial compounds.
Don't overlook glycerin as an effective additive.
This natural byproduct of soap making considerably improves moisture retention when incorporated back into your formula, resulting in a more hydrating final product that's gentler on your skin.
Frequently Asked Questions
How Do You Fix Watery Soap?
You can fix watery soap by reducing water in future recipes, ensuring precise lye-oil measurements, rebatching with controlled water, using fully dissolved lye solution, and allowing extended curing time for moisture evaporation.
How to Fix Liquid Soap Separating?
To fix separating liquid soap, you'll need to reblend it with a stick blender. Make certain your temperatures match, check your fragrance oil compatibility, and use proper measurements. Don't overmix when correcting the separation.
What Is the Biggest Mistake First Time Soapmakers Make?
The biggest mistake you'll make as a first-time soapmaker is measuring ingredients by volume instead of weight. This creates inaccurate proportions that disrupt the saponification process, affecting your soap's quality and safety.
What Is the Problem Between Soap and Tap Water?
Tap water contains minerals and chemicals that disrupt your soap's saponification process. You'll face unpredictable results, separation issues, and inconsistent texture. It's why you're better off using distilled water for reliable, skin-friendly soap.
In Summary
Water quality can make or break your soap-making success. You'll find that once you've mastered the right water source, temperature, and ratios, your soaps will consistently turn out beautiful and effective. Don't hesitate to experiment with water substitutes like milk or tea when you're ready to elevate your creations. Remember, proper water management throughout the curing process guarantees your handcrafted soaps will delight both you and your customers.


Leave a Reply