Testing your water before making soap is essential for quality results. Hard water with high mineral content can reduce lather and create soap scum, while chlorine and metals may disrupt saponification or cause discoloration. Use pH strips, hardness test kits, or TDS meters to evaluate your water quality. For consistent outcomes, consider using distilled water, especially if your tap water tests above 60 mg/L hardness. The right water choice forms the foundation for perfect homemade soap.
Testing Your Water Before Making Homemade Soap
Before you plunge into soapmaking, taking the time to test your water quality can make the difference between success and frustration.
Tap water often contains chlorine, heavy metals, and minerals that can interfere with saponification, compromising your soap's quality.
A simple water test will reveal pH levels, hardness, and mineral content—all factors affecting your soap's lathering and moisturizing properties.
High mineral concentrations may cause cloudiness and soap scum, diminishing both appearance and usability.
For consistent, predictable results, distilled water is your best option.
It's free from contaminants that might disrupt the chemical reactions essential to proper soap formation.
If you're using alternative liquids like coconut milk, remember to adjust your measurements accordingly to maintain proper ratios in your recipe.
Numeric List of Second-Level Headings
Let's organize your soap-making journey with these essential testing steps.
You'll need to understand water purity testing to identify and eliminate contaminants that could ruin your soap's quality and consistency.
Mastering pH balancing techniques will help you adjust your water's acidity levels, ensuring proper saponification and creating the perfect environment for your oils and lye to transform into luxurious soap.
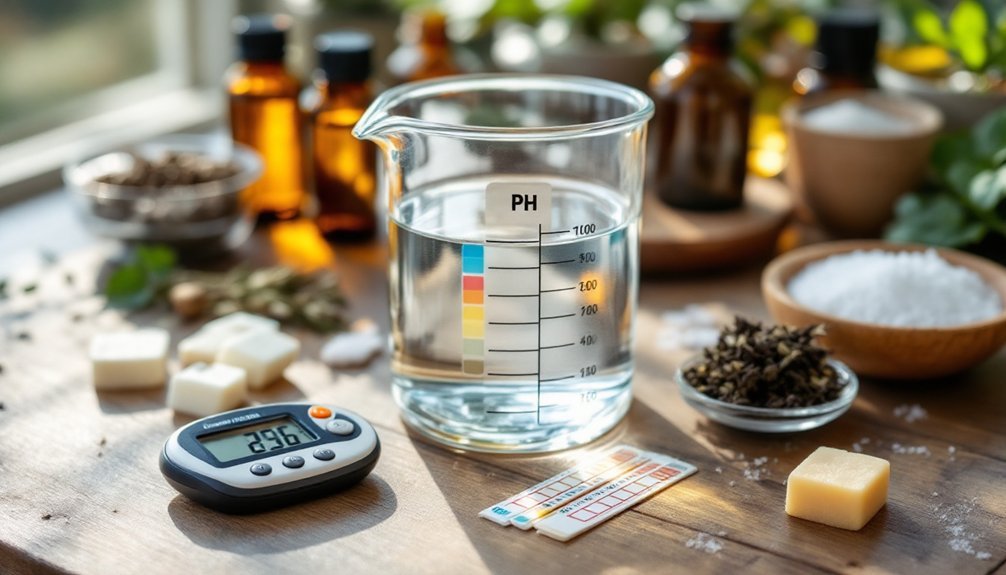
Water Purity Testing
When making homemade soap, testing your water source guarantees better results and helps troubleshoot potential issues. Your tap water's mineral content considerably affects how your lye/water mixture performs during saponification.
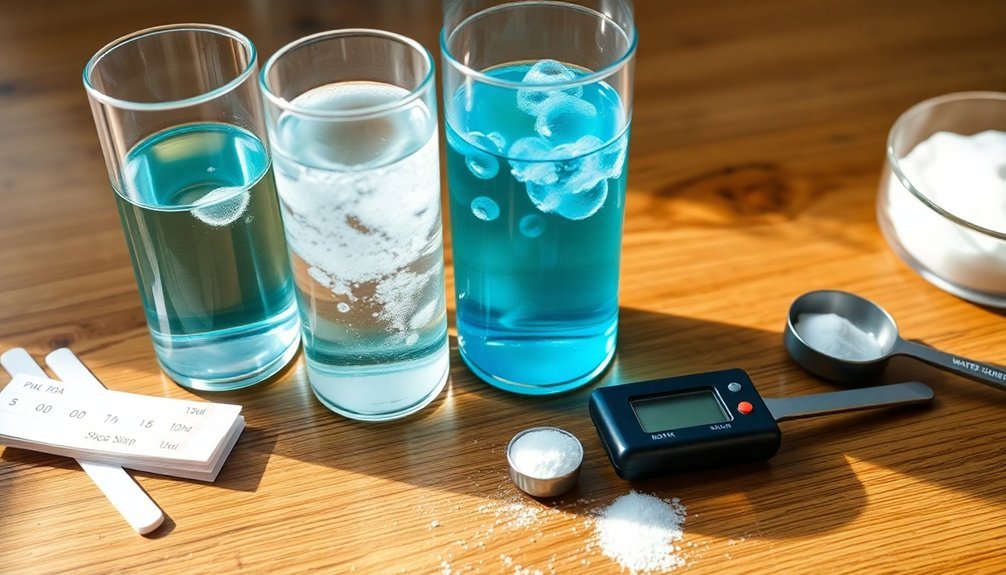
You can test water purity in several ways:
- pH test strips reveal acidity levels
- Water hardness test kits measure calcium and magnesium content
- TDS meters indicate total dissolved solids
If you discover your tap water contains high mineral content, consider using distilled water instead. Hard water (high in calcium) can cause soap scum, reduce lather, and potentially introduce unwanted elements into your finished product.
Even moderately hard water may require formula adjustments to achieve proper saponification. Precise measurements are essential when mixing lye solutions, so starting with known water quality gives you better control.
Ph Balancing Techniques
After identifying your water's mineral content, proper pH balancing becomes the next cornerstone of successful soapmaking.
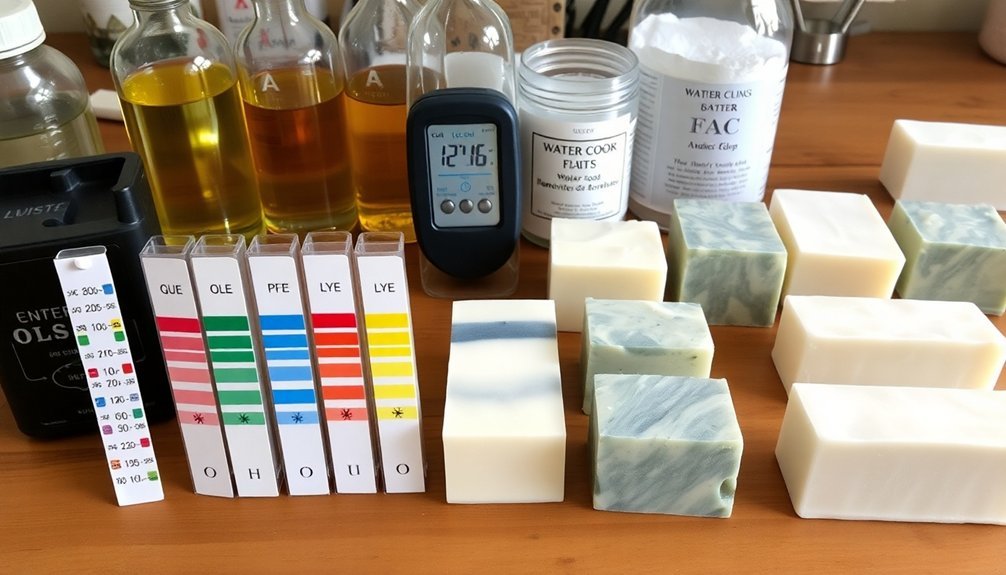
1. Testing Your Water's pH
You'll need reliable pH testing tools—either a digital meter or high-quality test strips—to determine your water's starting point. The ideal soapmaking water should have a neutral pH around 7.
2. Neutralizing Alkaline Water
If your water tests above 7, consider using distilled water instead, as high pH can create excessively harsh, lye-heavy soap that irritates skin.
3. Maintaining Consistent Ratios
Keep your water-to-lye ratio at 2:1 to guarantee proper saponification and balanced final products.
4. Distilled Water Option
Using distilled water eliminates pH concerns altogether, providing a clean slate for precise formulations without risking contamination.
Why Water Quality Matters in Soap Making
Although many soap makers focus primarily on oils and lye, the quality of water you use can make or break your homemade soap.
Most soapmaking tutorials specify water amount as a critical measurement, but they often overlook water quality itself.
When you use tap water containing minerals or chlorine, these impurities interfere with saponification, potentially creating curdled or "zappy" soap. This happens because hardness ions disrupt the chemical reactions necessary for proper soap formation.
Distilled or deionized water eliminates these random ions, ensuring your soap reacts predictably.
Before starting your next batch, test your water for hardness and contaminants. This simple step prevents discoloration and unwanted reactions while enhancing your soap's lather, gentleness, and shelf life.
Common Water Impurities That Affect Soap
Now that you understand why water quality matters, let's examine the specific impurities that can sabotage your soap.
Water impurities can greatly impact your soapmaking success, interfering with saponification and compromising your final product's quality.
Chlorine in tap water reacts with lye and oils, triggering unwanted chemical changes that alter your soap's properties. Hard water minerals like calcium and magnesium reduce lathering ability and create soap scum, while metals such as iron and copper can cause unsightly discoloration and affect fragrance.
- Chlorine disrupts the saponification process, potentially ruining your recipe's chemistry
- Hard water minerals (calcium/magnesium) reduce lather and create scummy residue
- Metal contaminants (iron/copper) cause discoloration and scent alterations
Using distilled or deionized water in your soapmaking guarantees these impurities won't compromise your beautiful handmade soaps.
Hard Water vs. Soft Water in Soap Making
Your soap's performance hinges directly on whether you're using hard or soft water, with calcium and magnesium minerals in hard water creating frustrating soap scum that inhibits lathering.
You'll notice a dramatic difference in how your homemade soap lathers when using soft water, as the reduced mineral content allows for proper saponification and creates those luxurious bubbles you're aiming for.
Testing your water hardness before beginning your soap-making process will help you determine if you need to switch to distilled water, ensuring consistent results and preventing the grainy texture that can ruin your creations.
Hard Water Effects
While many soap makers focus on oils and lye calculations, water quality greatly impacts your final product.
When you use hard water in soap making, you'll encounter several challenges that affect both the process and the final product. Hard water contains high levels of calcium and magnesium minerals that interfere with saponification.
The most noticeable hard water effects include:
- Reduced lathering ability, resulting in soap that doesn't produce rich, abundant bubbles
- Formation of soap scum when soap molecules react with mineral ions instead of cleaning effectively
- Shorter shelf life and potential for developing discoloration or DOS (dreaded orange spots)
To counteract these issues, consider using distilled water or adding chelating agents to your recipe, which will bind with minerals and prevent them from affecting your soap's performance.
Mineral Content Matters
Understanding the specific mineral composition in your water provides deeper insight into how it affects your soap.
Calcium and magnesium, the primary minerals in hard water, directly interfere with saponification, reducing your soap's effectiveness and creating a cloudy appearance.
When you use soft water (low in minerals), your soap will lather better and clean more effectively.
Hard water causes soap scum formation, leaving residue on skin and surfaces that diminishes your product's quality.
You'll want to test your water hardness before beginning production.
This allows you to make essential adjustments to your recipe, such as incorporating a water softener or modifying lye concentrations to counteract mineral interactions.
For accurate pH measurements critical to successful soap making, consider using distilled or deionized water instead of mineral-heavy tap water.
Lather Quality Relationship
When crafting homemade soap, the relationship between water hardness and lather quality becomes immediately apparent during testing.
Hard water considerably impacts your soap's performance, as high mineral content—particularly calcium and magnesium—interferes with lathering and creates frustrating soap scum that diminishes cleaning power.
You'll notice these differences when comparing soaps made with different water types:
- Hard water requires more soap to achieve adequate lather, increasing your product consumption
- Soft water produces richer, bubblier lather without the interference of minerals
- Testing your water hardness before formulating allows you to adjust recipes accordingly
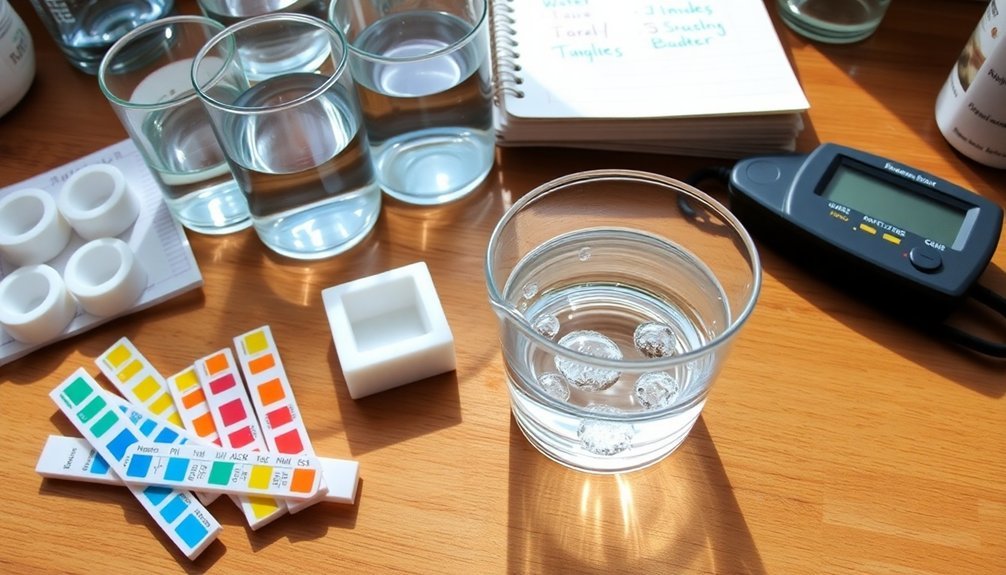
Simple DIY Methods to Test Water Hardness
How can you determine if your water is suitable for soap making without specialized equipment? Several simple tests can help you assess water hardness before crafting your homemade soap.
| Test Method | Indication of Soft Water | Indication of Hard Water |
|---|---|---|
| Soap Test | Abundant lather forms quickly | Little lather, scummy residue |
| Baking Soda | Dissolves completely | Remains cloudy with particles |
| Visual Check | Minimal soap scum on fixtures | Heavy buildup on sinks/tubs |
| Lathering | Soap lathers easily | Soap doesn't lather well |
The soap test is particularly relevant for soap makers – just add a few drops of liquid soap to a water sample and shake. If it produces rich lather, your water is likely soft enough for quality soap making. For more precise results, consider purchasing inexpensive water hardness test strips.
Understanding Ph Levels in Your Water Supply
Beyond water hardness, pH levels play a pivotal role in determining your soap-making success. The pH scale measures how acidic or alkaline your water is, with 7 being the neutral sweet spot for ideal saponification.
When you're adding lye to water during the soap-making process, this baseline pH directly impacts the chemical reaction. Water that's too acidic (below 7) can reduce lye effectiveness, resulting in poorly blended soap that never properly sets.
Conversely, overly alkaline water (above 7) throws off your carefully calculated lye-to-water ratio.
- Test your water pH quarterly using simple test strips available at most hardware stores
- Consider switching to distilled water if your supply shows inconsistent pH readings
- Document pH changes seasonally to adjust your recipes accordingly
How Mineral Content Affects Saponification
The mineral content in your water directly impacts your soap's lather quality, with hard water minerals combining with fatty acids to form insoluble soap scum rather than rich bubbles.
Your water's pH balance interacts with the lye solution, potentially accelerating or inhibiting the saponification process and affecting the final soap's cleansing properties.
Even trace minerals like iron and copper can cause unexpected discoloration, strange odors, or reduced shelf life in your finished soap bars.
Hardness Disrupts Lather Quality
While creating beautiful, sudsy homemade soap might seem straightforward, your water's mineral content can silently sabotage the entire process. When your water hardness exceeds 60 mg/L, the calcium and magnesium ions actively interfere with saponification, compromising your soap's performance.
These minerals create problematic reactions in your soap:
- They bind with soap molecules, forming insoluble soap scum that reduces lathering ability.
- They compete with sodium/potassium ions during saponification, slowing the process.
- They leave deposits on your soap that can feel gritty or cause skin irritation.
You'll notice your soap doesn't dissolve easily in hard water, producing less lather and diminished cleaning power.
Testing your water's hardness before beginning your soapmaking project will help you determine if you need distilled water instead, ensuring your homemade soap performs as expected.
Ph Balance Effects
As your water's pH drifts away from neutral, it creates significant challenges for successful saponification. Water with pH below 7 introduces unwanted acidity that directly interferes with the chemical reaction between lye and fats, potentially resulting in incomplete saponification and poor-quality soap.
This pH imbalance compounds problems when combined with mineral content issues. The chlorine and fluoride commonly found in tap water can react negatively with your soap ingredients, compromising both the process and finished product.
These chemical interactions may alter your soap's texture, scent, and effectiveness.
To avoid these complications, test your water's pH before starting. Many soapmakers specifically choose distilled water because it provides a neutral pH and eliminates the unpredictable variables that mineral-rich water introduces, ensuring consistent, high-quality results every batch.
Trace Mineral Considerations
Minerals lurking in your water supply can profoundly impact soap quality, even in small amounts. When calcium and magnesium ions react with the fatty acids in your soap mixture, they form insoluble compounds that reduce lathering and create soap scum. This interference disrupts the critical saponification process between your oils and lye solution.
Testing your water for trace minerals before beginning is crucial because:
- Mineral content affects the pH balance of your lye solution
- Hard water requires adjustments to your lye calculations
- Even low mineral levels can compromise final soap quality
Most experienced soapmakers opt for distilled or deionized water to eliminate these variables entirely. This neutral water helps guarantee consistent results by preventing mineral interference with your lye solution, giving you complete control over the saponification process and resulting in higher-quality soap.
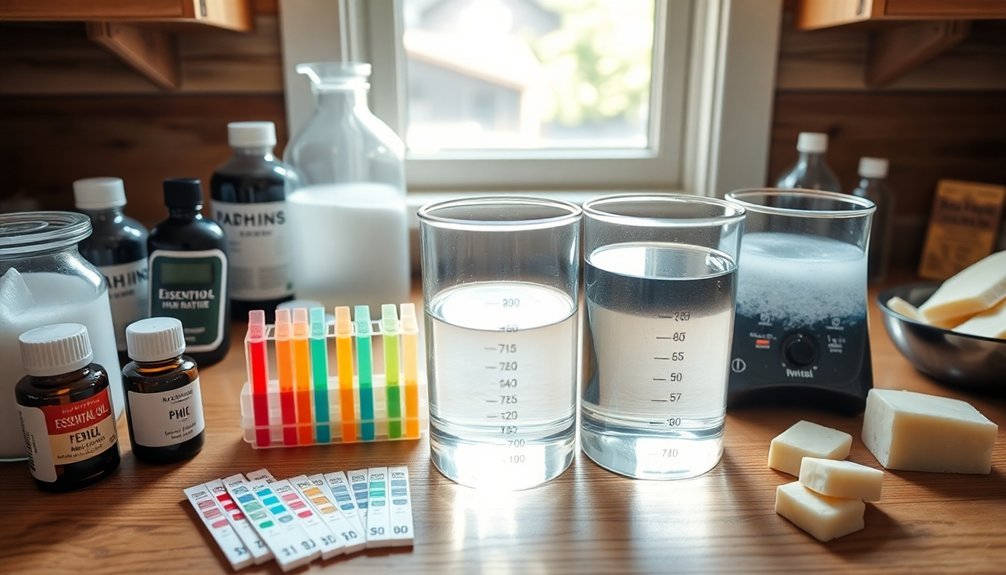
Distilled vs. Tap Water: Making the Right Choice
Two critical options face soap makers when selecting water for their recipes: distilled or tap. Choosing distilled water guarantees consistency in your soap batches as it's free from impurities and random ions that can interfere with saponification. While tap water is convenient, its mineral content and contaminants can lead to unpredictable results.
| Water Type | Benefits | Drawbacks |
|---|---|---|
| Distilled | Free of minerals, guarantees consistent results | Additional cost, requires planning |
| Tap | Convenient, readily available | Mineral variations affect quality, may cause "zappy" soap |
| Deionized | Pure like distilled, no mineral interference | Less accessible for home crafters |
For precision in soapmaking, distilled water remains the preferred choice, especially when you're measuring ingredients carefully. Your water choice directly impacts your soap's pH, lather quality, and overall success.
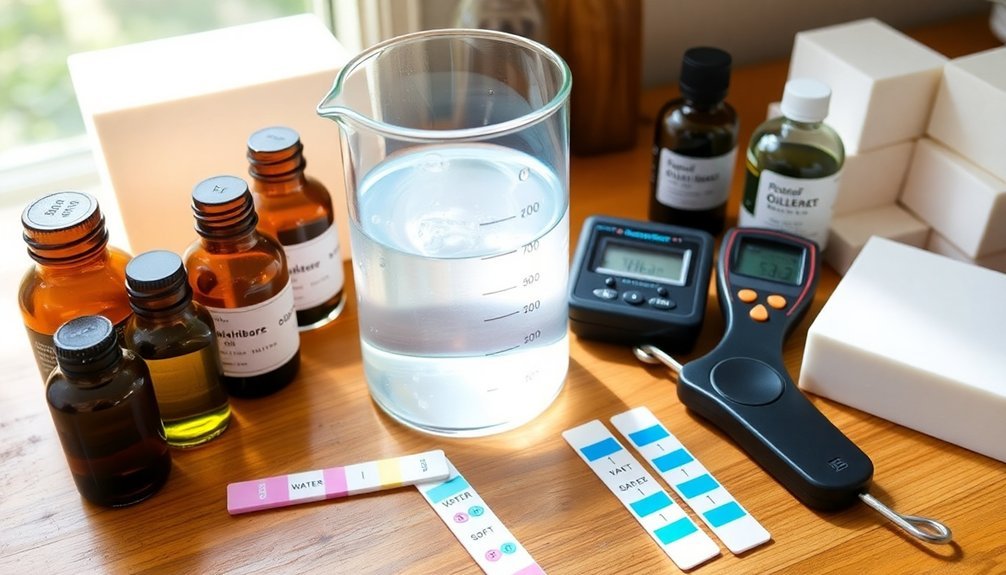
Testing for Heavy Metals in Your Water
Heavy metals lurking in your water supply can sabotage even the most carefully crafted soap recipe.
These contaminants—like lead, arsenic, and mercury—pose serious health risks and can greatly impact your soap's quality. The EPA has established strict limits, including a 0.015 mg/L threshold for lead, making regular testing essential.
Home testing kits offer a convenient solution, delivering results within minutes so you can:
- Identify harmful contaminants before they affect your soap
- Track changes in water quality due to environmental factors or infrastructure updates
- Determine if you need filtration systems like reverse osmosis or activated carbon
The Impact of Water Temperature on Soap Quality
While formulating the perfect soap recipe requires careful ingredient selection, the temperature of your water plays an equally important role in determining your final product's quality.
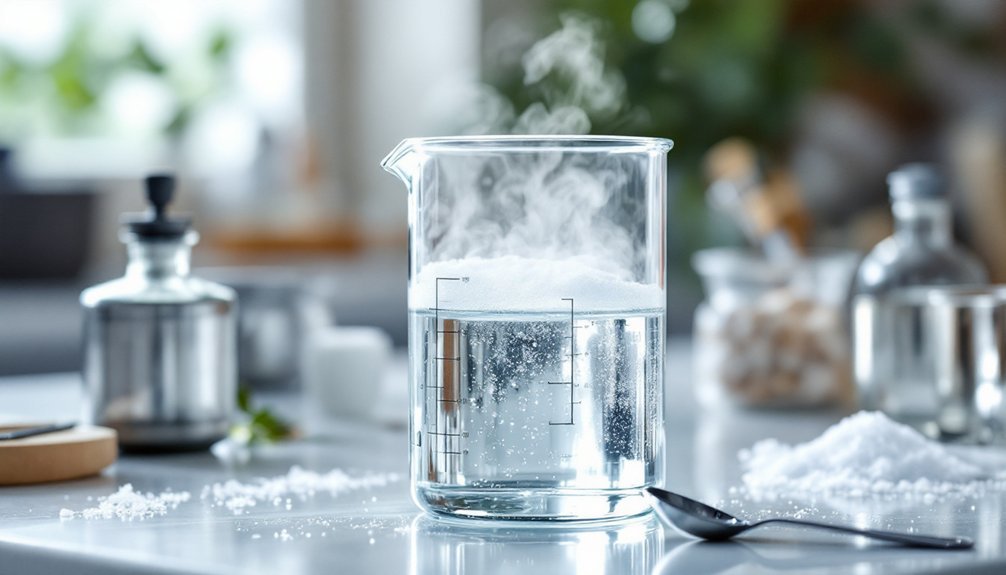
You'll achieve ideal results using distilled water between 100°F and 120°F (38°C to 49°C). This temperature range effectively dissolves lye without triggering premature reactions.
Water that's too hot accelerates trace, making your soap mixture difficult to handle and potentially uneven. Too cold, and you'll face extended mixing times with the risk of undissolved lye particles.
The water temperature directly influences your soap's texture, hardness, and curing duration. By maintaining precise temperature control, you'll guarantee proper saponification and consistent soap quality.
Remember that even small temperature variations can greatly impact your final product, especially when working with delicate additives or intricate designs.
Signs Your Water Is Causing Soap Making Problems
Beyond temperature considerations, the quality of your water source itself can greatly impact your soap's success. If you're experiencing inconsistent results despite following recipes precisely, your water might be the culprit.
Hard water with high calcium and magnesium levels creates soap scum and reduces lather, while chlorine from municipal supplies can alter your soap's scent and color.
Watch for these telltale signs:
- Your soap develops a white film or scum after curing
- Lathering is minimal despite using adequate oils known for bubbles
- Trace time varies greatly between batches using identical recipes
When these issues persist, consider testing your water or switching to distilled water. This simple change often solves mysterious soap problems by eliminating minerals and impurities that interfere with saponification, giving you consistent, high-quality results.
Adjusting Recipes Based on Water Quality
Once you've identified your water quality issues, making strategic adjustments to your soap recipes becomes vital for consistent results.
If you're dealing with hard water minerals or chlorine, switch to distilled or deionized water to prevent unwanted reactions during saponification.
For recipes using alternative liquids like coconut milk, reduce the amount of water used to dissolve lye while maintaining the proper water-to-lye ratio.
This balance is particularly important when working with olive oil-heavy formulations, which benefit from a 1.5:1 water-to-lye ratio to achieve proper hardness.
Monitor how your soap sets up with different water amounts—higher ratios create softer soap, while lower ratios accelerate trace.
Frequently Asked Questions
What Happens if You Don't Use Distilled Water in Soap Making?
If you don't use distilled water, your soap may suffer from inconsistent quality, reduced lather, improper pH levels, potential discoloration, and skin irritation due to chlorine and random ions like calcium and magnesium.
How to Test if Homemade Soap Is Safe?
To test if your homemade soap is safe, check the pH level (aim for 8-10), create a 1% soap solution with distilled water, observe texture consistency, and guarantee it's properly cured. Don't rely on zap testing alone.
How Do You Calculate the Amount of Water Needed for Soap Making?
To calculate water for soap making, use the water-to-lye ratio method. You'll need 2:1 for standard recipes, 1.5:1 for olive oil-heavy soaps, or 1.1:1 for Castile soaps. Soap calculators can help determine exact amounts.
Which Water Is Best for Soap Making?
Distilled or deionized water is best for soap making. You'll get consistent results because it's free from impurities and ions that can interfere with saponification. Don't use tap water, especially hard water containing calcium and magnesium.
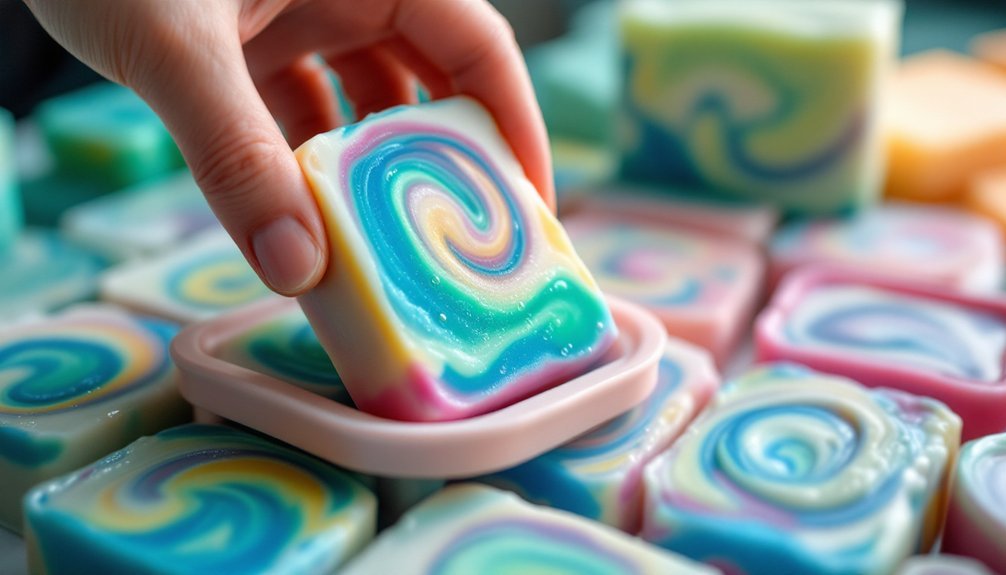
In Summary
Don't underestimate the importance of water testing in your soap making journey. You'll save time, ingredients, and frustration by understanding what's in your water before you begin. Whether you're adjusting for hardness, filtering out impurities, or switching to distilled water altogether, this simple preliminary step guarantees consistent, high-quality soap every time. Test first, soap second—your handcrafted bars will thank you!
Leave a Reply