Upgrade your DIY mixing game with these handmade techniques that deliver professional results: spiral folding for building structure, temperature-staged blending for consistency, frequency balancing to prevent muddiness, wooden tool selection based on viscosity, double-boiler emulsion for preserving delicate oils, whisper swirling for intricate patterns, and pull-through methods for color integration. Don't overlook mono mixing first, proper panning, and strategic parallel processing—these simple approaches transform amateur projects into polished creations.
10 Best Handmade Mixing Techniques That Actually Work
Five essential techniques form the foundation of professional-sounding mixes that you can create by hand. Start with frequency balancing to carve out space for each instrument through careful EQ adjustments. This prevents muddy mixes and enhances clarity.
Next, implement instrumental panning to position elements across the stereo field, creating width and separation. Properly adjusting volume levels can resolve many mix issues before applying more complex processing. Combine this with dynamic EQ to target problem frequencies only when they appear.
Don't underestimate parallel processing—blend processed and dry signals to maintain punch while adding character.
Finally, apply bus compression to instrument groups for cohesion without squashing individual dynamics.
These handmade approaches deliver results that digital presets can't match. You'll create mixes with depth, clarity, and professional polish by focusing on these fundamental techniques rather than chasing trendy shortcuts.
The Spiral Fold: Creating Seamless Textural Integration
The spiral fold creates textural magic by gently coiling your dough while building gluten networks without excessive tearing.
You'll notice contrasting textures gradually harmonize as you perform this technique once per hour during bulk fermentation with watered hands.
Your dough will develop impressive width and structure while maintaining the delicate air pockets that distinguish artisanal bread from commercial varieties. This method is especially effective for doughs with higher hydration levels, which typically require special handling techniques to develop properly.
Textural Layering Magic
Artisans across the baking world have long revered the spiral fold as a transformative technique for achieving seamless textural integration in handmade doughs.
Unlike mechanical mixing, this gentle folding method builds strength while preserving the delicate gluten network you've developed.
The technique effectively allows gluten strands to intertwine across multiple layers, creating a strong yet extensible structure.
When you perform spiral folds every 30-60 minutes during bulk fermentation, you're creating complex layers that directly impact your bread's final crumb structure.
You'll notice how the dough becomes increasingly smooth and cohesive with each fold.
What sets this technique apart is its versatility for various hydration levels and its ability to distribute ingredients evenly throughout your dough.
Width Through Contrast
Just as spiral folds create dimensional complexity in dough, width through contrast elevates your mix from flat to expansive.
Start by panning key elements hard left and right to establish width benchmarks. These extremes provide context for centralized elements, creating a dynamic stereo field. If your mix doesn't respond as expected, verify that JavaScript is enabled in your browser for proper audio plugin functionality.
Try mixing in mono first to guarantee balance, then strategically apply stereo imaging. When you position bright instruments among duller ones, their presence jumps forward instantly.
Use filters to push some elements back, creating depth illusion.
For maximum impact, create spatial movement through automation. Alternate between wet and dry effects or use opposite-side delays to enhance spatial contrast.
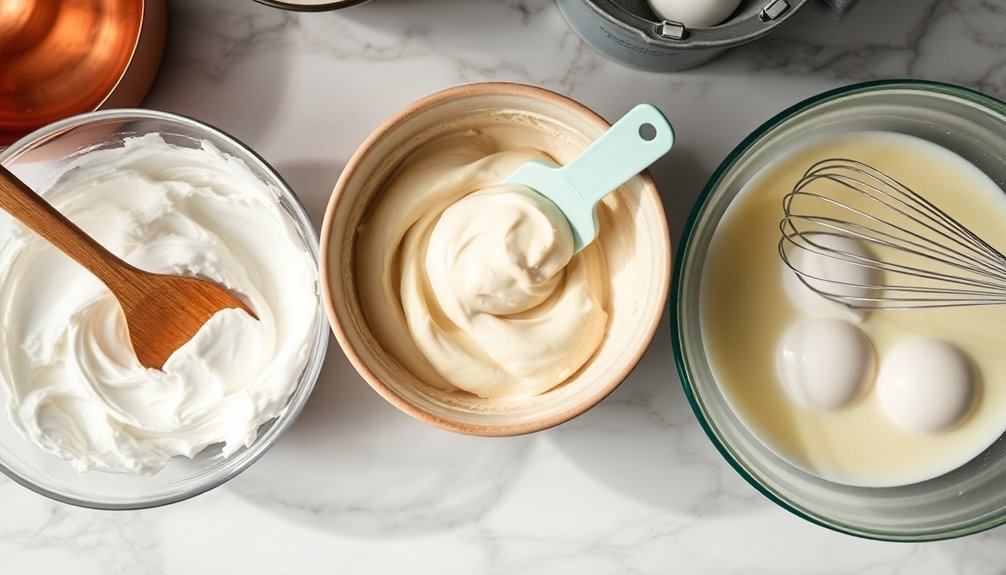
Temperature-Staged Blending for Consistent Saponification
Mastering temperature-staged blending requires understanding how heat affects the soap-making process from start to finish. The ideal temperature range falls between 90°F and 130°F, but you don't need your oils and lye solution to match exactly—a difference of up to 20°F works fine.
Your recipe complexity should guide your temperature choices. For intricate designs and swirls, work cooler to slow trace and extend manipulation time. For recipes with hard fats, maintain warmer temperatures to guarantee complete melting and saponification. Many experienced soapmakers recommend mixing oils and lye at temperatures between 50-55 degrees Celsius for optimal results.
Monitor temperatures carefully using thermometers or the touch test, and adjust according to seasonal conditions. Remember that hotter mixtures speed up saponification, while cooler ones give you more design flexibility.
Proper temperature control prevents common issues like soda ash, glycerin rivers, and soap volcanos while maintaining consistent quality.
The Three-Layer Pour Method for Marbled Effects
While temperature control forms the foundation of successful soap making, the artistic expression comes alive with layering techniques. The three-layer pour method creates stunning marbled effects through strategic color manipulation and pouring techniques.
You'll need to prepare three differently colored batters, ensuring proper temperature control to prevent premature hardening. Add your colorants to each portion, selecting contrasting shades that stand out against each other for maximum visual impact. Using a soap formulation that maintains a fluid consistency is essential for achieving beautiful marbled patterns that flow naturally between layers.
Pour each layer deliberately, allowing partial interaction at the edges without complete mixing. Use tools like popsicle sticks or spatulas to create subtle swirls between layers. For enhanced patterns, combine this method with in-the-pot swirling or pencil line techniques.
After pouring, keep your soap at a consistent temperature during curing—4-6 weeks for cold process varieties—to preserve your marbled masterpiece.
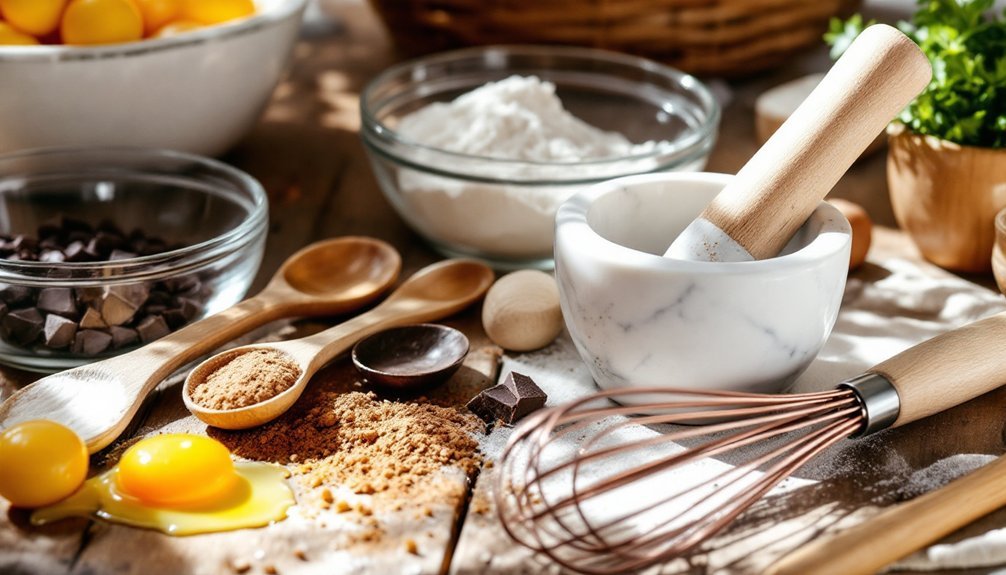
Wooden Tool Selection: Matching Utensils to Oil Viscosity
When selecting wooden mixing tools for oil-based mediums, you'll want to take into account both grain direction and oil viscosity.
Choose paddles with vertical grain patterns for thicker oils to maximize strength, while horizontal grain works better with lower-viscosity ingredients.
The shape of your paddle matters too—flat, broad surfaces excel with high-viscosity oils while tapered, narrower tools offer better control when working with thinner, more fluid mediums. For maintenance, applying raw tung oil creates a more durable protective barrier than other finishes, especially for tools that contact food regularly.
Grain Direction Matters
The three fundamental aspects of grain direction can dramatically impact your wooden utensil performance when mixing oils of varying viscosities.
When selecting wooden spoons or spatulas, always check how the grain runs through the handle and head. Tools with grain running parallel to the handle offer superior strength when mixing thicker oils, preventing breakage during high-resistance stirring.
You'll notice less tear-out and smoother performance when the utensil's grain aligns with your stirring motion. For durability, choose utensils with consistent, tight grain patterns. Materials with stronger grain orientation are considered anisotropic and provide directional strength advantages in kitchen tools.
Remember that wooden spoons with end-grain surfaces absorb less oil than face-grain designs, making them ideal for oil-heavy mixtures.
When mixing delicate emulsions, utensils with properly aligned grain provide the gentle touch needed while maintaining necessary strength for thorough incorporation.
Viscosity-Specific Paddle Shapes
Every successful oil mixing project begins with selecting the right wooden paddle shape for your specific viscosity needs.
When working with high-viscosity materials like peanut butter-thick mixtures (250,000 cP), choose sturdy, large paddles with substantial surface area to efficiently move resistant fluids.
For medium-viscosity materials similar to ketchup (50,000 cP), standard 24-inch paddles with moderate diameter provide balanced control and mixing power.
Water-like viscosities (1 cP) require smaller, more delicate paddles to prevent excessive aeration and splashing.
Remember that paddle design greatly affects how you'll combat laminar flow issues in thick materials. These high-viscosity mixtures often exhibit non-Newtonian behavior as they change viscosity under different amounts of shear force.
If you're mixing oils of different viscosities, select a helical ribbon design to guarantee uniform blending and prevent viscosity gradients that could compromise your final product's performance.
Rhythmic Stirring Patterns to Prevent False Trace
Rhythmic stirring patterns, much like musical compositions, require deliberate tempo and structure to prevent false trace in handmade mixtures.
You'll find that implementing consistent cadence while stirring creates uniformity, particularly in soap-making and cosmetic formulations where false trace can ruin your product.
- Maintain a 4/4 tempo – Count "1-2-3-4" while stirring, putting emphasis on beat 1 to create rhythm
- Alternate between clockwise and counterclockwise every 8 counts to guarantee thorough integration
- Use your non-stirring hand to tap the container's side as a metronome for consistent speed
- Listen for changes in sound as your mixture thickens—adjust your rhythm accordingly
Remember to adapt your stirring patterns based on material viscosity, adjusting from slower rhythms for thick mixtures to quicker tempos for thinner ones. Understanding how to internalize the steady underlying beat helps maintain consistency throughout the entire mixing process, preventing acceleration issues.
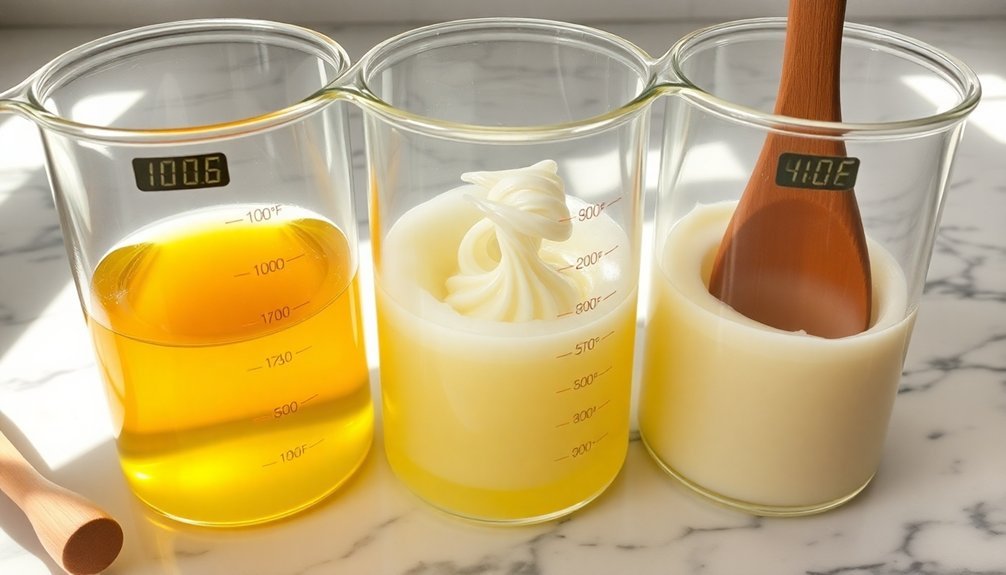
Double-Boiler Emulsion for Heat-Sensitive Essential Oils
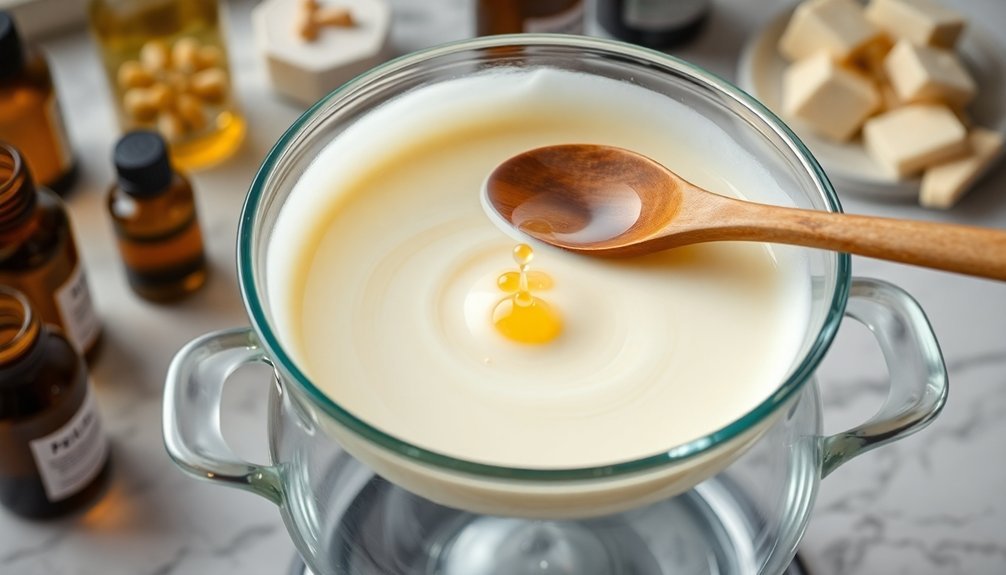
You'll need precise temperature control when using a double-boiler emulsion to protect your heat-sensitive essential oils from degradation.
Keep your water simmering, not boiling, and maintain the oil temperature below 100°F to preserve the therapeutic properties.
Using a reliable thermometer and adjusting your heat source promptly will help you maintain the delicate balance required for successful infusions. This method requires close monitoring throughout the process to prevent scorching of your valuable herbal materials.
Preventing Oil Degradation
When working with delicate essential oils, preventing degradation becomes critical to preserving their therapeutic properties. The double boiler method offers superior protection by using indirect heat that shields your precious oils from damage that direct heat would cause.
To maintain oil integrity during the infusion process:
- Monitor carefully for water droplets that might contaminate your oil and cause mold growth.
- Stir the mixture regularly to prevent scorching and guarantee even heat distribution.
- Limit infusion time to 1-4 hours depending on desired intensity, without exceeding recommended heat exposure.
- Use only dry herbs and clean, non-reactive containers like glass or stainless steel.
- For vanilla essential oil production, a steady gentle simmer is essential to extract the aromatic compounds without destroying their delicate nature.
Temperature Control Basics
Mastering temperature control forms the cornerstone of successful essential oil blending, particularly when working with heat-sensitive varieties like citrus and absolutes.
These delicate oils can degrade when exposed to temperatures exceeding 100°F (38°C), compromising their therapeutic properties and aroma.
A double boiler setup offers the ideal solution, providing gentle, even heat distribution without damaging your oils.
Fill the bottom pan with water and place your mixing vessel in the top section. Keep heat low and monitor temperature consistently to stay below flash points (100-140°F). For expressed oils like Bergamot, Grapefruit, and Lemon, you must be especially vigilant as they are highly temperature sensitive and can be damaged permanently.
Remember to keep containers capped during heating to prevent volatile compounds from escaping.
After blending, allow your mixture to cool gradually to room temperature before final storage.
This controlled cooling helps maintain emulsion stability and preserves the integrity of your essential oils.
Whisper Swirling: Gentle Techniques for Delicate Additives
The art of whisper swirling transforms ordinary soap into delicate works of art, where gentle techniques coax intricate patterns through your soap without disturbing sensitive additives.
Working at thin trace with cooler temperatures keeps your batter fluid longer, giving you ample time to create those whisper-fine lines. Working with lower temperatures between 80-90°F will significantly extend your working time with the soap batter.
For best results with delicate additives, try these techniques:
- Drop swirling – Pour colors from varying heights for intricate, feathery patterns
- Hanger swirling – Create thin, wispy lines throughout by gently pulling a wire hanger through your soap
- In-the-pot swirling – Mix colors lightly before pouring for marbled effects
- Spoon swirling – Perfect for beginners, this technique uses simple tools for elegant results
Pre-mix your colorants and have all tools ready before beginning—timing is everything in whisper swirling.
Cold Process Acceleration Through Strategic Salt Addition
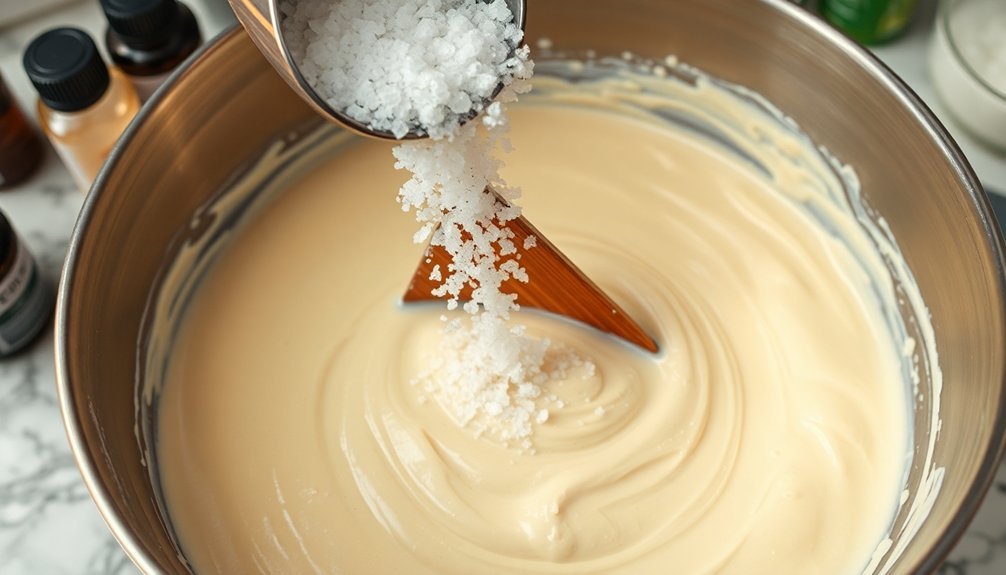
Strategic salt addition stands as both a blessing and a challenge for cold process soap makers seeking to manipulate trace speed. When you incorporate salt into your formula, you'll notice it accelerates trace, particularly in recipes with higher percentages of solid oils.
To maintain control, soap at cooler temperatures—this helps counteract acceleration effects. You'll need to adjust your design expectations accordingly; in-the-pot swirls and layered designs work better than complex patterns when using salt. Consider using slow-moving oils like olive oil, rice bran oil, and sweet almond oil to further mitigate the accelerating effects of salt.
For better management, consider sodium lactate as an alternative to salt, as it provides benefits without dramatic acceleration.
Remember that firm oils like palm and coconut can further speed trace when combined with salt. If your soap begins accelerating too quickly, placing it in the fridge can help slow the reaction.
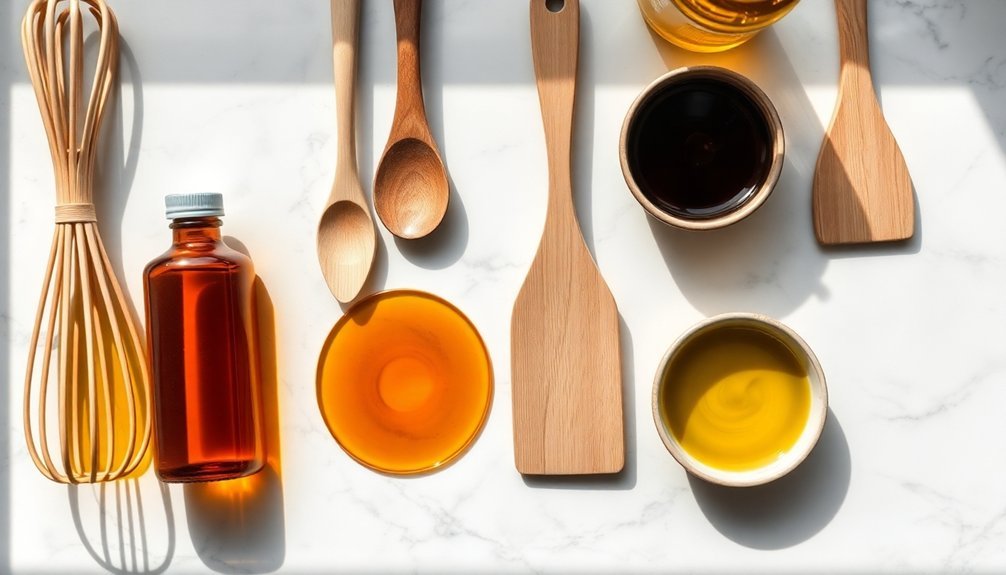
The Pull-Through Technique for Multi-Color Integration
Beloved by artisans seeking to create fluid, multi-colored designs, the pull-through technique offers a versatile approach to color integration across various crafting media.
You'll find this method particularly valuable when working with multiple colors but wanting to avoid excessive seams or harsh shifts. The technique maintains continuity while enhancing visual appeal through smooth color flows.
- In crochet – Carry unused yarn over stitches and complete the last pull-through with your new color for invisible color changes
- For fluid art – Pull paint through different layers to create mesmerizing patterns and dynamic textures
- With hair styling – Create dimensional braids by pulling sections through each other for volume without traditional braiding
- Across mixed media – Integrate multiple elements efficiently while reducing material waste and creating interesting shifts
Frequently Asked Questions
How Do Different Ambient Temperatures Affect Soap Curing Times?
Higher ambient temperatures speed up your soap's curing by increasing water evaporation. You'll notice faster curing in warm, dry environments, while cool, humid conditions will greatly extend your soap's required curing time.
Can I Substitute Synthetic Colorants With Natural Alternatives?
Yes, you can substitute synthetic colorants with natural alternatives like turmeric, henna, and indigo. You'll enjoy health benefits and eco-friendliness, but be prepared for stability challenges and a more limited color range.
What Safety Precautions Should I Take When Working With Lye?
Always wear full protective gear including goggles, gloves, and long sleeves. Work in well-ventilated areas, add lye to water (never reverse), use proper containers, and keep emergency supplies nearby. Maintain a distraction-free workspace.
How Long Should Handmade Soaps Cure Before Selling?
You should cure your handmade soaps for 4-6 weeks before selling. Cold-process soaps need the full period, while hot-process soaps might cure slightly faster. Olive oil-based soaps like Castile require even longer curing times.
Which Oils Create the Hardest Bars With Longest Shelf Life?
You'll get the hardest bars with longest shelf life by using palm oil, coconut oil, and jojoba oil. Palm provides structure, coconut adds cleansing hardness, and jojoba offers stability with its 5-year shelf life.
In Summary
You've now discovered ten powerful handmade mixing techniques that will transform your creations. By mastering these methods—from the elegant Spiral Fold to the strategic Salt Addition—you'll achieve professional results every time. Don't be afraid to experiment by combining techniques as you gain confidence. Your handmade products will showcase beautiful patterns, consistent textures, and superior quality that store-bought items simply can't match.


Leave a Reply