When making soap, avoid these critical mistakes: eyeballing ingredients instead of precise weighing, skipping safety gear when handling lye, substituting oils without recalculating lye amounts, rushing the curing process, adding fragrances at wrong temperatures, neglecting pH testing, working in poorly ventilated spaces, and maintaining a disorganized workspace. Use proper containers for lye (PP#5 plastic), and document your recipes for consistency. These precautions will help you create safe, high-quality soap that won't irritate skin or dissolve too quickly.
Top 10 Soap Making Blunders You Must Skip
The ten most critical soap making mistakes can turn your creative venture into a frustrating experience.
Starting without proper research or safety equipment puts you at risk for chemical burns and disappointing results.
Don't substitute oils without recalculating lye quantities—each oil has a unique saponification value requiring precise adjustments.
Never rush the process or allow distractions while making soap.
Verify recipe safety before proceeding and confirm you're using lye-resistant materials like stainless steel or glass.
Poor workspace organization increases accident risks, while inadequate ventilation can lead to inhaling harmful fumes.
Remember that temperature matters—ignoring guidelines affects soap quality.
Finally, don't skimp on curing time or forget to document your recipes, as both are essential for troubleshooting and consistency.
Always add lye to water, never water to lye, to prevent dangerous volcanic reactions that could cause serious injuries.
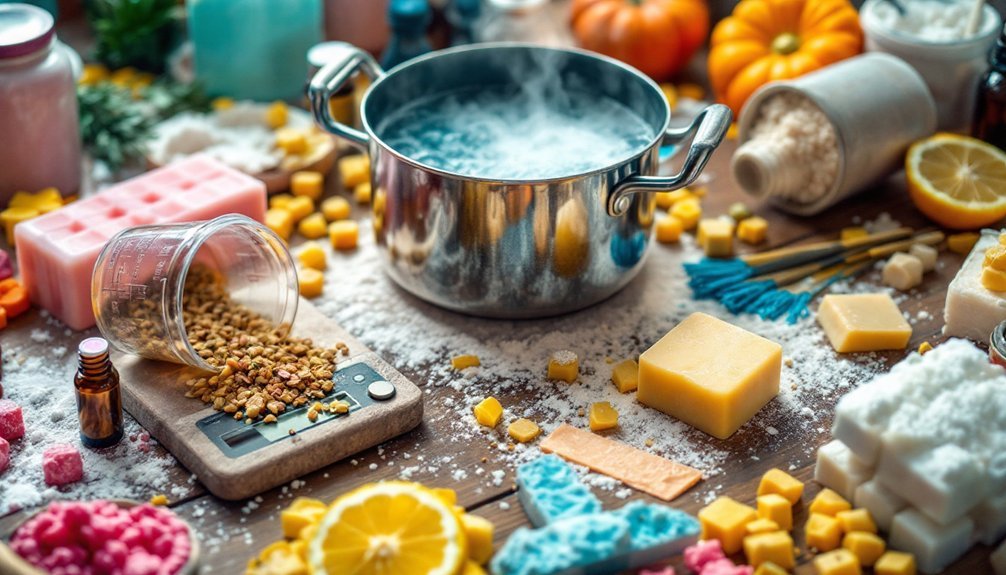
Eyeballing Ingredients Instead of Weighing Precisely
Precision serves as the backbone of successful soap making, yet many crafters fall into the trap of eyeballing ingredients rather than weighing them properly. This mistake can derail your entire batch, resulting in soap that's harsh, greasy, or flaky.
Measure with precision, not intuition—the difference between silky satisfaction and soapy disappointment.
Unlike cooking where you can adjust seasonings to taste, soap making requires exact measurements. Oils have different densities, making volume measurements unreliable. Even slight variations in lye quantity can mean the difference between luxurious soap and a caustic disaster.
Humidity affects ingredients too, particularly lye which absorbs moisture from the air. You'll find that using a digital scale guarantees consistent results across batches and simplifies recipe scaling. Inaccurate measurements can lead to lye-heavy or oil-heavy soap that may irritate skin or simply not work as intended.
When you're working with chemical reactions, remember: there's simply no substitute for precise weight measurements.
Skipping Proper Safety Gear When Handling Lye
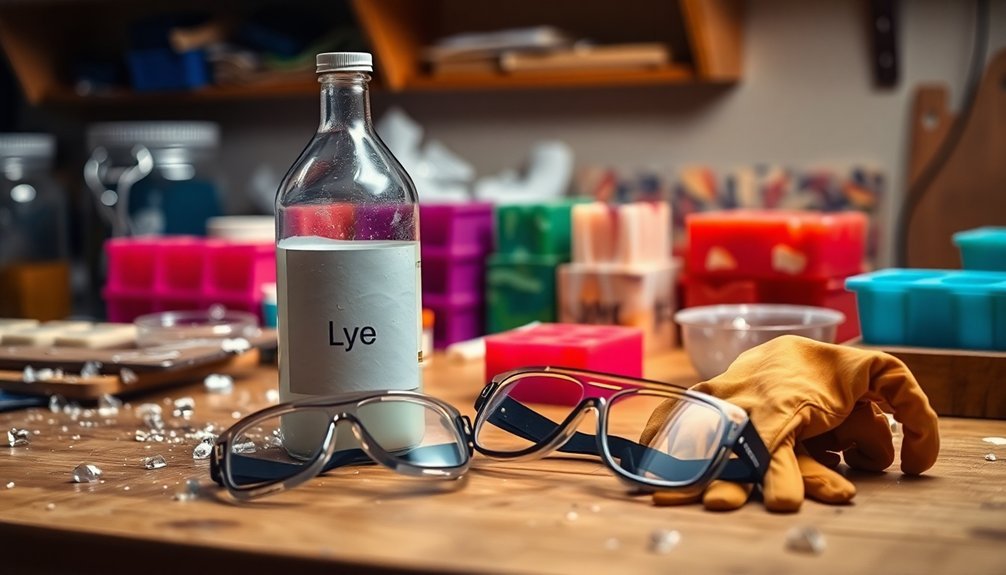
Handling lye without proper safety gear ranks among the most dangerous mistakes in soap making, potentially leading to severe chemical burns, respiratory damage, and eye injuries.
Always wear chemical-resistant gloves and proper eye protection—no exceptions.
Don't believe misconceptions that experienced soapers can skip goggles or work in short sleeves. Lye's caustic nature demands respect.
Work in well-ventilated areas and consider wearing a respirator to prevent inhalation of harmful fumes. Remember that the process of dissolving lye creates significant heat that can cause burns even without direct contact.
Keep your workspace covered with paper or plastic, and never use aluminum containers as they react with lye to produce flammable hydrogen gas.
Substituting Oils Without Recalculating Lye Requirements
When soapers substitute one oil for another without recalculating the lye requirements, they're fundamentally playing chemical roulette with their soap batch.
Every oil has a unique saponification (SAP) value that determines how much lye it needs to transform into soap.
Swapping coconut oil for olive oil without adjusting your recipe can result in excess lye (causing skin irritation) or insufficient saponification (creating soft, oily soap).
Don't assume oils are interchangeable just because they're both liquids or solids.
Always use a lye calculator after substitutions. Input your new oil amounts to determine the correct lye quantity. Remember that accurate measurements using weight, not volume are essential for properly calculating lye requirements.
Consider both SAP values and the physical properties of your substitute oils.
Proper superfatting percentages will guarantee safe, effective soap even when improvising with available ingredients.
Rushing the Curing Process for Immediate Use
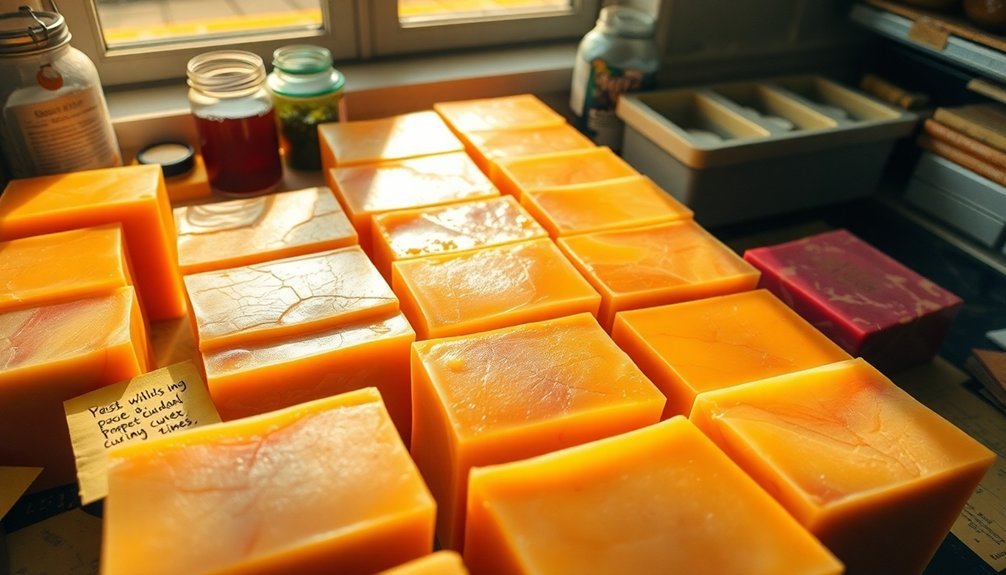
You're risking chemical irritation when using uncured soap with excess moisture that hasn't fully completed the saponification process.
Testing your soap's pH level helps determine if the chemical reactions have stabilized enough for safe skin contact. Without allowing the full 4-6 weeks of curing time, your soap won't reach its ideal quality and might cause discomfort rather than the cleansing experience you've worked to create. Properly cured soap provides rich and creamy lather that simply isn't achievable with fresh, uncured bars.
Moisture Causes Chemical Irritation
The temptation to use freshly made soap immediately often leads to one of the most common mistakes in soap making: ignoring the essential curing process.
When excess moisture remains trapped in your soap, it doesn't just create a softer bar – it can trigger chemical irritation on your skin.
Uncured soap retains residual alkalinity that can disrupt your skin's natural pH balance, causing redness and discomfort.
The high water content prevents soap molecules from forming their tight crystalline structure, resulting in a harsh product that dissolves quickly.
You'll also miss out on the benefits of proper glycerin integration, which makes soap gentler and more moisturizing.
Most reputable soap makers insist on a minimum 4-week cure to ensure quality and skin-friendliness.
Don't sacrifice weeks of patience for minutes of immediate gratification.
Your skin deserves the mild, durable results that only proper curing can deliver.
Insufficient Saponification Timeline
Many novice soap makers confuse saponification with curing—a misunderstanding that leads to premature soap use.
While saponification (the chemical reaction forming soap) completes in 24-48 hours, proper curing takes weeks.
Rushing to use your soap before it's fully cured results in:
- Soft bars that dissolve quickly in water, wasting your hard work and ingredients
- Shorter shelf life, as excess moisture remains trapped within the soap
- Reduced cleaning effectiveness, particularly in olive oil-heavy formulations requiring six weeks minimum
The curing process allows water to evaporate from your bars, making them significantly more durable and longer lasting for consumer use.
Ph Testing Essentials
Four essential pH testing mistakes can undermine your soap-making efforts, especially when rushing to use freshly made batches.
First, testing unwashed soap directly with pH strips yields inaccurate results—always dissolve a small sample in distilled water.
Second, misinterpreting readings: safe soap pH ranges between 8-10, not neutral 7, which many beginners mistakenly target.
Third, testing only once. Your soap's pH changes throughout curing, so multiple tests over 4-6 weeks provide a more accurate safety assessment.
Finally, relying solely on pH testing ignores other vital indicators like weight stabilization and texture.
Don't bypass proper curing times for immediate gratification.
Prematurely used soap risks skin irritation, decreased longevity, and inconsistent performance.
While traditional curing takes 4-6 weeks, modern soap makers can employ innovative formulas that reduce curing time to as little as 48 hours while maintaining safety standards.
Patience during curing greatly improves your final product's quality and safety.
Using Inappropriate Containers for Lye Mixture
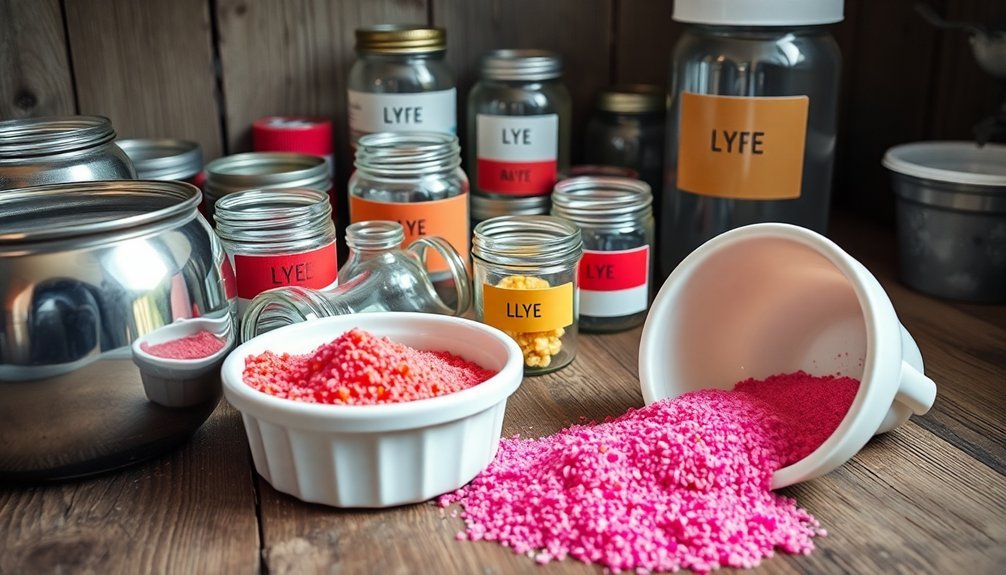
When preparing lye solutions for soap making, selecting the proper container can mean the difference between a successful batch and a dangerous mishap.
Lye is highly caustic and reacts with many common materials, creating hazards you'll want to avoid.
For safety's sake, remember these critical guidelines:
- Never use aluminum, copper, iron, or tin – these metals react with lye to produce hydrogen gas, potentially causing mini explosions.
- Avoid glass containers – even Pyrex eventually weakens as lye etches the surface, leading to dangerous breakage. The lye solution may eventually turn honey-like in appearance when stored in glass containers for extended periods.
- Choose polypropylene (PP#5) plastic – this heat-resistant material safely withstands the chemical reaction and high temperatures generated during lye dissolution.
Always use containers large enough to prevent splashing and clearly label them to avoid accidental exposure.
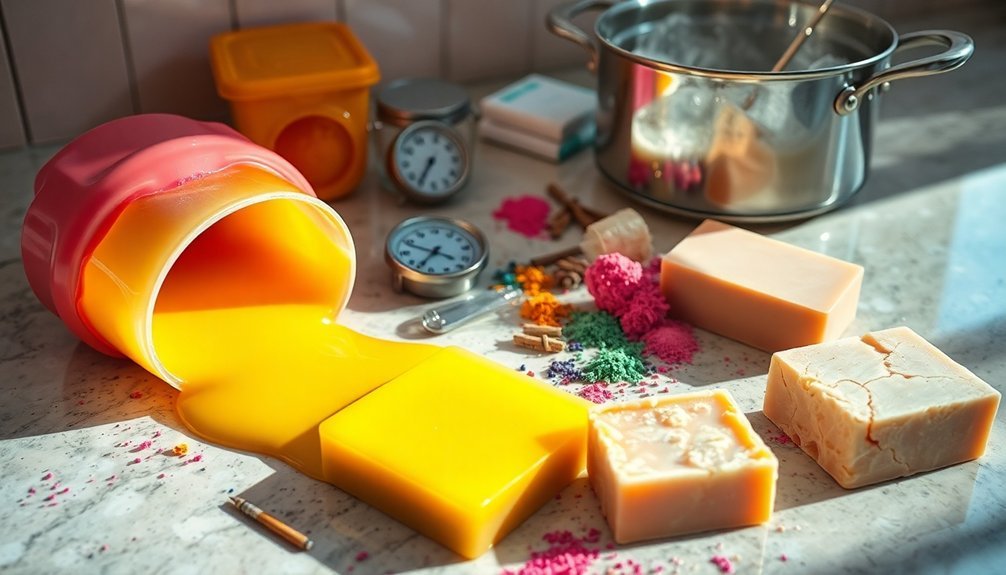
Adding Fragrances and Additives at the Wrong Temperature
Timing and temperature precision play essential roles when adding fragrances and additives to your soap mixture. Working between 100°F and 120°F gives you the best control over trace development and prevents unwanted reactions like separation or acceleration.
Temperature matters! Add fragrances between 100°F-120°F for optimal trace control and to prevent soap-making mishaps.
If you add fragrance oils to soap that's too hot, you'll risk accelerated trace, discoloration, or even the dreaded "soap volcano." Cold temperatures aren't ideal either, potentially causing ricing or preventing proper incorporation. Certain fragrance oils, particularly florals and spices, can dramatically speed up trace and disrupt your design plans.
Always mix fragrances with a small amount of base oil first to avoid shocking your soap batter.
When working with multiple additives, introduce them separately and monitor how each affects your batch. Test new fragrances in small batches first—not all oils are compatible with cold process soaping, and some may fade or change during curing.
Neglecting to Test Ph Levels Before First Use
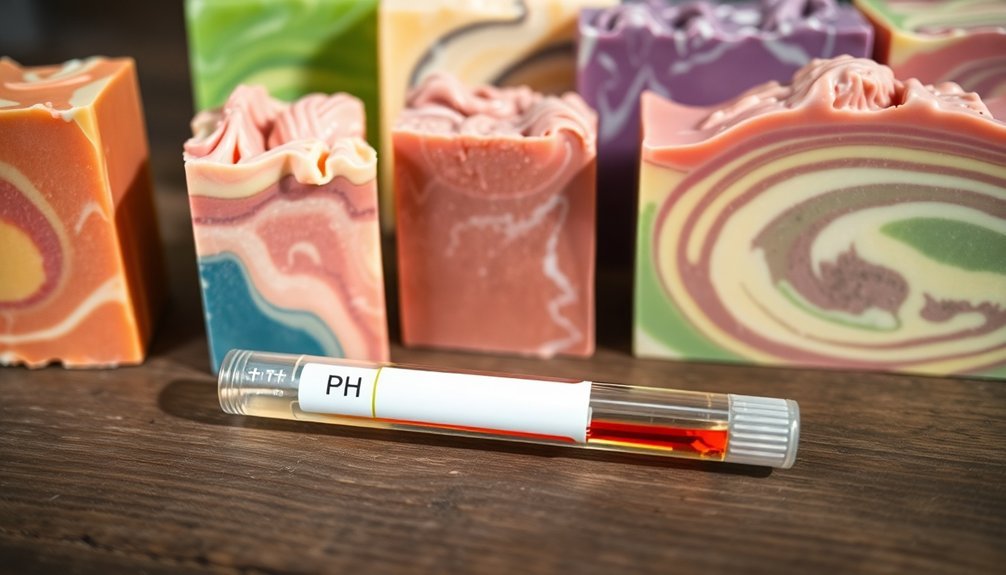
Many soap makers overlook one of the most critical safety steps in their process: testing the pH level of each batch before first use.
Without proper pH testing, you're fundamentally offering an unknown product that could harm skin or fail to perform as expected.
Testing pH helps guarantee your creation is safe and effective by:
- Confirming complete saponification – preventing caustic soap with excess lye that can burn skin
- Verifying quality control – guaranteeing your soap falls within the ideal pH 8-10 range for handmade products
- Troubleshooting recipe issues – identifying when something's gone wrong before it reaches customers
Don't rely on appearance alone! Visual cues can be more reliable than pH testing when identifying lye-heavy soap.
Create a proper soap solution with distilled water rather than testing solid soap directly, as this provides more accurate results than using pH strips on the bar itself.
Working in Poorly Ventilated Spaces
Why do so many soap makers underestimate the dangers lurking in poorly ventilated spaces? When you're working with lye and other caustic chemicals, proper airflow isn't just a suggestion—it's essential for your health.
Fumes from soap-making ingredients can cause respiratory distress, eye irritation, and even long-term health issues if you're constantly exposed. Wearing a proper respirator with replaceable cartridges is crucial for filtering harmful particulates and VOCs. Don't make the mistake of working in enclosed areas without fans or open windows. These oversights can lead to dizziness, accidents, and accumulated VOCs in your workspace.
Install proper ventilation solutions like fume hoods or exhaust systems, especially if natural airflow is limited. Set up your soap-making station away from living spaces and always wear appropriate protective gear.
Failing to Prepare a Clean, Organized Workspace
Your cluttered workspace isn't just an eyesore—it's a breeding ground for cross-contamination that can ruin your soap batches.
When your supplies are disorganized, you'll fumble with lye containers, spill essential oils, or knock over freshly poured molds, creating dangerous situations and wasting precious ingredients.
Setting up dedicated work areas with proper storage solutions will dramatically improve both the safety of your process and the quality of your finished soaps. A well-organized space allows soap makers to focus on creative experimentation with different colors, fragrances, and techniques.
Clutter Causes Contamination
When setting up for soap making, a cluttered workspace becomes more than just an organizational issue—it's a major safety hazard.
Disorganization increases the risk of cross-contamination between your caustic soap ingredients and everyday items, potentially leading to severe chemical burns or ruined products.
The dangers of a cluttered soap-making area include:
- Accidental exposure – Lye or other caustic materials can spill onto nearby objects, creating hidden hazards that might contact your skin later.
- Tool confusion – You might grab the wrong utensil, using a contaminated tool for food preparation after it's touched soap ingredients.
- Blocked safety access – Clutter can obstruct your path to running water or first aid supplies when seconds matter during chemical exposure.
A well-ventilated area is essential when making soap to prevent harmful lye fumes from accumulating and causing respiratory irritation.
Disorganization Breeds Accidents
Four critical dangers lurk in a disorganized soap-making workspace, threatening both your safety and your final product. Most alarming is the risk of lye mishandling in cluttered areas, which can cause chemical burns or respiratory issues without proper ventilation and safety gear access.
Your workspace requires at least 5×3 feet of clear surface area—preferably stainless steel—to safely mix and pour. Consider using a stainless steel table for optimal soap making and cutting procedures. Cramped conditions inevitably lead to spills and mistakes.
Similarly, insufficient lighting makes precise measurements nearly impossible, compromising recipe accuracy.
Trip hazards and scattered supplies don't just waste your time; they create genuine safety risks. Establish designated zones for different activities, implement vertical storage solutions, and regularly purge unnecessary items.
Remember: an organized workspace isn't just about efficiency—it's your primary defense against preventable soap-making accidents.
Frequently Asked Questions
Can I Use Plastic Molds for Hot Process Soap?
You can use thick, high-quality plastic molds for hot process soap. They'll need to withstand temperatures around 200°F without warping. For safety and durability, silicone or wooden molds are better alternatives.
How Long Should I Stir Before Reaching Trace?
With a stick blender, you'll reach trace in about five minutes. If you're hand stirring, prepare for hours. Recipe matters too—soaps with more saturated fats trace faster than those with olive oil.
What Causes Soap to Develop White Ash on Top?
White ash (soda ash) forms when free lye at your soap's surface reacts with CO2 in the air. You'll see it more often if you're soaping in cool conditions or using high water content.
Can I Rebatch Soap That Didn't Turn Out Right?
Yes, you can rebatch soap that didn't turn out right! Simply grate it, melt it down with a little liquid, then add new colors or fragrances before molding it again. It's perfect for fixing mistakes.
How Do I Naturally Color Soap Using Herbs and Plants?
You can naturally color soap using herbs and plants through three methods: adding colorants at trace, infusing in your lye solution, or creating oil infusions first. Consider madder for pink, indigo for blue, and turmeric for yellow.
In Summary
Remember, soap making's both an art and science. You'll save time, materials, and frustration by avoiding these ten common mistakes. Keep weighing ingredients precisely, using proper safety gear, and following the correct procedures. Don't rush the process—good soap takes time to cure properly. With practice and attention to detail, you'll create beautiful, safe soap that's truly worth the effort you've put into it.


Leave a Reply