You'll discover that madder root dyeing is an ancient art form that creates stunning red hues in soap making. This natural dye, extracted from the Rubia tinctorum plant, requires careful preparation and specific mordanting techniques for the best results. You'll need basic tools like a dye pot, thermometer, and protective gear, plus precise temperature control to achieve those rich crimson colors. With proper methods and patience, you can reveal the secrets of this time-honored craft.
Historical Significance of Madder Root Dyes

While synthetic dyes dominate today's market, madder root once reigned supreme as one of history's most important natural red dyes. You'll find its rich legacy stretching across Europe and Asia, where it played a vital role in textile production and international trade.
The historical significance of madder as a red dye can't be overstated. You'd recognize its vibrant hues in the iconic British Army red coats of the 19th century, showcasing how this natural dye shaped military uniforms.
Before synthetic alternatives emerged in 1871, madder's anthraquinone compounds, particularly alizarin and purpurin, were essential for creating deep, lasting reds. The development of Turkish Red exemplified sophisticated dyeing techniques that enhanced madder's commercial value, making it a cornerstone of local economies throughout the Middle East and Europe.
Essential Materials and Safety Precautions

You'll need several key tools for safe madder root dyeing: a dedicated dye pot, metal tongs, rubber gloves, candy thermometer, and an accurate scale for measurements.
Your protective gear must include chemical-resistant gloves and eye protection, since madder root dye requires careful handling to prevent contact with skin and eyes.
Always keep the dye materials out of children's and pets' reach, and remember to rinse immediately with cool water if eye contact occurs.
Required Equipment and Tools
Three essential tools form the foundation of safe and successful madder root dyeing: a spacious dye pot for proper liquid circulation, sturdy metal tongs for fabric handling, and a reliable candy thermometer for temperature control.
You'll need an accurate scale to measure your mordant, fibers, and madder root precisely – this guarantees you'll achieve the rich red hues you're aiming for when extracting the dye.
Don't forget to keep a bottle of white vinegar nearby to adjust your hot water bath to the ideal pH of 5. Work in a well-ventilated area and protect yourself with rubber gloves while handling materials.
Keep your workspace organized and your tools separate from regular kitchen equipment to maintain safety standards. Remember to store all dyeing supplies out of children's and pets' reach.
Protective Gear Essentials
Before beginning any madder root dyeing project, proper protective gear stands as your first line of defense against stains and potential hazards.
You'll need to wear rubber gloves throughout the entire process to protect your hands from both the dye and mordanting process. Keep metal tongs nearby for safe handling of materials in hot dye baths.
Ensure you're working in a well-organized space with a sufficiently large dye pot to prevent spills and accidents.
You'll want to establish a designated work area that's strictly off-limits to children and pets during the dyeing process.
If you accidentally get any dye or mordant in your eyes, immediately flush them with cool water.
Don't hesitate to seek medical help if irritation continues – your safety should always come first.
Safe Handling Guidelines
Building on proper protective gear, safe handling practices form the backbone of successful madder root dyeing.
You'll need to wear rubber gloves throughout the process to prevent skin irritation when working with mordanted or dyed materials. Keep all dyeing supplies, especially madder root powder, securely stored away from children and pets to avoid accidents.
- Always handle madder root with care to minimize dust and spills that could pose inhalation risks.
- Never use madder root for anything other than textile dyeing – it's not safe for skin, hair, or consumption.
- If eye contact occurs, immediately flush with cool water to reduce irritation.
Root Preparation and Color Extraction

Whether you purchase pre-ground or whole madder root, you'll need to follow specific extraction steps to release its vibrant red dye potential. Start by securing your root material in cheesecloth to prevent residue from contaminating your final product. You'll achieve superior results when you extract the dye through multiple soaking and heating cycles.
| Process Step | Action Required |
|---|---|
| Initial Prep | Tie roots in cheesecloth |
| Soaking | Submerge in hot water overnight |
| Heating | Warm to 180°F for 30 minutes |
| Extraction | Repeat process until color depletes |
| Collection | Combine all dye solutions |
For the richest red hues on protein fibers, combine multiple extraction batches before dyeing. The brownish-orange color of ground madder indicates it's ready for processing, but remember that success with alum mordant depends on proper extraction techniques and patience through multiple simmering cycles.
Mordanting Techniques for Optimal Results

You'll need to start with a proper alum mordant bath using 12% weight-of-fabric to achieve the richest reds from your madder root dye.
Begin by soaking your fibers in plain water, then heat your alum solution to 180°F and maintain this temperature for one hour while stirring every 15-20 minutes.
Let your mordanted fibers steep in the cooled bath for up to 48 hours to maximize color absorption before squeezing them dry for the dye bath.
Alum Mordant Bath Basics
To achieve vibrant and long-lasting red hues with madder root, proper mordanting with alum serves as a critical foundation. When preparing your mordant solution, you'll need 12% WOF of alum for protein fibers.
Start by pre-soaking your fibers in hot tap water to guarantee even penetration when dyeing with madder.
- Heat your mordant bath to 180°F (82°C), stirring every 15-20 minutes
- Let fibers steep for at least 1 hour while maintaining temperature
- Allow the bath to cool with fibers for 24-48 hours for enhanced color uptake
After the cooling period, squeeze your fibers dry but don't rinse them. You'll want to confirm they're damp before moving to the dyeing stage.
This thorough mordanting process creates the perfect foundation for achieving rich, lasting colors in your madder root dyeing project.
Timing Your Mordant Process
Since successful mordanting hinges on precise timing, understanding the key stages of the process will guarantee ideal dye absorption.
Before you begin the mordanting process, you'll need to pre-soak your fibers in water to enhance mordant penetration. This step is essential when preparing fabric for raw madder dyeing.
Once you've calculated your accurate measurement of alum at 12% WOF, heat your mordant bath to 180°F for one hour. Remember to stir the bath every 15-20 minutes to ensure even distribution.
After heating, let your fibers steep in the cooled bath for 24-48 hours. If you'd like to optimize your results further, you can add 1% soda ash to neutralize the pH.
When this timing sequence is complete, your fibers will be ready to dye with consistent, rich results.
Traditional Soap Dyeing Methods

While modern soap makers have numerous synthetic dyes at their disposal, traditional madder root dyeing remains a cherished art form that produces rich, lasting reds.
You'll need to start by securing your madder root in cheesecloth, then soaking and simmering it to extract the vibrant dye. The dyeing process requires careful attention to both mordant application and pH levels to achieve your desired color outcome.
- Use alum as your mordant to guarantee the dye bonds effectively with your soap base
- Control pH levels with vinegar to influence the final shade, from deep crimson to bright orange
- Tie your madder root securely in cheesecloth to prevent residue in your finished soap
This time-tested method's popularity stems from its exceptional lightfastness, guaranteeing your soaps maintain their beautiful red hues long after creation.
Troubleshooting Common Dyeing Challenges
Even experienced soap makers encounter challenges when dyeing with madder root, but understanding common pitfalls can help you achieve consistent results.
If you're seeing uneven or faded colors, check your mordanting process – you'll need 12% WOF alum for protein fibers to guarantee proper dye absorption.
Watch your dye bath temperature closely. Keep it at 140°F for wool/silk or 160°F for cotton to maintain color intensity.
You'll also want to monitor pH levels, adjusting to 5 with white vinegar to prevent unexpected color shifts. For deeper hues, try extending your dyeing time or using more madder root.
When working with cellulose fibers, don't skip the vital preparation steps – thorough scouring with alkaline solution and tannin application are essential for achieving rich, lasting colors.
Frequently Asked Questions
What Is the Best Mordant for Madder Root?
You'll get the best results using alum as your mordant at 12% weight-of-fabric. It's the most effective choice for achieving vibrant reds, and you'll want to maintain 180°F during the mordanting process.
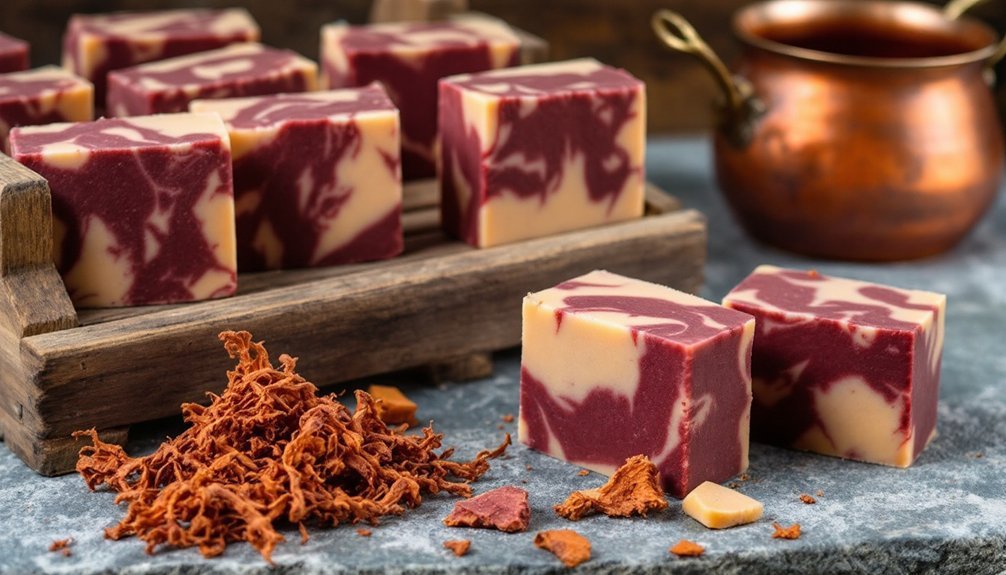
What Color Does Madder Root Turn Soap?
You'll find that madder root typically turns your soap varying shades of red, pink, or orange. The exact color you'll get depends on your pH levels and extraction process during soapmaking.
What Is the Red Dye From Madder?
The red dye you'll find in madder root is primarily alizarin, an anthraquinone compound that creates vibrant red hues. You'll see it's been historically important for dyeing textiles throughout Europe and Asia.
How to Prepare Madder Root for Dying?
You'll need to soak ground madder or cheesecloth-wrapped whole roots overnight in hot water. Then heat the solution to 180°F for 30 minutes. You can repeat this process for stronger dye colors.
In Summary
You've now learned the time-honored craft of dyeing soap with madder root, a practice that connects you to centuries of artisanal tradition. Don't hesitate to experiment with different mordanting techniques and extraction methods to achieve your desired shade of red. While it takes practice to master this ancient art, you'll find the rich, natural color results are worth the effort and patience.


Leave a Reply