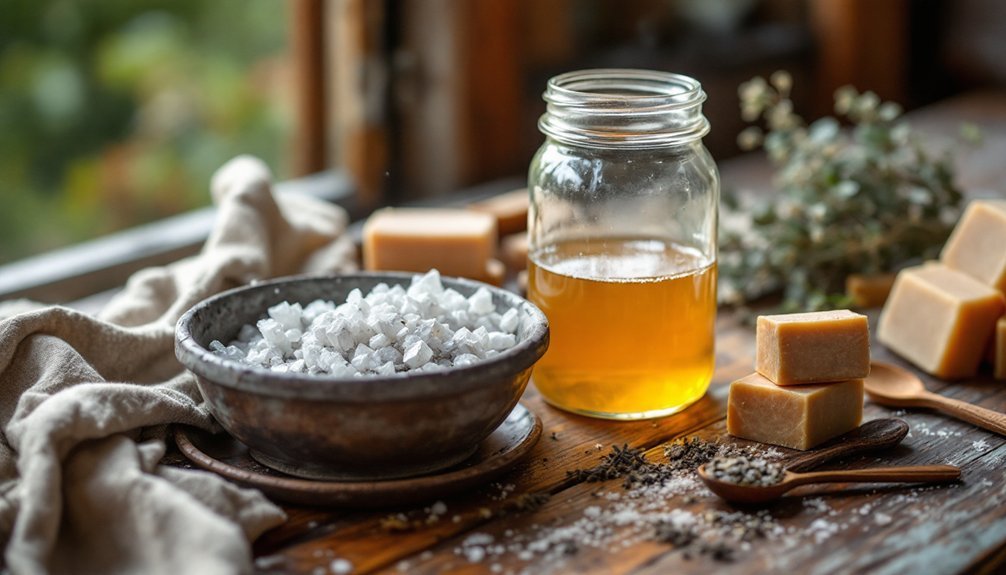
To make lye from wood ash, you'll need carefully sifted hardwood ashes from trees like hickory, sugar maple, or beech. Store your ash in a dry, ventilated area, then create a leaching station using a wooden or steel barrel with drainage holes. Mix ash and rainwater in a 1:3 ratio, allowing several days for extraction. Always wear protective gear and keep vinegar nearby for safety. This ancient craft holds many more secrets to discover.
Understanding Wood Ash Selection and Storage
Anyone looking to make lye from wood ash must start with proper selection and storage techniques.
You'll want to focus on hardwood ashes from trees like hickory, sugar maple, ash, beech, or buckeye, as they produce higher quality lye than resinous softwoods like pine. When collecting wood ashes, sift them carefully and check for carbon particles to guarantee a more effective lye solution.
Keep your sifted ash in a five-gallon bucket, making sure it's free of large debris and unburnt materials.
Store any unburnt wood chunks separately in a box to prevent ash contamination and speed up clarification.
To maintain the ash's effectiveness for lye production, you'll need to store it in a dry, ventilated area where it won't absorb moisture, which can degrade its quality.
Essential Safety Protocols and Equipment
When working with wood ash lye, proper safety measures are non-negotiable due to its highly caustic nature.
You'll need to protect yourself with rubber gloves and goggles before handling this powerful substance. Always keep a neutralizing agent like vinegar within arm's reach for immediate treatment of accidental burns or splashes.
Essential safety equipment and protocols include:
- Protective gear: Chemical-resistant gloves and safety goggles
- Non-aluminum bucket and mixing tools to prevent dangerous reactions
- Proper ventilation system or outdoor workspace
- Clear labeling and secure storage containers
Remember to work in a well-ventilated area, as lye produces harmful fumes when mixed with water.
Never store your lye solution in aluminum containers, and always keep it in clearly marked, airtight containers away from children and pets.
Building Your Ash Leaching Station
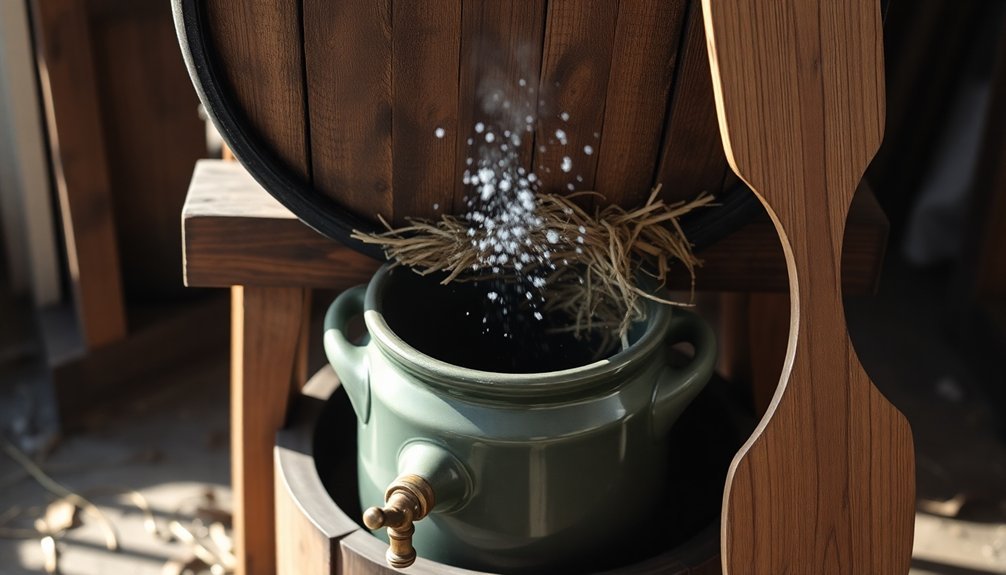
Building an efficient ash leaching station starts with three key components: a sturdy barrel, proper filtration materials, and correct positioning.
Select a wooden or steel leaching barrel with drainage holes at the bottom to facilitate lye extraction. You'll need to layer pebbles at the base, which helps filter particles and guarantees smooth water flow.
To maximize your wood ash lye production, use hardwoods like hickory, sugar maple, or beech, as they contain higher levels of potassium carbonate.
Create alternating layers of hardwood ashes and clean water in your barrel. Form a depression at the top of your ash layer to help channel water effectively.
Position a collection trough beneath the barrel to gather the leached lye. Let the mixture sit for several days to guarantee thorough extraction through the layers.
The Leaching Process and Water Ratios
The leaching process requires careful attention to water ratios for ideal lye extraction. When making lye from wood ash, you'll need to combine hardwood ashes with water in a 1:3 ratio, though you can adjust this based on your desired strength. For best results, use rainwater or distilled water to avoid unwanted impurities.
For optimal lye extraction, mix hardwood ashes with distilled water using a 1:3 ratio, adjusting strength as needed.
Key steps for successful leaching:
- Layer your hardwood ashes and water in your leaching container
- Stir the mixture periodically to guarantee even distribution
- Allow several days for the water to seep through thoroughly
- Collect your finished lye through a spigot or by carefully pouring off the top layer
Remember to be patient during the process – proper lye extraction takes time. Your finished product should be clear of sediment and ready for use in your soap-making projects.
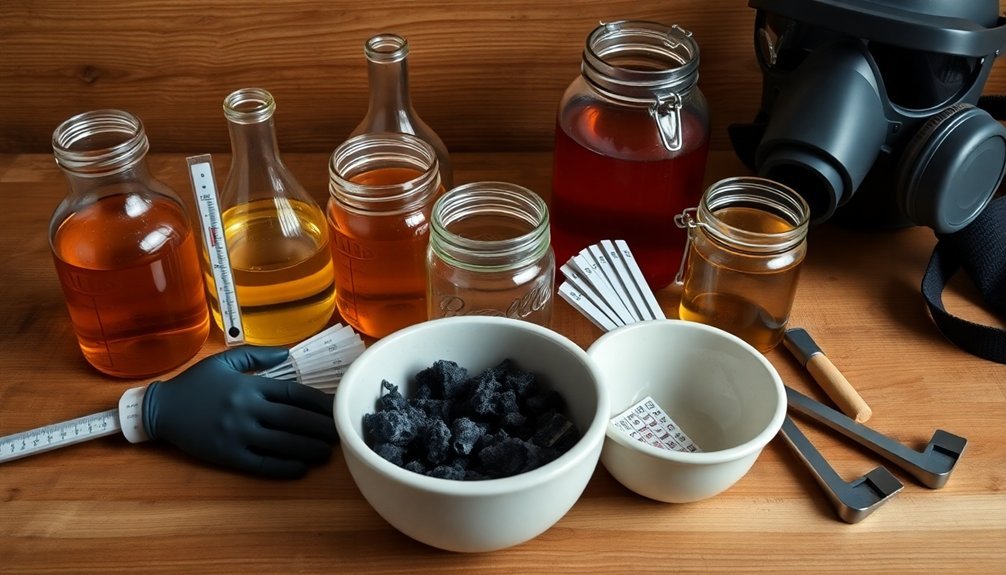
Testing Lye Strength and Concentration

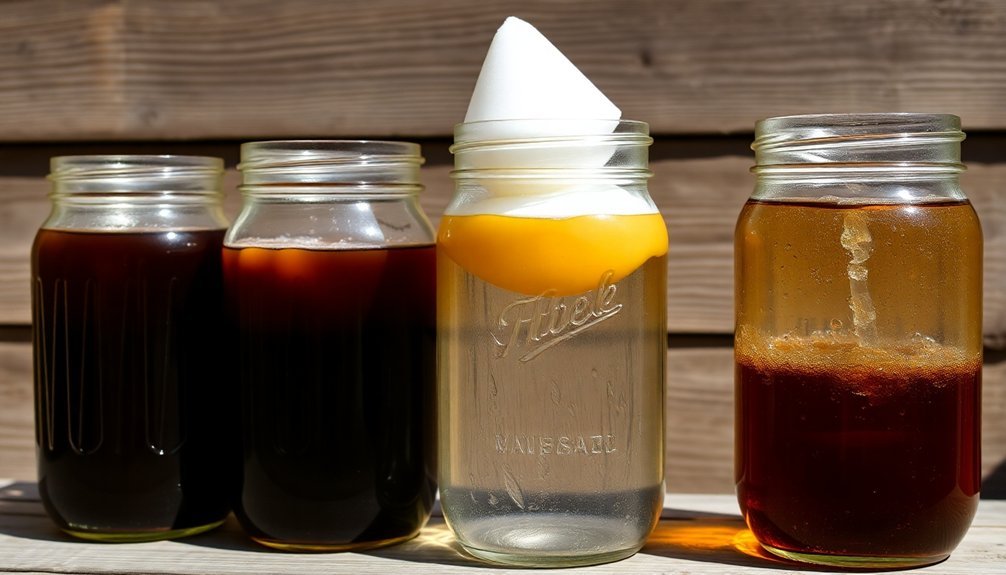
You'll find that testing your homemade lye's strength involves multiple reliable methods, with the traditional floating egg test being among the most practical – you want to see a quarter-sized circle of the egg's surface exposed above the solution.
While pH testing strips offer a more modern approach to measuring your lye's alkalinity levels, they're particularly useful for confirming precise concentrations needed for soap making.
If you're following historical practices, you can also gauge the strength by observing how quickly chicken feathers dissolve in your lye solution, though remember that any test materials must be discarded afterward.
Floating Egg Test Method
Testing your lye solution's strength is essential before making soap, and one traditional method involves the floating egg test.
You'll need to carefully place a fresh egg into your lye solution and observe how it floats to determine the lye concentration.
The position of your egg indicates different strength levels:
- First strength: Egg floats high with a quarter-sized area exposed – strong enough for soap making
- Second strength: Egg sinks halfway – medium concentration suitable for some soap recipes
- Third strength: Egg sinks two-thirds – weak solution needing more processing
- Safety note: Always discard the test egg, as it becomes unsafe for consumption
This simple yet effective method helps guarantee your lye solution meets the proper concentration for successful soap making.
Remember to handle the lye solution with appropriate safety precautions.
Ph Testing Techniques
While traditional soap makers relied heavily on the floating egg test, modern pH testing techniques offer additional precision when determining lye concentration. You'll find that pH papers provide a scientific way to measure the alkaline strength of your lye solution derived from wood ashes.
| pH Level | Lye Strength | Best Uses | Action Needed |
|---|---|---|---|
| 14+ | Very Strong | Heavy-duty soap | Dilute solution |
| 13-14 | Strong | Standard soap | Ready to use |
| 12-13 | Medium | Mild soap | Concentrate more |
| Below 12 | Weak | Not suitable | Reprocess ashes |
Remember that your first run of lye from fresh wood ashes will typically yield the strongest solution. If pH testing shows lower strength, you'll need to double process your ashes to achieve the desired alkaline concentration for successful soap making.
Historical Strength Measurements
Before modern pH testing methods emerged, our ancestors developed ingenious ways to measure lye strength using common household items. Historical practices from 1742 reveal simple yet effective strength measurements that you can still use today when making your lye solution.
The most reliable traditional methods include:
- Float an egg test – when it sinks halfway, you've achieved first strength; two-thirds indicates second strength
- Feather dissolution test – the more chicken feathers dissolve, the stronger your lye
- Boiling concentration method – evaporating water increases the solution's potency
- Visual observation – watching how the egg floats helps determine concentration levels
These time-tested techniques remain practical for modern homesteaders and soap makers, especially in rural areas where sophisticated measuring tools aren't readily available.
You'll find these methods particularly useful when converting wood ash to lye for traditional soap making.
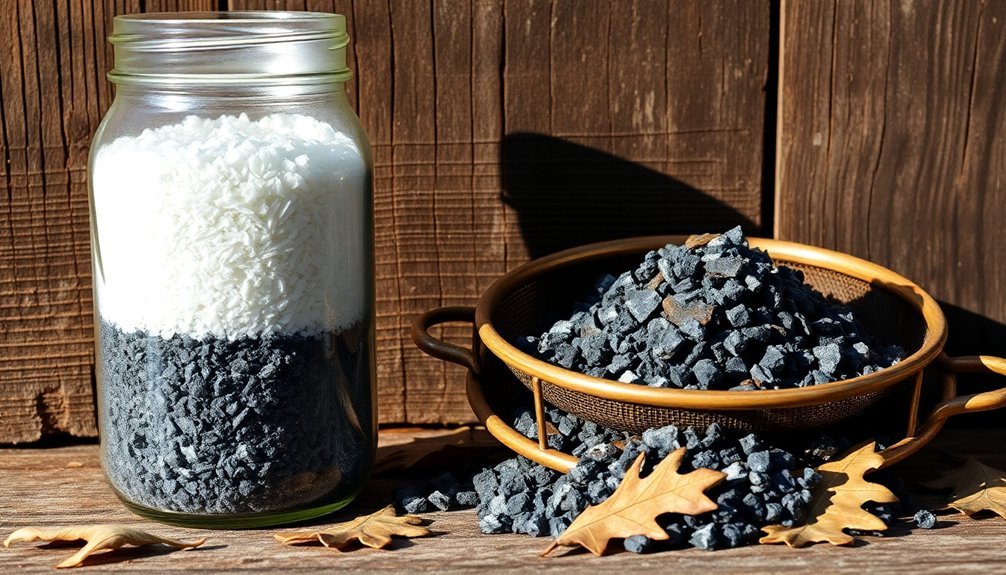
Crystallization and Storage Methods
The crystallization process transforms liquid lye into a convenient powder form for long-term storage.
Converting liquid lye into crystallized powder through evaporation creates a stable, storable form ideal for future soap-making projects.
You'll need to boil your leachate until the water evaporates, leaving behind fine crystallized lye powder that's easy to store and measure.
Store your crystallized lye in a labeled, airtight container like a mason jar to protect it from moisture and contamination.
Keep it in a cool, dry place, away from sunlight and out of reach of children and pets.
When you're ready for soap-making, use a precise scale to measure your lye crystals – this guarantees proper ratios for successful saponification.
If your lye crystals become clumpy over time, don't worry.
You can easily restore them by dissolving the hardened crystals in a small amount of distilled water to create a fresh solution.
Common Challenges and Solutions
Making soap with wood ash lye presents several common challenges you'll need to navigate. The soap-making process can be tricky when using traditional potassium hydroxide from wood ash, as it's less predictable than modern methods.
You'll face these key hurdles:
- Determining proper lye and water ratios without precise measurements
- Managing soap consistency due to higher solubility of potassium-based lye soap
- Dealing with greasy results from insufficient lye concentration
- Achieving proper hardness in the final product
A word of caution: if your soap turns out too soft or greasy, you can carefully add more lye solution, but be precise to avoid caustic results.
When making lye soap this way, don't hesitate to seek advice from experienced crafters who've mastered these traditional techniques.
Frequently Asked Questions
How Do You Turn Wood Ash Into Lye?
You'll need to sift hardwood ashes, mix them with distilled water, let it sit, filter the liquid, test concentration with a floating egg, then boil to concentrate. Store safely in an airtight container.
How Did Ancient People Make Lye?
You'll need to pour water through hardwood ashes in a leaching vessel with drainage holes. The water dissolves potassium carbonate from the ashes, creating lye solution, which you'd test using a floating egg.
What Happens When You Mix Wood Ash, and Water?
When you mix wood ash and water, you'll create a highly alkaline solution that forms lye (sodium hydroxide). The mixture becomes caustic, reaching dangerous pH levels above 13, and requires careful handling to avoid burns.
Is Wood Ash Safe for Skin?
No, wood ash isn't safe for your skin. It's highly alkaline and can cause burns or irritation. You'll need protective gear if you're handling it, and keep vinegar nearby to neutralize accidental contact.
In Summary
You've now mastered the ancient art of transforming wood ash into lye. Remember to store your finished product in airtight containers, away from moisture and direct sunlight. While challenges may arise during your first attempts, don't get discouraged. With practice and attention to safety protocols, you'll consistently produce high-quality lye for your soap making, cleaning, or traditional crafting needs.


Leave a Reply