To make traditional animal fat soap, you'll need 1-1/3 cups melted tallow, 2-2/3 cups melted lard, 1-1/4 cups cold water, and 1/2 cup plus 1.5 teaspoons lye. Mix lye with water outdoors and let cool. Heat fats to 110°F, combine with lye mixture, and blend until thickened. Pour into molds and let set for 2-3 days, then cure for 4-6 weeks. With proper safety gear and careful measurements, you're ready to discover the art of crafting this long-lasting, moisturizing soap.
Benefits of Traditional Animal Fat Soap

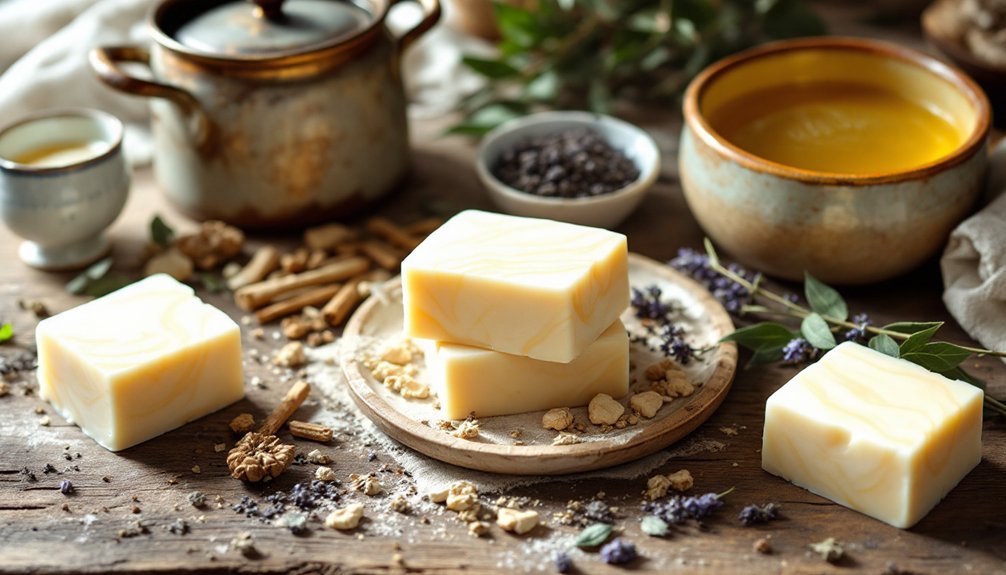
Traditional soap makers have long treasured animal fats like tallow and lard for their exceptional soap-making qualities. When you're looking for tallow soap recipes, you'll discover these natural ingredients create a luxuriously creamy lather that's perfect for sensitive skin.
Animal fat soap stands out for its remarkable durability and longevity. You'll find these bars last up to two years without becoming soft or goopy, making them an economical choice for your household.
The natural moisturizing properties come from retained glycerin, which helps keep your skin hydrated and healthy.
You're also making an environmentally conscious choice, as animal fat soap utilizes materials that might otherwise go to waste. The simple cold-process method makes these soaps cost-effective to produce while delivering superior skin-nourishing benefits compared to complex specialty oil formulations.
Essential Safety Precautions and Equipment

Before starting your soap-making journey, you'll need proper safety equipment including chemical-resistant gloves, protective goggles, and long-sleeved clothing to guard against dangerous lye splashes.
You must mix lye in a properly ventilated area using non-aluminum containers, as aluminum reacts dangerously with lye solutions.
Keep vinegar within arm's reach to neutralize any accidental lye spills, and use a reliable digital scale to measure your ingredients with precision.
Required Safety Gear
Safety must come first when making old-time animal fat soap, as the process involves handling caustic lye that can cause severe burns and injuries.
You'll need several pieces of protective gear before starting: chemical-resistant gloves to shield your hands from lye burns, safety goggles to protect your eyes from splashes, and long-sleeved clothing to cover exposed skin.
Your workspace ventilation is essential, so open windows or work in a well-ventilated area to avoid inhaling dangerous fumes.
Keep a bottle of vinegar nearby as an emergency neutralizer for any lye spills.
Never use aluminum containers when mixing lye, as they'll react dangerously with the chemical.
Remember to keep your soap-making area off-limits to children and pets throughout the entire process.
Lye Handling Guidelines
Working with lye demands strict adherence to essential handling protocols that can prevent serious injuries.
When mixing lye, always add it to water – never the reverse – to avoid dangerous eruptions. You'll need to wear proper protective gear, including safety goggles, chemical-resistant gloves, and long sleeves to shield against potential splashes.
Choose a well-ventilated area or work outdoors to protect yourself from harmful fumes. Keep children and pets away from your workspace during the process.
Use only dedicated glass or stainless steel containers for handling lye to prevent cross-contamination. Always keep vinegar nearby as a neutralizing agent in case of accidental spills on surfaces or skin.
These precautions aren't optional – they're vital steps that guarantee your safety while making traditional soap.
Sourcing and Selecting Quality Animal Fats

Partner with local butchers to secure fresh, unprocessed animal fats for your soap-making needs, as they'll often set aside quality trimmings upon request.
You'll get the best results by collecting the fat immediately after butchering and rendering it yourself within 24 hours to maintain peak freshness.
When building these relationships, offer to take excess fat regularly, which helps butchers reduce waste while providing you with a steady, cost-effective supply of high-quality raw materials.
Butcher Partnerships and Supply
When crafting traditional animal fat soap, establishing a reliable source for quality fats becomes your foundation for success. Building butcher partnerships in your local area will help you secure fresh, unprocessed animal fats consistently.
You'll want to discuss specific cuts with your butcher, focusing on pork belly for lard and beef suet for tallow, which provide superior fat content for soap making.
Make certain you're sourcing fats from humanely raised animals without additives or preservatives. This attention to quality not only enhances your soap's benefits but also supports ethical farming practices.
Local Rendering Best Practices
Successful rendering of animal fats starts with selecting the highest quality raw materials from your local sources. Visit butcher shops, farmers' markets, and specialty stores to source fresh, grass-fed options.
You'll want to select fat that has a clean, neutral scent and firm, creamy appearance, avoiding any with odd odors or discoloration.
To render fat properly, melt it down slowly over low heat to preserve its properties while removing impurities. Once you've rendered your quality fat, store it in airtight containers away from light and heat until you're ready to make soap.
Don't add any flavoring or additives during the rendering process, as these can compromise the fat's integrity. By following these practices, you'll create a superior base for your homemade soap that supports local agriculture and guarantees quality results.
Proper Fat Rendering Techniques

Before making old-fashioned animal fat soap, you'll need properly rendered fat as your foundation.
Begin fat rendering by cutting your animal fat into small, uniform pieces, which helps guarantee even melting and prevents burning during the process.
Place the fat in a heavy-bottomed pot and melt it slowly over low heat. This gentle approach minimizes strong odors and keeps the rendering clean.
Once melted, strain the fat through a fine mesh strainer or paper towel to remove impurities. For enhanced purity in soap making, mix your rendered fat with equal parts warm water and boil for 15 minutes.
Let it refrigerate overnight – the fat will solidify on top for easy separation.
Store your rendered fat in airtight containers in a cool, dark place to maintain its quality for future soap batches.
Understanding Lye Calculations and Measurements
Before handling lye, you'll need to calculate the exact amount required for your rendered animal fats using an online soap calculator, which guarantees a safe and properly balanced final product.
Your digital scale is essential for measuring lye by weight rather than volume, as even small measurement errors can result in harsh or ineffective soap.
You'll get the most reliable results by entering your specific fat types and amounts into the calculator, then carefully measuring the recommended lye quantity in a well-ventilated area while wearing proper safety gear.
Lye Safety First Steps
Working safely with lye requires precise calculations and careful measurements, since this caustic substance forms the backbone of the saponification process.
Before you begin, gather your digital kitchen scale and a non-aluminum container to measure lye accurately. You'll also need protective gear: gloves, goggles, and long sleeves are essential for lye safety.
Keep vinegar nearby as a neutralizing agent for any accidental spills.
When creating your lye solution, always add the lye to water slowly while stirring – never the reverse. This prevents dangerous splashing and violent reactions.
Let the mixture cool to 100-110°F before combining it with your melted fats.
Remember to use a lye calculator to determine the exact amount needed for your specific fats, as each type requires different quantities for proper saponification.
Accurate Weight Vs Volume
Now that you understand lye safety basics, let's focus on the precision required for measurements.
You'll need a digital scale for accurate weight measurements of your animal fats and lye, as volume measurements won't give you the precision needed for successful soap making.
Never rely on measuring cups or spoons for your lye and water. These ingredients must be weighed because their density can vary, affecting your final soap's quality.
You'll want to use a soap calculator to determine the exact amount of lye needed for your specific fats. If you're planning to substitute any fats in your recipe, you'll need to recalculate the lye amount since different fats require different amounts of lye to saponify.
Soap Calculator Best Practices
To guarantee safe and successful soap making, mastering soap calculator usage is vital.
You'll need to input the exact weight of your animal fats into a reliable online soap calculator, which will determine the precise lye amount needed based on each fat's saponification value.
Never skip this important step or guess measurements, as incorrect calculations can result in unsafe soap.
You'll want to enter all ingredients by weight rather than volume to confirm accuracy. Include a superfat percentage in your calculations to provide extra moisturizing oils and prevent excess lye in your final product.
When substituting different animal fats in your recipe, always recalculate your measurements since each fat requires a unique amount of lye.
Double-check all numbers before proceeding with your soap making process.
Required Ingredients and Tools
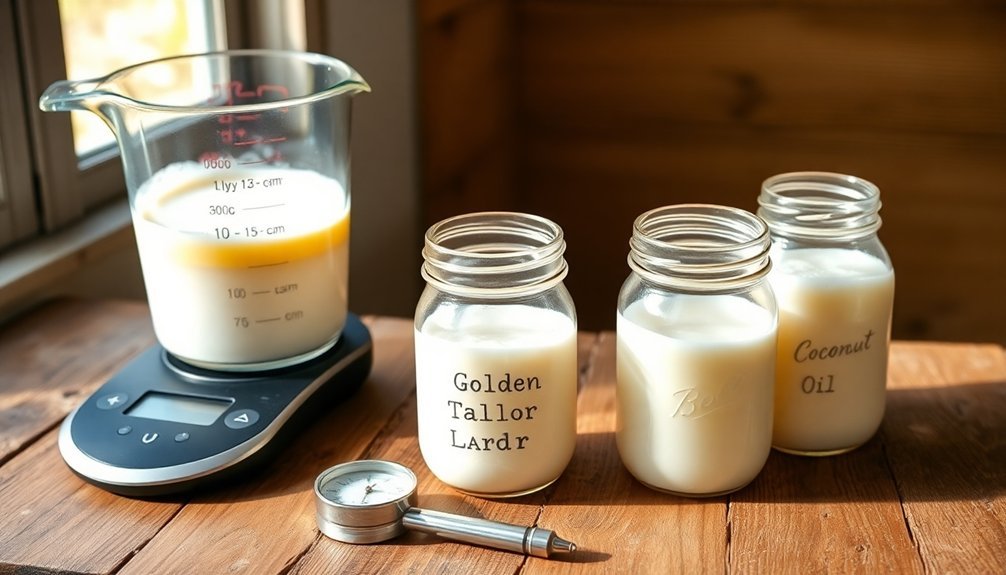
Before diving into the soap-making process, you'll need to gather specific ingredients and tools to guarantee success.
For this animal fat soap recipe, you'll need 1-1/3 cups of melted tallow, 2-2/3 cups of melted lard, 1-1/4 cups of cold water, and 1/2 cup plus 1.5 teaspoons of lye. You can also add 1 tablespoon of essential oils for fragrance if desired.
The required tools include safety gear – protective gloves, safety glasses, and long sleeves – which are essential when handling corrosive lye.
You'll also need a large pot for melting fats, a non-aluminum container for mixing lye and water, a stick blender for emulsification, and soap molds to shape your final product.
Step-by-Step Soap Making Process
With your ingredients and tools ready, let's start the soap-making process. First, put on your safety gear before handling any materials. Using your digital scale, accurately weigh your animal fats, lye, and water according to your calculator's specifications.
| Step | Action | Time |
|---|---|---|
| 1 | Mix lye into water outdoors | 5-10 minutes |
| 2 | Cool lye mixture to 110°F | 30-60 minutes |
| 3 | Melt fats and combine | 15-20 minutes |
In a well-ventilated area, carefully add lye to water and let it cool. Meanwhile, melt your animal fats completely. Once both mixtures reach the correct temperature, combine them and stir until reaching trace consistency. Pour into your prepared molds, wrap them in towels, and let them set for 2-3 days. Finally, cut your soap and cure it for 4-6 weeks.
Molding and Initial Setting Period
Once your soap mixture reaches trace consistency, you'll need to work quickly through the molding process.
Achieving trace consistency marks a critical moment – get ready to move swiftly as you begin molding your handcrafted soap.
Before pouring, make sure your molds are clean and lined with parchment paper if you want to remove the soap easily later.
Pour the mixture carefully into your prepared molds, and don't forget to scrape the container to use every bit of the soap mixture.
Take a spatula or the back of a spoon to smooth the top of your soap for a professional finish.
Cover the filled molds with a towel to maintain consistent temperature during the vital setting period.
Your soap will need 2-3 days to harden properly in the molds.
During this time, don't disturb the mixture – just let it rest until it's firm enough to remove and cut.
Curing and Storage Guidelines
After your soap has initially set in the molds, you'll need to begin the important curing process that transforms it from a soft bar into a long-lasting product.
Place your unmolded bars in a cool, dark location for 4-6 weeks, turning them weekly to guarantee even air exposure. This curing period allows excess moisture to evaporate while stabilizing the soap's pH level.
Proper storage is key for maintaining your soap's quality. Don't use airtight plastic containers, as they can trap moisture and compromise the bars.
Instead, choose breathable storage options like cardboard boxes or wooden crates. When stored correctly in a cool, dry place away from direct sunlight, your handcrafted soap will last up to two years.
Troubleshooting Common Issues
Making soap isn't always a smooth process, and you'll likely encounter some challenges along the way.
Soap making requires patience and practice – even experienced crafters face occasional hurdles in their pursuit of the perfect bar.
When troubleshooting common issues, start by checking your temperatures. As you make tallow soap, confirm both your lye solution and fats are between 100-110°F before combining them. This helps prevent grainy textures and trace problems.
If your bars are too soft, adjust your lye-to-water ratio or reduce the superfat percentage.
When you notice poor lathering, review your oil proportions, particularly the balance of tallow, coconut oil, and castor oil.
A lye-heavy scent or discoloration usually points to inadequate mixing or measurement errors, so always use precise scales and verify your calculations.
Remember that consistent temperatures throughout the process are essential for achieving the perfect bar of soap.
Recipe Variations and Custom Additions
The art of customizing animal fat soap opens up endless creative possibilities while maintaining the recipe's traditional foundation. You'll enhance your soap's properties by adding essential oils for therapeutic benefits, keeping them under 4 teaspoons per batch. To create a more moisturizing bar, try superfatting with 5-10% extra oils.
| Additive Type | Benefits | Usage Rate |
|---|---|---|
| Natural Colorants | Visual appeal, skin care | 1-2 tsp/batch |
| Essential Oils | Fragrance, therapy | Up to 4 tsp/batch |
| Botanical Additives | Exfoliation, texture | 2-3 tbsp/batch |
For unique variations, substitute water with herbal infusions or goat milk, remembering to adjust your lye calculations accordingly. Consider incorporating botanical additives like oatmeal or dried herbs for natural exfoliation and added skin benefits, creating a personalized soap that reflects your preferences.
Frequently Asked Questions
How to Make Soap Old Fashioned Way?
You'll need to render animal fat, mix it with cooled lye solution, blend until traced, pour into molds, and let it rest. After cutting into bars, cure your soap for 4-6 weeks.
How Do You Make Soap With Animal Fat?
You'll need to render animal fat first, then mix it with precise amounts of lye and water. Blend until thickened, pour into molds, and let it cure 4-6 weeks for safe, usable soap.
Do They Still Make Soap Out of Animal Fat?
Yes, you'll find many commercial and artisanal soap makers still using animal fats like tallow and lard today. It's an effective, sustainable practice that continues both in mass production and home-based soap making.
What Ingredient in Soap Is Animal Fat?
You'll find tallow (beef fat) and lard (pork fat) listed as sodium tallowate or sodium lardate in commercial soaps. These animal fats are still used today as key ingredients for making soap.
In Summary
Making your own animal fat soap connects you to traditional craftsmanship while creating a sustainable, zero-waste product. You'll find the process rewarding as you transform kitchen scraps into luxurious soap bars. While it takes patience to master the techniques and wait through the curing period, you're now equipped with the knowledge to create high-quality soap that's gentle on your skin and the environment.


Leave a Reply