Making traditional animal fat soap starts with rendering quality tallow or lard by slowly heating chunks of fat until melted, then straining. You'll need protective gear and a digital scale to safely mix one part lye solution (33% concentration) with three parts rendered fat at 100-110°F. Pour the mixture into molds, wrap in towels, and let set for 2-3 days. After cutting into bars, cure for 4-6 weeks. The secrets to perfect homestead soap await below.
Benefits of Animal Fat in Traditional Soap Making

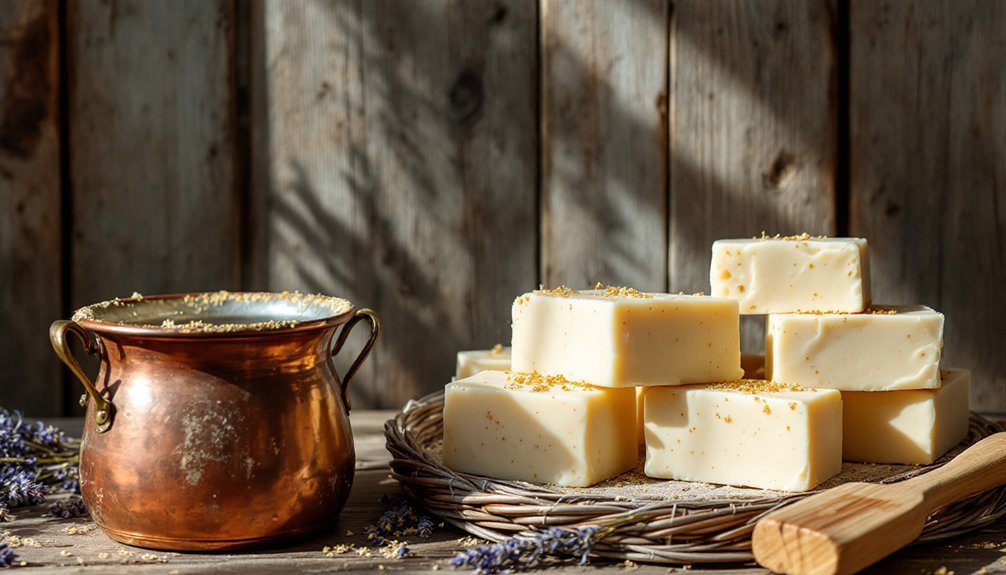
While modern commercial soaps often rely on synthetic ingredients, traditional animal fat soaps offer distinctive benefits that have stood the test of time.
When you make soap with tallow or lard, you'll create hard, durable bars that won't turn mushy and will produce a gentle, creamy lather that's kind to your skin.
The saponification process using animal fats naturally retains glycerin, which helps moisturize your skin.
You'll find that traditional soap making with these ingredients is a sustainable practice that makes excellent use of what would otherwise be waste products.
It's also a cost-effective choice compared to expensive imported oils.
Essential Safety Precautions and Equipment

Before you begin making traditional animal fat soap, proper safety equipment and precautions are essential to protect yourself from dangerous chemical reactions.
You'll need protective gear including safety goggles, gloves, and long sleeves to shield your skin and eyes from corrosive lye.
Set up your workspace in a well-ventilated area to avoid inhaling harmful fumes.
Keep your non-aluminum containers ready for mixing the lye solution, as aluminum can trigger violent reactions.
You'll also need an accurate digital scale to measure ingredients precisely – even small measurement errors can compromise your soap's quality and safety.
Always keep vinegar nearby as a neutralizing agent for potential lye spills.
Choose a distraction-free workspace where you can focus entirely on the careful process of soap making without interruptions.
Sourcing and Selecting Quality Animal Fats

Since quality ingredients directly affect your final product, sourcing the right animal fats is essential for successful soap making. Your best bet is to seek high-quality, hand-rendered fats to guarantee your soap's ideal performance and longevity.
Start with beef tallow from local butchers, as it's typically more accessible and budget-friendly than specialty oils. When choosing lard, look for fat from heritage breeds of hogs, which produces superior moisturizing properties in your finished soap.
You'll want to verify that all fats are fresh, not rancid, to maintain consistent quality.
Don't hesitate to ask local diners or farms about their rendering practices. Understanding their sustainable processing methods helps guarantee you're getting clean, properly handled fats that'll create the best possible soap.
Rendering Animal Fat Step-by-Step

Rendering animal fat requires three essential steps to transform raw trimmings into soap-ready material. You'll start by cutting the fat into small pieces for even melting. Next, place it in a heavy pot over low heat, stirring occasionally to prevent sticking. You can add a splash of water to help wash away impurities during the melting process.
| Step | Action | Key Tips |
|---|---|---|
| 1 | Cut fat | Small, uniform pieces |
| 2 | Heat slowly | Use low temperature |
| 3 | Monitor | Stir occasionally |
| 4 | Strain | Use cheesecloth/mesh |
| 5 | Store | Airtight containers |
Once the fat has fully melted, strain it through a fine mesh strainer into a heatproof container. This removes any remaining solids and guarantees a pure render. For long-term use, store your rendered fat in airtight containers in the refrigerator or freezer.
Understanding Lye Calculations and Measurements

With your rendered fat ready, accurate lye measurements become the next essential step in soap making.
You'll need to use a soap calculator to determine the precise amount of lye required for your animal fat soap. Different fats have unique saponification values, so it's vital to input your exact ingredients to get the correct calculations.
For your animal fat soap, aim for a 33% lye concentration – that's about 33 grams of lye for every 100 grams of fat.
You'll need to measure using a scale for both lye and water to guarantee accuracy. Remember the golden rule: always add lye to water, never the reverse, to prevent dangerous reactions.
If you're mixing different types of animal fats, be sure to recalculate your measurements, as each fat requires different amounts of lye for proper saponification.
Preparing Your Soap Making Workspace
Before mixing any ingredients, you'll need to set up a proper workspace that prioritizes both safety and efficiency. Organize your soap making station by pre-measuring all ingredients and placing your equipment within arm's reach for a streamlined process.
Choose a well-ventilated area for mixing lye with water, as this chemical reaction produces fumes you shouldn't breathe. Select non-reactive containers for both your lye solution and fats to prevent unwanted reactions. Don't use aluminum containers, as they'll react with lye.
Put on your protective gear, including goggles, gloves, and long sleeves, before handling any materials. Keep your workspace free from distractions while working with lye and hot fats.
Having everything prepared and organized will help guarantee a safe, successful soap making experience.
Mixing and Combining Ingredients
Cool your lye solution and melted fats to 100-110°F before you'll start combining them, as this temperature range guarantees proper emulsification.
You'll need to add the lye solution slowly into your melted fats while gently stirring at first, then increase your immersion blender's speed as the mixture begins to incorporate.
Keep blending until you notice the mixture reaching trace, which looks like pudding and leaves visible trails when drizzled across the surface.
Temperature Control Guidelines
Since temperature control plays an essential role in successful soap making, you'll need to carefully monitor both your lye solution and melted fats throughout the mixing process.
For ideal saponification, bring your lye solution and melted tallow to temperatures between 100°F and 110°F (38°C to 43°C) before combining them.
When melting fats, heat them to approximately 125°F (52°C), then allow them to cool to the target range.
You'll want to verify your lye solution has also cooled to match this temperature before mixing.
Using an infrared thermometer will help you accurately monitor temperatures without direct contact.
Getting these temperatures right is critical – if they're too high or too low, you'll notice problems with the soap trace consistency and final product quality during proper mixing.
Blending Fat With Lye
The most critical phase of soap making begins with properly combining your lye solution and melted fats. For safe soap making, you'll need accurate measurements using a digital scale and a lye calculator to guarantee the perfect ratio.
Always add lye to the water, never reverse this order, to prevent dangerous reactions.
When blending fat with lye, follow these essential steps:
- Cool both your lye solution and melted fat to 100-110°F before combining
- Start mixing gently with an immersion blender to avoid splashing
- Increase blending speed gradually while maintaining control
- Continue until you achieve trace, marked by pudding-like consistency
Watch for the mixture to leave visible trails on the surface – this indicates proper trace and means you're ready for the next step in your soap making journey.
Molding and Setting Your Soap
After completing your soap mixture, proper molding and setting techniques will determine the final quality of your bars.
First, prepare your soap molds by cleaning them thoroughly and optionally lining with parchment paper. When you pour the soap mixture, scrape every bit from the pot and smooth the top for an even surface.
Clean your molds well and line with parchment if desired. Pour every drop of soap mixture, creating a smooth, level surface.
To maintain warmth during the vital setting period, wrap the filled molds in a towel. Let your soap rest for 2-3 days, checking if it's firm enough before removal.
Once the bars are ready, gently pop them out of the molds. The final step is to cure the soap bars in a cool, dry place for 4-6 weeks. Remember to keep turning them weekly, ensuring even air exposure that helps create perfectly hardened soap bars.
Curing and Storing Your Finished Soap
Properly curing and storing your handmade soap guarantees its longevity and effectiveness. After letting your soap rest for two days, cut the soap into bars if they're firm enough.
Place them on a cooling rack or wax paper for a 5-6 week curing period to guarantee thorough drying.
Key steps for successful curing and storage:
- Turn bars weekly to promote even air exposure and prevent moisture buildup
- Check that bars feel hard to the touch and have a neutral smell, indicating complete saponification
- Store finished soap in a cool, dark place
- Expect a shelf life of up to two years, depending on ingredients used
Following these curing and storage guidelines will result in high-quality soap that's free from excess lye and ready for use or gifting.
Troubleshooting Common Soap Making Issues
Making traditional animal fat soap can present several common challenges, even for experienced crafters. When troubleshooting issues, you'll want to focus on key aspects of the process to guarantee success.
If your soap isn't reaching proper emulsification, check that your lye solution and fats are at similar temperatures (100-110°F). You can achieve better soap consistency by using an immersion blender for thorough mixing.
When your soap feels greasy or soft, double-check your measurements with a lye calculator to ascertain proper ratios. Unpleasant odors often stem from rancid fats, so always use fresh ingredients.
Watch for discoloration or unusual color variations, which typically indicate contamination in your workspace. To prevent this, clean all equipment thoroughly before starting.
If you notice lumpy or grainy texture, it's usually a sign that you need more thorough mixing.
Frequently Asked Questions
How to Make Soap Old Fashioned Way?
You'll need to gather animal fat and lye, mix them precisely using a soap calculator, combine when cooled to 110°F, stir until traced, pour into molds, and cure for 4-6 weeks.
How Do You Make Soap With Animal Fat?
You'll need to render animal fat first, then combine it with a precise lye-water solution. Mix until it reaches trace consistency, pour into molds, and let it cure for 4-6 weeks before use.
Do They Still Make Soap Out of Animal Fat?
Yes, you'll find animal fat soap is still made today. Whether you're a homesteader or commercial producer, tallow and lard remain popular soap-making ingredients due to their sustainability, cost-effectiveness, and excellent lathering properties.
What Ingredient in Soap Is Animal Fat?
In soap, you'll find tallow (beef fat) or lard (pork fat) as common animal fat ingredients. They're traditional base oils that create a hard, long-lasting bar with rich lather and good cleansing properties.
In Summary
Now you're ready to make traditional animal fat soap using time-tested methods. While it takes patience and attention to detail, you'll find the process rewarding as you create pure, natural soap that's gentle on skin and environmentally friendly. Remember to always follow safety protocols, measure ingredients precisely, and allow proper curing time. With practice, you'll master this heritage craft and produce high-quality soap for years to come.


Leave a Reply