To test soap for lye safety, you can use pH strips (aim for 8-10), phenolphthalein solution, the tongue zap test, visual inspection for lye pockets, water dissolution test, and olive oil application. You'll also benefit from paper tests with litmus paper, monitoring curing time pH changes, lather quality assessment, and digital pH meter readings. Always wear protective gear when handling fresh soap and allow proper curing time. These methods help guarantee your handmade soap won't irritate your skin.
10 Ways to Test Soap for Lye Safety
Why should you test your homemade soap for lye safety? Excess lye can cause serious skin irritation or burns, making proper testing crucial before use.
The traditional "zap test" involves briefly touching your tongue to the soap—a zapping sensation indicates residual lye. Always wear protective gear when handling fresh soap, and allow sufficient curing time for the saponification process to complete.
For safer alternatives, use pH testing strips to verify your soap falls within the appropriate range (8-10). Soap calculators help prevent lye excess by providing precise measurements for your recipe.
When testing, verify you're in a well-ventilated area. Never taste soap that's freshly made, as the saponification process takes time. Remember that lye mixed with oils undergoes saponification reaction, gradually transforming into safe, usable soap over several days.
Store all testing materials separately from food items to prevent contamination.
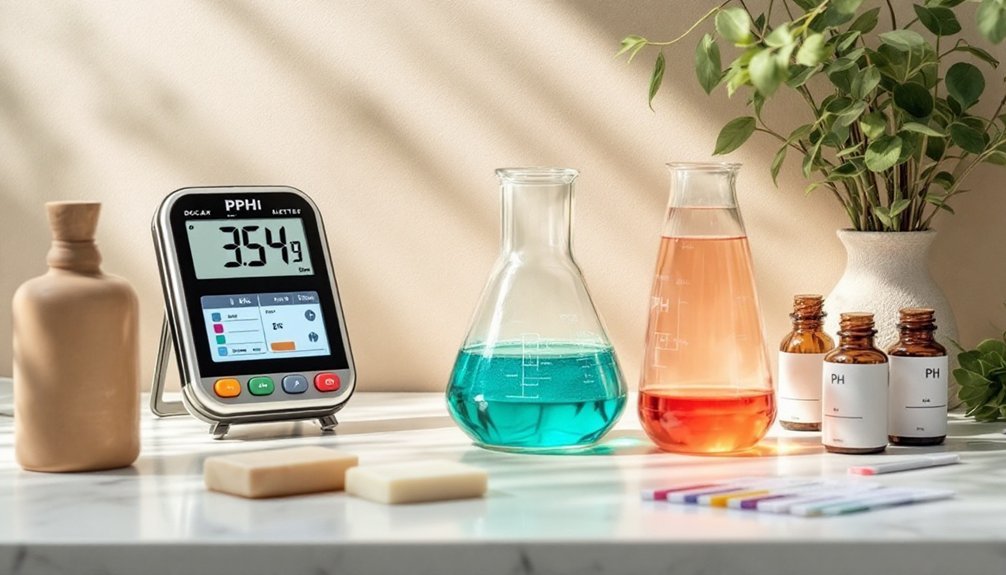
The Ph Strip Test: Understanding Soap's Alkalinity
To test your soap's safety with pH strips, you'll need to dissolve a small sample in distilled water rather than testing directly on the bar.
Compare the resulting color against the reference chart, looking for readings between 8-10 which indicate properly saponified soap.
Remember that readings above 10 may suggest excess lye that could irritate skin, while proper technique guarantees you're getting an accurate assessment of your soap's true alkalinity. For more reliable results, create a 1% soap solution by combining 1 gram of shaved soap with 99 grams of distilled water.
Accurate Measuring Techniques
Testing your handmade soap's pH level provides essential information about its safety and skin compatibility. To obtain reliable results, you'll need to prepare a consistent solution using distilled water rather than tap water, which can skew readings with its variable pH.
| Method | Pros | Cons |
|---|---|---|
| pH Strips | Affordable, quick results | Less precise, affected by soap concentration |
| Digital pH Meter | Highly accurate readings | More expensive, requires calibration |
| Phenolphthalein | Detects alkalinity visually | Doesn't provide exact pH measurement |
For peak accuracy, consider dissolving your soap in denatured alcohol instead of water. This technique prevents false readings caused by soap's natural alkalinity. Verify you're testing fully cured soap, as the saponification process continues during curing, gradually reducing alkalinity to safe levels between 8-10 pH. Industry standards require soap to have residual alkalinity less than 1 part per thousand for commercial viability.
Color Chart Interpretation
Once you've gathered your pH testing supplies, properly interpreting the results becomes your next challenge.
When testing soap, remember that most handmade soaps naturally fall within an alkaline range of 8-10 on the pH scale, which is normal and doesn't necessarily indicate excess lye.
After dipping your pH strip into your soap solution, compare the color change to the provided chart:
- Green to blue tones typically indicate a pH of 8-9, which is ideal for most finished soap products.
- Dark blue to purple suggests a pH of 10-11, common in newer soaps that may need additional curing time.
- Bright purple (pH 12+) signals potentially unsafe soap with excess lye that requires further curing or reformulation.
Remember that pH strips provide estimates rather than definitive safety assessments for your soap. Cold process soap will rarely test as neutral despite what some marketing materials might suggest about pH levels.
Soap Ph Ranges
Understanding five key pH ranges helps you interpret your soap's safety levels more accurately.
pH levels above 11 indicate excessive lye content that's too harsh for skin use and should be discarded or rebatched.
At pH 10, soap is safe for most skin types but may feel drying on sensitive skin.
pH 9 offers better balance with some moisturizing properties, making it ideal for everyday use.
Soaps at pH 8 provide enhanced moisturizing benefits while maintaining effective cleansing power.
Anything below pH 8 may lack sufficient cleansing ability to function properly as soap.
Remember that properly cured soap (4-6 weeks) will naturally lower in pH over time as carbon dioxide converts free alkali into sodium carbonate.
Despite soap's alkalinity contrasting with skin's natural pH of 5.5, brief exposure doesn't disrupt your skin's acid mantle.
The saponification process must complete fully before accurate pH testing, which typically takes 24-48 hours after making the soap.
Phenolphthalein Solution: The Chemical Indicator Method
When soapmakers need a chemical method to test for lye safety, phenolphthalein solution often becomes their go-to option. This indicator changes from clear to pink in a pH range of 8.2 to 9.8, making it suitable for testing soap's alkalinity.
Phenolphthalein offers soapmakers a visible alkalinity check, turning from clear to pink when soap pH reaches potentially concerning levels.
For more accurate results, you'll need to test dissolved soap rather than applying the solution directly to solid bars. While many soapers rely on this method, it may produce less accurate results than proper total alkalinity testing.
- Preparation: Create a solution using distilled water or a 50/50 water-alcohol mix for testing.
- Application: Apply to liquid soaps or during hot process soap making to check neutralization.
- Limitations: Results vary based on sampling method and curing time; not as precise as pH meters for high alkalinity.
Remember that phenolphthalein works best as a troubleshooting tool rather than a definitive safety test for finished soap.
The Tongue Zap Test: A Traditional Sensory Approach
The tongue zap test offers a direct way to detect free alkali by sensing the distinct "electric shock" sensation caused by remaining lye.
To perform this test correctly, dampen your fingertip with soap residue and lightly touch it to your tongue rather than licking the soap directly, which prevents potential alkali burns. You should wait at least five days after making your soap before conducting this test to allow for initial saponification to complete.
When interpreting results, you'll know your soap is lye-heavy if you feel an immediate zap or tingling, while safe soap will taste bland or slightly soap-like without the shocking sensation.
Detecting Free Alkali
Among the most controversial methods for testing soap safety, the tongue zap test has persisted through generations of soap makers despite its inherent risks. This traditional sensory approach involves briefly touching the soap to your tongue to detect free alkali, which produces a distinct "zap" sensation similar to touching a battery. Many soap makers incorrectly test by licking the soap directly instead of using the proper finger-test method.
When considering this test, remember these important points:
- Wait at least five days after making soap before testing to allow the saponification process to complete.
- Look for warning signs like seeping liquid or crystallization that indicate unsafe lye levels before attempting the test.
- Consider safer alternatives such as pH strips or red cabbage juice indicators, especially in professional settings where GMP standards discourage tongue testing.
Proper Tongue Technique
If you're considering the tongue zap test despite its controversial nature, proper technique can greatly reduce your risk of injury. Always wait at least 5 days after making soap to guarantee saponification is complete.
The safest approach isn't directly licking the soap—instead, wet your finger, rub it lightly on the soap's surface, then touch your finger to your tongue. You're looking for a distinctive "zap" sensation similar to licking a battery, which indicates free alkali remains. Some soapmakers describe this feeling as a strong tingle similar to an electric shock.
Never test soap that's seeping liquid, as it may contain active lye. If you're uncertain about safety, consider alternative methods like pH strips or the red cabbage test.
Remember that even experienced soapmakers sometimes opt for instrumental testing rather than risking direct contact.
Reading The Results
After conducting a zap test, interpreting your results accurately becomes essential for determining soap safety. The "zap" sensation resembles touching a battery with your tongue—sharp and electric—indicating excess lye remains in your soap.
No zap typically means your soap is safe for use, though the sensation can vary based on soap composition. White crystals on the soap surface are often just harmless ash rather than dangerous lye residue.
For reliable results:
- Test multiple areas of your soap bar, as lye concentration may vary throughout.
- Wait at least 24-48 hours after making soap before testing to allow initial saponification to complete.
- Consider alternative methods like pH strips or red cabbage juice if you're concerned about safety risks.
Remember that false readings can occur from crystallization or inexperience with interpreting the sensation, so combine testing methods when possible.
Visual Inspection: Identifying Lye Pockets and Crystals
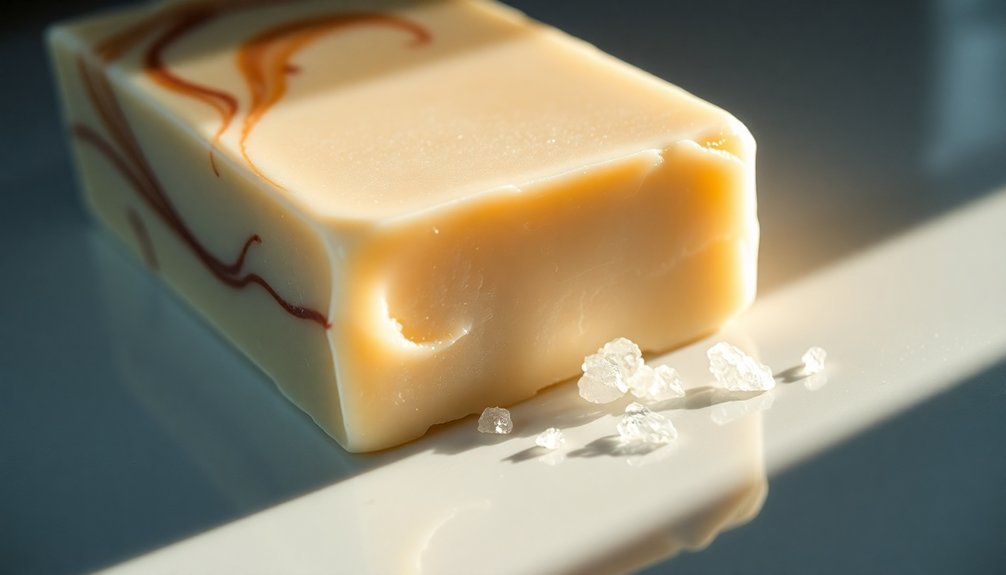
Visual inspection provides one of the most straightforward methods for identifying potentially unsafe soap containing lye pockets or crystals.
Look for white or transparent spots within your soap—these indicate areas of high alkalinity where unsaponified lye remains trapped. These pockets form due to incorrect mixing, uneven heat distribution, or improper lye-to-water ratios. If you've identified lye pockets, keep safety goggles on when handling the soap to protect your eyes from potential splashes of caustic material.
You'll also want to evaluate your soap's texture. Excessive hardness or brittleness often signals too much lye in your formula. A properly made soap should feel firm but not brittle to the touch.
Lye-heavy soap poses serious safety concerns, potentially causing skin irritation, burns, or allergic reactions upon use. Always examine your soap carefully before using it, especially if you're uncertain about the mixing process or ingredient measurements during production.
Lather Quality Assessment: What Your Bubbles Reveal
When you create handmade soap, the lather quality provides critical insights into its lye safety and overall formulation success. Properly saponified soap creates distinctive lather patterns—excessive lye typically produces harsh, thin lather while balanced formulations generate rich, stable bubbles.
Test your soap's lather quality with these methods:
- Consistent comparison – Test all soaps simultaneously with the same water source and temperature to eliminate variables that might skew your assessment.
- Texture evaluation – Rub soap between wet hands to assess whether it produces creamy lather (stearic/palmitic acids) or bubbly lather (lauric/myristic acids).
- Bubble longevity test – Safe, well-balanced soap maintains its bubble structure longer, while lye-heavy soap produces fleeting lather that dissipates quickly. For precise evaluation, consider measuring the water-to-soap ratio which significantly affects lather quality and performance characteristics.
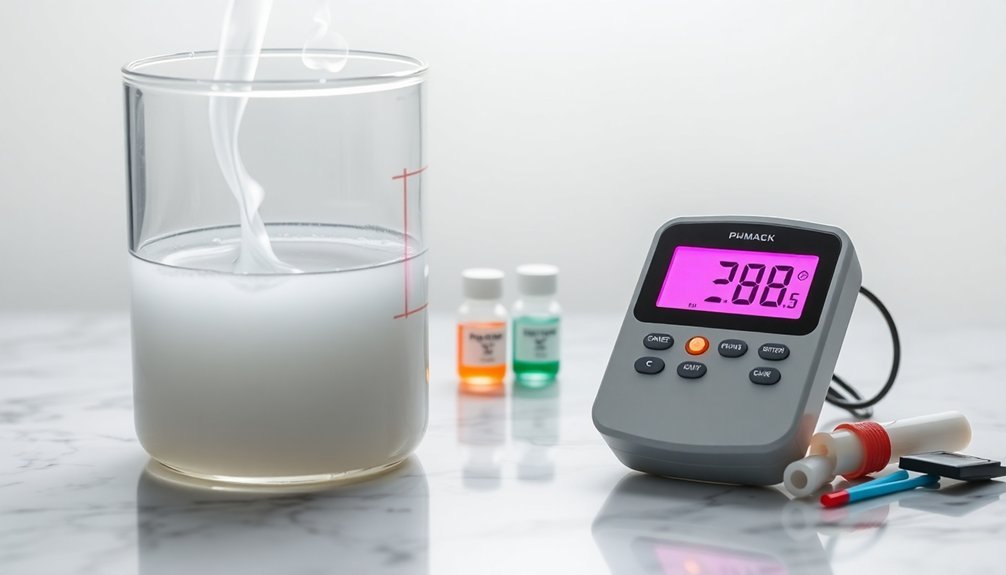
Water Dissolution Test: Checking for Caustic Reactions
To perform a water dissolution test, you'll need to mix a small sample of your soap with distilled water and observe how it interacts with the solution.
Watch carefully for any signs of cloudiness, excessive heat production, or burning sensations on your skin, as these indicate potentially dangerous levels of residual lye.
Always wear protective gloves while handling test samples and keep vinegar nearby to neutralize any accidental lye exposure that might occur during testing. This test utilizes the principles of saponification reactions similarly to those explored in educational chemistry experiments.
Preparing the Solution
The water dissolution test serves as a critical first step in determining whether your homemade soap contains excess lye. To prepare the test solution properly, you'll need to grate a small sample of your cured soap and dissolve it in distilled water.
When preparing your solution for testing, follow these key steps:
- Use heat-resistant containers made of glass or stainless steel to prevent unwanted chemical reactions that could compromise your test results.
- Add your grated soap to cold water (not water to soap) and stir gently until completely dissolved, ensuring all particles have broken down.
- Allow the solution to cool completely before proceeding with pH testing, as temperature can affect accuracy of caustic reaction assessments.
The chemical process of saponification that creates soap must be complete before testing to ensure accurate results.
Always wear appropriate safety gear including gloves and eye protection when handling soap solutions during testing procedures.
Reaction Interpretation Guide
Interpreting the results of your water dissolution test correctly will determine whether your soap is safe for use or still contains dangerous levels of lye. During the test, watch for specific reactions that indicate safety concerns.
Your soap should dissolve smoothly without generating heat or caustic fumes. If you notice excessive bubbling, a strong alkaline smell, or the solution becomes very hot, these are warning signs of residual lye. Safe soap will create a cloudy or milky solution without these reactions.
After this initial assessment, confirm your findings with pH testing. The dissolution test serves as your first indicator, but pH strips provide numerical confirmation that your soap's pH falls within the safe range of 8-10. Understanding the chemical principles of saponification is essential for accurately evaluating soap safety.
Remember to conduct these tests in a well-ventilated area to avoid inhaling any potential fumes.
Safe Handling Practices
Safety measures must be in place before you conduct the water dissolution test to check for caustic reactions in your soap.
Always work in a well-ventilated area to prevent inhaling potentially harmful fumes. Since lye is highly caustic, you'll need proper protective equipment including safety goggles, gloves, and clothing that covers your skin.
When performing the test, follow these critical steps:
- Use only glass, stainless steel, or heat-resistant plastic containers – never aluminum or tin which react with lye.
- Always add lye to cold water (never reverse this order) and stir slowly to control the exothermic reaction.
- Keep your workspace clear of distractions, children, and pets, with sufficient space to prevent splashing.
Have an emergency plan ready for any accidental spills or skin contact. For uncertain results, consider using pH indicator papers as an additional method to confirm the safety of your soap.
Olive Oil Application: Observing Chemical Interactions
When olive oil meets lye during saponification, several fascinating chemical interactions take place that directly impact your final soap's quality. These reactions transform triglycerides into soap molecules and glycerin through an irreversible chemical process. Sodium hydroxide lye is highly caustic, so always ensure proper protective gear is worn when testing soap for lye safety.
| Observation | What It Means | Safety Implication |
|---|---|---|
| Thickening mixture | Saponification beginning | Reaction is progressing normally |
| Translucent edges | Soap is forming | Lye is being consumed |
| pH level 7-9 | Saponification complete | Safe for skin use |
| Excessive lather | Too much lye used | Potential skin irritation |
| Oily feel after curing | Insufficient lye | Safe but less effective |
You'll notice olive oil soap produces less lather than other varieties due to its monounsaturated fat content. Always monitor temperature during mixing to guarantee stability and proper chemical conversion, and allow several weeks of curing for complete saponification.
Paper Test: Using Litmus Paper for Quick Results
Litmus paper offers a quick but limited way to assess your soap's safety, though it's frequently confused with more precise pH-indicator papers. When you apply litmus paper to your soap, it turns blue in alkaline conditions, indicating whether your soap remains caustic, but won't provide the exact pH measurement you need for confidence. Remember that properly cured soap should have no remaining lye, as the saponification process requires 4-6 weeks to complete.
For effective litmus paper testing:
- Moisten a small area of your soap with distilled water.
- Press the litmus paper against the damp surface for 15-30 seconds.
- Compare the resulting color to determine if your soap is strongly alkaline.
While this method is non-destructive and allows you to preserve your soap, you'll get more reliable results using proper pH-indicator papers that include a detailed color chart for precise pH readings.
Curing Time Verification: Monitoring Ph Changes
Monitoring pH changes throughout your soap's curing process provides essential insight into its safety development and readiness for use.
You'll notice your soap's pH gradually decreasing from highly alkaline levels to a safe range of 7-10 during the 4-6 week curing period.
Test your soap regularly using pH strips for quick assessments or a digital pH meter for precise measurements.
For hot process soaps, which saponify faster due to heat application, you'll need more frequent testing during cooking.
Remember that different oils can affect final pH levels.
While curing, guarantee proper air circulation, maintain a stable temperature around 77°F, and protect bars from direct sunlight and high humidity.
Never use soap testing above pH 10, as it remains caustic and requires additional curing time.
Using Red Cabbage Indicator is an excellent chemical-free alternative for those seeking natural testing methods without harsh chemicals.
Frequently Asked Questions
Can I Use Regular Ph Strips From a Pool Supply Store?
You shouldn't use pool pH strips for soap testing. They're designed for water and won't give accurate readings for soap. Instead, invest in soap-specific pH strips or consider other methods like phenolphthalein or digital meters.
How Do I Safely Dispose of Lye-Heavy Soap?
To safely dispose of lye-heavy soap, you'll need to double bag it and contact your local hazardous waste center. Don't attempt to neutralize it yourself. Always wear gloves and eye protection when handling it.
Can Essential Oils Affect the Accuracy of Testing Results?
No, essential oils won't affect your lye safety testing accuracy. While they may change soap's color or scent, they don't interfere with pH readings or other methods you'd use to detect excess lye.
Is Homemade Soap Always More Alkaline Than Commercial Soap?
No, homemade soap isn't always more alkaline than commercial products. While homemade soap typically has pH 9-10, commercial options vary widely. Some "commercial soaps" are actually synthetic detergents with lower pH levels than true soap.
How Often Should I Test Soap During the Curing Process?
You'll want to test your soap every few days initially, then weekly. Start after unmolding (about 48 hours), test again after cutting, and continue until your soap reaches a stable pH (8-9.5).
In Summary
You've now learned ten reliable methods to verify your soap's lye safety. Whether you're using pH strips, phenolphthalein, or the traditional tongue test, you've got options that fit your comfort level and available supplies. Remember, proper testing isn't just about safety—it's about ensuring your handcrafted soaps deliver the quality experience you've worked hard to create. Don't rush the curing process, and you'll be rewarded with perfectly balanced soap.


Leave a Reply