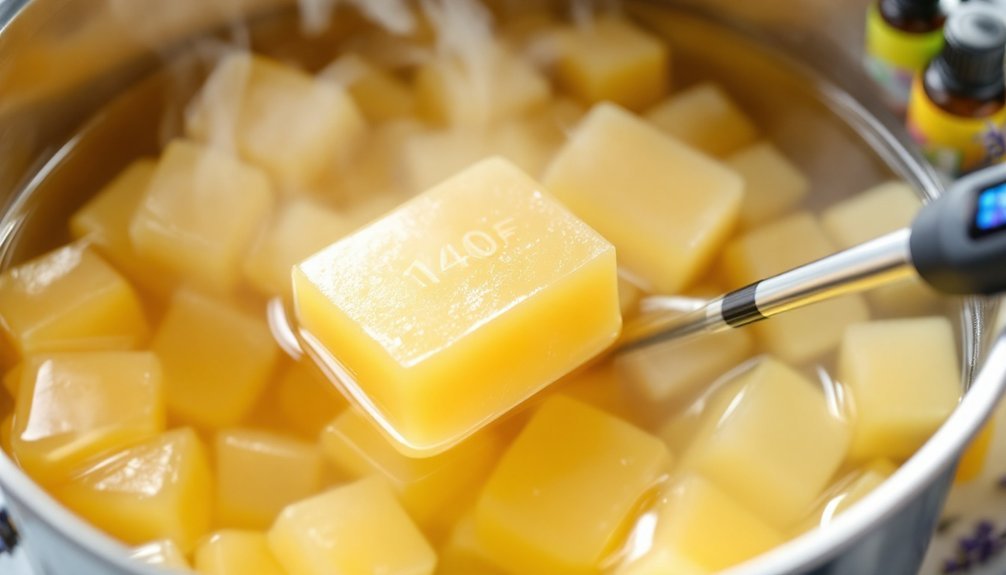
For perfect melt and pour soap, maintain temperatures between 140-150°F when melting and adding colorants or fragrances. Never exceed 160°F to avoid burning your soap base. When layering, let each layer cool to 125°F and develop a skin (30-90 minutes), then spritz with alcohol before adding the next layer. Cool finished soaps for 4-6 hours undisturbed. Mastering these temperature ranges will transform your homemade soaps from disappointing to professional-quality creations.
Perfect Melt & Pour Soap Temperatures: Beginners Guide
While creating beautiful handmade soaps might seem intimidating at first, understanding the right temperatures is your key to success.
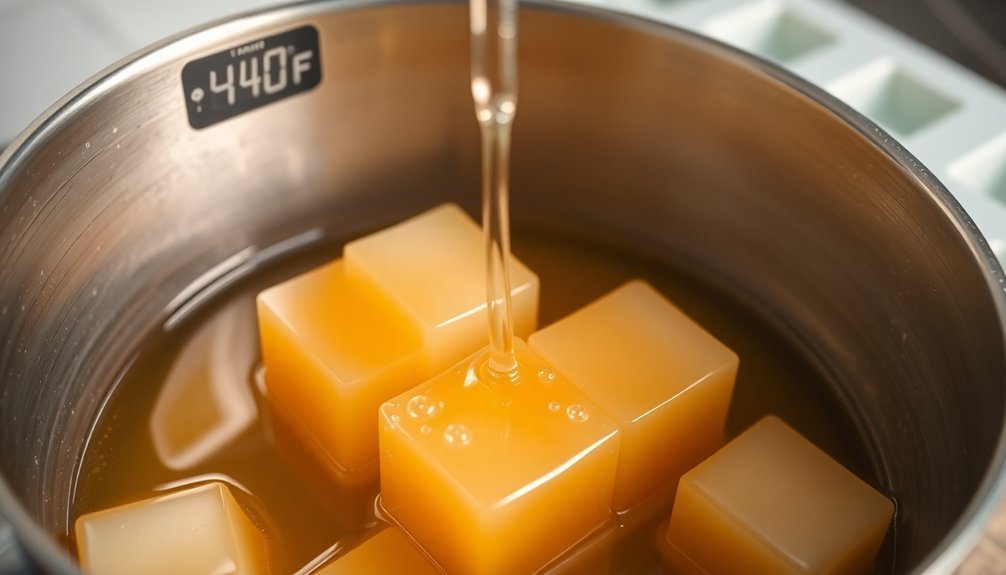
Melt and pour soap begins to soften around 120-125°F, so you'll need to carefully monitor temperature throughout the melting process.
For best results, aim for a pouring temperature between 140-150°F when adding fragrances and colors. This range guarantees your additives mix properly without degrading.
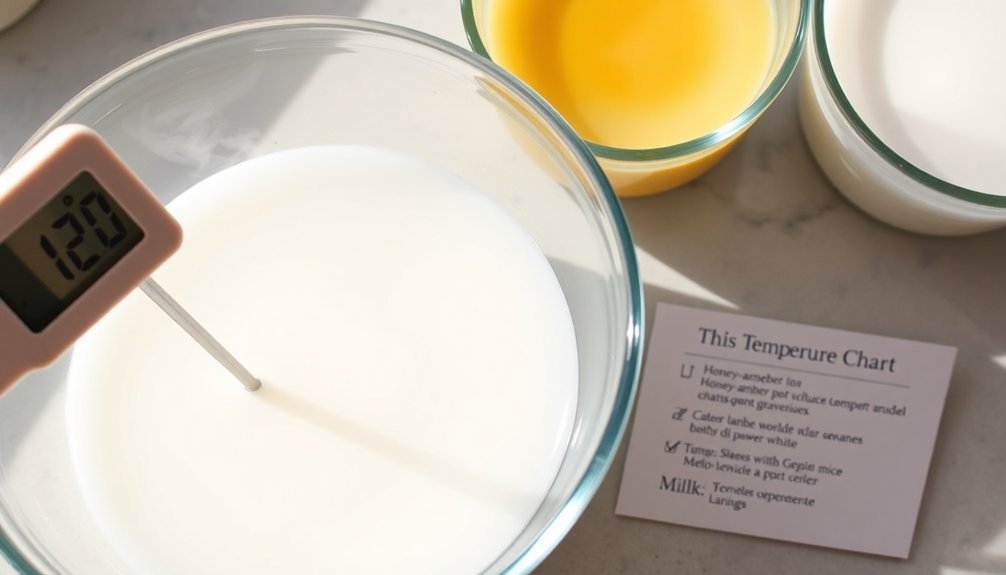
When creating multiple layers, patience is vital—allow each layer to cool to 125°F before adding the next for successful layering.
Invest in an infrared thermometer for precise readings that will dramatically improve your results.
Be careful not to overheat soap beyond 160°F, as this causes a gummy final product that won't hold additives well.
Master these temperature guidelines, and you'll create professional-quality soaps every time.
The Science Behind Soap Base Melting Points
The fascinating chemistry of melt and pour soap bases explains why temperature control is so critical to your soap-making success. At around 120°F, your soap base begins its transformation from solid to liquid, reaching full melt by 140°F. This temperature range isn't arbitrary—it's where the fatty acids and glycerin components completely separate from their crystalline structure.
You'll achieve ideal conditions for adding fragrance oils and colorants between 140-150°F, ensuring proper incorporation without ingredient degradation.
When layering, cooling to 125°F prevents melting previous layers while maintaining enough heat for proper adhesion.
Be vigilant about not exceeding 160°F, as excessive heat damages the soap's integrity.
Using an infrared thermometer to monitor temperatures precisely will help you create beautiful, consistent results every time you pour.
Ideal Temperature Ranges for Different Soap Bases
Different soap bases require specific temperature ranges to achieve ideal results in your melt and pour projects. Most standard soap bases begin melting around 120-125°F, but you'll want to aim for pouring temperatures between 140-150°F for maximum flow and adhesion.
When working with specialty bases containing shea butter or aloe vera, always check manufacturer guidelines as their melting points may vary slightly.
Temperature control is essential throughout the soap-making process—never exceed 160°F to avoid burning your base and ruining its texture.
For multi-layered creations, allow your bottom layer to cool to about 125°F before adding the next layer to maintain layer integrity.
Precise temperature management guarantees your melt and pour soaps will have professional results every time.
How Temperature Affects Colorants and Additives
Maintaining precise temperatures when adding colorants and additives to your melt and pour soap base considerably impacts your final product's appearance and quality.
For best results, add colorants when your soap base reaches 140-150°F (60-65.6°C), ensuring proper dispersion and vibrant coloring throughout your creation.
Be careful not to exceed 150°F when incorporating colorants, as higher temperatures diminish their potency, resulting in dull, muted soap.
Similarly, overheating beyond 160°F causes the base to develop a gummy texture and may lead to colorant clumping or separation.
When using liquid additives, limit them to less than 1% of total soap weight to preserve texture and lather quality.
Monitoring your soap's temperature closely prevents uneven coloration and separation issues, guaranteeing your finished products showcase the vivid colors you intended.
Preventing Common Temperature-Related Mistakes
You'll ruin your soap by heating above 150°F, causing burning and poor texture that can't be fixed once it occurs.
Cooling your soap too rapidly creates bubbles that mar your final product, while uneven temperatures lead to separation between layers.
Your additives like fragrance oils and colorants need specific temperature ranges—too hot destroys scents, while too cool prevents proper dispersion.
Too Hot, Soap Burns
The most common mistake in melt and pour soap making is overheating your soap base, which can quickly turn your creative project into a disappointing mess.
When your soap exceeds 140°F (60°C), it burns and compromises quality, resulting in a gummy texture that won't yield clean cuts.
Remember that melt and pour soap begins to liquefy around 120-125°F (49-52°C), which is your ideal working temperature range.
To guarantee even melting, always heat your base in 30-second intervals, stirring thoroughly between each. This prevents hot spots that can damage your soap.
Investing in an infrared thermometer will help you monitor your soap's temperature precisely, preventing those disappointing burns.
Cooling Creates Bubbles
While overheating soap can ruin your project, cooling presents its own challenges. Cooling soap too quickly or at improper temperatures often leads to unwanted bubbles that mar your soap's surface and appearance.
Maintain a pouring temperature of 140-150°F (60-65.6°C) to guarantee proper layer adhesion and minimize bubble formation. Allow each bottom layer to cool and form a skin before adding the next layer—pouring too soon causes separation and trapped air.
Immediately after pouring, spray the surface with rubbing alcohol to eliminate surface bubbles, but use sparingly to avoid a gummy texture.
Throughout the cooling process, monitor your soap carefully and protect it from drafts or sudden temperature changes. These simple temperature management steps will greatly improve the quality of your finished soap bars.
Temperature Affects Additives
Understanding the delicate relationship between temperature and additives is critical for successful melt and pour soap making. Each additive requires specific temperature ranges to maintain its integrity and effectiveness in your soap base.
| Additive Type | Ideal Temperature | Why It Matters |
|---|---|---|
| Fragrance Oils | 140-150°F (60-65.6°C) | Prevents evaporation while guaranteeing proper incorporation |
| Colorants/Micas | 130°F (54°C) | Guarantees even distribution and prevents clumping |
| Liquid Additives | Below 125°F (52°C) | Maintains additive integrity (keep under 1% of total soap weight) |
| Melted Soap Base | 120-125°F (48-52°C) | Perfect pouring temperature for most applications |
| Additives Overall | Never above 140°F (60°C) | Prevents breakdown of colors and fragrances |
Always monitor your temperature carefully when working with additives. Overheating your melt and pour soap can destroy delicate ingredients, resulting in dull colors and weakened scents.
Equipment for Accurate Temperature Monitoring
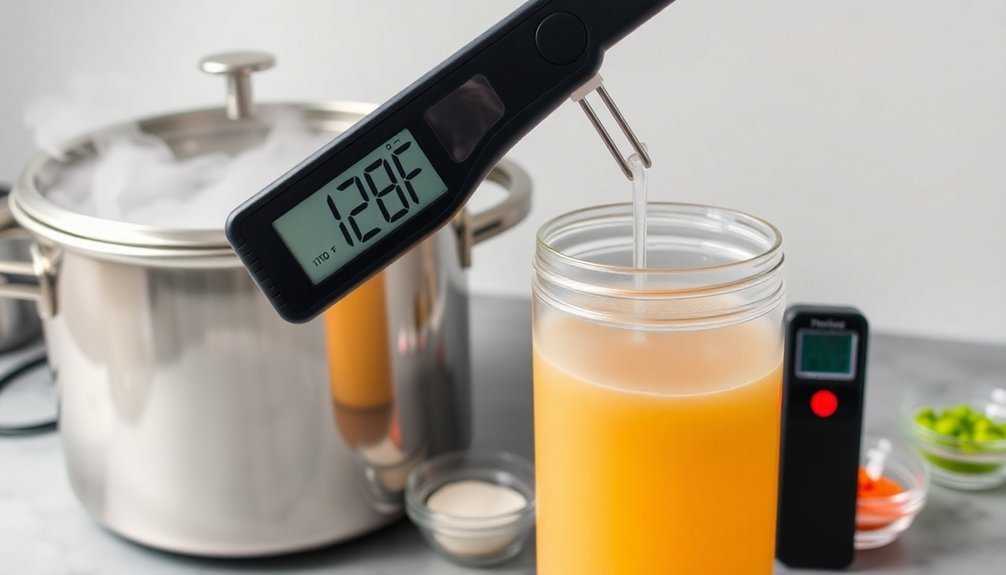
Two vital tools stand at the forefront of successful melt and pour soap making: infrared and digital kitchen thermometers.
An infrared thermometer offers touchless measurement, perfect for monitoring your soap base within the ideal 140-150°F range for adding fragrances and colorants.
For more traditional crafters, a digital kitchen thermometer provides precise readings when inserted directly into your melting soap. This accuracy becomes significant when layering—you'll need to verify your first layer has cooled to 125°F before pouring the next to prevent separation.
Pair these tools with heat-resistant containers to maintain consistent temperatures throughout the melting process.
Don't forget regular calibration of your thermometers to guarantee your readings remain accurate. This simple maintenance step can make the difference between perfect soap and disappointing results.
Layering Techniques and Temperature Control
Mastering gradient layering in melt and pour soap requires you to precisely control temperature changes between each pour, ensuring the bottom layer stays below 125°F while your next layer remains fluid at 140-150°F.
You'll create distinctly different effects with clear versus opaque bases, as transparent layers require more careful temperature monitoring to prevent cloudiness while opaque layers are more forgiving.
Timing is everything—wait for that essential skin to form on your bottom layer (30-90 minutes), then spritz with alcohol before pouring your next layer to achieve seamless adhesion without melting through previous work.
Gradient Layering Mastery
When creating stunning gradient effects in melt and pour soap, precise temperature control becomes your most valuable skill. For successful layering, allow each layer to cool to 125°F or below before adding the next to prevent melting previous work.
Lightly spritz the cooled layer with 99% isopropyl alcohol to guarantee proper adhesion between layers.
Keep your soap base between 140-150°F when adding fragrance oil to avoid separation or gumming issues. An infrared thermometer is worth the investment for accurately monitoring these critical temperatures.
Remember that patience is essential—your gradient will only look professional if you give each layer several hours to fully harden.
This waiting time isn't wasted; it's what transforms your soap from amateur to artisanal as colors shift smoothly from one shade to the next.
Clear vs. Opaque Effects
Now that you've mastered the art of gradient layering, let's explore the distinct world of clear versus opaque base options and how temperature affects each.
Clear bases must be melted at temperatures not exceeding 140°F to maintain transparency, allowing for vibrant colors and visible embeds in your final product. In contrast, opaque bases yield softer pastel shades, giving your soap a different aesthetic appeal.
For successful layering techniques, temperature control is essential. Pour your top layer at 140-150°F to guarantee proper adhesion without melting the layer beneath.
Watch out for cooling layers—if they drop below 125°F, they may develop a skin that prevents bonding layers effectively. A light mist of isopropyl alcohol can enhance adhesion between layers, but use sparingly to avoid separation issues.
Your careful attention to these temperature differences creates stunning visual effects.
Essential Temperature Timing
Successful layering techniques depend on precise temperature timing throughout your soap-making process. Your melt and pour base begins melting at 120-125°F, making temperature monitoring critical for layered designs.
Using an infrared thermometer guarantees you get accurate temperature readings for each layer, preventing melting of previous layers while maintaining proper adhesion between layers.
For perfect layering:
- Pour your next layer when the previous one has formed a skin but before 90 minutes pass
- Confirm each new layer is at or below 125°F before pouring
- Spritz with 99% isopropyl alcohol between layers to eliminate air pockets
- Allow complete cooling between layers for skin-safe soap with distinct separation
Essential timing is key—pour too soon and layers blend; wait too long and they separate, compromising your finished design.
Cooling Process and Proper Setting Temperatures
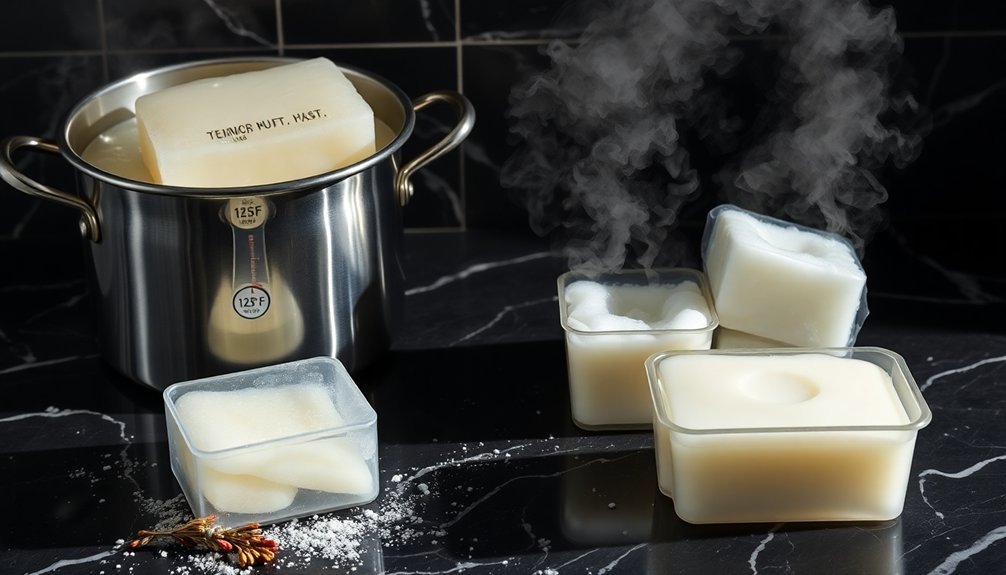
Once you've poured your melted soap, the cooling phase becomes critical to achieving professional results. Your melt and pour soap requires 4-6 hours of undisturbed cooling to harden fully and maintain its shape. During this time, proper setting temperatures determine the quality of your final product.
When creating layered soaps, timing is everything. Wait until your bottom layer has cooled below 125°F (52°C) before adding your next layer. You'll notice a skin develops on the cooled layer—this is your cue that it's ready, ideally within a 90-minute window.
Before pouring additional layers, lightly spritz the surface with rubbing alcohol to eliminate surface bubbles and enhance layer adhesion. Just be careful not to overdo it, as excessive alcohol can cause separation.
Frequently Asked Questions
What Is the Best Temperature to Pour Melt and Pour Soap?
You'll want to pour your melt and pour soap between 140°F to 150°F (60°C to 65.6°C). This temperature guarantees proper layer adhesion while preventing melting of previous layers you've already poured.
How Do You Make Melt and Pour Soap Smell Stronger?
To make melt and pour soap smell stronger, use 2-3% fragrance oil by weight, add it at 140-150°F, choose skin-safe scents from reputable suppliers, and consider combining with complementary essential oils for deeper fragrance.
What Is the Ratio of Essential Oils to Melt and Pour Soap?
You'll want to use 2-3% essential oil by weight in melt and pour soap. That's about 0.3 oz (8.5g) per pound of soap. Don't exceed 3% to avoid skin irritation.
How Many Bars of Soap Does 2 Lbs of Melt and Pour Make?
You'll get about 12-16 bars from 2 pounds of melt and pour soap base. The exact yield depends on your mold size and how thick you cut each bar (typically 2-2.5 ounces each).
In Summary
You're now equipped with the temperature know-how to create flawless melt and pour soaps. Remember that each base has its sweet spot—too hot causes problems, too cool leads to setting issues. Keep your thermometer handy, practice patience, and don't rush the process. With consistent temperature control, you'll soon find your crafting becomes more predictable and your soap creations more professional.


Leave a Reply