To make perfect cold process soap, maintain lye and oils between 120-130°F, keeping them within 10° of each other. Use hot lye to melt solid oils directly in your soap pot. For fragrance sensitivity, lower temperatures to 100-110°F. Insulate loaf molds immediately after pouring for vibrant colors and proper gel phase. Choose digital laser thermometers for accuracy, and adjust temperatures seasonally—cooler in summer, warmer in winter. These temperature techniques will transform your soaping results.
10 Best Temperature Tricks For Cold Process Soap
When making cold process soap, controlling your temperatures can mean the difference between success and failure. For best results, maintain both your lye solution and soap making oils within the 120-130°F temperature range. This sweet spot guarantees proper saponification while helping you avoid false trace, which can ruin your batch.
After pouring your soap, consider using insulation methods like wrapping your mold in towels or placing it in a cardboard box. This promotes gel phase, enhancing color vibrancy and reducing soda ash formation.
Check your soap after 30 minutes—it should feel warm and look gelatinous. If it's cooling too quickly, add more insulation.
Remember that different soap recipes may require temperature adjustments. For milk-based formulations, use cooler lye temperatures to prevent scorching and preserve the natural color.
The Heat Transfer Method: Using Lye Temperature to Your Advantage
While many soap makers fuss with multiple thermometers and heating equipment, the Heat Transfer Method offers a brilliant shortcut that leverages the natural heat from your lye solution.
This technique works by strategically using the hot lye solution to melt the oils in your recipe. First, weigh your solid oils into your soap pot, then pour the freshly mixed lye solution over them and stir gently. The heat naturally melts the oils, maintaining consistent temperatures throughout the process.
You'll find this method especially effective with soft, liquid, and moderately hard oils. Always consider the melting points of your chosen fats to guarantee success.
Managing Room Temperature for Consistent Gel Phase Results
Despite its often-overlooked importance, room temperature plays an essential role in achieving a consistent gel phase for your cold process soap. Maintain your ambient temperature between 70-80°F to support the natural heating that occurs during the saponification process.
Using a loaf soap mold provides better heat retention than cavity molds, which can lead to patchy gelling. You'll want to insulate your soap properly—place it in a drawer, box, or on a heating pad to retain warmth.
If your room runs cool, wrap your mold in towels or blankets for additional insulation. Check your soap after 30 minutes; it should feel warm and look gelatinous.
If it's cooling rather than heating up, add more insulation immediately. This attentive management guarantees your soap reaches the gel phase successfully.
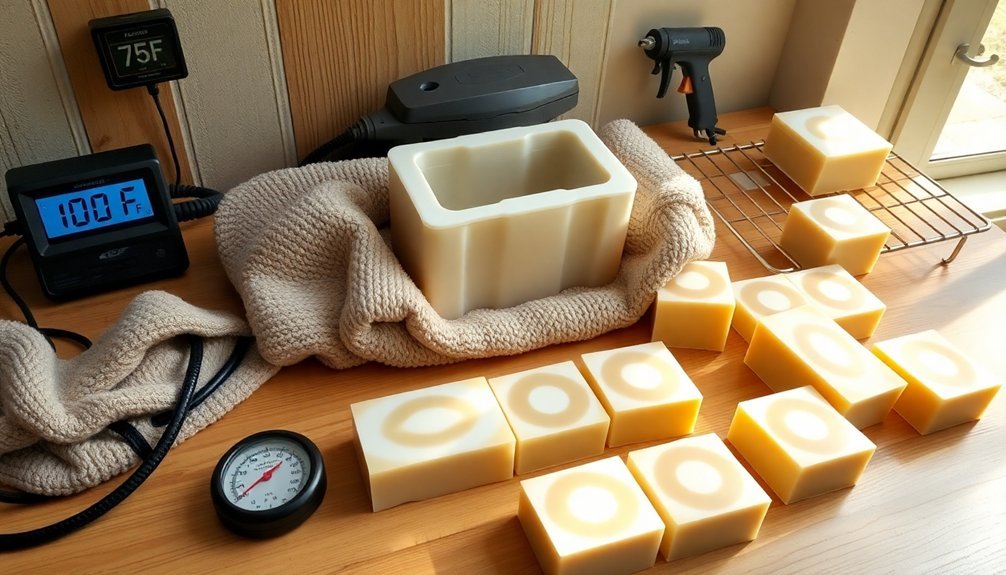
Strategic Insulation Techniques for Vibrant Color Development

Because proper insulation directly impacts color vibrancy in your cold process soap, mastering strategic techniques becomes essential for eye-catching results.
Choose loaf molds over cavity molds as they retain heat more effectively during saponification, promoting complete gel phase development.
You'll achieve the most vibrant colors by insulating your soap immediately after pouring. Place your mold in a drawer, box, or wrap it with towels to maintain ideal temperature.
For additional heat, consider using a heating pad on low setting. Be aware that certain fragrance oils, particularly those with spicy notes, generate extra heat that enhances gel phase.
Monitor your soap closely after insulation – proper gel phase appears as a darker, translucent center that spreads outward.
This process not only intensifies colors but also improves overall soap quality by preventing soda ash formation.
Temperature Adjustments for Working With Milk-Based Recipes
Milk-based soap recipes require a completely different temperature approach than standard formulations.
When working with milk-based recipes, you'll need to keep your lye solution cool—ideally below 100°F—to prevent scorching that can ruin your soap's appearance and scent.
For the best results, try incorporating milk at lower temperatures (70-80°F) to avoid excessive heating during the chemical reaction. A clever technique is freezing your milk in ice cube trays beforehand, then slowly adding lye to these frozen cubes to create a controlled reaction.
Always measure your mixture's temperature before proceeding. Your final soap mixture temperature should stay below 110°F throughout the process to prevent discoloration and maintain the milk's beneficial properties.
This temperature discipline in cold process soapmaking will guarantee smooth, creamy results.
Freezer and Refrigerator Cooling Strategies for Delicate Formulations
While high temperatures accelerate saponification, they can spell disaster for delicate soap formulations. Your milk-based, honey, or sugar-added recipes particularly benefit from controlled cooling.
Using the freezer for 5-24 hours can effectively halt overheating, but monitor closely to prevent freezing solid. Alternatively, refrigerator cooling provides a gentler option that reduces soda ash formation while maintaining a consistent temperature.
Before cooling your soap, make sure it's adequately insulated to avoid drastic temperature changes that could cause cracking:
- Place milk-based formulations in the freezer immediately after pouring to prevent scorching.
- Move soap to the refrigerator after 2-3 hours in the freezer for continued controlled cooling.
- Use refrigerator cooling for complex designs or when incorporating embeds.
- Monitor temperature throughout cooling to prevent separation or texture issues.
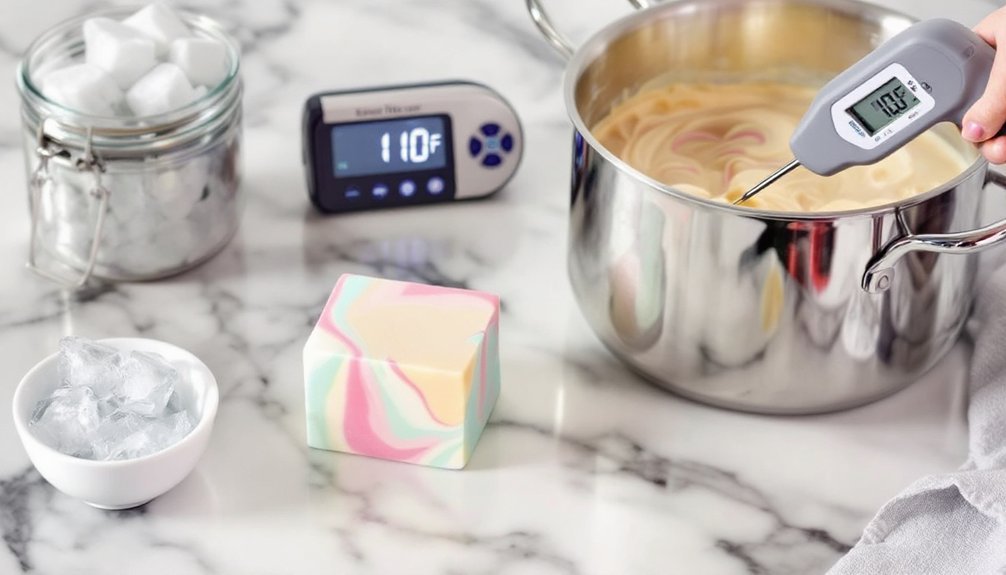
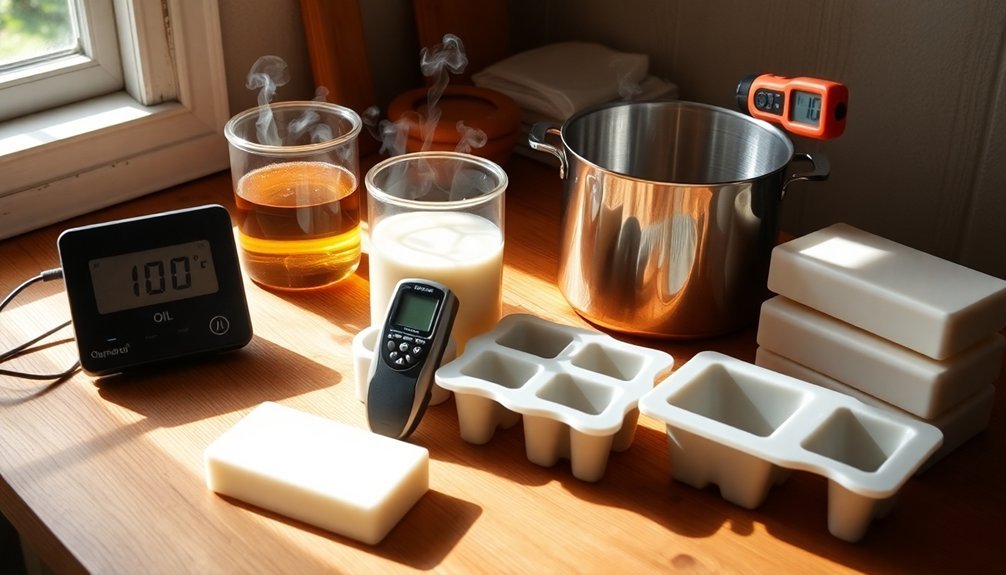
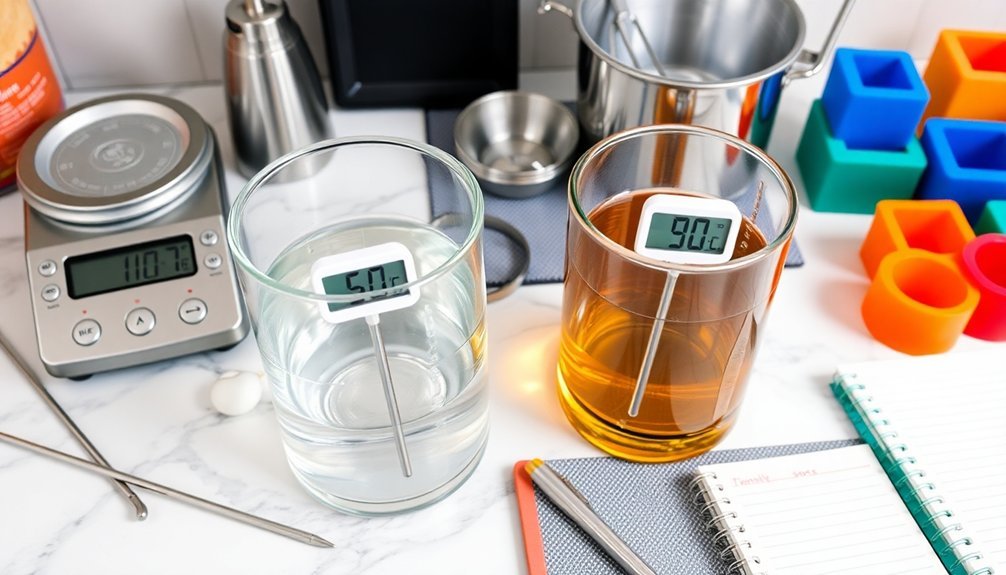
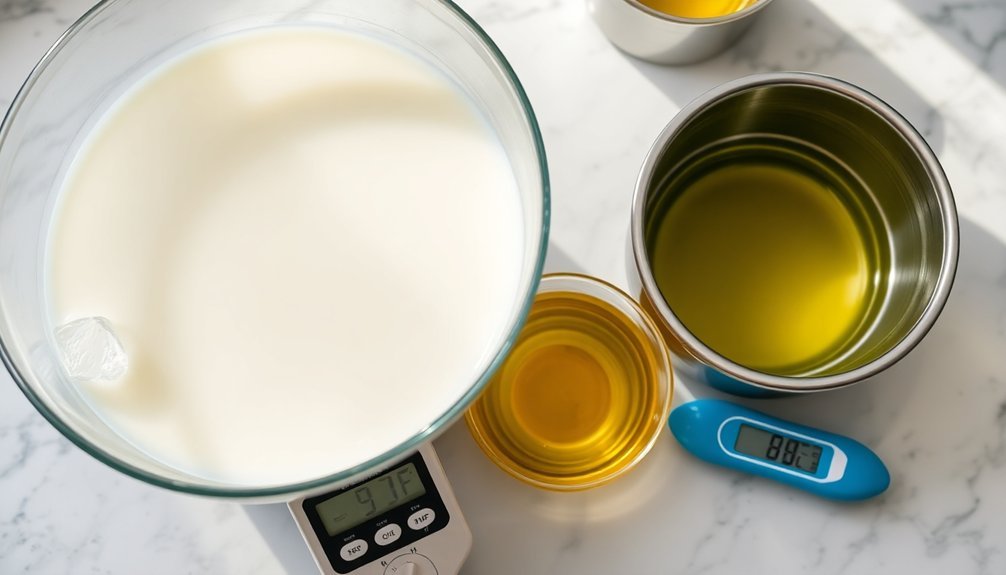
Thermometer Selection and Proper Temperature Monitoring
Choosing the right thermometer for soap making can make or break your batch, with digital laser models offering the precision you'll need throughout the process.
You'll want to check both your lye solution and oils frequently, ensuring they remain within 10°F of each other, typically in the 120-130°F range for ideal saponification.
When you monitor temperatures consistently, you'll gain the confidence to make real-time adjustments based on visual cues from your oils and lye, adapting to your specific environment and recipe requirements.
Thermometer Options Explained
Since accurate temperature monitoring is vital for cold process soap success, you'll need a reliable thermometer in your toolkit.
Digital laser thermometers offer quick, accurate readings without direct contact with your lye and oils, preventing cross-contamination during soap making. Infrared options are excellent for checking surface temperatures of heated oils with precision and safety.
- Digital laser thermometers – Provide instant readings without contaminating your ingredients
- Infrared thermometers – Allow non-contact temperature monitoring of both lye solutions and oils
- Traditional candy thermometers – Work adequately but require immersion, risking contamination
- Digital probe thermometers – Offer precise readings with minimal liquid contact
Whatever option you choose, make certain it's properly calibrated for accurate readings.
Temperature discrepancies as small as 5°F can considerably impact your soap's quality and curing process.
Reading Temperature Accurately
Three key factors determine your success in temperature monitoring for cold process soap: proper thermometer placement, consistent checking intervals, and understanding ideal temperature ranges.
When reading temperature accurately, never allow your digital laser thermometer's probe to touch the container bottom, as this creates false readings from surface heat transfer.
Your lye solution can reach 200°F during mixing, so monitor temperature frequently as it cools to the recommended 120-130°F soaping temperature. This precision prevents false trace and guarantees proper saponification.
Continue checking throughout the process, especially when using insulation methods to achieve gel phase.
Maintaining favorable conditions requires vigilance—your digital thermometer is your most reliable tool for consistent results. The difference between soap success and failure often comes down to these temperature details.
Temperature Considerations for Fragrance Oil Performance
When working with fragrance oils that accelerate trace, you'll want to soap at cooler temperatures (100-110°F) to give yourself more working time.
Spicy fragrances, which naturally generate additional heat during saponification, particularly benefit from this cooler approach to prevent runaway reactions.
If you're aiming for vibrant colors and reduced soda ash, consider temperature-stable scents that perform well at higher temperatures (131-160°F), allowing you to leverage the benefits of gel phase without risking acceleration issues.
Fragrance Acceleration Control
Why do some batches of soap suddenly thicken when you add fragrance oil? It's because certain fragrances generate heat during saponification, accelerating trace. You can master this challenging aspect of soap making by managing your temperatures effectively.
- Keep your oils cooler (100-110°F) when using fragrances known to accelerate trace—use a temperature gun for precision.
- Add fragrance after reaching light trace to maintain better control mixing.
- Maintain your lye solution at a lower temperature than your oils to reduce overall reaction heat.
- Test new fragrance oils in small batches before full production, especially spicy or strong scents.
Remember that cooler temperatures generally slow the saponification process, giving you more working time even with problematic fragrance oils.
Temperature-Stable Scent Selection
Beyond controlling acceleration, temperature plays a significant role in preserving your fragrance oil's intended scent profile. When selecting fragrance oils for cold process soap, consider their flash points—oils with higher flash points retain their scent better during saponification.
Keep your soaping temperatures between 100-110°F to prevent fragrance deterioration. This is especially important with spicy or floral oils that can generate additional heat and accelerate saponification unexpectedly.
| Fragrance Type | Ideal Temp (°F) | Scent Throw Result |
|---|---|---|
| Floral | 100-105 | Delicate & True |
| Spicy | 95-100 | Rich & Complex |
| Citrus | 90-95 | Bright & Vibrant |
| Woodsy | 105-110 | Deep & Lasting |
| Fruity | 100-105 | Sweet & Clear |
Always test your fragrance oils at different temperatures to find the sweet spot where you'll achieve the perfect gel phase while maintaining the integrity of your scent.
Manipulating Trace Speed Through Temperature Control
Although experienced soapmakers often develop an intuitive feel for their craft, understanding how temperature affects trace gives you precise control over your soap's consistency.
By manipulating the temperatures of your oils and lye, you'll dramatically influence how quickly your cold process soap reaches trace, allowing for more design flexibility.
- Cool it down – Working with oils and lye at 100-110°F slows trace, giving you more time for intricate designs and layering.
- Heat it up – High temperatures above 130°F accelerate trace for quick layering, but watch for false trace.
- Keep it balanced – Maintain oils and lye within 10 degrees of each other for consistent results.
- Stay vigilant – Monitor your mixture closely during initial blending to catch the perfect trace moment.
Seasonal Temperature Adjustments for Year-Round Success
When the seasons shift, so must your soap-making approach. During summer, keep your soap temperatures cooler (100-110°F) to prevent overheating during saponification, especially with heat-generating fragrance oils. Winter calls for warmer temperatures (120-130°F) for both oils and lye to promote gel phase and vibrant colors.
| Season | Oil/Lye Temps | Recommended Techniques |
|---|---|---|
| Summer | 100-110°F | Cool water baths |
| Winter | 120-130°F | Insulation with towels |
| Spring | 110-120°F | Monitor humidity |
| Fall | 110-120°F | Preheat molds |
| Humid Days | Adjust -5°F | Prevent soda ash |
Working in cold environments? Preheat your workspace or use insulation methods like heating pads. Consider keeping your lye solution 30-40°F cooler than oils when using delicate additives that might scorch.
Frequently Asked Questions
What Is the Best Temperature to Make Cold Process Soap?
You'll get the best results when you make cold process soap at 120-130°F for both your lye and oils. Keep them within 10 degrees of each other to prevent false trace issues.
How to Make Cold Process Soap Smell Stronger?
You'll get stronger-smelling soap by using 5-10% fragrance oils designed for cold process, adding them at trace, insulating to promote gel phase, and experimenting with complementary scent blends for complex aromas.
What Is the Optimum Temperature for Saponification?
For ideal saponification, you'll want both your oils and lye solution between 120°F-130°F. Keep them within 10 degrees of each other to prevent false trace and guarantee proper chemical reaction during your soap making process.
What Does Adding Salt to Cold Process Soap Do?
When you add salt to cold process soap, you'll get a harder, longer-lasting bar. It speeds up trace, creates smoother texture, improves lather quality, and enhances color vibrancy through better gel phase uniformity.
In Summary
Temperature mastery is your secret weapon for successful cold process soaping. By understanding how heat affects your oils, lye solution, and finished product, you'll prevent common issues and enhance your creative control. Whether you're battling seasonal challenges or aiming for specific effects, these temperature tricks will transform your soaping experience. Apply them consistently, and you'll see immediate improvements in texture, color vibrancy, and fragrance retention in your handcrafted soaps.


Leave a Reply