
To blend sugar scrubs into homemade soap, start with a melt-and-pour soap base cut into small cubes. Melt it in 30-second microwave intervals, then add your carrier oils and essential oils for fragrance. Mix in granulated sugar once the temperature cools slightly, stirring thoroughly for even distribution. Pour into silicone molds and spritz with alcohol to remove bubbles. Let set completely before use. The following techniques will transform your basic soap into luxurious exfoliating bars.
Numeric List of Second-Level Headings

Five distinct sections guide you through the process of blending sugar scrubs into homemade soap. Each one focuses on a critical aspect of creating your own exfoliating cleanser:
- Ingredients for Blending Sugar Scrubs into Homemade Soap
- Methods for Incorporating Sugar into Soap
- Recipes for Combining Sugar Scrubs with Homemade Soap
- Tools Required for Preparing Sugar Soap Blends
- Tips for Storing and Using Sugar Soap Blends
These headings organize the information logically, taking you from selecting your base ingredients like foaming bath butter or melt and pour soap, through proper whipping techniques, to complete recipes with customizable elements.
You'll also learn which tools you'll need, such as mixing bowls and hand mixers, and how to properly store and use your finished product for maximum effectiveness and shelf life. The inclusion of double sugar creates a thicker scrub with enhanced exfoliating power while maintaining a luxurious creamy texture.
Understanding Sugar's Exfoliating Properties in Soap
Granules of sugar serve as nature's perfect exfoliating agent when incorporated into homemade soap. When you use sugar-based soap, these granules provide physical abrasion that gently removes dead skin cells without harsh scratching or irritation.
Unlike chemical exfoliants, sugar works mechanically while offering additional benefits through its glycosaminoglycans, which help maintain your skin's moisture and elasticity.
While chemicals strip the skin, sugar gently buffs while its glycosaminoglycans preserve your natural moisture balance.
You'll notice sugar doesn't dissolve in the oily soap base, ensuring it remains effective as an exfoliant.
Different sugar types offer varying levels of exfoliation – white granulated sugar works best for tougher areas like elbows, while brown sugar's finer texture suits sensitive skin. Sugar scrubs can be particularly effective for preventing ingrown hairs by keeping hair follicles clear of dead skin buildup.
This versatility lets you customize your soap's exfoliating power based on your skin's needs and the body area you're treating.
Essential Ingredients for Sugar Scrub Soap Bars
Creating effective sugar scrub soap bars starts with selecting the right ingredients that work together to cleanse, exfoliate, and nourish your skin. The foundation of your bars will be a melt and pour soap base, which provides structure and cleansing properties.
You'll need coconut oil as your primary moisturizing agent to bind ingredients and leave skin hydrated.
Sugar serves as your natural exfoliant, gently removing dead skin cells without harsh abrasion. For fragrance and therapeutic benefits, add essential oils like rose absolute or cardamom. Your scrub bars can be perfect handmade gifts during winter months when skin needs extra exfoliation. If you want color, incorporate natural food coloring or mica powders.
For premium results, consider upgrading to organic sugar, hard butters like cocoa or kokum, and decorative elements such as dried lavender or citrus zest.
You'll need basic tools: silicone molds, measuring cups, and a microwave or double boiler.
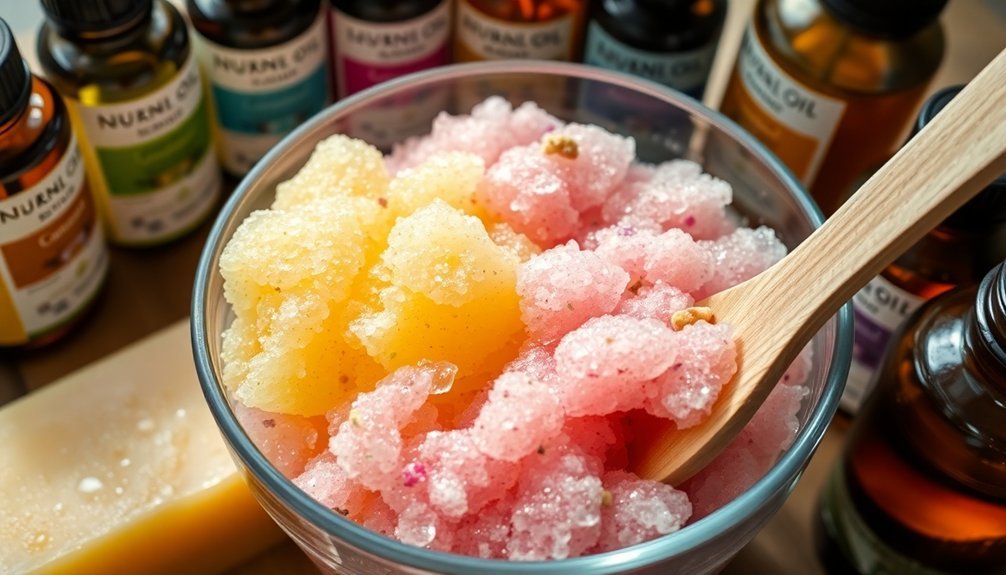
Step-by-Step Melt and Pour Sugar Scrub Method
The melt and pour technique offers a straightforward path to creating luxurious sugar scrub soaps without the complexity of traditional soap making. Begin by cutting your chosen soap base into small cubes and measuring them with a digital scale. Heat these cubes in a microwave-safe container at 30-second intervals, stirring between each to prevent burning.
Once melted, add your carrier oils, vitamin E, and fragrance. Stir thoroughly before incorporating granulated sugar. Pour the mixture into prepared molds, spritzing with rubbing alcohol to eliminate air bubbles. Consider sprinkling a light layer of dry sugar into the bottom of your molds before pouring for added exfoliation benefits.
| Stage | Key Action | Time Required |
|---|---|---|
| Preparation | Cut soap base into cubes | 5 minutes |
| Melting | Heat in 30-second intervals | 2-3 minutes |
| Setting | Allow soap to harden | 24 hours |
Let your creations set for 24 hours before unmolding and wrapping.
Creating Whipped Sugar Scrub Bases
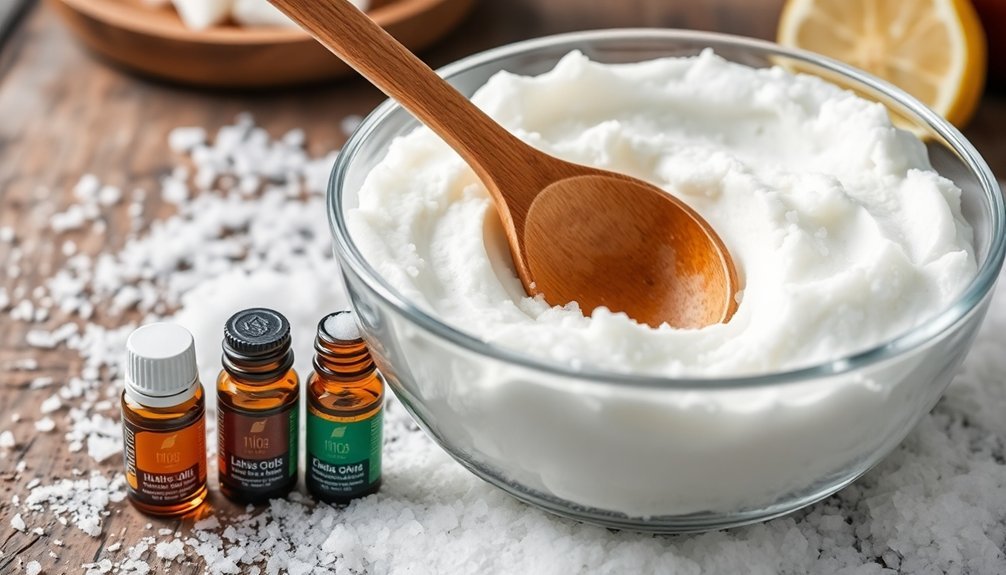
While melt and pour methods offer simplicity, whipped sugar scrub bases introduce an entirely different dimension of texture and luxury to your homemade soap creations.
You can start with foaming bath butter or soap scraps as your foundation, shredding them for easier melting with glycerin and distilled water.
For the perfect whipped consistency, use a hand or stand mixer with beater attachments. Whip at medium-high speed until the mixture resembles fluffy whipped cream. The volume should roughly double during this process, creating that light, luxurious texture everyone loves.
Consider adding stearic acid to enhance stability and reduce excessive foam. The beauty of this method lies in its customization—incorporate your preferred sugar type, moisturizing oils like coconut or jojoba, and signature scents from essential oils.
When finished, transfer your creation to sealable PP or PET containers to maintain freshness.
Customizing Your Sugar Scrub With Natural Additives
Truly personalized sugar scrubs come to life when you incorporate natural additives that complement your skin type and sensory preferences.
Select your sugar base first—brown sugar for sensitive skin, white granulated for tougher areas like elbows, or organic cane sugar for moderate exfoliation.
Enhance your scrub with essential oils that serve dual purposes: lavender calms inflammation, tea tree fights bacteria, and rosehip regenerates skin cells. Consider adding the February Simply Earth box's Love blend oil for a romantic fragrance perfect for gift-giving.
For extended shelf life, add natural preservatives like vitamin E oil or grapefruit seed extract.
Don't forget carrier oils—coconut oil adds creaminess while sweet almond moisturizes deeply.
For sensory appeal, mix in dried herbs such as lavender buds or rose petals.
These natural elements not only elevate your scrub's effectiveness but create a truly spa-worthy experience.
Proper Storage and Preservation Techniques
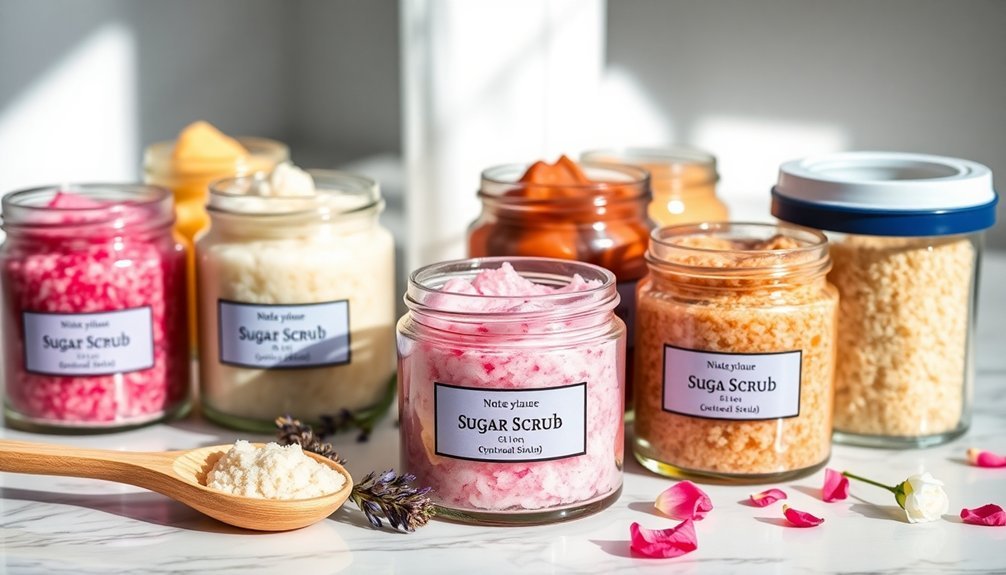
Preserving your handcrafted sugar scrubs requires proper storage techniques to maintain their quality and extend shelf life. Store your creations in tightly sealed plastic or glass containers in cool, dry places away from direct sunlight and heat sources.
For ideal preservation of your sugar scrubs:
- Add appropriate preservatives like Cosgard or Optiphen (0.25-1.5% concentration) if your scrub might contact water during use.
- Use clean spoons or scoops when removing product to prevent bacterial contamination.
- Label containers with ingredients and preparation date to track freshness.
- Regularly inspect for signs of spoilage such as mold growth or off smells.
Keep humidity low in your storage area and maintain good air circulation to prevent moisture absorption that can compromise your sugar scrub's integrity. Testing the pH level of your stored scrubs periodically can help ensure they remain at the optimal level of around 7 for skin use.
Frequently Asked Questions
Can Sugar Scrub Soaps Be Used on Facial Skin?
You can use sugar scrub soaps on your face, but choose ones with fine sugar particles and use them sparingly—once weekly at most. They're gentler than salt scrubs but can still irritate sensitive skin.
Do Sugar Scrubs Increase Sun Sensitivity Like Chemical Exfoliants?
No, you won't experience increased sun sensitivity with sugar scrubs like you would with chemical exfoliants. They're physical exfoliants that don't penetrate deeply into your skin, but you should still use sunscreen afterward.
How Often Should I Replace Homemade Sugar Scrub Soap?
You'll need to replace your homemade sugar scrub every 6 months. Watch for changes in smell, color, or texture. Store it in an airtight container away from moisture, and use dry hands when scooping.
Can I Substitute Salt for Sugar in Soap Scrub Recipes?
Yes, you can substitute salt for sugar in scrub recipes. Salt is more abrasive and better for tough skin areas, while sugar is gentler. You'll need less liquid when using salt.
Are Sugar Scrub Soaps Suitable for Sensitive or Acne-Prone Skin?
Sugar scrub soaps can work for sensitive skin when using fine sugars and gentle formulas. For acne-prone skin, they help clear pores but use them just 2-3 times weekly to avoid irritation.
In Summary
You've now mastered the art of blending sugar scrubs into your homemade soaps! Whether you've chosen melt-and-pour bars or whipped creations, you'll enjoy the exfoliating benefits while personalizing with natural additives. Remember to store your sugar scrub soaps properly to maintain their quality and effectiveness. With these techniques, you'll create luxurious products that nourish your skin while providing that perfect gentle exfoliation.


Leave a Reply