
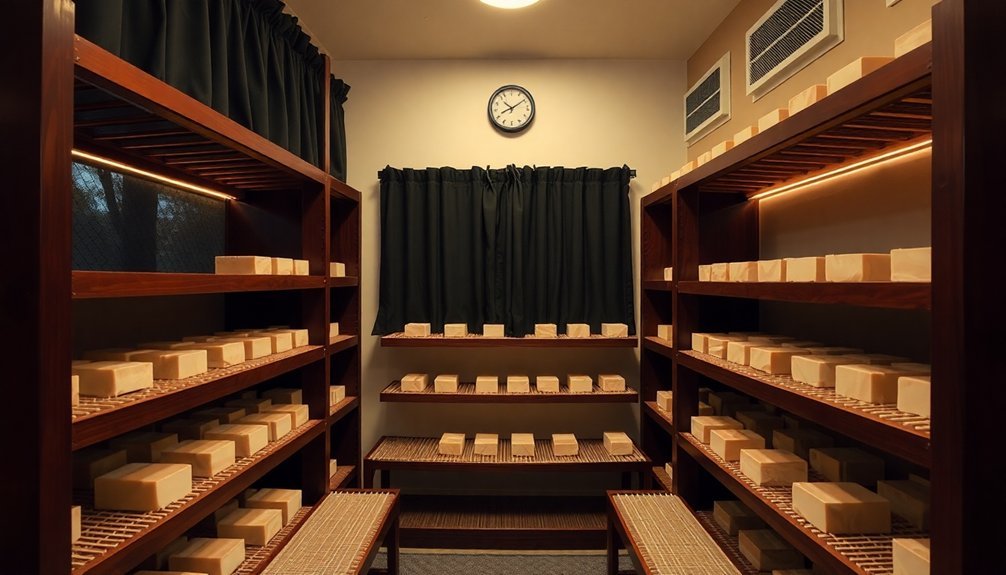
You'll need seven key conditions for properly curing your handmade soap bars. Keep temperatures between 60-80°F, maintain humidity below 60%, and guarantee consistent air circulation with wire racks and gentle fans. Protect bars from direct sunlight, space them an inch apart, use proper storage equipment like breathable containers, and monitor environmental conditions daily. Master these essential elements to transform your raw soap into perfectly finished bars.
Temperature Control and Stability Requirements
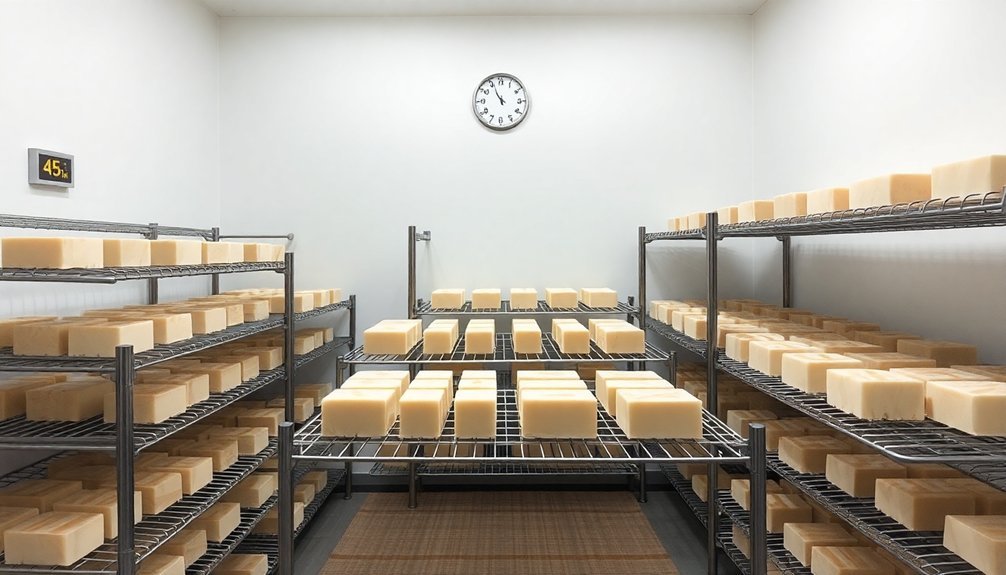
To guarantee your handmade soap cures properly, maintaining a temperature between 60°F and 80°F is essential.
You'll want to keep the temperature control consistent throughout the curing process, as extreme fluctuations can harm your soap's quality, especially if temperatures drop below freezing. When your soap thaws, it'll sweat and potentially compromise its integrity.
During summer months, you'll benefit from cooler temperatures, which help prevent Dreaded Orange Spots (DOS) from forming on your bars.
Remember that proper air circulation works hand in hand with temperature stability to guarantee effective curing. Keep an eye on humidity levels too, as high humidity combined with heat can slow down moisture evaporation and affect your soap's hardness.
Room temperature storage provides the ideal environment for successful curing and long-lasting bars.
Air Circulation and Ventilation Systems
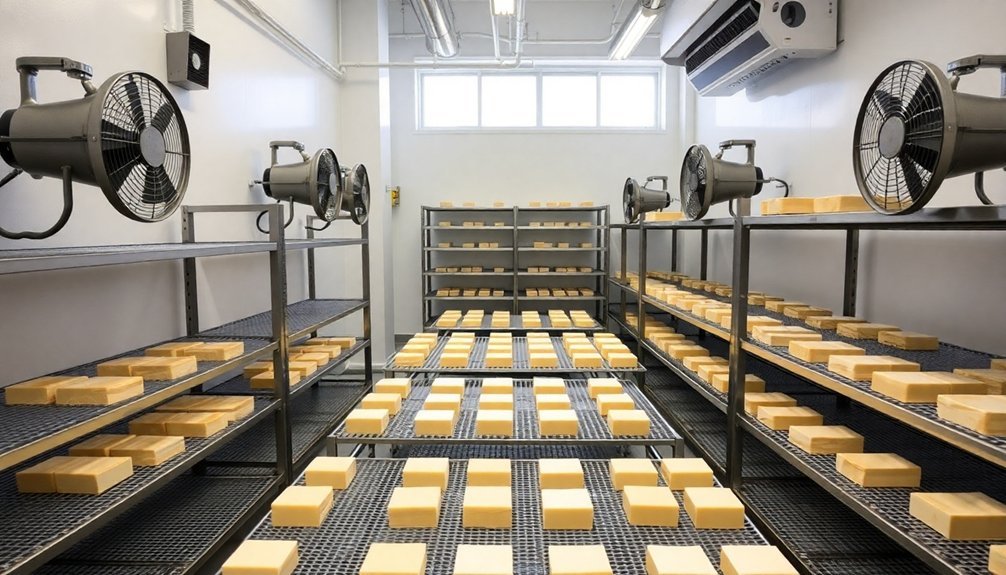
Building on proper temperature control, effective air circulation plays a central role in soap curing success.
You'll need to guarantee consistent airflow throughout your curing space to promote proper moisture evaporation and prevent mold growth. When natural ventilation isn't sufficient, installing fans can greatly improve the curing process, especially in areas with high humidity levels.
- Position wire racks strategically to allow air to flow freely around each soap bar
- Set up oscillating fans to create gentle, continuous air movement
- Monitor humidity levels and use a dehumidifier when readings are too high
- Maintain space between soap bars to prevent dead air pockets
While temperature ranges of 60°F to 80°F are ideal, your primary focus should be on maintaining steady air circulation throughout the curing area, as this directly impacts your soap's final quality.
Humidity Management Techniques
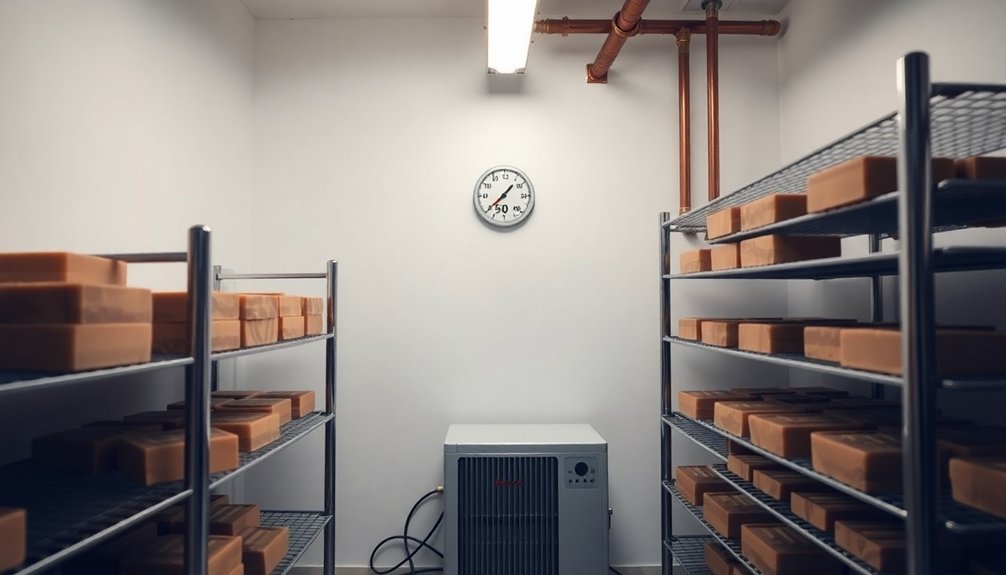
While temperature control is crucial, managing humidity levels plays an equally important role in soap curing success. You'll need to implement effective humidity management techniques to maintain levels below 60% for ideal results. Using dehumidifiers in your curing space can greatly reduce moisture, especially in naturally humid environments.
| Technique | Purpose | Benefits |
|---|---|---|
| Dehumidifier Use | Moisture Reduction | Prevents DOS Formation |
| Wire Rack Placement | Air Circulation | Promotes Even Drying |
| Hygrometer Monitoring | Level Assessment | Enables Quick Adjustments |
| Location Selection | Environment Control | Prevents Mold Growth |
| Ventilation Setup | Moisture Management | Guarantees Proper Hardening |
Monitor your space regularly with a hygrometer and maintain proper air circulation by placing your soaps on wire racks. You'll want to avoid damp basements or humid areas that could compromise your soap's quality and longevity.
Shelving and Storage Equipment Setup
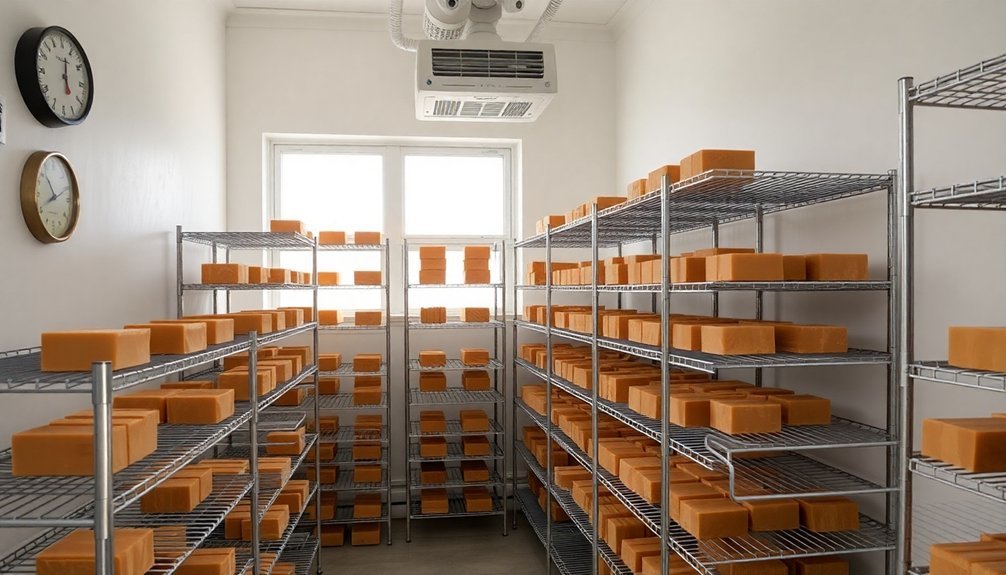
Wire racks provide essential airflow around your handmade soap bars, helping them cure more effectively than solid surfaces.
You'll want to space your bars at least an inch apart on the racks to maximize air circulation and prevent them from touching during the curing process.
Once your soaps have cured, store them in breathable containers like cardboard boxes to maintain proper ventilation while keeping dust and debris away from your finished products.
Wire Rack Benefits
Among the essential equipment for soap curing, sturdy wire racks stand out as a critical investment for ideal drying results.
You'll notice improved air circulation as these racks elevate your soap bars, allowing moisture evaporation from all sides. Their design prevents direct surface contact, which greatly reduces the risk of mold growth and guarantees proper drying of your handmade creations.
- Bars remain suspended above surfaces, promoting even airflow around each piece
- Easy monitoring of curing progress from multiple angles
- Flexible arrangement options to maximize your curing space
- Strong construction supports multiple bars without warping
You'll find that wire racks make it simple to maintain peak curing conditions while efficiently organizing your soap-making workspace.
Their practical design allows you to stack multiple levels safely, helping you manage larger batches without compromising the curing process.
Proper Rack Spacing
To maximize the effectiveness of your soap curing process, proper spacing between racks plays an essential role in achieving professional results. You'll need to maintain 2-4 inches of space between each rack to guarantee ideal air circulation and prevent moisture from accumulating.
Set up your shelving units with adjustability in mind, as this allows you to accommodate different soap sizes while maintaining consistent airflow.
Don't overcrowd your racks; instead, position them strategically to take advantage of natural ventilation. You'll want to monitor humidity levels regularly and rearrange your soaps as needed to maintain even curing conditions.
When placing wire racks or trays, guarantee there's enough room between individual soap bars. This proper rack spacing promotes uniform drying and helps prevent potential mold issues that can arise from poor ventilation.
Storage Container Materials
Selecting appropriate storage container materials can make or break your soap curing success. Metal baker's racks are your best choice for the curing process, as they provide excellent airflow and resist corrosion even in high humidity levels.
You'll want to avoid plastic containers since they trap moisture and can cause DOS issues in your soap bars.
- Metal baker's racks promote ideal air circulation
- Cardboard boxes or open bins protect while allowing ventilation
- Corrosion-resistant materials withstand humid environments
- Drip-catching trays maintain cleanliness during curing
When you're setting up your storage container materials, remember that proper ventilation is essential.
Place drip trays beneath your racks to catch any excess oils or moisture, keeping your curing area clean and organized. This setup guarantees your handmade bars cure properly while protecting them from dust and excessive light exposure.
Light Exposure and Protection Methods
You'll need to shield your handmade soap from direct sunlight during the curing process, as UV rays can compromise the quality of essential oils and fade colors.
To manage natural light exposure, store your bars in cardboard boxes or opaque containers that allow proper air circulation while blocking harmful rays.
Consider wrapping individual soap bars in breathable materials like muslin or parchment paper for an extra layer of protection against light damage.
Direct Sunlight Prevention Methods
While curing your handmade soap bars, protecting them from direct sunlight is vital for maintaining their quality and appearance. You'll want to store handmade soaps in a dedicated curing room that's away from windows and UV exposure.
Select a basement or closet space where you can control light conditions throughout the curing process.
- Place soap racks in dark corners or enclosed spaces
- Cover your curing soaps with breathable fabrics like muslin
- Use opaque storage containers for soaps still in the curing phase
- Rotate soap positions regularly to guarantee even curing without light damage
When setting up your curing room, opt for dark-colored storage bins that allow airflow while blocking harmful light.
This protection helps preserve your soap's fragrance and prevents unwanted color changes during the significant curing period.
Natural Light Management Techniques
Managing natural light effectively enhances your soap's protection beyond just avoiding direct sunlight.
You'll want to place your curing racks strategically away from windows while ensuring proper air circulation throughout the space. Install curtains or blinds to control the amount of natural light entering your curing room, creating a more stable environment for your handmade bars.
Use opaque containers or boxes during the curing process to shield your soaps from light exposure while maintaining essential airflow.
If your curing room has unavoidable window exposure, consider applying UV-blocking film to the glass. This solution lets you maintain adequate ventilation while protecting your soaps from harmful rays.
These measures will help preserve your soap's color integrity and fragrance quality throughout the entire curing process.
Space Organization and Layout Design
Three key elements define an effective soap curing layout: proper spacing, ventilation, and organization.
Your space organization should prioritize air circulation by setting up wire racks or trays that keep bars elevated and separated. You'll want to maintain consistent humidity levels by choosing a dedicated area that stays between 60°F and 80°F.
- Place wire racks at least 6 inches apart to maximize airflow between layers
- Position soap bars with a finger's width of space between them
- Set up fans strategically to create gentle air movement throughout the space
- Install your curing station away from direct heat sources and windows
In confined spaces, you'll need to be especially mindful of ventilation.
Consider using a dehumidifier if your designated area tends to retain moisture, and regularly check your bars for signs of DOS or uneven curing.
Environmental Monitoring Solutions
Once you've established your curing room layout, implementing effective monitoring systems will help maintain perfect conditions for your soap bars. You'll need to track humidity levels between 30-50% using a hygrometer and maintain temperatures between 60-80°F with a reliable thermometer.
| Equipment | Purpose |
|---|---|
| Hygrometer | Monitors humidity levels |
| Thermometer | Tracks temperature |
| Dehumidifier | Controls moisture |
| Air Circulator | Enhances evaporation |
Your dehumidifier will prove essential in controlling excess moisture, particularly in humid climates where DOS can affect your products. Install a small fan to promote consistent moisture evaporation throughout the space. Make it a habit to record these environmental readings daily – this data will help you identify patterns and make necessary adjustments to achieve ideal curing conditions for your handmade bars.
Frequently Asked Questions
What Are the Best Conditions for Curing Soap?
You'll want to cure your soap in a space that's 60-80°F, with good air circulation using wire racks. Keep it away from sunlight and humidity, and you'll get the best results for hardening.
What Is the Best Way to Cure Homemade Soap?
You'll want to cure your soap on a wire rack in a cool, dry space (60-80°F) with good airflow. Keep it away from sunlight and check regularly during the 4-6 week curing period.
What Is Room Temperature Curing?
Room temperature curing is when you let your handmade soap harden at normal indoor temperatures between 60°F to 80°F. You'll need good air circulation to help moisture evaporate properly during this essential curing process.
What Is the Best Temperature for Saponification?
You'll get the best saponification results by keeping your soap's temperature between 70°F and 90°F. This range guarantees ideal chemical reactions while preventing overheating issues that could damage your final product.
In Summary
You'll find that maintaining ideal curing room conditions is vital for producing high-quality handmade bars. By implementing proper temperature control, air circulation, humidity management, and storage solutions, you're setting yourself up for success. Don't forget to regularly monitor your environment and adjust as needed. With these seven essential elements in place, you'll consistently achieve the perfect cure for your handmade bars.


Leave a Reply