
To fix your soap's pH, try increasing superfatting to 8-10%, adding citric acid to cooled soap, incorporating more olive oil, reducing coconut oil, using vinegar in place of water, extending the curing time to 4-6 weeks, or testing with pH strips for monitoring. High pH soap (above 9) can disrupt skin's natural acid mantle, causing irritation. These simple adjustments will help you create gentler, skin-friendly soap with a more balanced pH level.
Understanding Soap Ph: Why Balance Matters
Balance is the cornerstone of effective skincare, particularly when it comes to your soap's pH level. Your skin naturally maintains a pH around 5.5, creating an acid mantle that protects against environmental damage and bacterial growth.
Traditional soap, with its pH between 9 and 10, can disrupt this protective barrier. When you use high-pH soap, you're potentially stripping your skin of natural moisture, leading to irritation and dryness over time.
That's why formulation matters. By adjusting your soap's pH closer to 7.5-8.5, you'll create a product that maintains effective cleansing properties while being gentle on your skin.
The key is finding compatibility between cleansing power and skin health. A well-balanced soap respects your skin's natural chemistry, providing moisturizing benefits without compromising on cleaning effectiveness.
The Science Behind Cold Process Soap Ph Levels
Cold process soap production operates on fascinating chemical principles that explain why these bars naturally test higher on the pH scale. During the saponification process, lye interacts with oils to create alkaline soap with pH levels typically between 9.5 and 10.5—well above neutral 7.
You'll notice your soap's pH gradually decreases during the curing process, often settling between 7.5 and 8.5 after just one week. Experienced soap makers rely on the zap test to confirm lye has fully neutralized—no zap means your soap is safe to use.
Want to lower your soap's pH? Consider increasing your superfat level or carefully adding citric acid to your formula.
Remember that water/lye ratio and oil mixing temperature also influence final pH values, though they're not the only factors affecting your finished product.
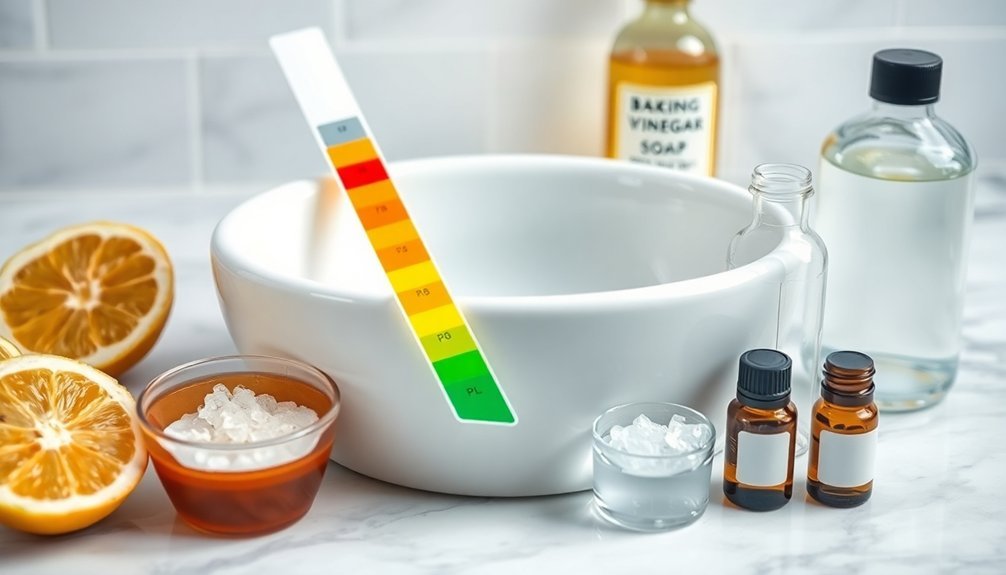
Natural Acidifiers: Citric Acid and Vinegar Solutions
When seeking to lower your soap's naturally alkaline pH, citric acid and vinegar offer effective natural solutions that many crafters overlook.
To successfully integrate citric acid, you'll need to blend it with non-saponifying oils, preventing disruption of the saponification process. Be cautious with your measurements—exceeding the threshold can convert your soap back to fatty acids, compromising its cleansing power.
Vinegar serves as an alternative natural acidifier, though it requires careful testing to avoid unwanted reactions.
Both options will impact your soap's lather and stability, so precise measurements are essential for success. Monitor pH consistently throughout the process, as improper adjustments often lead to cloudiness or separation in your finished bars.
Start with small amounts and gradually adjust until you achieve the perfect balance.
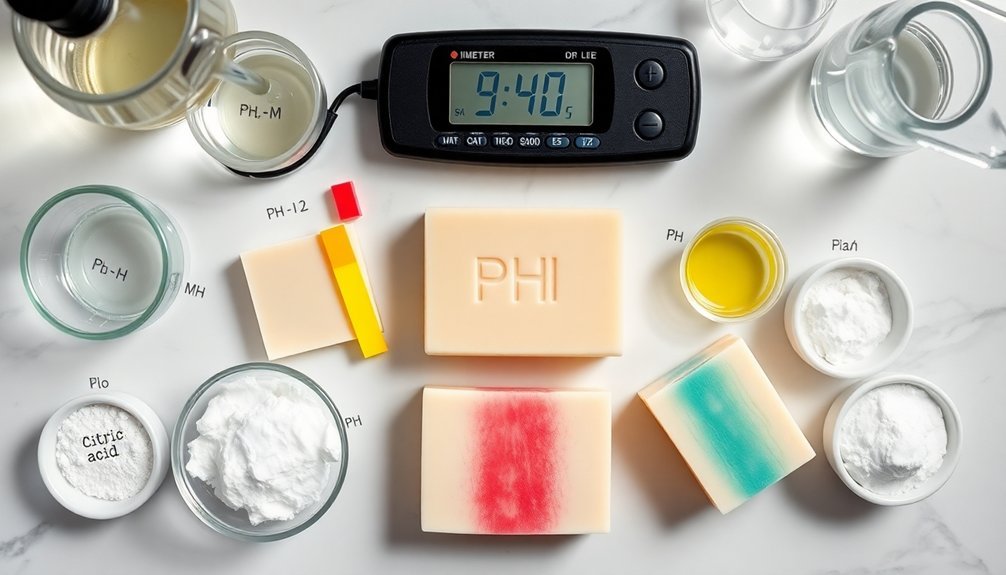
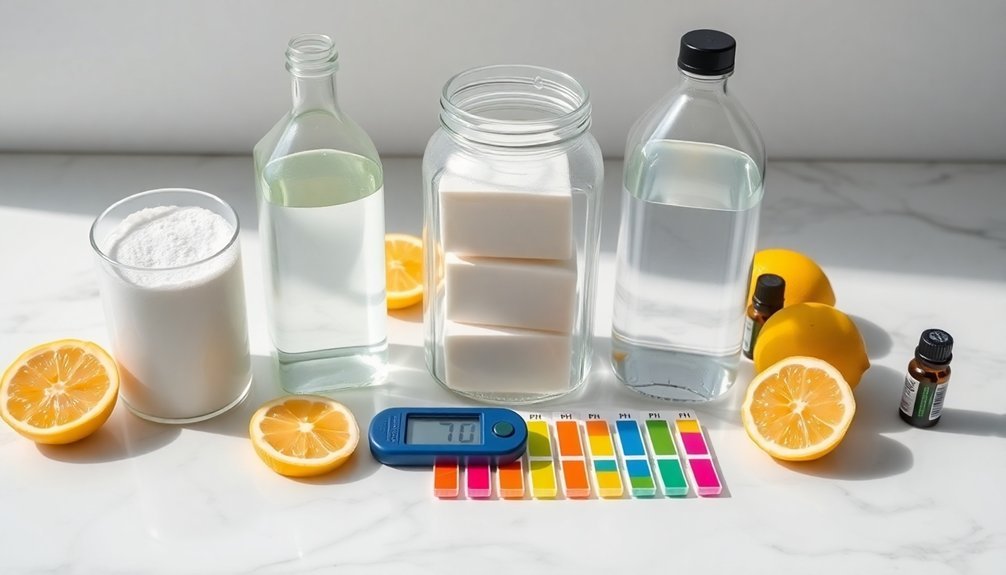
Testing Methods: From Ph Strips to Digital Meters
The accuracy of your pH measurement can make or break your soap's quality, with several testing options offering varying degrees of reliability.
While pH test strips provide a quick check, they require proper dilution of your soap in distilled water for any semblance of accuracy.
Digital pH meters deliver much more precise readings throughout your soap-making journey, from initial lye solution to final cured product.
- The zap test offers a simple way to check if lye has neutralized (touch soap to tongue—if it "zaps," it's not ready) but won't give you exact pH values.
- Natural indicators like red cabbage juice change color based on pH levels, providing visual confirmation.
- Regular pH testing helps maintain consistent quality across batches.
- For professional results, invest in a digital meter—it's worth the expense for accurate measurement.
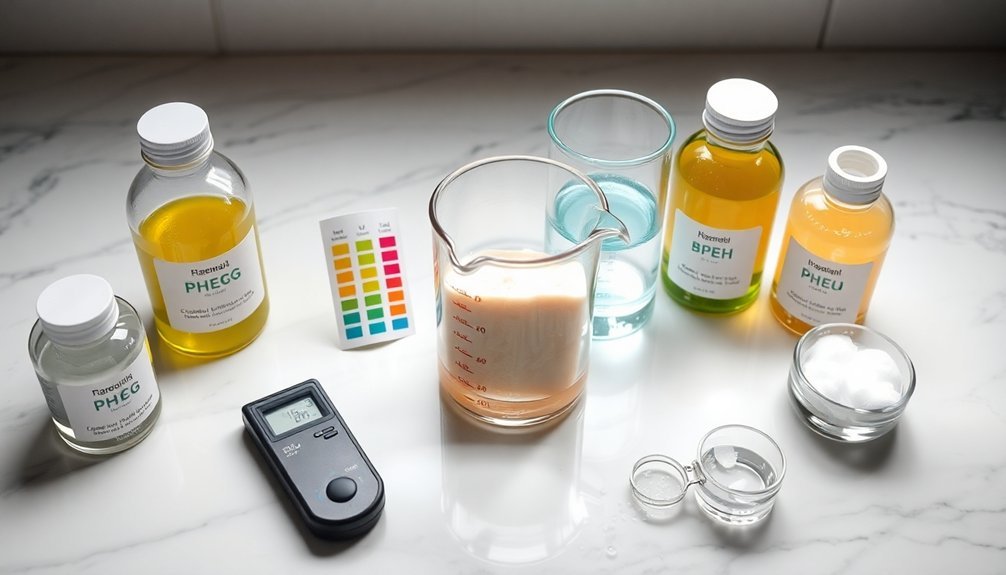
Formulation Adjustments: Oils and Superfatting Techniques
When crafting a lower pH soap, you'll want to increase your olive oil percentage while reducing coconut or palm oils that contribute to higher alkalinity.
For ideal results, adjust your superfat level to 8-10%, which creates a gentler product while maintaining effective cleansing properties without excess lye.
Experimenting with different oil combinations in your formulation is key, as each unique blend affects both the final pH and how your soap interacts with skin.
Optimal Oil Combinations
Choosing the right balance of oils stands as a fundamental step in controlling your soap's pH level.
When you're creating your formula, consider how different oils impact the final pH during saponification. Olive oil naturally promotes a lower, more skin-compatible pH, while coconut oil provides excellent lather but requires proper balancing in your oil ratios.
- Experiment with 60-70% olive oil as your base for a naturally lower pH soap
- Incorporate 20-30% coconut oil for cleansing properties, balancing with superfatting
- Try 5-10% superfatting to enhance mildness and further lower the final pH
- Add specialty oils like sweet almond or avocado at 5-10% for additional skin benefits
Superfat Balance Basics
Superfatting your soap formula represents one of the most powerful yet often misunderstood techniques for controlling pH levels.
By deliberately leaving unreacted fats in your soap formulation, you'll create a more skin-friendly pH while enhancing moisturizing properties.
Start with a superfat percentage between 5-10%. Lower percentages yield harder bars with better lather, while higher amounts create gentler cleansers.
Your oil choices matter considerably: olive oil contributes softness and moisture, while coconut oil improves lather and hardness.
Remember that each adjustment affects multiple soap characteristics.
Increasing your superfat typically lowers the final pH, bringing it closer to your skin's natural acidity.
Don't guess at results—implement continuous testing to document how your modifications affect the finished product.
This methodical approach guarantees you'll create effective, safe soap that addresses specific skin needs.
Curing Time: How Aging Affects Your Soap's Ph
Your soap's pH naturally decreases during the curing period of 4-6 weeks as saponification completes and excess lye neutralizes.
You'll notice the pH dropping from an initial 9.5-10.5 range to a milder 7-8 level, making your bars gentler and more skin-friendly.
Testing your soap periodically throughout this aging process will reveal how environmental factors, oil choices, and initial lye concentration influence the stabilization of your final product's pH.
Natural Aging Process
While freshly made soap may seem ready to use, the natural aging process plays an essential role in developing its ideal pH level.
During the 4-6 week curing period, your soap transforms from a harsh, high-pH product to a skin-friendly cleanser. This patience-testing process allows excess lye to fully react with oils while moisture evaporates, gradually lowering pH from 10-14 to a more stable 8-10 range.
- Most significant pH changes occur within the first two weeks of curing
- Properly aged soap reduces potential skin irritation from high alkalinity
- Curing improves not just pH but also hardness and lathering properties
- The integration of ingredients continues throughout aging, enhancing skin compatibility
Testing your soap's pH throughout this natural aging process helps you track its journey to becoming a gentle, effective product.
Time-Based Ph Changes
As soap cures over time, its pH undergoes significant transformation, creating a more skin-friendly product. Your handmade soap's journey begins with higher pH levels—cold process soaps typically start between 9.5-10.5, while hot process soaps can reach as high as 14.
You'll notice the most dramatic pH changes during the first two weeks of the curing process. After just one week, handmade soaps often measure between 7.5-8.5, and hot process varieties can drop to around 7 after two weeks. This decline occurs as saponification completes and excess lye undergoes neutralization.
Beyond pH adjustment, aging soap improves other qualities you'll appreciate: enhanced soap texture and superior lathering ability.
Patience during this natural process rewards you with a gentler final product that's properly balanced for your skin's needs.
Troubleshooting Common Ph-Related Soap Problems
The most frequent pH problems in homemade soap can be identified through careful testing and observation. If testing the pH reveals levels above 10, you're likely dealing with unreacted lye that can cause skin irritation.
During curing, expect natural pH changes as your soap mellows, typically settling between 7.5-8.5 for ideal skin compatibility.
- For high pH liquid soaps, neutralize with citric acid carefully to avoid separation
- Perform a zap test to quickly determine if your soap still contains active lye
- Reformulate future batches with more olive oil for a naturally milder, lower-pH soap
- Monitor pH throughout the curing process—patience often resolves minor pH issues
Frequently Asked Questions
How to Reduce Ph Level in Soap?
You can reduce soap's pH by adding citric acid carefully, incorporating olive oil, using a borax solution, increasing superfatting to 8-10%, or rebatching with fruit juice while monitoring consistently to maintain stability.
What Solutions Have a Ph of 7?
Pure distilled water has a pH of 7. You'll find that certain buffer solutions, when properly formulated, maintain neutral pH. Some balanced saline solutions and specially prepared neutral cleansers can also achieve this perfect balance.
How Do You Adjust Ph to 7?
To adjust pH to 7, you'll need to add citric acid solution gradually if it's too alkaline, or a base like sodium bicarbonate if it's too acidic. Always use a pH meter for accurate measurements.
Is Dawn Dish Soap Ph Neutral?
No, Dawn dish soap isn't pH neutral. It's slightly alkaline with a pH between 7-9. This alkalinity helps it cut through grease effectively, but if you have sensitive skin, you might want a gentler alternative.
In Summary
You've now got the tools to balance your soap's pH for a gentler, more effective clean. Remember, you don't need to hit neutral 7—aim for the skin-friendly 8-10 range. Test regularly, make small adjustments, and give your soap proper curing time. With these simple solutions, you'll transform harsh batches into luxurious bars that care for your skin while thoroughly cleansing.


Leave a Reply