
Oil infusions can transform your handmade soap from simple to spectacular by harnessing the therapeutic properties of herbs and botanicals. You'll create soaps with enhanced healing, moisturizing, and skin-nourishing benefits by infusing carrier oils like olive, sweet almond, or avocado with carefully selected dried herbs. The process lets you control quality, customize properties, and develop unique formulations that set your soaps apart. Understanding the techniques and principles will reveal endless possibilities for your soap-making journey.
Understanding the Magic Behind Oil Infusions
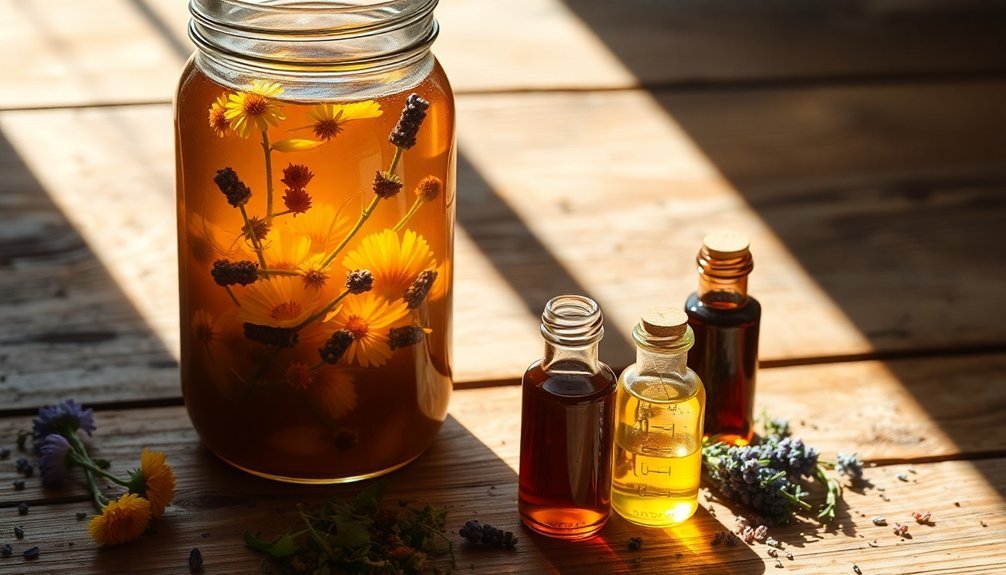
When you explore the world of oil infusions for soap making, you'll discover a transformative process that captures nature's essence in your favorite carrier oils. Through this method, you're able to extract beneficial properties from dried herbs, creating customized ingredients for your handmade soaps.
You'll find that choosing the right carrier oils, whether olive or avocado, plays a vital role in your infusion's success. The process is flexible, allowing you to control the strength and color by infusing anywhere from 4 hours to 6 weeks.
While fresh herbs aren't suitable for long-term storage, dried botanicals create stable infusions that enhance both the therapeutic and aesthetic qualities of your soap. Even though some benefits may decrease during saponification, the potency of your oil infusion will still influence your final product's characteristics.
Essential Carrier Oils and Their Properties
Your choice of carrier oil makes a significant impact on your infused oils' final properties, whether you're selecting olive oil for its versatility or sweet almond oil for its anti-aging benefits.
When selecting your base, consider each oil's unique characteristics, such as how safflower oil works well for oily skin while avocado oil excels at deep moisturizing.
Understanding shelf life is essential for your infusions' longevity, ranging from rice bran oil's shorter 6-month window to grapeseed oil's impressive 2-year shelf stability.
Choosing Your Carrier Oil
Selecting the right carrier oil forms the foundation of successful soap making, with each oil bringing unique properties to your final product. When you're formulating your recipe, consider Sweet Almond Oil for its moisturizing benefits and distinct nutty fragrance, particularly if you're targeting mature skin care.
Olive Oil's versatility and anti-inflammatory properties make it an excellent base oil, while Grapeseed Oil offers a lighter alternative rich in antioxidants.
- Choose oils based on your target skin type – Safflower Oil works well for oily, acne-prone skin
- Consider shelf life – Sunflower and Grapeseed oils last 12 months, while Olive Oil can last up to 24 months
- Match oils to desired benefits – antibacterial properties from Sunflower Oil or anti-aging effects from Sweet Almond Oil
Understanding Oil Shelf Life
Understanding carrier oil shelf life can make or break your soap-making success. When you're selecting a carrier oil for essential oil infusions, you'll need to take into account how long it'll remain stable and effective.
Avocado oil stands out with its impressive 24-month shelf life, making it a reliable choice for long-term soap projects. You'll find similar stability in grapeseed and sweet almond oils, which last between 12 to 24 months.
Olive oil offers the same durability while providing versatility for different skin types. If you're planning shorter production runs, safflower and sunflower oils' 12-month shelf life will serve you well.
For quick projects, rice bran oil's shorter 6-12 month lifespan might be sufficient. Always check your oil shelf life dates to verify your final product maintains its quality and effectiveness.
Selecting the Perfect Herbs for Soap Making
The art of choosing herbs for soap making requires careful consideration of both their therapeutic properties and practical applications.
When creating herb infused oils, you'll want to prioritize dried herbs over fresh ones to prevent potential mold issues in your final product. Different carrier oils complement specific herbs, such as olive oil's synergy with comfrey leaf and lemon balm.
- Calendula offers soothing properties and adds natural color to your soap
- Cold infusions provide gentle extraction, while heat methods yield concentrated results faster
- Start with 1 ounce of dried herbs per 8 ounces of base oil for ideal infusion
Step-by-Step Oil Infusion Techniques
You'll need to choose between cold and heat infusion methods for your soap-making oils, with cold infusion taking several weeks in sunlight while heat methods can be completed in a few hours using a double boiler.
Regardless of your chosen method, maintaining the right herb-to-oil ratio is essential – use enough oil to completely cover your dried herbs with about an inch of extra liquid on top.
Your timing and proportions will directly impact the potency of your infused oils, so start with small batches until you're comfortable with the process.
Cold Vs Heat Methods
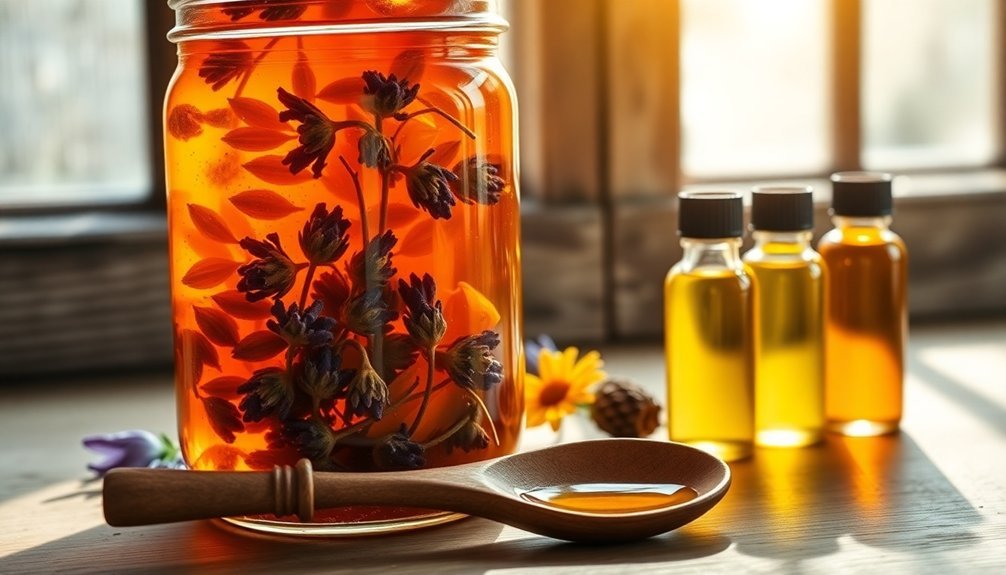
When making herbal-infused oils for soap crafting, you'll need to choose between two primary methods: cold infusion and heat infusion. Each technique offers distinct advantages for extracting botanical properties into your carrier oils.
Cold infusion requires patience but preserves delicate compounds:
- Place dried herbs in oil and let sit in sunlight for 4-6 weeks.
- Turn daily to enhance extraction without heat damage.
- Perfect for temperature-sensitive botanicals.
Heat infusion delivers faster results through gentle warming in a double boiler or crock pot for about 60 minutes. You'll need to monitor the temperature carefully to prevent overheating.
For both methods, maintain a ratio of 1 ounce of dried herbs per 13 ounces of oil. Once strained, store your infused oils in a cool, dark place to maximize their shelf life.
Herb-Oil Ratio Mastery
Creating perfectly balanced herb-oil infusions starts with mastering the essential ratios between your botanical materials and carrier oils.
You'll want to use 1 ounce of dried herbs for every 8 ounces of carrier oil, though you can adjust this herb-oil ratio based on your herb's strength and the oil type you're using.
If you're working with ground herbs, reduce the amount by 10-20% since they provide more surface area for infusion.
Always keep your herbs completely covered with oil to prevent mold, but leave room at the top of your container for expansion.
Monitor your infusion duration carefully – you can achieve results in as little as 4 hours with heat, or let it develop for up to 6 weeks for maximum potency.
Remember that your choice of carrier oil affects both shelf life and therapeutic properties.
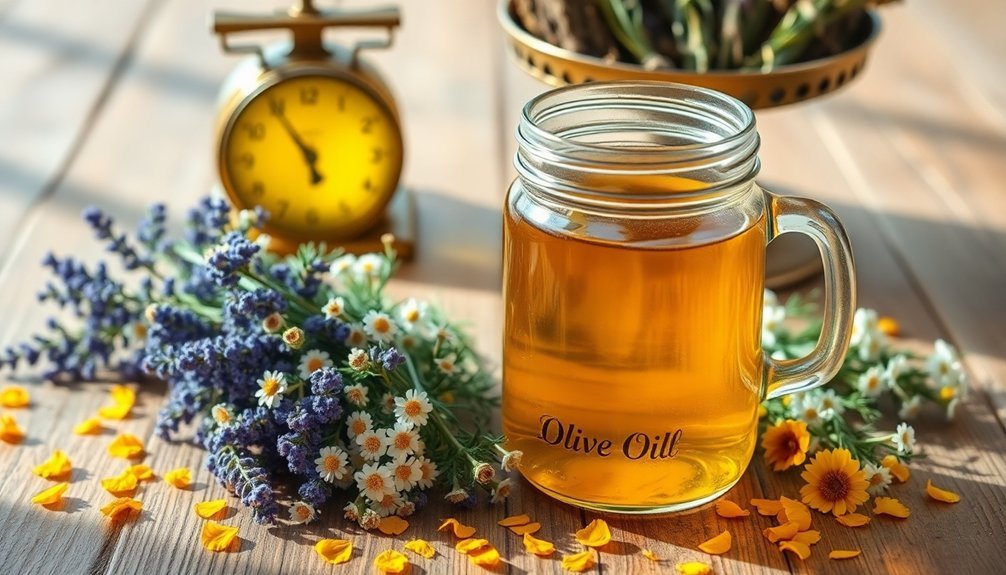
Time and Temperature Considerations
Successful oil infusions require careful attention to both timing and temperature control throughout the process.
Patient artisans know that mastering oil infusions means respecting both the clock and the thermometer during the entire process.
You'll find that both factors greatly impact the quality and potency of your final infused oil for soap making. Whether you choose cold or heat infusion methods, maintaining proper temperature and timing is essential for extracting the botanicals' beneficial properties.
- Heat infusions using double boilers or crock pots need at least 60 minutes at controlled temperatures.
- Cold infusions require 4-6 weeks of solar exposure for gentle extraction.
- Both methods need careful monitoring to keep herbs submerged and prevent mold growth.
During saponification, you'll want to reflect on how your infusion method affects the soap-making process.
Hot process soaping can potentially diminish the benefits of your carefully infused oils, so you'll need to adjust your approach accordingly to preserve the desired properties.
Proper Storage and Shelf Life Management
To maximize your infused oils' freshness, store them in airtight glass containers away from direct sunlight and write clear labels indicating the contents and preparation date.
Keep your infusions in a cool pantry or cabinet where temperatures remain stable and don't fluctuate above 70°F (21°C).
When selecting containers, opt for dark-colored glass jars with secure lids that'll protect against oxidation and guarantee your oils maintain their beneficial properties for soap making.
Maximize Oil Freshness Tips
While infused oils can enhance your handmade soaps with botanical properties, proper storage and shelf life management remain essential for maintaining their quality.
You'll want to store your organic coconut oil and other infused oils in a cool, dark place to prevent premature oxidation and maintain their therapeutic benefits.
- Keep detailed records by labeling each container with the infusion date and ingredients used.
- Monitor your oil for essential oils blends regularly, checking for any changes in color or unusual odors.
- Verify all plant materials stay completely submerged during the infusion process.
Make it a habit to check your infused oils weekly for signs of spoilage.
When stored properly, most carrier oils will maintain their freshness anywhere from 6 months to 2 years.
Remember to use older infusions first to maximize your investment and maintain consistent quality in your soap making.
Temperature Control Basics
Temperature management serves as a cornerstone of proper oil infusion storage, building on the freshness principles we just covered. When you're working with infused oils, maintaining consistent cool temperatures greatly impacts their longevity.
Your temperature control basics should focus on finding a cool, dark storage space that shields both carrier oils and infused oils from heat and light exposure.
You'll want to monitor your storage area's temperature, as fluctuations can accelerate oil degradation. Most carrier oils remain stable for 12-24 months when you maintain proper temperature conditions.
Don't forget to leave adequate headspace in your storage containers to accommodate any expansion.
You'll need to regularly check your oils for signs of rancidity by looking for color changes or off-putting odors.
Always store your infusions in clean, sterilized containers to prevent contamination.
Container Selection Guidelines
Selecting the right containers plays an essential role in preserving your oil infusions' quality and extending their shelf life.
You'll want to prioritize dark glass containers that shield your oils from harmful light exposure, while airtight jars prevent oxygen from causing premature spoilage. For maximum protection, consider investing in vacuum-sealed containers to minimize air contact.
When storing your infused oils, remember these important points:
- Keep them in a cool, dark location to prevent temperature fluctuations
- Label each container with the infusion date and oil type
- Track shelf life, which ranges from 6 months to 2 years
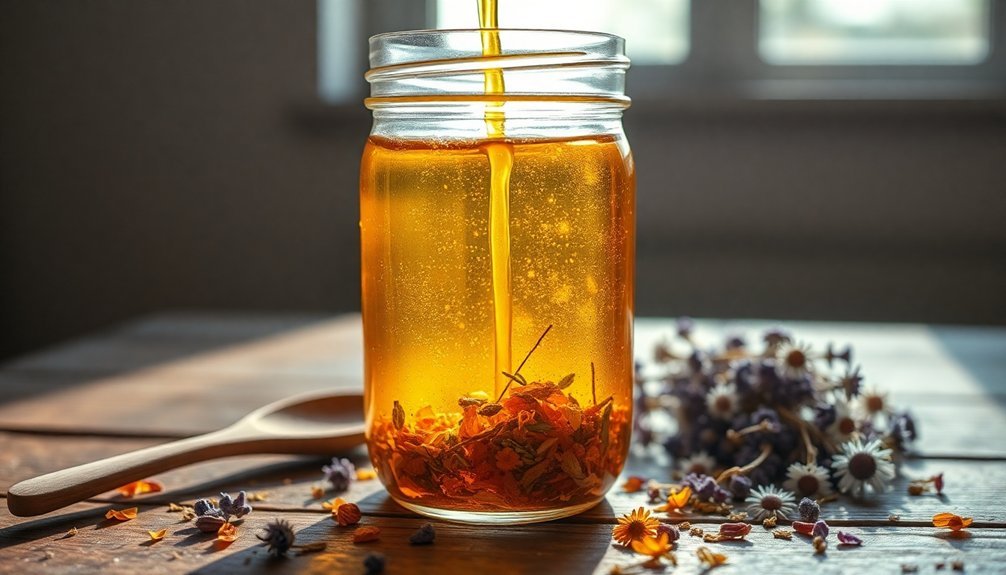
Incorporating Infused Oils in Soap Recipes
Once you've successfully created your infused oils, incorporating them into soap recipes requires careful attention to measurement and proportion.
You'll want to add between 1 to 2 ounces of infused oil per pound of base oils to achieve ideal results.
When formulating your soap recipes, you can substitute part of your regular base oils with infused oils.
Keep in mind that while these oils enhance color and provide unique scents, the saponification process may reduce some of their beneficial properties.
Consider the potency of your infusion when making adjustments – stronger infusions will have a more noticeable impact on your final product.
To maintain consistency in your soaps, you'll need to track your measurements precisely and understand how your infused oils affect the overall formulation.
This attention to detail guarantees your handmade soaps maintain their desired qualities.
Maximizing Therapeutic Benefits in Final Products
To maximize the therapeutic benefits of infused oils in your soap, you'll need to carefully balance the selection of herbs, carrier oils, and infusion methods. Your choice of carrier oils directly impacts the final product's healing potential – consider olive oil for inflammation or sweet almond oil for deep moisturizing.
- Choose herbs that complement your carrier oils' therapeutic properties
- Match your infusion method to the herb's specific characteristics
- Monitor herb-to-oil ratios to achieve ideal potency
When creating your oil infusions, remember that the method you select affects how well the therapeutic properties transfer to your final soap.
Heat infusion might work better for hardy herbs, while cold infusion could preserve delicate plant compounds. You'll achieve the best results by understanding how different combinations work together to deliver the specific skin benefits you're targeting.
Troubleshooting Common Infusion Challenges
While creating oil infusions can seem straightforward, several common challenges can affect your final product's quality.
You'll need to be vigilant about using only dried herbs, as excess moisture from fresh plants can lead to mold development in your infusions. When filling your jars, make sure you're covering all herbs with oil while leaving enough headspace for expansion.
Don't let your herbs steep for too long, or you'll end up with bitter-tasting or off-smelling oils.
To maintain clarity in your final product, always strain thoroughly through fine mesh or cheesecloth to remove any plant particles.
Remember to store your infused oils properly in a cool, dark location, and label everything with dates.
These simple steps will help you avoid common pitfalls and guarantee consistent, high-quality results in your soap making.
Safety Guidelines and Best Practices
Safety stands at the forefront of successful oil infusions practices. You'll need to maintain a sterile environment throughout the process, ensuring all your tools and jars are thoroughly cleaned before beginning.
A clean workspace and sterile equipment are essential foundations for crafting safe, high-quality oil infusions.
When creating infused oils for your handmade soaps, remember to select only dry herbs to prevent mold growth and extend shelf life.
Essential safety practices include:
- Store your infused oils in a cool, dark location to prevent oxidation
- Label all containers with contents and dates to track freshness
- Keep herbs fully submerged in oil during the infusion process
Monitor your infusions regularly to achieve desired potency while maintaining safety standards.
Frequently Asked Questions
What Is the Best Oil to Add to Homemade Soap?
You'll want to start with olive oil as your base since it's moisturizing and gentle. It's perfect for beginners, works well with all skin types, and creates a stable lather without drying effects.
Can You Use Infused Oils in Soap Making?
Yes, you can use infused oils in soap making. They'll add natural color and visual appeal to your soap. Add 1-2oz per pound of base oils, but remember that many botanical properties may reduce during saponification.
What Is the Difference Between Essential Oils and Oil Infusion?
You'll find essential oils are concentrated plant extracts with strong aromas, while oil infusions are gentler preparations where you steep herbs in carrier oils to transfer their beneficial properties over time.
Which Essential Oil Is Best for Soap Making?
You'll find lavender, tea tree, and peppermint are top choices for soap making. They're versatile, offering therapeutic benefits and pleasing scents. Citrus oils like lemon also work well for their invigorating properties.
In Summary
By mastering oil infusions, you'll transform your handmade soaps from simple cleansers into therapeutic treasures. You're not just creating soap – you're crafting personalized skincare that harnesses nature's healing properties. Whether you're using calendula for sensitive skin or lavender for relaxation, properly infused oils will elevate your soap making game. Don't hesitate to experiment with different combinations to discover your signature blend.


Leave a Reply