You'll want to measure bar depth before slicing to guarantee consistent, professional-looking portions that meet industry standards. Using proper measurement tools like rulers, calipers, or depth gauges helps you avoid common cutting errors and prevents wasted product from irregular slices. When you take time to check depth thoroughly, you'll achieve uniform thickness within standard tolerances of ±0.1 mm. Understanding the right measurement techniques can transform your cutting precision.
Essential Tools for Bar Depth Measurement
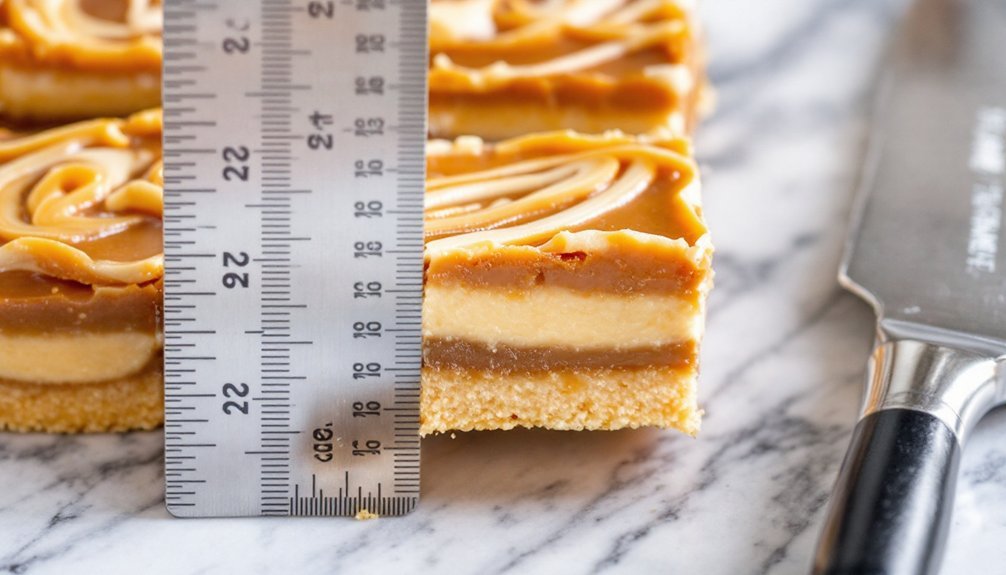
Precision tools are your best allies when measuring bar depth before slicing. You'll find that a ruler or measuring tape provides the foundation for accurate depth determination, while a caliper offers enhanced precision when you need exact measurements.
A depth gauge helps you maintain consistency, especially when you're working with multiple bars.
To measure and mark your cutting points effectively, you can use markers or chalk to create visible guidelines. This visual reference guarantees you'll stay on track throughout the cutting process.
Don't overlook the value of a saw guide – it's vital for maintaining proper alignment between your cutting tool and the measured depth.
With these essential tools at your disposal, you'll achieve uniform slices and professional results every time.
Understanding Bar Thickness Standards

When working with bars, understanding standard thickness measurements is fundamental to achieving precise cuts. You'll find that bar thickness standards typically range from 0.5 mm to 5 mm, with specific requirements varying by application and material type.
It's essential to maintain industry-specified tolerances, usually within ±0.1 mm, to guarantee your cutting tools and machinery work effectively. If you don't match the proper thickness requirements, you risk misalignment and inefficient cutting performance.
You'll need to select cutting tools that specifically match your bar's thickness specifications. Regular measurement isn't just about precision – it's also about safety.
Accurate Measurement Techniques
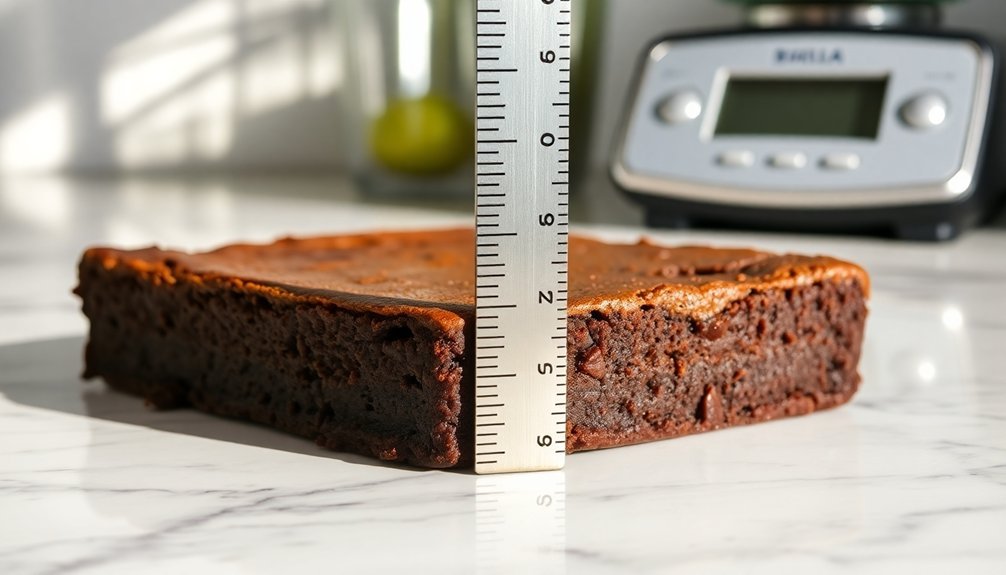
To achieve consistent results in bar slicing, you'll need to master several key measurement techniques. Start by using a ruler to mark precise cutting points along your bar's surface. These marks will serve as your guide for maintaining uniform depth throughout the cutting process.
Accurate measurement techniques involve more than just initial marking. You'll want to score light lines across the surface to create visual guides for your cuts.
Creating clean score lines before cutting serves as a visual roadmap, ensuring precise and consistent results throughout the process.
Using a saw guide will help you maintain the proper alignment while cutting, ensuring you don't veer off course. Don't forget to check your progress regularly as you cut, especially when working with multiple bars or layers.
This continuous monitoring helps you spot any depth inconsistencies early, allowing you to adjust your technique before completing the entire batch.
Common Depth Errors to Avoid
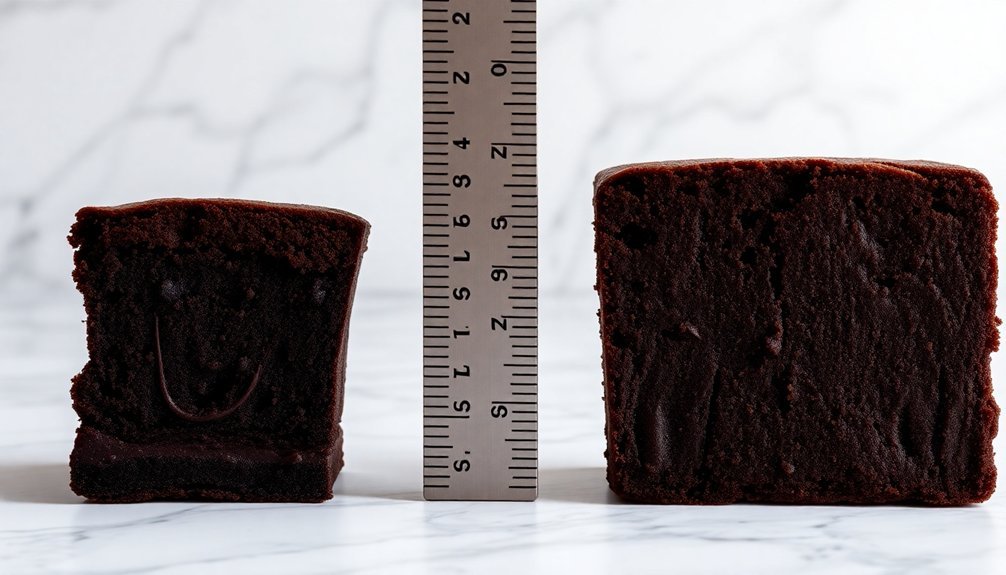
Several common depth errors can derail your bar-slicing efforts, even with careful preparation. You might overlook variations in your dessert's height, leading to inconsistent depths of cut and ultimately producing uneven slices that don't meet presentation standards.
When you don't measure properly, you'll likely end up with portions that are either too thick or too thin, which can greatly impact the texture and enjoyment of your dessert.
Using inadequate measuring tools or improper techniques will introduce errors that compound throughout the cutting process. To prevent these mistakes, you'll want to regularly check your measurements against a reliable ruler or guide. This practice helps you maintain consistency and avoid wasting product due to irregular slices.
Calibrating Your Cutting Equipment
Proper calibration of your cutting equipment stands as the foundation for achieving consistent bar slices. You'll need to regularly adjust your depth settings to match your material thickness, as this helps control cutting forces and prevents uneven results.
Start by checking your depth gauge before each operation, using a reliable ruler to verify measurements. Remember that even minor deviations can greatly impact your finished product.
Keep your equipment clean and well-maintained, removing any debris that could interfere with accurate depth readings.
It's smart to maintain a record of your depth settings for different materials. This documentation serves as a valuable reference guide, making future setups more efficient.
When you establish these calibration habits, you'll greatly improve the precision and uniformity of your cuts while reducing waste and errors.
Optimizing Cut Quality Through Precise Depth
Your careful attention to bar depth measurement, using the right tools and techniques, directly influences the quality of your final cuts.
When you understand how depth affects your results, you'll achieve more consistent slices that cook evenly and present beautifully on the plate.
Taking time to plan your measurements precisely helps eliminate waste while ensuring each portion meets your exacting standards.
Measuring Tools and Techniques
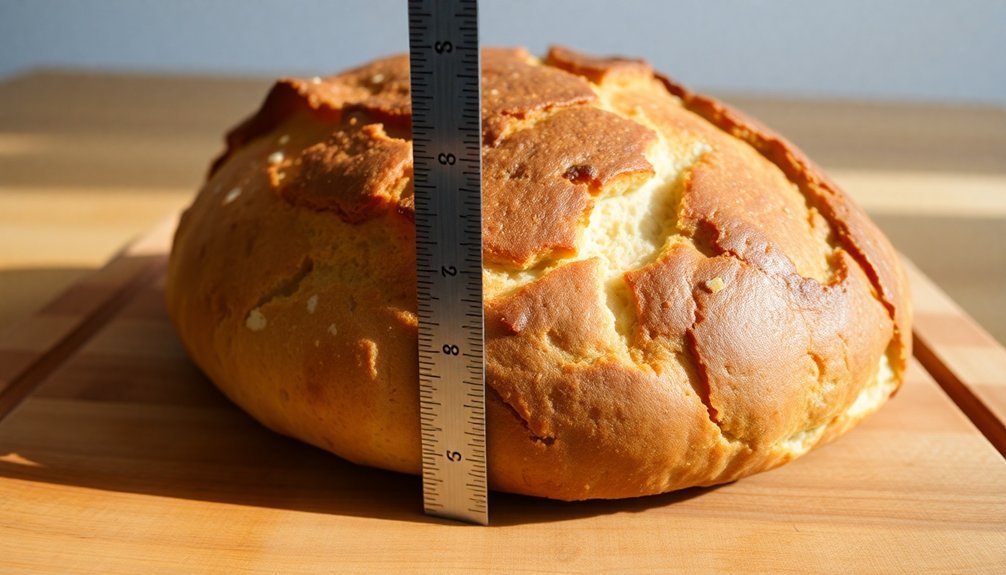
Professional bar slicing demands precise measuring tools and proven techniques to achieve ideal cut quality. You'll need a reliable ruler or specialized measuring tool to determine exact bar depths before making your cuts. This vital step guarantees uniform thickness across all slices.
When you're working with bars, start by marking your cut points clearly with a marker. These visual guides will help you maintain accuracy throughout the cutting process.
To enhance precision further, you'll want to use a saw guide, which keeps your blade at the correct angle and prevents unwanted deviation during cuts.
Don't forget to regularly check and calibrate your measuring tools. This maintenance step is essential for maintaining accuracy over time and delivering consistently professional results.
The combination of proper tools and careful technique will greatly improve your final product's quality.
Depth Impact on Results
When measuring bar depth before cutting, precise calculations directly influence the quality and consistency of your slices. You'll achieve smoother edges and prevent material fraying by establishing the correct depth, especially when working with softer materials.
Your cutting performance improves markedly when you align the tool's edge without making contact before starting. This proper alignment guarantees uniform pressure distribution across all slices, protecting your equipment from unnecessary wear while delivering cleaner cuts.
You'll also notice better chip evacuation during the process, which prevents your cutting tool from binding or jamming.
Precision Planning Prevents Waste
Three key advantages emerge from precise depth planning: reduced material waste, consistent slice quality, and optimized resource usage.
When you measure bar depth before cutting, you'll greatly minimize waste and guarantee each slice meets your specifications.
Precision planning helps you achieve uniform cuts that enhance your final product's appearance and functionality. By taking accurate measurements with a ruler before slicing, you're setting yourself up for success and preventing costly mistakes that could require rework.
You'll also save valuable time and materials by getting it right the first time.
Your careful attention to depth measurements guarantees even cooking or baking, as uniform slices will cook at the same rate.
This methodical approach protects the structural integrity of your materials while maximizing your resources' efficiency.
Frequently Asked Questions
What Is the Function of Depth Bar?
Your depth bar controls the thickness of cuts, ensuring you'll get consistent slices every time. It helps you maintain safety, prevents blade binding, and lets you achieve uniform portions in your cutting tasks.
What Are the Advantages of Using the Depth Micrometer Compared to the Depth Bar of the Vernier Calliper for Measuring the Depth of a Feature?
You'll get more accurate measurements with a depth micrometer's 0.001mm precision versus a Vernier caliper's 0.02mm. You'll also experience better contact with the surface and more consistent results across multiple measurements.
How to Measure Depth With Calipers?
You'll need to open the caliper jaws, insert the depth rod until it touches bottom, hold it perpendicular to the surface, and gently close the jaws. Take multiple readings for accuracy.
What Is the Main Scale of the Vernier Caliper?
The main scale on your vernier caliper is marked in millimeter or inch increments. You'll find it's the larger, primary measuring scale that's divided into equal units for basic measurements before adding vernier precision.
In Summary
Measuring bar depth before slicing guarantees you'll achieve consistent, precise cuts that meet industry standards. You'll save time and materials by avoiding incorrect cuts and reduce waste in your production process. By taking the time to properly measure and calibrate your equipment, you're assuring professional results and maintaining quality control. Don't skip this vital step – it's your key to achieving perfect slices every time.


Leave a Reply