To properly cure your cold process soap, you'll need to implement proven methods: control temperature (60-80°F), manage humidity with dehumidifiers, guarantee vertical airflow using wire racks, monitor weight until stabilization, maintain proper ventilation with fans, test pH levels (8-9.5), and adjust techniques based on your climate. These science-backed approaches will greatly reduce curing time and boost your soap's quality. Discover how to fine-tune each method for your specific soap-making environment.
Optimal Temperature and Humidity Control Methods
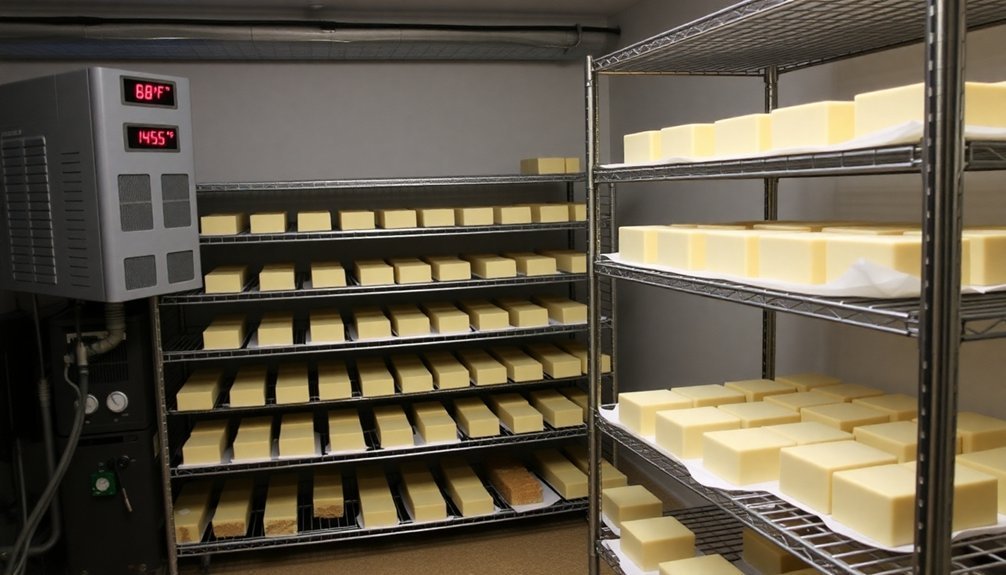
When creating cold process soap, controlling temperature and humidity plays an essential role in achieving professional results.
You'll want to maintain an ideal temperature between 60°F and 80°F throughout the curing process to guarantee proper moisture evaporation and texture development.
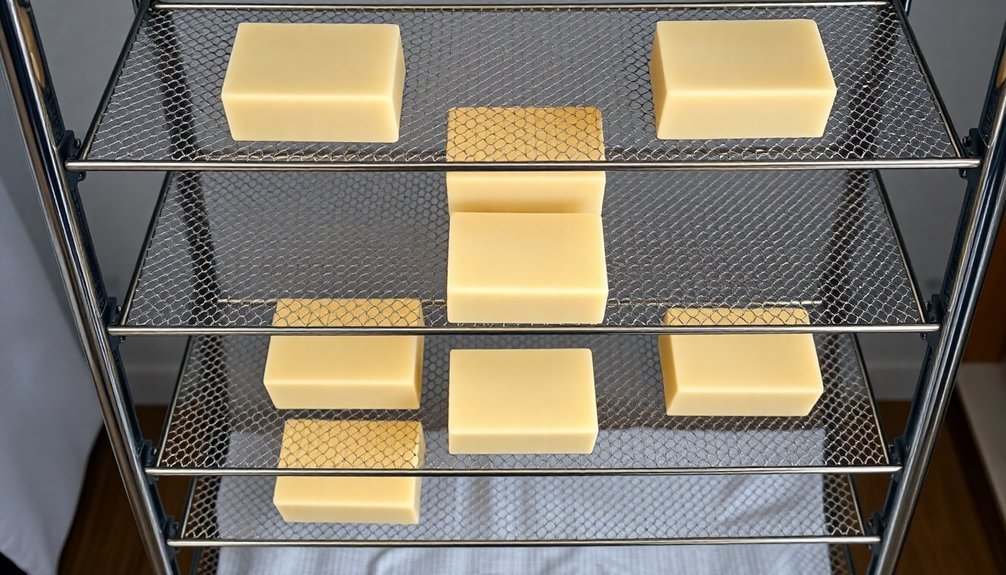
To enhance your curing environment, place your soap bars on a wire rack for maximum air circulation.
Properly spaced soap bars on a raised wire rack create optimal airflow, ensuring even curing throughout each bar.
This setup prevents mold growth and promotes even drying. If you're dealing with high humidity, don't hesitate to use a dehumidifier – it'll greatly improve your results.
Keep track of your soap's progress by weighing the bars periodically until they reach a stable weight, indicating complete curing.
Strategic Air Circulation Techniques
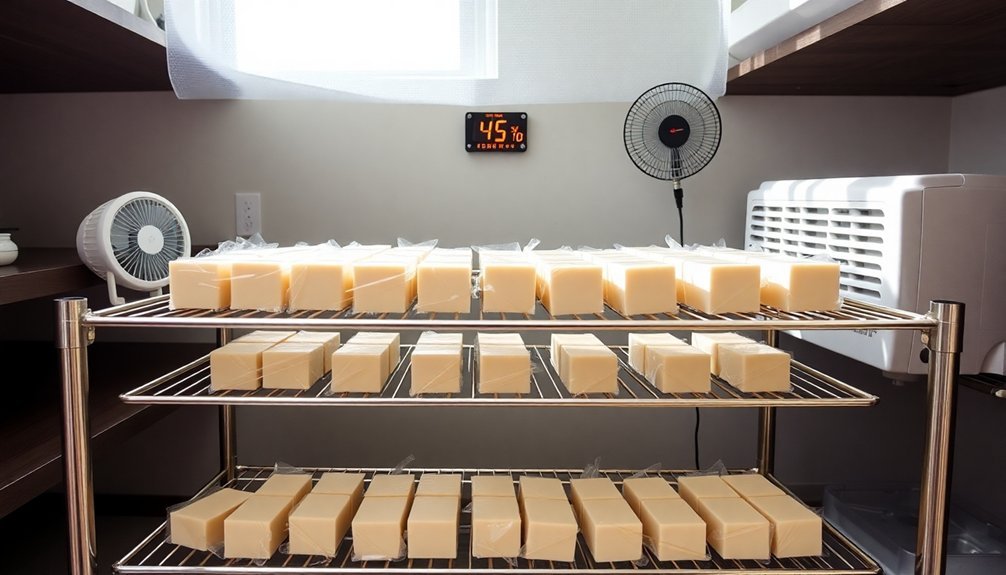
You'll achieve ideal soap curing by setting up vertical airflow rack systems that allow air to circulate freely around each bar while maximizing your available space.
Natural cross-ventilation methods, such as positioning your curing area between two windows or using strategically placed fans, can create consistent airflow patterns that accelerate the drying process.
Vertical Airflow Rack Systems
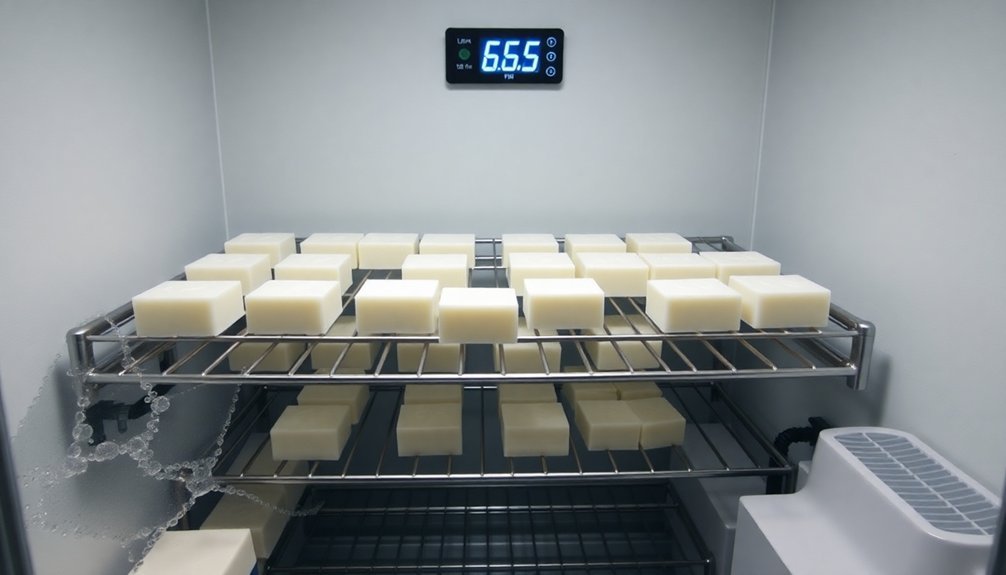
Mastering vertical airflow rack systems is crucial for achieving perfectly cured cold process soap. You'll maximize air circulation by utilizing multi-tiered shelving that allows air to flow freely around all sides of your soap bars. This setup considerably reduces drying time while preventing moisture accumulation that can lead to mold growth.
To refine the curing process, place your wire racks in a cool, dry environment. You'll want to guarantee proper spacing between each tier for ideal airflow, helping maintain consistent conditions across all your batches.
Adding a fan or dehumidifier near your vertical airflow rack systems can enhance humidity control and improve overall air movement. These strategic adjustments will help you produce high-quality cured soap that's both hard and long-lasting, making the most of your vertical rack setup.
Natural Cross-Ventilation Methods
Natural cross-ventilation methods form the backbone of effective cold process soap curing.
You'll want to position your curing rack in a well-ventilated area where air circulation flows naturally through your space. Set up your soaps to maximize the natural evaporation process by ensuring they're not crowded together.
To enhance cross-ventilation, place your soaps away from high humidity environments and direct sunlight.
You can boost the gentle breeze by strategically positioning fans to create consistent airflow patterns throughout your curing area.
Don't forget to rotate your soap bars regularly to prevent moisture accumulation on any single side.
If you're dealing with stubborn humidity, consider adding a dehumidifier to your setup – it'll work alongside your natural ventilation to maintain adequate airflow and ideal curing conditions.
Essential Equipment for Accelerated Curing
Strategic acceleration of cold process soap curing requires specific equipment to create perfect drying conditions. You'll need essential equipment that controls three key factors: humidity, air movement, and temperature. A dehumidifier and moisture-absorbing materials like Damp Rid will reduce excess moisture in your curing area, while wire racks guarantee proper air circulation around your soap bars.
| Equipment | Function | Impact |
|---|---|---|
| Dehumidifier | Moisture reduction | Faster drying times |
| Wire Racks | Air circulation | Prevents mold growth |
| Temperature Monitor | Climate control | Ideal hardening |
For effective monitoring moisture loss, keep a digital scale handy to track your soap's curing progress. By maintaining temperature control between 60°F to 80°F and using these tools strategically, you'll create the perfect environment for accelerated curing without compromising quality.
Scientific Weight Monitoring System
Building on your curing environment setup, implementing a scientific weight monitoring system helps you track your soap's moisture loss with precision.
You'll need to weigh your soap bars right after cutting them, then again after 2-3 days throughout the saponification process.
When you notice weight stabilization, you've reached the best curing state – a clear sign there's no more moisture to evaporate.
This systematic approach lets you accurately label your products and determine the ideal curing time for your specific recipes.
As soap makers, you'll find that precise measurements lead to consistent soap quality over time.
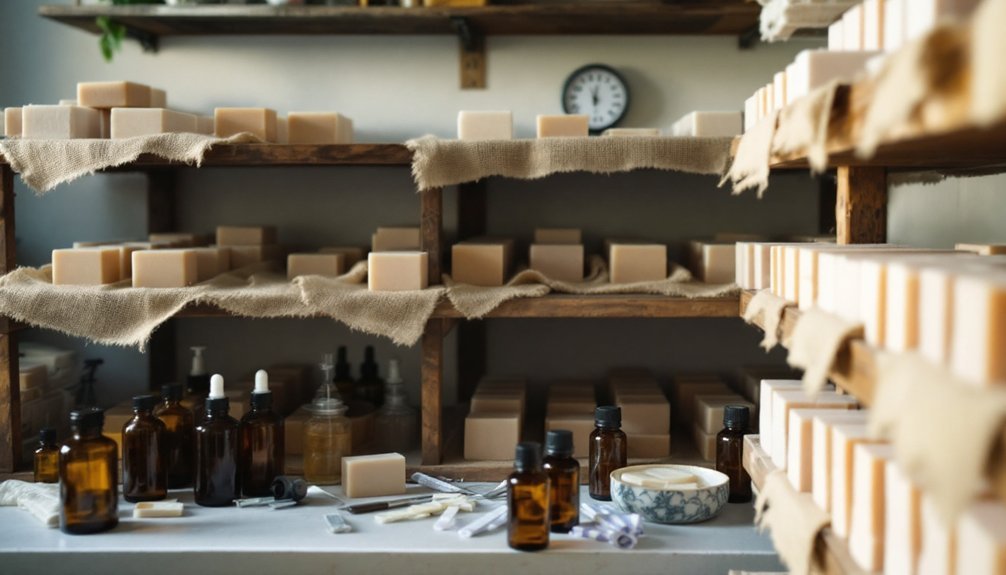
Professional Storage Solutions During Cure
When you're ready to organize your curing soaps professionally, consider investing in stackable wire rack systems that maximize vertical space while ensuring proper air circulation throughout your workshop.
You'll want to pair these racks with climate-controlled storage solutions that maintain consistent temperatures between 60°F and 80°F, protecting your soap from environmental fluctuations that could affect the curing process.
To track your batches effectively, implement an organized labeling method that includes cure dates, ingredients, and batch numbers on each storage unit.
Stackable Wire Rack Systems
Professional soap makers rely on stackable wire rack systems as an essential component of their curing setup.
You'll find these racks maximize your storage space while ensuring ideal air circulation around your curing soap bars. The open-wire design promotes moisture evaporation and delivers uniform curing on all sides of your soaps.
When you're selecting storage solutions, you'll appreciate that these racks are crafted from durable materials like stainless steel or coated metals that won't rust in humid conditions.
The adjustable height between layers lets you customize the space to fit different soap sizes, while the wire construction helps prevent damage by keeping bars separated.
You'll be able to stack multiple layers vertically without compromising airflow, making these systems perfect for both small-batch producers and large-scale operations.
Climate-Controlled Storage Solutions
Beyond stackable racks, a climate-controlled storage environment takes your soap curing process to the next level. You'll want to maintain temperatures between 60°F to 80°F while controlling humidity levels with dehumidifiers to prevent mold growth. Proper air circulation through ventilation systems and wire racks will enhance evaporation rates, potentially reducing your curing time from 6 weeks to 4 weeks.
| Storage Factor | Impact on Curing |
|---|---|
| Temperature | Maintains 60-80°F stability |
| Humidity | Prevents mold, aids hardening |
| Ventilation | Increases moisture evaporation |
| Monitoring | Enables real-time adjustments |
For ideal soap curing results, you'll need to regularly monitor humidity using hygrometers. This allows you to make quick adjustments to your climate-controlled storage setup, ensuring your soaps cure effectively and efficiently.
Organized Labeling Methods
Maintaining organized labeling systems during the soap curing process proves vital for tracking your batches effectively. You'll want to implement a clear numbering system for each soap batch, making it easier to monitor their progress and evaluate performance over time.
Start by labeling your cardboard storage boxes with important details like soap type, production date, and expected curing duration. These boxes provide ideal air circulation while protecting your soap from light and dust.
Wrap individual bars in breathable materials such as muslin or parchment paper to prevent moisture accumulation during the curing period.
Keep a detailed inventory list that tracks each batch's weight and characteristics throughout the curing process. This systematic approach to quality control helps you maintain consistent standards and provides valuable reference data for future soap making endeavors.
Environmental Factors and Regional Adjustments
While cold process soap making follows universal principles, the environment where you cure your soap plays a crucial role in its development. Your regional climate directly affects the curing process, particularly through humidity and temperature variations that impact water evaporation rates.
| Climate Type | Challenge | Solution |
|---|---|---|
| Humid (FL) | Slow drying | Use dehumidifier |
| Dry (AZ) | Fast drying | Monitor moisture |
| Variable | Temp swings | Control environment |
You'll need to make local adjustments based on your specific conditions. If you're in a humid area, consider using a dehumidifier to speed up hardening. For dry climates, watch for premature cracking. Maintain temperatures between 60°F and 80°F for best results. Try different locations in your home, testing both well-ventilated areas and cooler spots to find the perfect curing environment.
Testing Methods to Verify Cure Completion
Once you've established the right curing environment, you'll need reliable methods to confirm when your soap has finished curing.
You can rely on several proven testing methods to verify your soap is fully cured and safe for use.
- Start by weighing the soap bars daily until the weight stabilizes, indicating moisture has stabilized and excess water has evaporated.
- Check the pH level using testing strips – you'll want readings between 8-9.5, confirming saponification has successfully occurred.
- Evaluate the hardness of the soap by pressing firmly with your thumb; properly cured bars won't show indentations or have residual moisture.
- Perform lather tests by working up a foam with water – a rich and creamy lather indicates your soap has cured completely and is ready for use.
Frequently Asked Questions
Can Cold Process Soap Cure in 2 Weeks?
You shouldn't use cold process soap after just 2 weeks. While it might seem safe, you'll get better quality, harder bars and improved lather if you wait the full 4-6 weeks for proper curing.
What Is the Best Way to Cure Cold Process Soap?
You'll want to cure your soap on wire racks in a cool, dry place with good airflow for 4-6 weeks. Keep temperatures between 60-80°F and monitor weight loss until it's stable.
Which Soap Making Method Is Best?
You'll find there's no single "best" method – it depends on your goals. If you want full control over ingredients and design, choose cold process. For quick results, try melt and pour or hot process.
How to Make Cold Process Soap Last Longer?
You'll get longer-lasting cold process soap by curing it 4-6 weeks, using higher percentages of hard oils, reducing superfat levels, and storing bars in a cool, dry place with good air circulation.
In Summary
You'll find these seven cold process curing methods revolutionize your soap making process when properly implemented. Remember to monitor temperature and humidity closely, maintain proper air flow, and use accurate weight tracking for best results. Don't skip the testing phase – it's essential for verifying a complete cure. With the right equipment and environmental adjustments, you'll achieve consistently perfect bars every time.


Leave a Reply