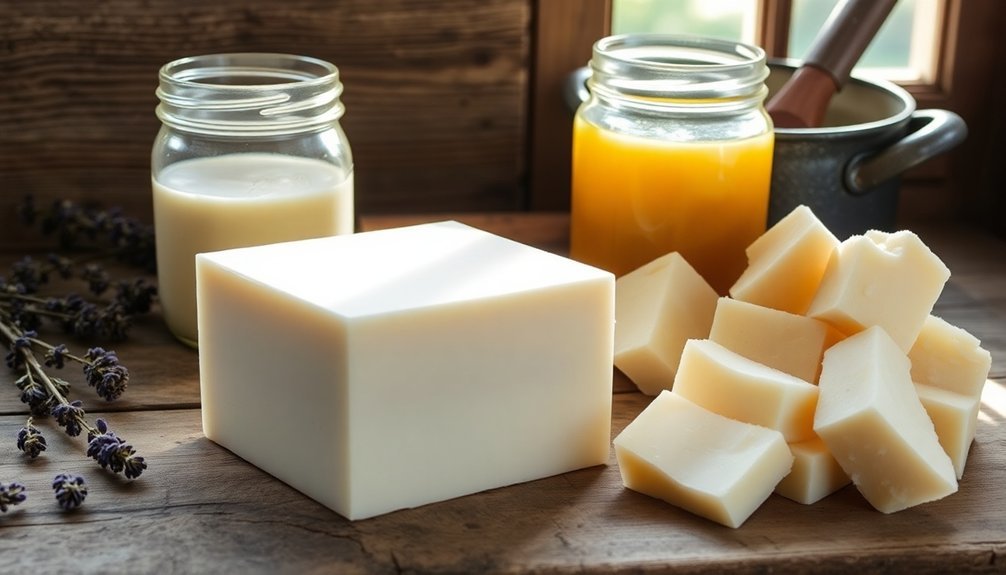
You'll need quality grass-fed tallow, coconut oil, olive oil, and sodium hydroxide to make traditional farm-fresh soap. Start by rendering your tallow from raw beef fat, then combine it with other oils at 125°F. Mix your lye solution separately in a well-ventilated area and blend everything until reaching trace consistency. Pour into molds, let harden for 24 hours, and cure for 4 weeks. Following proper safety measures and precise measurements guarantees your success in this rewarding homesteading craft.
Understanding Tallow Soap's Traditional Heritage
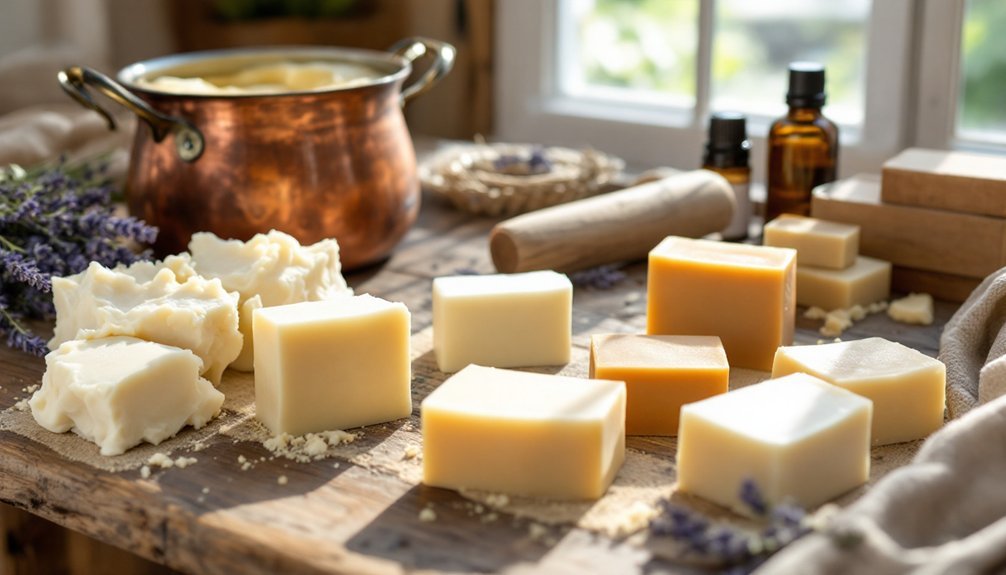
While modern soap makers often reach for exotic oils, tallow soap's rich history spans thousands of years.
You'll find its origins in a simple discovery when rendered animal fats mixed with wood ashes, revealing the saponification process that would transform homesteading practices forever.
In rural communities, tallow became an accessible ingredient that defined traditional soap making methods. Farmers and homesteaders valued this sustainable practice, making use of every part of their livestock.
You'll appreciate how tallow's historical significance stems from its remarkable effectiveness – creating hard, long-lasting bars that produce a creamy lather gentle enough for daily use.
Today's artisans are rediscovering these time-tested techniques, recognizing that sometimes the most authentic solutions have been right in front of us all along.
Essential Tools and Safety Equipment
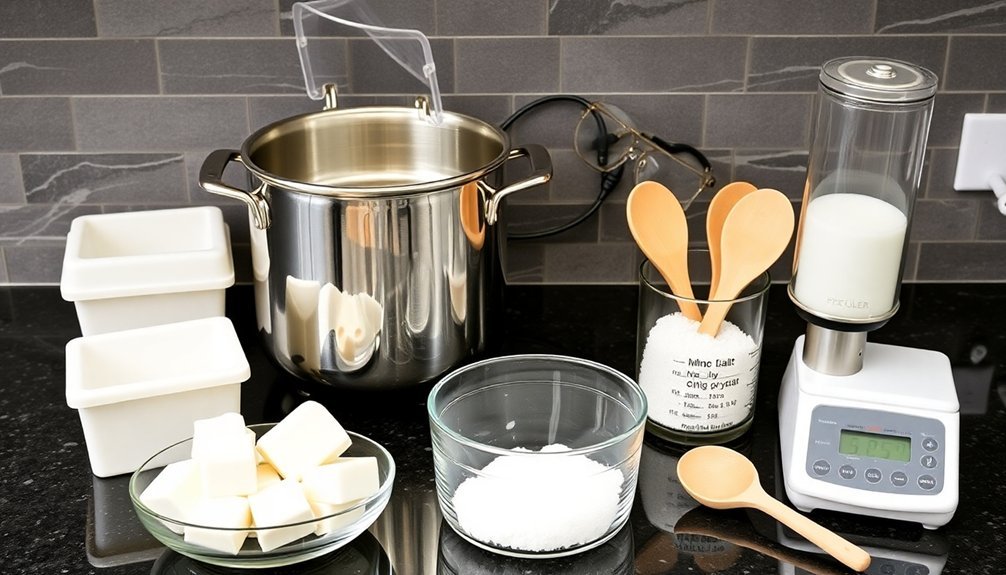
Safety stands at the forefront of successful tallow soap making. You'll need essential tools including a reliable scale for accurate ingredient measurements, an immersion blender for proper mixing, and a thermometer to monitor temperatures around 125°F.
Don't forget a double boiler or slow cooker to melt your fats effectively. Your safety equipment must include protective goggles, gloves, and long sleeves to shield against lye burns. Always wear closed-toe shoes to protect your feet from accidental spills.
Set up your workspace in a well-ventilated area to safely handle the lye solution mixing process. You'll want stainless steel containers or heat-resistant glass for mixing your ingredients, as these materials won't react with the caustic lye.
Sourcing Quality Grass-Fed Tallow
Selecting high-quality grass-fed tallow starts with finding reliable sources for your raw materials. Your local butcher shops and farmers' markets are excellent places to start sourcing grass-fed beef fat from pasture-raised animals.
When you visit these vendors, specifically ask for suet or kidney fat, which are ideal cuts for rendering tallow.
You'll want to guarantee your tallow comes from animals raised on natural grasslands, as this produces fat with higher levels of omega-3 fatty acids and CLA – nutrients that boost skin health.
Look for suppliers who can verify their farming practices and avoid any products containing additives or preservatives.
For the best soap-making results, choose farms that prioritize sustainable methods and maintain transparency about their raising practices.
Rendering and Purifying Raw Tallow
Once you've sourced quality beef fat, rendering and purifying your tallow requires careful attention to detail for ideal soap-making results. To begin the rendering tallow process, chop your beef fat into small pieces, removing any meat or connective tissue. Then, melt chopped fat over low heat for 4-6 hours until it's fully liquefied. You'll need to strain melted fat through cheesecloth to remove solid particles, creating pure tallow for your soap making journey.
| Process Step | Time Required | Key Tips |
|---|---|---|
| Chopping Fat | 30 minutes | Remove all tissue |
| Melting | 4-6 hours | Use low heat |
| Straining | 15 minutes | Use clean cheesecloth |
| Cooling | 2-3 hours | Room temperature |
| Storage | Up to 2 years | Cool, dry place |
Once cooled, store tallow in glass containers. This sustainable ingredient will maintain its quality for up to two years when stored properly.
Measuring and Preparing Your Ingredients
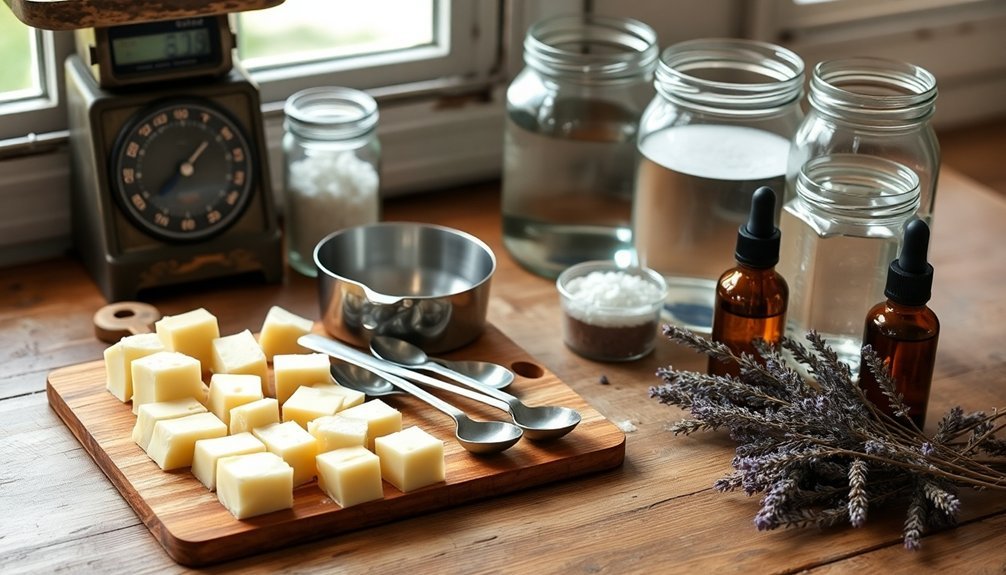
Set up your soap-making station with a digital scale, heat-safe containers, and protective equipment including goggles and chemical-resistant gloves.
You'll need to measure your fats precisely: 500g of tallow, 100g of coconut oil, and 250g of olive oil, ensuring each is weighed separately in clean containers.
For the lye solution, carefully weigh 120g of sodium hydroxide and 300g of distilled water, keeping them separate until you're ready to combine them in a well-ventilated area.
Proper Equipment Setup
Proper organization and preparation of your equipment marks the difference between a smooth soap-making process and a chaotic one.
You'll need to set up your workspace with essential tools, starting with a reliable digital scale for precise measurements. Place your thermometer, immersion blender, safety goggles, and gloves within easy reach.
Create two distinct mixing stations: one for combining lye with distilled water and another for melting your oils. Your lye station should include heat-resistant glass or plastic containers, while your oils station needs heat-safe mixing bowls.
Position your pre-measured ingredients near their respective mixing areas, and keep your soap molds nearby, ready for the final pour. Remember to work in a well-ventilated space, ideally with a window open or fan running to disperse any fumes from the lye mixture.
Weight-Based Measurement Guide
Accurate measurement stands as the cornerstone of successful tallow soap making. You'll need a digital scale to weigh your ingredients precisely, as volume measurements won't deliver consistent results in your recipes.
For a well-balanced soap, measure out 500g of tallow, 100g of coconut oil, and 250g of olive oil. You'll also need 120g of lye and 300g of distilled water for proper saponification. Remember that different types of tallow may require adjusting these measurements, so always consult a soap calculator before proceeding.
Before starting your soap-making process, pre-measure all ingredients and arrange them in your workspace. This organized approach prevents errors during mixing and guarantees you'll achieve the perfect balance of components for your handcrafted tallow soap.
Mixing the Lye Solution Safely
You'll need to put on complete protective gear – goggles, chemical-resistant gloves, and long sleeves – before handling any lye for your tallow soap.
Take your mixing container outside or to a well-ventilated area, as lye creates dangerous fumes you shouldn't breathe.
Working away from your home's interior, carefully combine the lye with distilled water in a heat-resistant container, ensuring proper measurements for safe saponification.
Proper Safety Equipment Required
Safety equipment is non-negotiable when mixing lye solution for tallow soap, as this caustic substance can cause severe burns and injuries. You'll need to wear proper protective gear, including goggles and gloves, before handling any ingredients. Work in a well-ventilated area and keep a vinegar solution nearby for emergency spill neutralization.
| Equipment | Purpose | Required |
|---|---|---|
| Goggles | Protect eyes from splashes | Always |
| Chemical-resistant gloves | Prevent skin contact | Always |
| Long sleeves | Shield arms from spills | Always |
Before starting, make sure you've pre-measured all ingredients and have your safety equipment ready. Don't forget to wear closed-toe shoes to protect your feet from accidental spills during the soap-making process. Proper safety handling isn't just about protection—it's about creating soap confidently and securely.
Ventilation Is Absolutely Essential
Now that you're equipped with proper safety gear, let's focus on where you'll mix your lye solution.
You'll need to choose a well-ventilated area that keeps you safe from caustic fumes. Your mixing space should either be outdoors or in a room with excellent airflow and open windows.
When mixing lye with distilled water, proper ventilation is critical because the chemical reaction releases potentially harmful vapors.
Set up your workspace away from high-traffic areas, and guarantee children and pets can't access it.
Keep your safety gear on throughout the entire mixing process, and always have a neutralizing agent like vinegar nearby to protect against accidental spills.
Your dedicated mixing area should be clean, organized, and free from clutter to prevent mishaps while handling this caustic substance.
Mix Solutions Away Outside
After gathering your supplies, the essential step of mixing lye solution demands careful attention to safety and precision.
You'll need to mix solutions away outside or in a well-ventilated area to prevent inhaling dangerous fumes.
Before starting, put on your safety gear, including goggles, gloves, and long sleeves.
Next, measure your lye and distilled water by weight, aiming for a 33% concentration for tallow soap.
Slowly add lye to your water while gently stirring until it's completely dissolved.
Never pour water into lye, as this can cause a dangerous reaction.
Let the solution cool to approximately 125°F before combining it with your melted oils.
This temperature is vital for proper saponification.
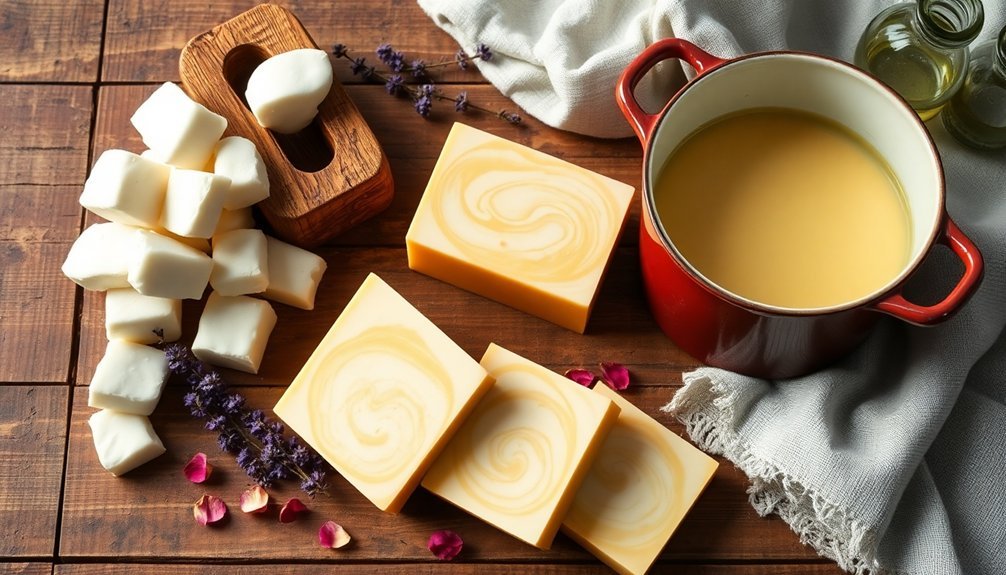
Blending Oils and Achieving Trace
The success of your tallow soap depends heavily on properly blending the oils and achieving trace at the right temperature.
Precise temperature control and proper oil blending are crucial steps that can make or break your tallow soap-making success.
Start by melting your tallow and coconut oil together at 125°F (52°C) to guarantee thorough mixing. Before using your immersion blender, you'll want both your oils and lye solution to cool to 105-110°F (40-43°C).
Begin with hand stirring to check the temperature, then switch to your immersion blender. You'll know you've reached trace when the mixture develops a pudding-like consistency, signaling that saponification is beginning.
If you notice the blend thickening too quickly during this process, you may need to adjust your lye amounts or modify your blending technique. This careful temperature control and proper mixing will help create a well-balanced tallow soap.
Choosing and Preparing Soap Molds
Your choice of soap mold can make or break your tallow soap-making success, with silicone and wooden molds being top options for their distinct advantages.
If you're using wooden molds, you'll need to line them carefully with parchment paper to prevent sticking, while silicone molds offer hassle-free release without extra preparation.
Consider that most tallow soap recipes yield 8-10 bars, so select molds that provide adequate space and allow you to tap out air bubbles effectively before covering with plastic wrap during the curing process.
Selecting Proper Mold Types
Selecting proper molds makes a significant difference in the success of your tallow soap-making project.
You'll find silicone molds are ideal for beginners due to their flexibility and easy removal properties. They're perfect for larger batches and won't break during the unmolding process.
If you prefer traditional soap making, wooden molds are an excellent choice. They'll hold about 2.75 pounds of soap and provide insulation for a consistent saponification process.
Before you start, verify your molds match your recipe yield – typically 1-2 pounds for 8-10 bars of soap.
Don't forget to prepare your molds properly. Line wooden molds with parchment paper or apply release spray to guarantee smooth unmolding.
Stick to simple mold designs rather than intricate ones, as they'll make the removal process much easier and result in better-looking bars.
Preventing Soap Sticking Issues
Preventing soap sticking issues starts with smart mold selection and proper preparation techniques. You'll find silicone molds are your best choice due to their flexible nature, making soap removal effortless after curing.
If you're using wooden molds, create a non-stick surface by lining them with parchment paper.
Before pouring your soap mixture, verify your molds are clean and free from residual oils or soap. Wash them thoroughly with warm, soapy water and rinse well.
Once you've poured the mixture, tap the molds gently on your counter to release any trapped air bubbles that could cause sticking problems.
Let your soap harden for at least 24 hours before attempting to remove it. This waiting period is essential for proper curing and will greatly reduce the risk of your soap sticking or breaking.
Mold Size and Yield
The right mold size directly impacts the success of your tallow soap-making venture. A standard wooden mold yields about 2.75 pounds of soap, giving you 8-10 bars per batch.
If you're looking to increase production, silicone molds offer flexibility for larger batches while maintaining bar quality.
Before you begin, check your measurements carefully to verify your mold's volume matches your soap batter quantity. You'll want to keep your molds clean and dry before each use.
After pouring your soap mixture, tap the mold firmly on your counter to release any trapped air bubbles, resulting in smoother bars.
If you're planning a double batch, remember that handling larger quantities requires extra attention when mixing ingredients and add-ins to maintain consistent quality throughout your soap.
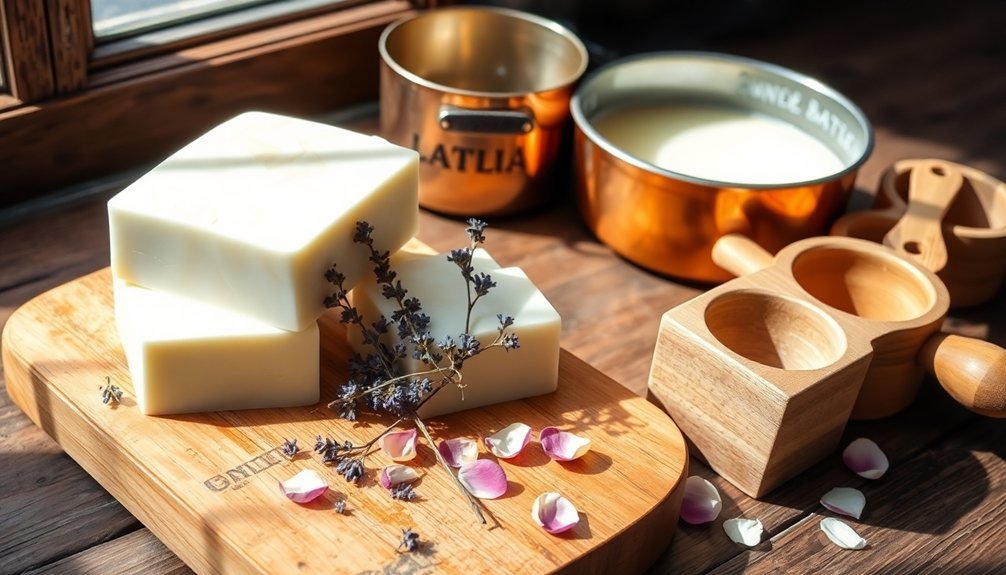
Curing and Storing Your Tallow Soap
While making tallow soap requires careful preparation and mixing, proper curing and storage are vital for achieving the best results.
After 24 hours of hardening in the molds, you'll need to carefully remove your soap bars and begin the important curing process.
Place your bars in a cool, well-ventilated area for at least four weeks to guarantee complete saponification. Keep them spaced apart to prevent moisture accumulation, which can affect the final quality. During this time, your soap will continue to harden and improve in texture.
Once fully cured, store your soap bars in a cool, dark location away from direct light and heat.
When properly stored, your tallow soap can maintain its quality for up to two years, making it a long-lasting and economical choice for your skincare needs.
Adding Natural Scents and Colors
Adding natural scents and colors to your tallow soap elevates its appeal without compromising its wholesome properties. You'll want to add essential oils at trace, when your mixture reaches a pudding-like consistency, using no more than 4 teaspoons to maintain the soap's ideal texture. During the saponification process, verify your additives are compatible to preserve the soap's quality.
| Natural Element | Amount | Benefits |
|---|---|---|
| Essential Oils | 2-4 tsp | Aromatic properties |
| Turmeric | 1-2 tbsp | Golden hue |
| Spirulina | 1-2 tsp | Green tones |
| Herbs | 2-3 tbsp | Enhanced skin benefits |
Consider infusing your oils with herbs like calendula or chamomile before mixing them into your tallow soap. These natural elements not only create beautiful colors but also contribute additional skin benefits to your finished product.
Troubleshooting Common Tallow Soap Issues
Since making tallow soap requires precision, you'll likely encounter some common challenges during the process.
If you notice uneven top layers in your soap, you're probably working with too fast of a trace consistency. Slow down your mixing and pour at a lighter trace to guarantee even distribution in your molds.
Watch for cracking during the setting process, as this often indicates issues with your trace consistency or fat selection.
If your finished bars have a yellowish tint, you might need to verify you're using high-quality tallow that's properly rendered.
To maintain accurate lye ratios and successful saponification, always use a soap calculator before starting your batch.
When storing different types of tallow, label them clearly in your freezer to prevent mix-ups that could affect your final product.
Frequently Asked Questions
What Are the Disadvantages of Tallow Soap?
You'll find tallow soap has several drawbacks: it doesn't last as long as vegetable soaps, may carry an unpleasant animal fat smell, isn't vegan-friendly, can trigger allergies, and requires complex rendering skills to make.
Is Soap Still Made From Tallow?
Yes, you'll find that tallow soap is still widely produced today. While commercial manufacturers often use alternatives, many artisans and homesteaders continue making traditional tallow soap for its exceptional quality and sustainability benefits.
Does Tallow Soap Need Lye?
Yes, you'll need lye to make tallow soap. It's essential for the saponification process, where lye reacts with tallow to create soap. There's no way to make true soap without using lye.
Does Tallow Soap Go Bad?
Yes, your tallow soap can go bad within two years. You'll notice signs like rancid smells, discoloration, or mushy texture. Keep it stored in a cool, dry place away from light to maximize longevity.
In Summary
You're now equipped to create beautiful, sustainable tallow soap using traditional methods and modern safety practices. Don't forget to allow proper curing time and maintain detailed notes of your recipes for future batches. Whether you're making soap for personal use or as thoughtful gifts, you'll find that working with farm-fresh tallow creates a superior product that honors age-old soapmaking traditions while delivering exceptional cleaning power and skin benefits.


Leave a Reply