Making perfect lard soap takes just 7 straightforward steps: gather your safety gear and equipment, select high-quality lard, carefully mix your lye solution, prepare your fats at the right temperature, blend to achieve proper trace, pour into molds for initial setting, and cure for 5-6 weeks. You'll need to follow precise measurements and safety protocols, but the result is luxuriously moisturizing, long-lasting soap bars. Discover how each step builds upon the next to create your ideal homemade soap.
Safety Gear and Essential Equipment Setup
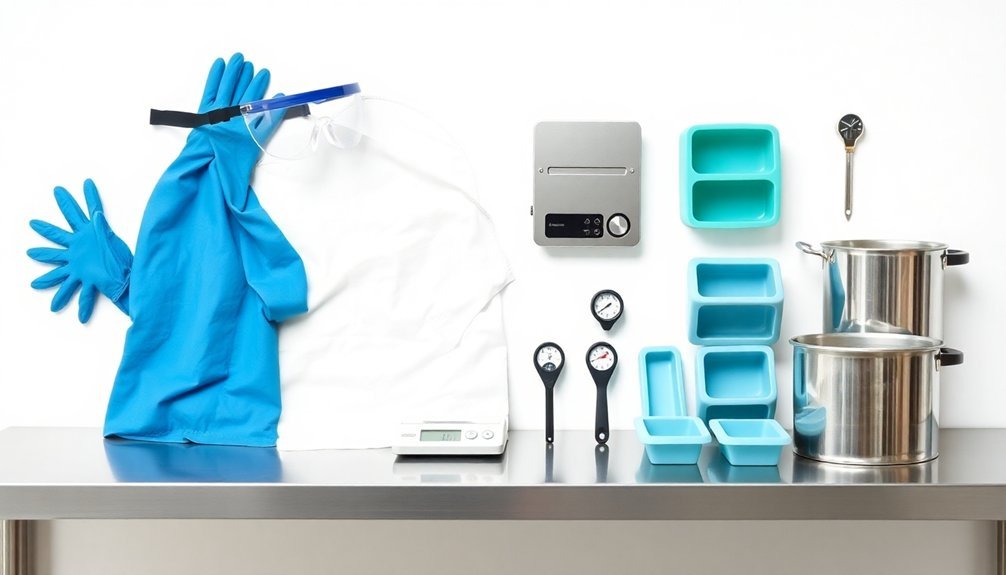
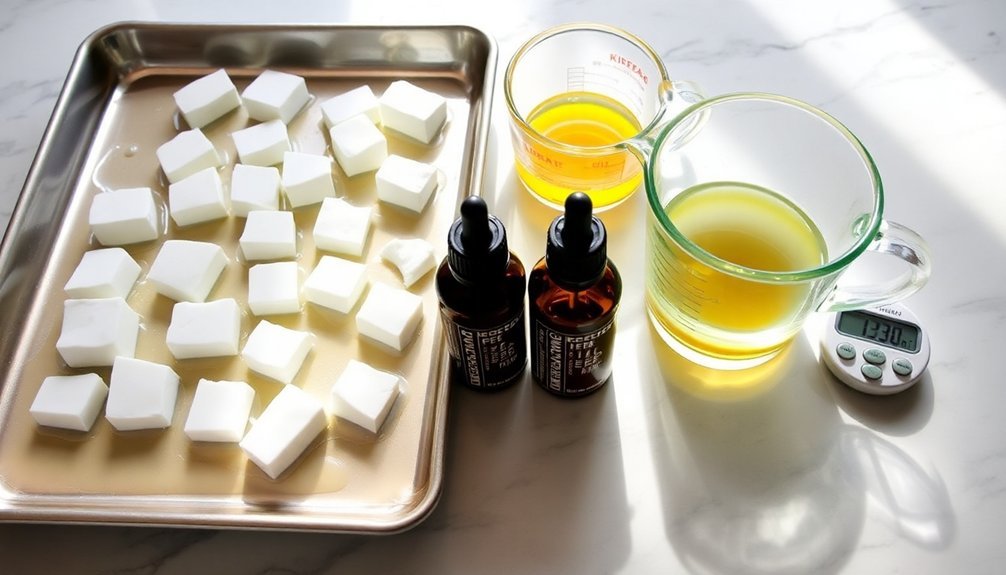
Before starting any soap-making project, you'll need to set up your workspace with proper safety equipment and essential tools. Gather your protective gear, including safety glasses, long sleeves, and gloves to shield yourself from lye's caustic effects.
Place all soap making supplies in a well-ventilated area on a clear surface. Set up your dedicated digital scale for precise measurements and prepare appropriate containers made of stainless steel, glass, or plastic for mixing ingredients.
Keep your soap-specific immersion blender ready for efficient mixing. You'll need an infrared thermometer for measuring temperatures of your lye solution and fats without direct contact.
Arrange these tools within easy reach, but keep them separate from regular kitchen equipment to prevent cross-contamination. Double-check that all your safety gear is in place before handling any ingredients.
Selecting and Testing Your Lard Quality
When making lard soap, choosing high-quality lard will directly impact your final product's performance and purity.
You'll want to select hand-rendered lard that's free from additives and has a light, clean scent. Look for a smooth texture without graininess, and ascertain the color is pale white or slightly yellow – darker shades can indicate rancidity.
For the best results, source your lard from pastured animals, as they provide higher levels of beneficial fatty acids that enhance your soap's conditioning properties.
Before committing to a large batch, perform a small test soap to evaluate the lard's performance. Pay attention to how well it lathers and moisturizes.
Measuring and Mixing Your Lye Solution
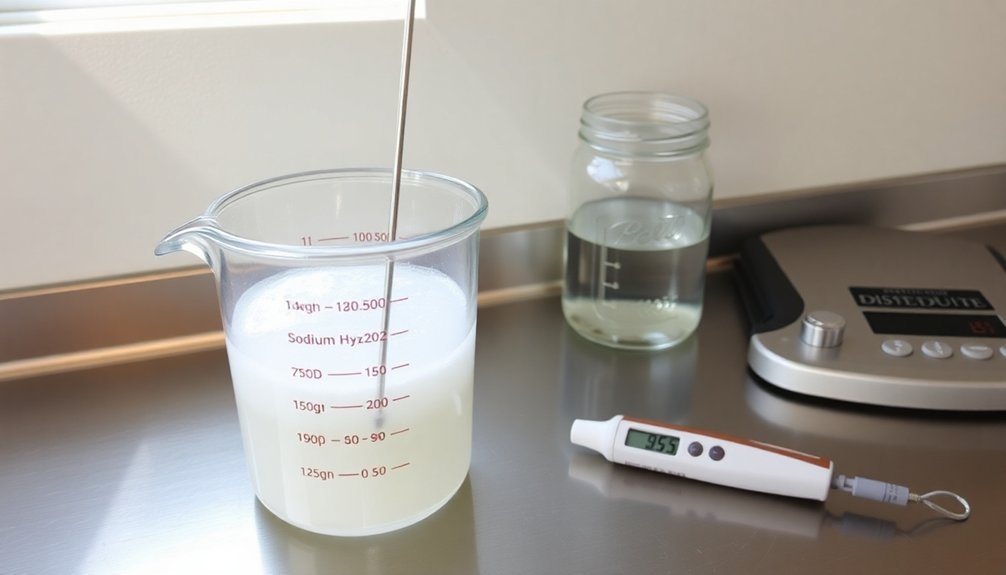
Before you begin working with lye, put on your protective goggles and chemical-resistant gloves to shield yourself from potential splashes and burns.
You'll need your digital scale to measure the exact amount of lye crystals, as precision is essential for achieving the perfect saponification process.
Set up your mixing station in a well-ventilated area with your glass or stainless steel container ready, remembering to add the lye to your distilled water – never the other way around.
Safety First, Always Ready
Since lye can be dangerous if mishandled, proper safety measures and precise measurements are vital for making lard soap.
You'll need to start with food-grade lye and get accurate measurements using a digital scale. Before mixing lye, put on your protective gear – goggles, gloves, and long sleeves – and make sure you're working in a well-ventilated area.
When preparing your lye solution, remember the golden rule: always add lye to water, never reverse this order.
Use only glass, plastic, or stainless steel containers for mixing lye, as chemical reactions can occur with aluminum or non-stick materials.
Monitor the temperature of your solution carefully – it needs to cool to 100-110°F before starting the saponification process.
These safety steps aren't optional; they're vital for successful soap making.
Master Your Measurements Precisely
Precise measurements lay the foundation for perfect lard soap. Before starting your lard soap recipe, you'll need to measure your lye and water using a digital scale. Always use food-grade lye for the purest results and run your recipe through a lye calculator to determine exact proportions.
| Step | Action | Temperature | Container |
|---|---|---|---|
| 1 | Measure lye | Room temp | Glass/plastic |
| 2 | Measure water | Room temp | Stainless steel |
| 3 | Mix solution | 180-200°F | Well-ventilated |
| 4 | Cool mixture | 100-110°F | Ready for fats |
Mix your solution outdoors or in a well-ventilated area, adding lye to water carefully. Let the mixture cool to the proper temperature before combining with your melted fats. This guarantees proper saponification and creates the perfect soap making environment.
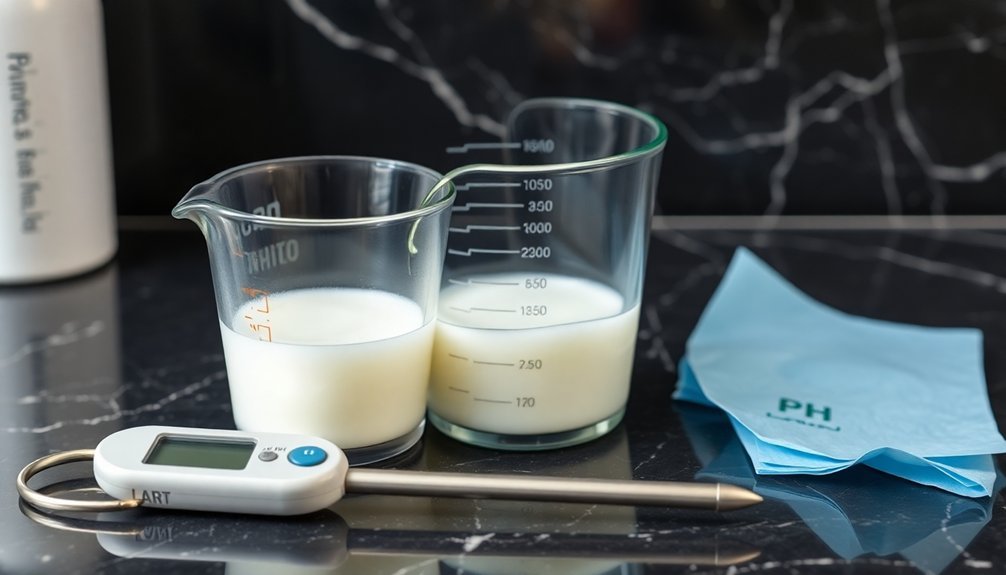
Preparing the Fat and Oil Components
The successful preparation of fat and oil components forms the foundation of perfect lard soap.
You'll need to start with high-quality, hand-rendered lard that's free from additives to guarantee ideal saponification. Using your digital scale, measure your lard and coconut oil precisely – the proper ratio between these fats is vital for creating soap with excellent lather and conditioning properties.
Set up a double boiler to melt your lard slowly, bringing it to 100-110°F.
When adding coconut oil to your melted lard, maintain careful temperature control. You'll want both your fats and lye solution at similar temperatures before you combine them – this prevents any unwanted reactions during the soap making process.
Achieving the Perfect Trace Consistency

Achieving proper trace marks a critical milestone in your soap-making journey. For a successful batch, you'll need to monitor the soap batter's consistency as you blend your lye water and fats at matching temperatures between 100-110°F.
Using your immersion blender, you'll notice the mixture thickening to a perfect pudding-like texture within 5 to 10 minutes.
Here's how to confirm you've reached the ideal trace:
- The soap batter should temporarily hold its shape before melting back into the mixture.
- When drizzled from your blender, the mixture leaves distinct lines on the surface.
- The consistency resembles pudding, indicating it's ready for fragrances.
Once you've achieved trace, you can confidently move forward with adding your favorite scents and other additives to complete your lard soap creation.
Molding and Initial Setting Techniques
Once you've reached the perfect trace, proper molding and setting techniques become vital for producing professional-quality lard soap.
Before you begin, make certain your soap molds are clean and optionally lined with baking paper. If you're using flexible molds, reinforce them with rigid support to prevent bending when filled.
Pour the soap mixture carefully into your prepared molds, making sure to scrape the container thoroughly for even distribution. You'll want to smooth the top of each mold for a polishing finish.
After pouring, cover your filled molds with a towel or blanket to maintain warmth during the initial setting phase. This important step helps your soap set properly.
Wait 2-3 days before you attempt to remove the soap from the molds to guarantee it's completely hardened.
Curing Your Soap for Optimal Results
You'll need to create an ideal drying environment by placing your cut soap bars on a cooling rack or wax paper in a cool, dark area away from direct sunlight and moisture.
Following a weekly rotation schedule, turn each bar over to guarantee all sides receive equal air exposure during the essential 5-6 week curing period.
Keep an eye on temperature and humidity levels, as these factors can greatly impact your soap's final texture and performance.
Proper Drying Environment Setup
The success of your lard soap depends heavily on proper curing conditions, making a well-planned drying environment vital.
You'll need a cool, well-ventilated space that's protected from direct sunlight to prevent discoloration. Place your soap bars on wax paper or a wire rack to guarantee proper air circulation on all sides.
- Choose a dark, cool area with consistent humidity levels below 60% to help your soap bars harden properly.
- Position your drying racks away from moisture sources and maintain steady airflow throughout the curing space.
- Turn your soaps regularly during the 4-8 week curing period to guarantee even drying on all surfaces.
Remember that proper air circulation is essential for achieving the perfect cure.
Weekly Rotation Schedule
Following a precise weekly rotation schedule guarantees your lard soap cures evenly and develops its ideal qualities.
After your initial 48-hour unmolding period, place your soap bars on a cooling rack where they'll begin their 5-6 week curing process.
You'll need to rotate each bar once per week to prevent moisture buildup and facilitate even air exposure on all sides.
This consistent rotation helps your soap properly saponify and develop superior lathering capabilities.
As you follow your rotation schedule, you'll notice your soap bars becoming harder and more refined.
Don't hesitate to test your soap periodically throughout the curing process – this will help you gauge its progress and make improvements for future batches.
Frequently Asked Questions
How to Make Lard Soap More Bubbly?
You'll get bubblier lard soap by adding coconut oil (20%) and castor oil (5-10%) to your mixture. Mix thoroughly until trace, then cure for 4-8 weeks. These additions boost lather quality considerably.
How Long Does Lard Soap Need to Cure?
You'll need to cure your lard soap for 4-6 weeks minimum, turning bars weekly for even drying. If you're patient, letting it cure for several months will give you better lather and harder bars.
What Are the Three Ingredients in Lard Soap?
You'll need three basic ingredients to make lard soap: lard (your main fat source), lye (sodium hydroxide), and water. These ingredients work together through saponification to create a gentle, moisturizing bar of soap.
What Is the Ratio of Lye to Lard for Soap Making?
You'll need 0.2 to 0.25 parts lye for every 1 part lard in your soap recipe. That means for every 100 grams of lard you use, you'll need 20-25 grams of lye.
In Summary
You've now mastered the basics of making lard soap using these seven straightforward steps. Don't forget to properly store your finished bars in a cool, dry place for 4-6 weeks to complete the curing process. With practice, you'll develop an eye for the perfect trace and consistency. Keep experimenting with different additives and fragrances while maintaining these core techniques as your foundation.


Leave a Reply