Your ideal soap curing spots include a well-ventilated garage corner, a temperature-controlled basement station, unused kitchen cabinets, a dedicated craft room, an empty closet space, a laundry room rack, or a spare room workshop. You'll want to maintain temperatures between 60°F and 80°F, avoid direct sunlight, and guarantee proper air circulation in any location you choose. Our detailed breakdown of each space will help you create the perfect curing environment for your handmade soaps.
The Ideal Garage Corner Setup
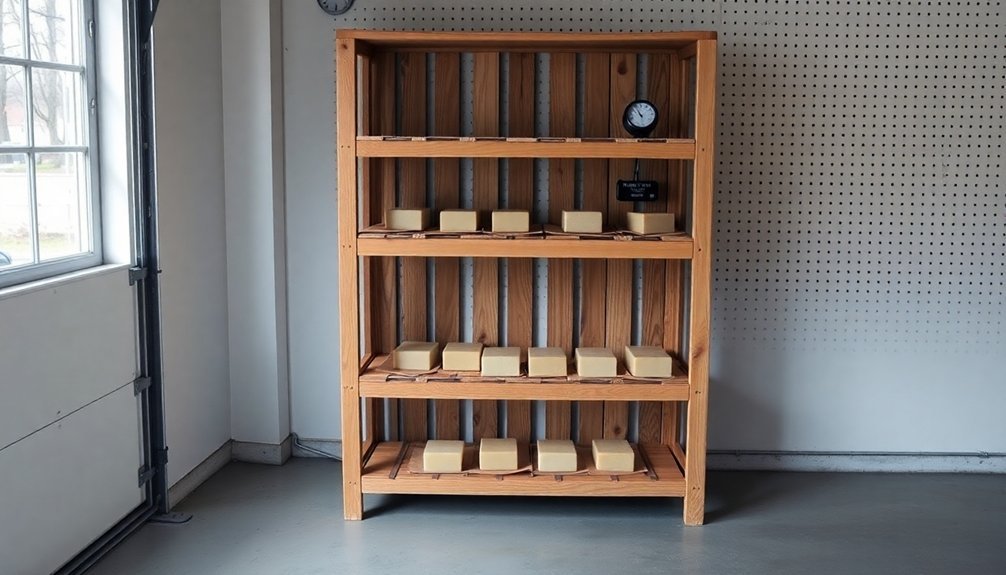
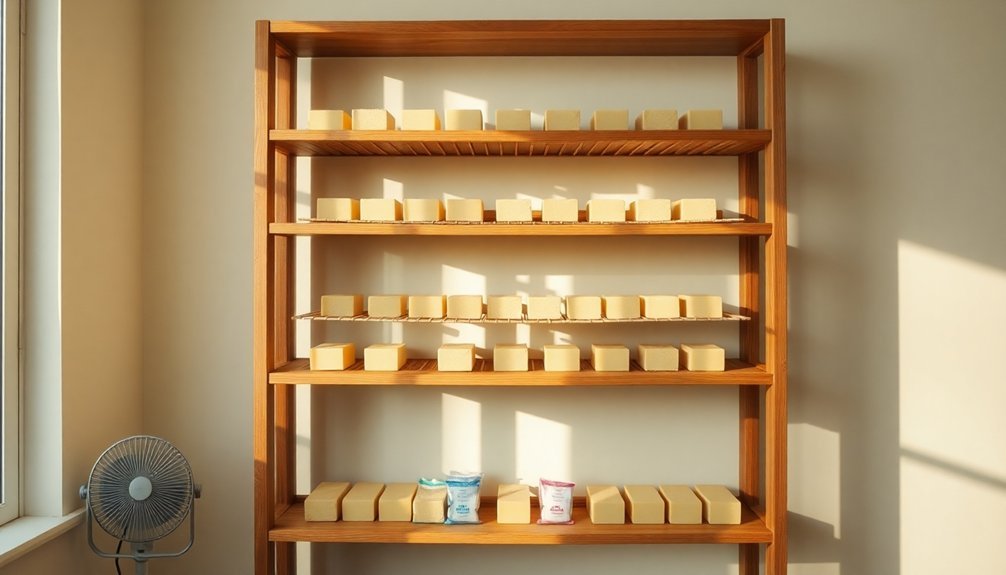
A well-planned garage corner can transform your soap curing process from chaotic to organized. You'll want to choose a spot with indirect sunlight to protect your soaps from fading while guaranteeing proper air circulation.
Set up a wire baker's rack to keep your soaps elevated off the ground, allowing airflow to reach all sides of each bar. This setup prevents moisture from getting trapped underneath.
Monitor humidity levels closely, keeping them below 60% to avoid mold growth. If you're dealing with a particularly humid environment, place a small fan nearby to boost air movement.
Keep the temperature steady between 60°F and 80°F to support the curing process. This controlled environment helps prevent common issues like DOS and guarantees your soaps cure evenly and effectively.
Creating a Basement Curing Station
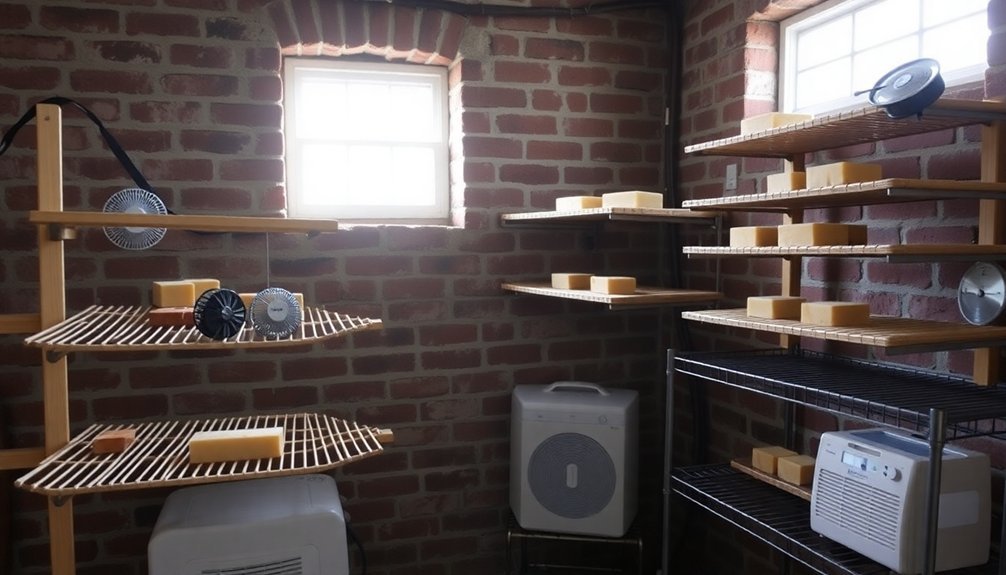
Set up your basement curing station with open wire shelving units positioned away from walls to maximize air circulation around your soaps.
You'll want to keep temperatures stable between 60°F and 80°F while using a dehumidifier to maintain low moisture levels throughout the space.
Arrange your soaps in single layers on the wire racks, ensuring they're not touching each other, and remember to flip them weekly for even curing.
Optimal Basement Storage Layout
While basements often provide ideal conditions for soap curing, you'll need to create a well-organized layout to maximize your space and assure proper airflow.
Start by selecting a spot that maintains temperatures between 60°F and 80°F, away from humid areas that could compromise your soaps.
Set up wire baker's racks strategically to assure good airflow around each soap bar. Don't stack or crowd them, as this can trap moisture.
If your basement's humidity exceeds 60%, place a dehumidifier nearby to maintain the ideal environment.
When your soaps are fully cured, transfer them to ventilated storage bins that'll protect them from dust while allowing continued airflow.
Remember to flip your soaps weekly during the curing process, especially if you're working with limited space.
Controlling Humidity Effectively
Managing humidity levels stands as the cornerstone of creating an effective basement curing station for your handmade soaps. You'll need to maintain humidity below 60% using a dehumidifier to guarantee your soaps cure properly and avoid potential moisture-related problems.
Set up wire racks or shelves that promote proper airflow around your soap bars, and run a fan to enhance air circulation throughout the space. This combination helps prevent moisture buildup and reduces the risk of DOS.
Keep track of your basement's humidity levels with a hygrometer, adjusting your dehumidifier settings as needed to maintain ideal curing conditions.
Don't forget to keep your curing area tidy and clutter-free. Removing unnecessary items helps eliminate hidden moisture sources that could interfere with the curing process and compromise your soaps' quality.
Maximizing Kitchen Cabinet Space
Your kitchen cabinets can become an ideal curing station for handmade soaps with smart organization and space-saving techniques.
Transform underutilized kitchen cabinet space into an efficient curing station for your handmade soaps through thoughtful organization and smart storage solutions.
Install multiple shelves or wire racks to take advantage of vertical space while ensuring proper airflow around curing soaps. You'll maximize storage capacity by using clear, stackable containers that let you monitor your soaps' progress easily.
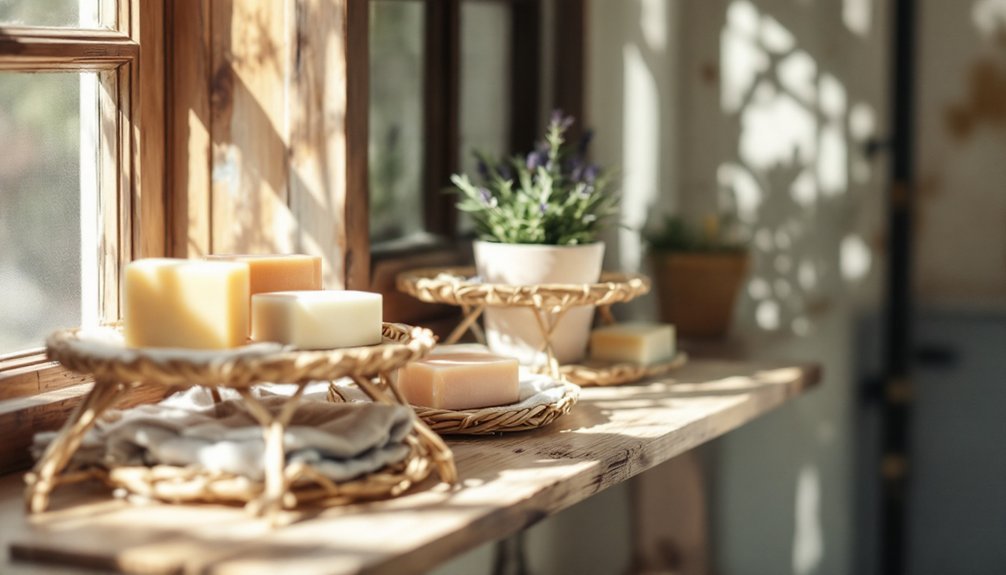
Choose a cool, dry area of your kitchen, away from sunlight and moisture sources, and dedicate a specific cabinet for your soap curing needs.
Place your soaps in open containers or trays to promote air circulation and prevent unwanted moisture buildup.
Setting Up a Dedicated Craft Room
To create an ideal soap-curing environment, transforming a spare room into a dedicated craft space offers the perfect solution. You'll need to install ample shelving units to maximize vertical space and promote proper airflow for your curing soaps. Keep the room's temperature between 60°F to 80°F, and manage humidity with fans or dehumidifiers.
| Feature | Benefit | Impact |
|---|---|---|
| Wire Racks | Enhanced airflow | Faster curing |
| Bright Lighting | Better visibility | Quality control |
| Climate Control | Stable environment | Consistent results |
| Storage Solutions | Organization | Improved efficiency |
Position wire racks strategically to guarantee optimal air circulation around your soaps. Install bright, indirect lighting to avoid fading while maintaining visibility. By regularly organizing your supplies and monitoring environmental conditions, you'll create the perfect space for crafting and curing exceptional soaps.
Utilizing Unused Closet Space
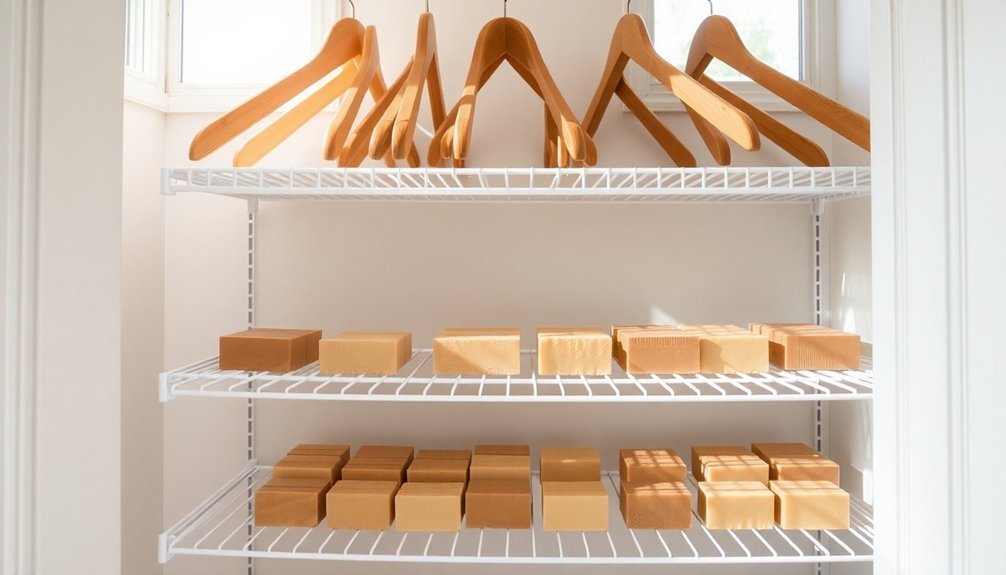
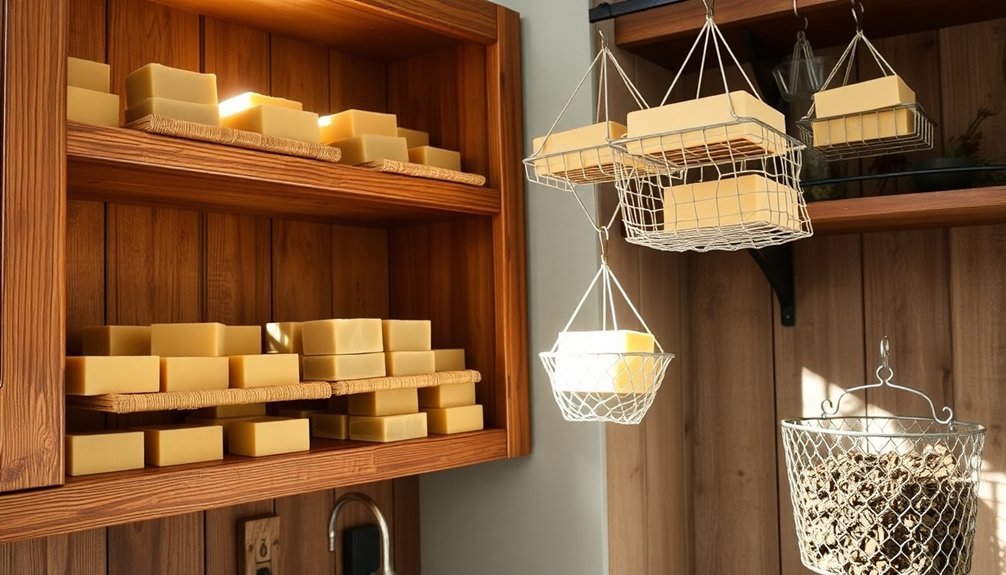
When space comes at a premium, unused closets offer an excellent alternative to a dedicated craft room for curing handmade soaps. You can transform this space into an efficient curing station by installing wire racks and shelves that promote proper airflow around your soap creations.
Make the most of vertical space by using stackable bins or plastic crates to separate different soap batches. Installing a small fan will help maintain consistent airflow and prevent humidity buildup, which can affect your soaps' curing process.
Keep the temperature steady between 60°F and 80°F, and protect your soaps from direct sunlight. Don't forget to check your curing soaps regularly for any signs of moisture or spoilage. If you're tight on space, rotate your soaps periodically to guarantee they cure evenly.
Laundry Room Rack Placement
Laundry rooms provide an ideal environment for curing handmade soaps, especially if you install wire racks strategically throughout the space. You'll want to maintain temperatures between 60°F to 80°F while controlling humidity with fans or dehumidifiers.
| Location | Benefits | Considerations |
|---|---|---|
| Above Washer | Maximum Airflow | Avoid Steam |
| Near Window | Good Ventilation | Block Direct Sun |
| Against Wall | Space Efficient | Check Air Movement |
| Corner Space | Temperature Stable | Monitor Humidity |
Position your wire racks away from direct sunlight to prevent color fading. Remember to flip your curing soaps every few days to guarantee even drying. If you're noticing uneven curing or moisture issues, adjust your rack placement for better airflow. With proper setup and monitoring, your laundry room can become the perfect soap curing station.
Building a Spare Room Workshop
A spare room can become your ultimate soap making sanctuary with thoughtful organization and proper environmental controls.
Transform the space by installing wire shelving along the walls to maximize vertical storage and create efficient spots for your curing racks.
You'll need to maintain ideal airflow by installing fans or air conditioning units, while a dehumidifier helps control humidity levels – especially essential in damp climates.
Take advantage of natural light, but protect your soaps from direct sunlight using strategic window treatments.
Create designated zones for different tasks to keep your workflow smooth and organized.
Set up distinct areas for crafting, curing, and packaging to maintain a clutter-free environment.
This systematic approach won't just keep your space tidy; it'll help guarantee your soaps cure properly and maintain their quality.
Frequently Asked Questions
Where Is the Best Place to Cure Soap?
You'll want to cure your soap in a cool, dry room around 68°F with good airflow. Place them on wire racks away from sunlight, and don't forget to turn the bars weekly for even drying.
What Are the Best Conditions for Curing Soap?
You'll need a room at 68°F with low humidity (under 60%) and good air circulation. Place your soaps on wire racks, turn them regularly, and keep them away from direct sunlight during curing.
How to Speed up Soap Curing?
You'll speed up soap curing by keeping room temps between 68-80°F, using fans for airflow, placing soaps on wire racks, and running a dehumidifier. Don't expose them to direct sunlight while curing.
Should I Put My Cold Process Soap in the Fridge?
Don't put your cold process soap in the fridge. It'll make your soap brittle and trap moisture, disrupting the natural curing process. Instead, store it in a cool, dry place with good airflow.
In Summary
Now that you've explored these seven ideal soap curing locations, you'll be able to pick the perfect spot that works for your home. Remember to keep your soaps away from direct sunlight, moisture, and extreme temperatures. Whether you choose your garage corner or transform a spare room, you'll find that proper placement makes all the difference in creating high-quality, well-cured soaps.


Leave a Reply