To properly assess your homemade soap's quality, perform these seven essential tests: pH balance testing (aim for 7-10), hardness assessment through manual pressure, lather quality evaluation in warm water, cleansing power measurement, ingredient purity verification, stability testing under various conditions, and visual inspection for texture and color consistency. You'll want to check for proper saponification, absence of liquid pockets, and no "zap" sensation. These simple evaluations will help guarantee your natural soap meets professional standards.
7 Quality Tests For Homemade Natural Soap
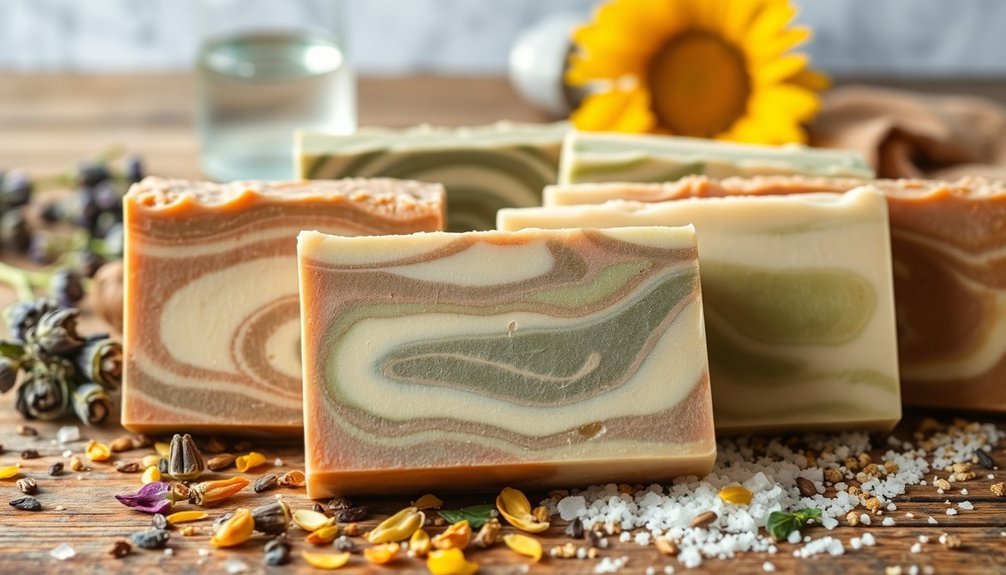
How can you be certain your homemade soap meets quality standards? Start with visual inspection for even texture, absence of liquid pockets, and consistent color distribution. These indicate proper saponification and ingredient blending.
Test the lather quality—it should be rich and creamy, signaling the presence of moisturizing oils. The soap's durability matters too; quality bars maintain hardness over time.
Quality soap produces a luxurious lather while remaining firm through multiple uses—true markers of craftsmanship.
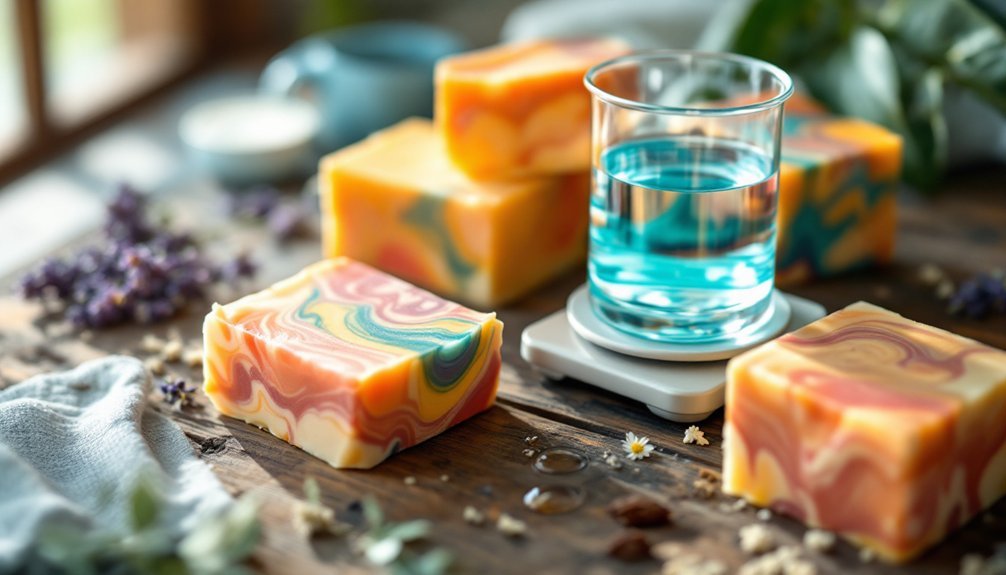
While pH strips are common, they're not always reliable due to water hardness variations. Consider investing in a precise pH meter for accuracy. Creating a 1% soap solution with distilled water provides more consistent and reliable pH testing results.
Check for complete saponification before use—the soap shouldn't have a zap sensation. Instead of this risky taste test, observe smell and appearance for freshness indicators.
Always conduct a skin patch test before regular use to ascertain compatibility with your skin type.
The Ph Balance Test: Ensuring Skin-Safe Alkalinity
Understanding your soap's pH balance represents one of the most important quality checks for homemade soap makers. This test guarantees your creations won't irritate skin by confirming they've reached a non-caustic state, ideally within the 7-10 pH range.
You can test pH using several methods. pH strips offer a simple approach—create a paste with your soap and water, then apply the strip. For greater accuracy, consider using a pH meter or hot water solution method. This testing process is crucial since it confirms the saponification process is complete.
Remember that normal skin pH is 5.4-5.9, but soap naturally runs more alkaline.
If your soap's pH tests too high, you can remedy this by extending curing time, adding natural pH balancers like citric acid, or adjusting your recipe's lye-to-oil ratio for future batches.
Hardness and Durability Assessment
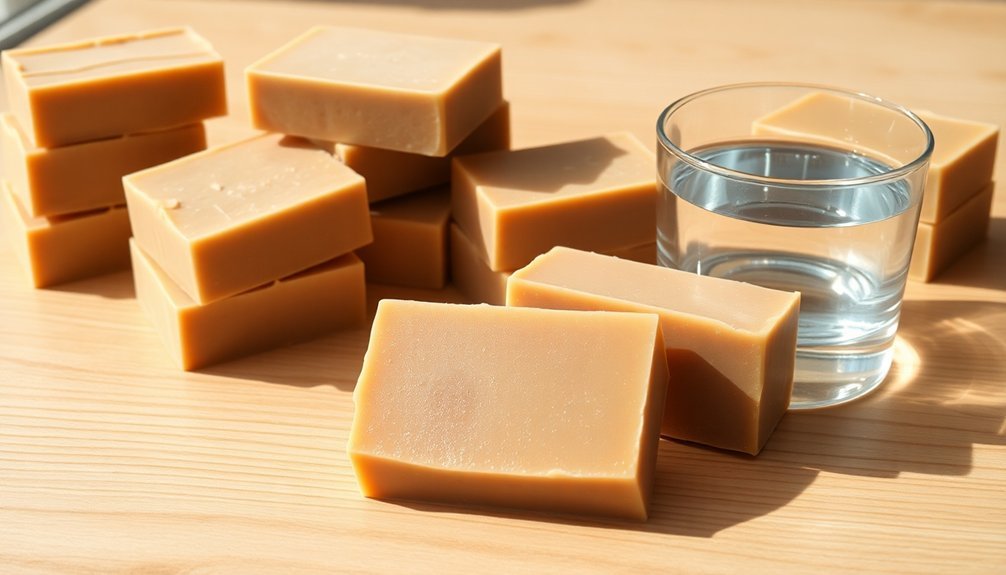
Three key methods can help you evaluate your homemade soap's hardness and durability, essential qualities that determine both user experience and product longevity.
Start with the manual pressure test by pressing the soap with your fingers to gauge resistance. For precise measurements, consider using a sclerometer that measures hardness in kg/cm².
Track your soap's water loss during curing by weighing it regularly on precision scales. You'll notice that longer curing times typically yield harder, more durable bars.
The fatty acid composition of your chosen oils dramatically impacts hardness—oils high in lauric and palmitic acids create firmer soap. Environmental conditions like high humidity can significantly affect soap hardness, as demonstrated when test bars became softer during humid weather conditions.
Remember that superfatting levels and water concentration in your recipe will influence your final product's hardness, with higher superfatting generally resulting in softer soap.
Lather Quality Evaluation
Lather quality serves as a primary indicator of your homemade soap's performance, often becoming the make-or-break factor for many users.
To evaluate this essential attribute, test your soap in warm water using standardized methods—rolling creates larger bubbles while rubbing produces more foam.
Assess both creamy and bubbly lather characteristics on a 1-10 scale. Creamy lather provides moisturizing benefits, while bubbly lather offers cleansing power.
You'll need to balance these properties through your oil choices: coconut oil (5-30%) increases bubbles through lauric acid content, while castor oil (5-10%) enhances stability without excess stickiness.
Consider adjusting your formula based on test results. Reduce superfat levels to boost lather or incorporate natural boosters like sugar. Adding beer or wine as a water replacement can significantly enhance lather quality while bringing unique properties to your soap.
Remember that environmental factors like water hardness will affect your final assessment.
Cleansing Power Measurement
Every effective soap must balance its cleansing ability with skin comfort, making this measurement essential for quality assessment.
You'll need standardized testing protocols to evaluate how well your soap removes dirt and grime from surfaces. Start by conducting soil simulations using common stains on fabric or surfaces. Measure cleansing power through comparative testing against commercial benchmarks, noting differences in dirt removal efficiency.
Your soap's fatty acid composition directly impacts its cleansing properties—analyze this using titration methods or HPLC for precise measurements. The type and ratio of oils you select will significantly affect the final soap's cleansing power, with coconut oil producing a stronger cleansing effect than olive oil. Consider adjusting your lye concentration and water ratio to optimize cleaning power.
Don't overlook pH testing, as effective cleansing soaps typically range between 8-10 on the pH scale. Incorporate user feedback to balance laboratory findings with real-world performance for truly thorough cleansing power assessment.
Ingredient Purity Verification
You'll need reliable methods to verify your oils' authenticity, like chromatography testing for essential oils and fatty acid profiling for carrier oils.
To guarantee your soap is truly preservative-free, conduct microbial testing and shelf-life studies under various conditions to confirm natural preservation methods are working. Precise weight measurements of ingredients are necessary to control your soap's quality and consistency during the saponification process.
When incorporating plant extracts, look for certification standards like USDA Organic or NSF International that validate both the sourcing and processing methods of your botanical ingredients.
Oil Authenticity Methods
Because the quality of your homemade soap depends heavily on the purity of its ingredients, verifying oil authenticity has become increasingly important for soap makers. The startling fact that up to 70% of olive oils on the market may be adulterated emphasizes this concern.
Start by purchasing oils from reliable suppliers with transparent sourcing practices. Always verify ingredient labels and check for expiration dates. Be wary of misleading terms like "packed in Italy," which doesn't guarantee Italian-grown olives.
For olive oil specifically, understand that color isn't an indicator of quality—authentic oils naturally vary in appearance. Store olive oil in darker glass bottles to prevent rancidity and preserve its beneficial properties for soapmaking.
When in doubt, consider laboratory testing according to AOCS standards. If authenticity remains questionable, alternatives like sunflower or safflower oil offer similar benefits for soapmaking while being less commonly counterfeited.
Preservative-Free Verification
While authenticating oils forms the foundation of quality soap, understanding if your soap is truly preservative-free represents another critical verification step.
When making natural soap, you'll need reliable methods to confirm the absence of synthetic preservatives.
Cold process soap naturally resists microbial growth due to its high pH and low water activity, eliminating the need for added preservatives.
To verify your soap's preservative-free status:
- Check for third-party certifications like MADE SAFE that validate ingredient safety
- Maintain detailed documentation of your raw material sources and batch testing results
- Analyze pH levels (8-10 is ideal) to confirm natural preservation properties
- Conduct stability testing under various conditions to guarantee product integrity without chemical preservatives
Remember that proper labeling guarantees transparency and builds consumer trust in your preservative-free claims.
Solid soap bars generally require fewer preservatives than liquid alternatives, as demonstrated by products like Bath & Body Soap Bar which can maintain quality while being completely preservative-free.
Extract Certification Standards
Understanding extract certification standards forms the cornerstone of ingredient purity verification for natural soapmakers. When sourcing extracts, you'll need to verify their certification levels—"100% organic" contains only organic ingredients, while "organic" requires at least 95% organic content.
For reliable verification, check that your extracts meet established purity standards set by organizations like ASTM. Cosmetic grade ingredients should have at least 70% purity. If you're pursuing organic certification, you'll need traceability documentation for each extract back to its source. Potager Soap Company achieved this by having every ingredient traced back to its origin, which is a key requirement for organic certification.
Consider alternative certifications like NSF/ANSI 305 for personal care products if USDA NOP certification seems challenging.
Remember that lab testing can verify extract composition and identify contaminants. When using non-organic extracts like charcoal, transparent labeling is essential for maintaining consumer trust.
Stability Testing Under Various Conditions
Testing your soap's stability under different conditions is essential for ensuring product longevity.
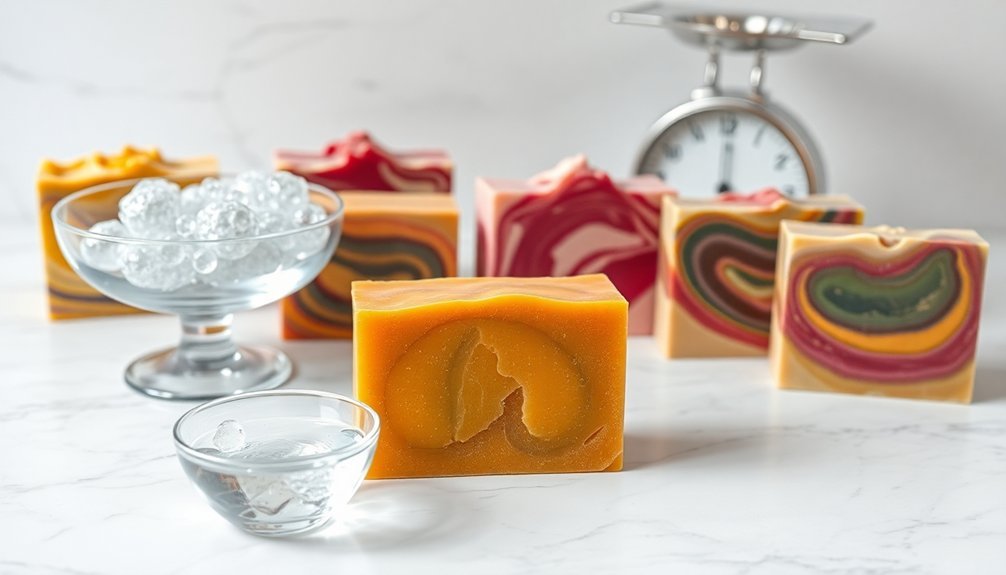
You'll want to conduct heat endurance analysis by placing samples in an elevated temperature environment (40-45°C), evaluate humidity effects by storing products in bathroom-like conditions, and perform shelf-life checks by monitoring samples over 3-6 months for any changes in appearance, scent, or pH.
These targeted tests will help you confidently predict how your natural soap will perform in real-world environments. The process helps determine appropriate storage conditions for your handcrafted soaps and establishes their expected shelf-life.
Heat Endurance Analysis
To guarantee your homemade natural soap can withstand real-world conditions, proper heat endurance analysis is vital. Expose your cured soap to temperatures between 100°F and 200°F (38°C to 93°C), then observe any texture changes, deformation, or discoloration. Properly saponified soap—especially using the hot process method—will demonstrate superior thermal stability.
- Watch how your soap behaves in summer heat—will it maintain its integrity when left in a hot car?
- Notice how your choice of oils affects stability—some combinations withstand heat better than others.
- Feel the difference between properly cured soap versus rushed batches when exposed to heat.
- Observe how essential oils and colorants might affect your soap's ability to endure temperature changes.
Hot process soap performs exceptionally well in heat endurance tests due to its complete saponification during production, eliminating the need for a six-week curing period.
Regular testing guarantees your soap remains stable regardless of environmental conditions.
Humidity Effect Evaluation
When exposed to varying moisture conditions, natural soap can undergo significant changes that affect both appearance and stability.
To test your soap's humidity resistance, store samples in environments with different moisture levels (30-80% humidity) for 2-4 weeks.
Watch for glycerin "sweating" on your soap's surface—a cosmetic issue caused by glycerin attracting moisture from humid air. While this doesn't affect functionality, it impacts presentation.
Note any changes in texture, appearance, or odor during testing.
For accurate assessment, use sealed containers with humidity monitors or create controlled environments with damp paper towels.
Record observations daily.
If your soap shows excessive sweating, consider wrapping finished products in breathable materials like soywax paper or biolefin, which provide protection while maintaining eco-friendly standards. Using a dehumidifier or air conditioner can also provide a time-effective solution for controlling the environment where soap is stored.
Shelf-Life Duration Check
The shelf life of your handmade natural soap represents a critical quality indicator that deserves thorough evaluation. Your soap typically lasts 1-2 years, though ingredients like olive and coconut oils can extend this timeframe considerably. Quality ingredients significantly impact how long your soap remains effective and appealing.
To conduct a proper shelf-life check, store sample bars in different conditions and inspect them regularly for signs of deterioration.
- Frustrating orange spots appearing on your beautiful creation signal rancidity from inadequate saponification
- Heartbreaking mold growth means your soap is no longer safe for your loved ones to use
- Disappointing scent fading indicates your carefully selected essential oils have oxidized
- Satisfying longevity when your soap maintains quality after proper curing and storage
Remember to document changes in appearance, texture, fragrance, and lather quality throughout your testing period.
Cool, dry environments will yield the best results.
Frequently Asked Questions
How Long Should Homemade Soap Cure Before Testing?
You should let your homemade soap cure for 4-6 weeks before testing. While it's safe after 48 hours, full curing improves quality, texture, and longevity. Weight stability indicates completion of the process.
Can DIY Testers Replace Professional Lab Equipment?
No, DIY testers can't fully replace professional lab equipment. While you'll save money with DIY methods, they lack the precision, consistency, and extensive analysis capabilities that professional equipment offers for thorough quality assessment.
How Do Seasonal Changes Affect Soap Quality Tests?
Seasonal changes affect your test results as temperature and humidity impact pH readings, cure times, and ingredient stability. You'll need to adjust testing schedules and interpretation standards based on weather conditions you're experiencing.
Are There Quality Tests Specifically for Liquid Soaps?
Yes, liquid soaps require specific tests including viscosity measurement, pH stability over time, surfactant effectiveness, emulsion stability, and pump dispensability. You'll also need to check preservation systems since liquid formulations are more prone to microbial contamination.
What Indicates Shelf-Life Expiration in Natural Soap?
You'll know your natural soap has expired when it stops lathering well, develops mold, smells rancid, changes texture (becomes crumbly or slimy), or shows visual deterioration like fading colors or cracks.
In Summary
You've now learned seven essential tests to evaluate your handmade soaps. By checking pH balance, hardness, lather quality, cleansing power, ingredient purity, and stability, you'll guarantee your creations are safe and effective. Don't skip these quality assessments—they're your pathway to consistent, premium soap. With practice, you'll develop an intuitive sense for excellent soap and confidently share your natural creations with others.


Leave a Reply