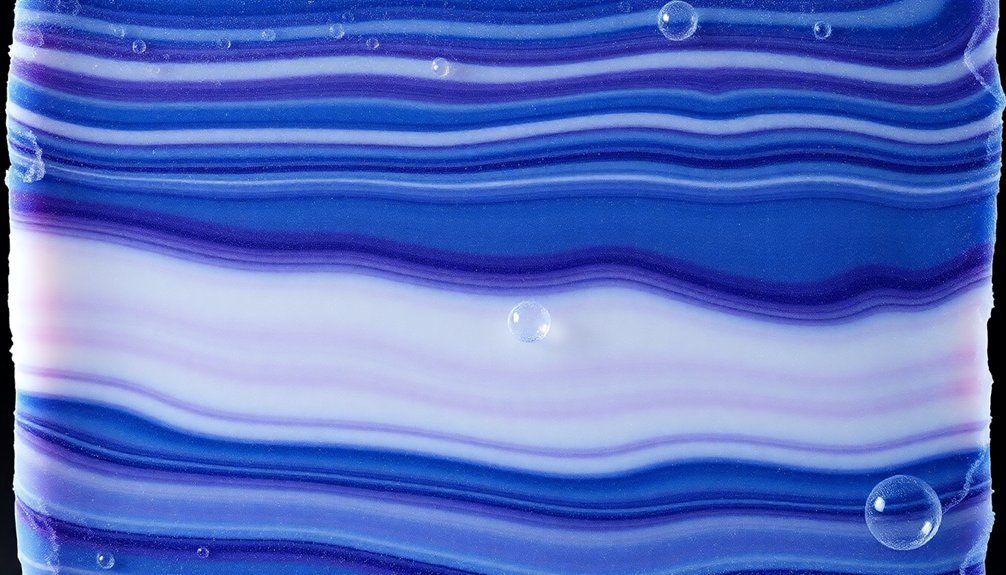
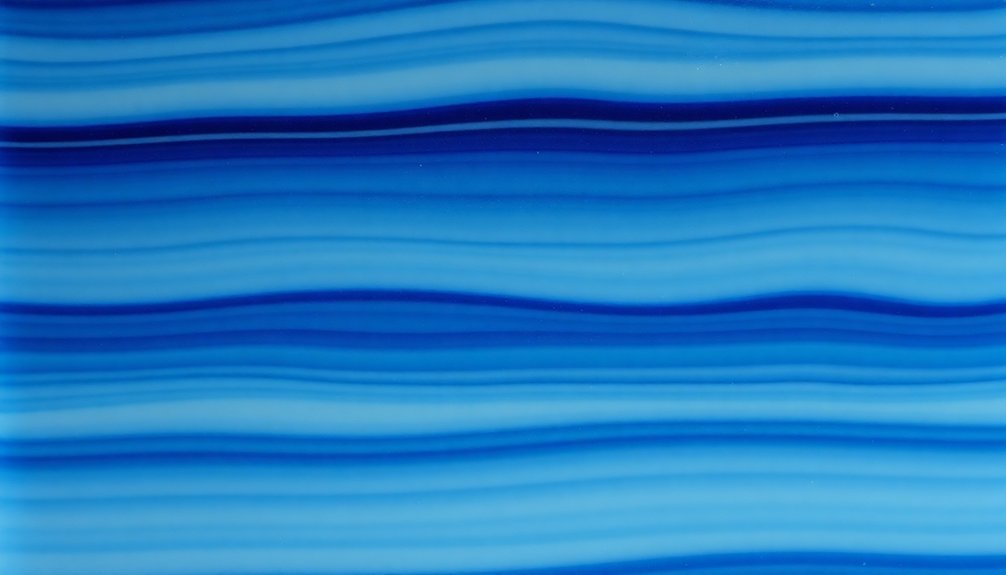
Start with essential tools like mixing pitchers, digital scales, and infrared thermometers to create stunning layered soaps. You'll need to master color theory, using complementary or analogous shades while incorporating natural colorants like beetroot and turmeric. Pour layers at light trace, allowing each to cool completely before adding the next. Control your pouring height, use spatulas for even distribution, and add binding agents like kaolin clay. These fundamental techniques will reveal endless design possibilities in your soap-making journey.
Essential Equipment and Setup for Layered Soap Design

Three core pieces of equipment form the foundation of successful layered soap design: mixing pitchers, an immersion blender, and silicone spatulas. You'll need these essential equipment pieces to create precise soap color patterns and achieve consistent results.
A digital scale guarantees accurate measurements of your ingredients, while a funnel pitcher helps you pour soap batter into molds without making a mess.
Don't forget an infrared thermometer to monitor your mixture's temperature throughout the process.
To complete your setup, you'll want to line your molds with wax paper, making it easier to remove your finished soap loaves.
Once your soap has cooled, use a sharp knife to cut clean, even slices that showcase your layered design.
These tools will help you create professional-looking layered soaps every time.
Understanding Color Theory for Natural Soap Layers

When creating layered soap designs, you'll want to start with the color wheel as your guide, where complementary colors create striking contrasts and analogous colors blend harmoniously.
Your understanding of pigment intensity will determine how to mix natural colorants effectively, particularly when working with mica powders that require precise ratios with oils or glycerin.
You can achieve professional-looking layers by following the rule of lighter shades over darker ones, while carefully considering how your chosen colors will interact with your soap's fragrances.
Color Wheel Mixing Basics
The art of creating stunning layered soaps begins with mastering the color wheel and its fundamental principles. When you're planning your layered soap design, you'll need to understand how colors interact with each other to achieve the most impactful results.
You can create dramatic contrasts by using complementary colors from opposite sides of the color wheel, such as blue and orange or purple and yellow. For subtler changes, choose analogous colors that sit next to each other. To achieve pastel tones, mix your primary colors with white.
Remember that colors may change during saponification, so it's smart to test small batches first. Understanding saturation and brightness levels helps you develop depth in your designs, allowing you to craft layered soaps with gradual color shifts that capture attention and create visual interest.
Natural Pigment Intensity Rules
Working with natural pigments in layered soaps requires a deep understanding of their unique intensity characteristics and behavior.
You'll need to test small batches first, as each natural pigment varies in strength and can react differently to your soap's pH levels.
When layering natural colors, start with lighter shades and gradually progress to darker ones to maintain clear, distinct layers.
Pay attention to how complementary colors on the color wheel can neutralize each other, while analogous colors will create harmonious shifts.
Consider how certain natural pigments, like spirulina or activated charcoal, might affect your soap's lather color.
Remember that your soap's oils and additives can impact color saturation, so document your test results carefully.
This systematic approach will help you achieve consistent, vibrant layers in your final soap designs.
Preparing Natural Colorants From Plant Sources

Creating vibrant soaps with natural colorants begins with properly preparing plant-based pigments from your chosen botanical sources.
Natural soapmaking harnesses the pure beauty of plant-based pigments, transforming simple botanicals into vibrant artisanal creations.
You'll need to carefully process your plants by drying and grinding them into a fine powder before infusing them in oils or glycerin to extract their rich colors.
- For red tones, you can use beetroot powder, which you'll need to thoroughly dry and process to maintain color stability in your soap making.
- Yellow shades come alive with turmeric powder, offering consistent results when you properly measure and blend it into your base oils.
- Green hues from spirulina require careful pH monitoring during preparation to guarantee the pigment stays true.
Achieving Perfect Consistency for Each Layer

Successfully layering colored soap requires precise control over each layer's consistency and temperature. You'll need to carefully monitor your soap batter's trace level, keeping it lighter to prevent layers from breaking apart.
Using a thermometer, check that each batch maintains consistent temperatures to guarantee uniform appearance throughout your design.
Let each layer cool and set before adding the next one to avoid unwanted mixing. When working with colors, maintain exact ratios of additives to soap batter across all layers to achieve consistent opacity and shading.
For seamless color shifts, it's smart to reserve some of your colored soap batter in the pouring cup for the next layer. This technique helps you create smooth gradients and maintain even color saturation throughout your layered soap design.
Gradient Layer Pouring Techniques and Timing

The art of gradient layering builds directly upon proper soap consistency management. When executing this soap design technique, you'll want to start with your darkest color at the bottom and gradually lighten each layer as you progress upward.
Careful timing between pours is essential to maintain distinct gradient layers and prevent unwanted mixing.
Proper timing and patience between each layer pour creates crisp gradients and prevents colors from bleeding together.
Key elements for successful gradient layers include:
- Pour your initial layer and allow it to stabilize before adding subsequent layers
- Keep some colored soap reserved for shifting between layers
- Use a spatula for even flood filling to prevent layer separation
You can create stunning effects by adjusting the number of layers based on your skill level.
Remember to use your flat pouring tool to distribute each layer evenly, ensuring clean lines and professional-looking results in your final soap design.
Creating Distinct Color Transitions Between Layers
You'll achieve sharp color shifts in your layered soaps by carefully controlling the trace consistency between each pour, using lighter traces for top layers and heavier traces for bottom layers.
To prevent color bleeding, wait until each layer develops a slight skin before adding the next, and consider incorporating a thin white soap layer between bold colors for enhanced contrast.
Creating smooth gradients requires precise adjustment of colorant amounts between layers, gradually increasing or decreasing pigment concentration to produce seamless color progression.
Prevent Layer Color Bleeding
Creating distinct color shifts in layered soap requires careful attention to prevent bleeding between layers. To minimize layer color bleeding, you'll need to master specific pouring techniques and timing. Let each soap layer cool and stabilize before adding the next one.
When working with multiple colors, here's what you need to focus on:
- Pour from a higher position using a thin, controlled stream to create clean boundaries
- Work with soap at a lighter trace that's still thick enough to support additional layers
- Use a flat spatula to carefully level each layer before adding the next
The technique to use depends on your desired effect. You can experiment with different pouring methods, from thin streams to wider pours, but always guarantee the previous layer is stable enough to support new additions without mixing.
Smooth Color Gradient Tips
While mastering smooth color gradients may seem challenging, achieving beautiful shifts between soap layers relies on strategic color mixing and careful pouring techniques. When you swirl cold process soap, start with your darkest shade premixed with oil or glycerin for rich saturation. For each subsequent layer of soap, gradually lighten your base color by incorporating uncolored or white soap batter.
| Layer Level | Color Strategy | Pouring Technique |
|---|---|---|
| Bottom | Darkest shade | Flood fill with spatula |
| Middle | Blend previous color | Pour at light trace |
| Top | Lightest shade | Maintain even surface |
Keep a small amount of your previous colored mixture to blend into the next layer, ensuring seamless changes. You'll find that working with fewer layers initially builds confidence before attempting more complex designs with multiple color variations.
Incorporating Swirl Effects Within Layers
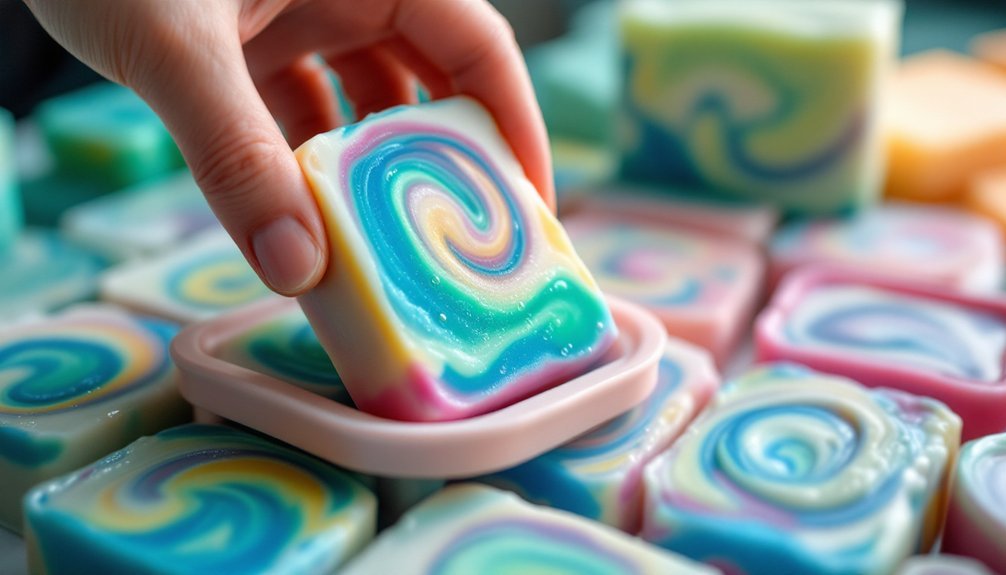
Mastering swirl effects within layered soap designs requires careful attention to both timing and technique. When creating cold process soaps, you'll want to perfect your swirl technique by controlling both your pouring height and container choice. The key is waiting for each layer to properly set before adding the next, which prevents unwanted color bleeding.
To achieve stunning swirl patterns, consider these essential tips:
- Pour alternating colors in lines using the drop swirl technique for intricate designs
- Position your pouring container higher to create bolder, more dramatic swirls
- Select containers with specifically shaped spouts to control flow patterns
Watch your drip patterns closely as you pour, making adjustments to achieve your desired effect.
Troubleshooting Common Layer Design Challenges
When creating layered soaps, you'll need to watch for two critical issues: separation between layers and unwanted color bleeding.
To prevent layers from breaking apart, make sure each soap layer reaches light trace and has adequately cooled before adding the next, while gently pressing down with a spatula to create stronger bonds.
If you notice colors bleeding into each other, you can solve this by reducing the amount of colorant used and allowing more time between pours for proper setting.
Preventing Layer Separation Issues
Although layered soap designs can create stunning visual effects, preventing layer separation requires careful attention to several key factors.
You'll want to guarantee each layer has a similar trace consistency, ideally keeping it lighter to promote better adhesion. Let your layers cool and stabilize before adding the next one to create a strong bond.
Here are essential techniques to prevent separation:
- Pour from an appropriate height to minimize impact and avoid disturbing previous layers
- Use a spatula for flood filling to distribute soap evenly and eliminate air pockets
- Add binding agents like kaolin clay or colloidal oatmeal to improve layer adhesion
Maintaining consistent pouring techniques and incorporating these preventive measures will help you achieve flawless layer designs that stay firmly bonded throughout the curing process.
Fixing Color Bleeding Problems
Color bleeding between layers can quickly turn your beautiful soap design into a muddled mess. To fix this common issue, you'll need to focus on proper timing and technique.
Let your layers cool and set completely before adding the next one, and work with a lighter trace consistency that holds its shape well.
Add a small amount of titanium dioxide to your base layers to create stronger contrast and prevent darker colors from seeping into lighter ones.
You can also create a protective barrier by applying a thin layer of clear soap or spritzing rubbing alcohol between layers.
Before committing to a large batch, it's smart to make a small test sample first. This way, you can identify potential color bleeding problems and adjust your approach accordingly.
Advanced Color Blending Methods for Multiple Layers
Creating stunning layered soap designs requires mastering advanced color blending techniques that go beyond basic mixing. By starting with a base color and gradually adding titanium dioxide, you'll achieve beautiful gradient effects that flow seamlessly through your layered soap color designs.
Your color blending methods should focus on precise ratios and consistent pouring techniques to maintain distinct separations.
Consider these essential advanced techniques:
- Mix specific color ratios (2:1 mica combinations) to create unique, custom shades
- Add kaolin clay or colloidal oatmeal to anchor scents and improve texture
- Allow each layer to fully set before pouring the next to prevent bleeding
For best results, adjust your pouring height based on your desired effect – higher pours create dramatic swirls, while lower pours offer more control over intricate designs.
Remember to maintain consistency in your technique throughout the entire process.
Enhancing Layer Designs With Natural Additives
When crafting layered soap designs, natural additives can transform your creation from simple to extraordinary while enhancing both aesthetic appeal and skin benefits.
You'll find that kaolin clay not only improves texture but also helps lock in your chosen scents, making each layer more distinct and long-lasting.
For a luxurious touch, incorporate tussah silk to create smoother shifts between layers, while colloidal oatmeal adds both visual interest and skin-soothing properties.
Natural colorants like spirulina and beetroot powder offer vibrant hues without synthetic ingredients, perfect for customers seeking pure formulations.
Consider adding herbal infusions to specific layers, creating unique therapeutic benefits throughout your soap.
Each natural additive you choose can serve multiple purposes, from enhancing the soap's visual appeal to providing targeted skincare benefits in your layered design.
Frequently Asked Questions
How to Layer Colors in Soap?
Start with your base color and let it set. You'll need to pour each new layer gently, using a spatula. Don't forget to mix lighter traces for better adhesion between layers.
How to Make Soap Layers Stick Together?
You'll need to pour each layer when the previous one's slightly set but not fully hardened. Don't wait too long. Gently spread the new layer with a spatula and let it bond naturally.
How to Get Vibrant Colors in Soap?
You'll get vibrant soap colors by using quality soap-specific dyes or micas, pre-mixing them with oil, and adding them gradually. Start with 1 teaspoon per pound of oils for intense results.
What Is the Best Soap Making Method?
For your soap making journey, you'll find cold process is best as it gives you full control over ingredients, allows customization, and lets you create unique designs while ensuring quality handmade soap.
In Summary
Now that you've mastered these layered soap techniques, you'll create stunning designs that showcase your artistic skills. Remember to keep your workspace organized, maintain consistent temperatures, and take notes on what works best. Don't be afraid to experiment with new color combinations and natural additives. With practice and patience, you'll develop your own signature style of layered soap artistry.


Leave a Reply