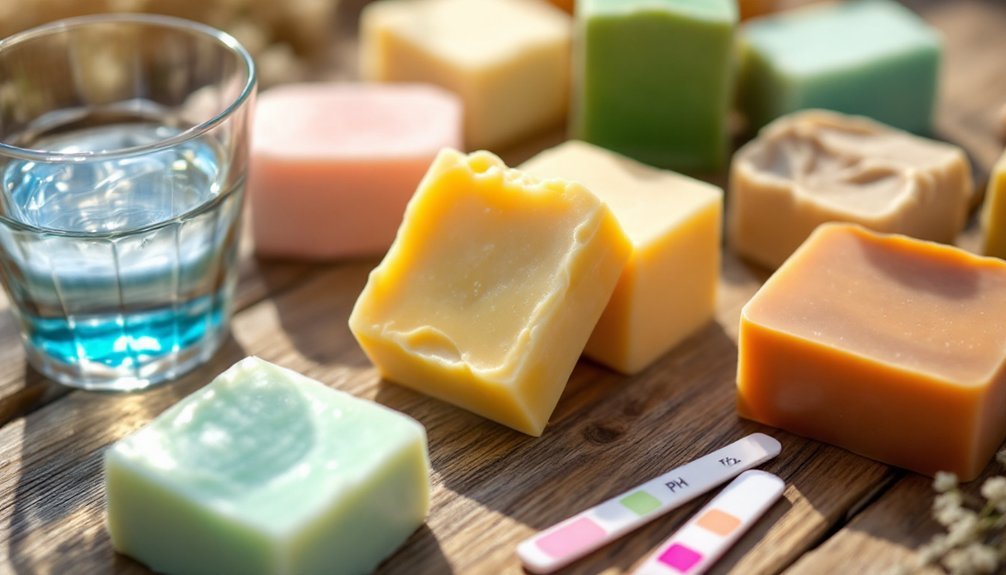
Testing your handmade soap's pH is essential for skin safety. You can use pH strips with soap lather, digital pH meters for precision, phenolphthalein drops for liquid soaps, or red cabbage juice as a natural indicator. Try universal indicator paper, prepare a soap solution (1g soap to 100ml distilled water), or check with litmus paper. The tongue "zap test" detects excess lye, while visual cues complement pH readings. Proper testing guarantees your soap falls within the safe 8-10 pH range.
10 Simple Ways to Test Handmade Soap Ph
Why is testing your handmade soap's pH so important?
It guarantees your soap is safe for skin use, helps identify lye-heavy batches that could cause irritation, and supports quality control. The ideal pH for handmade soap typically ranges between 8 and 10.
Properly pH-balanced soap ensures skin safety and prevents irritation from excessive lye—essential for quality handmade products.
You can test your soap's pH using several methods:
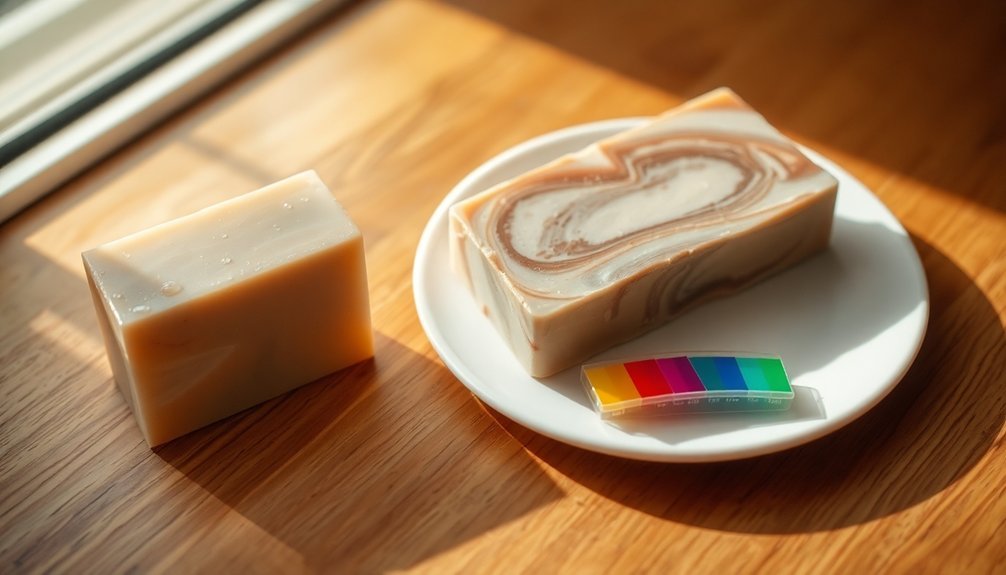
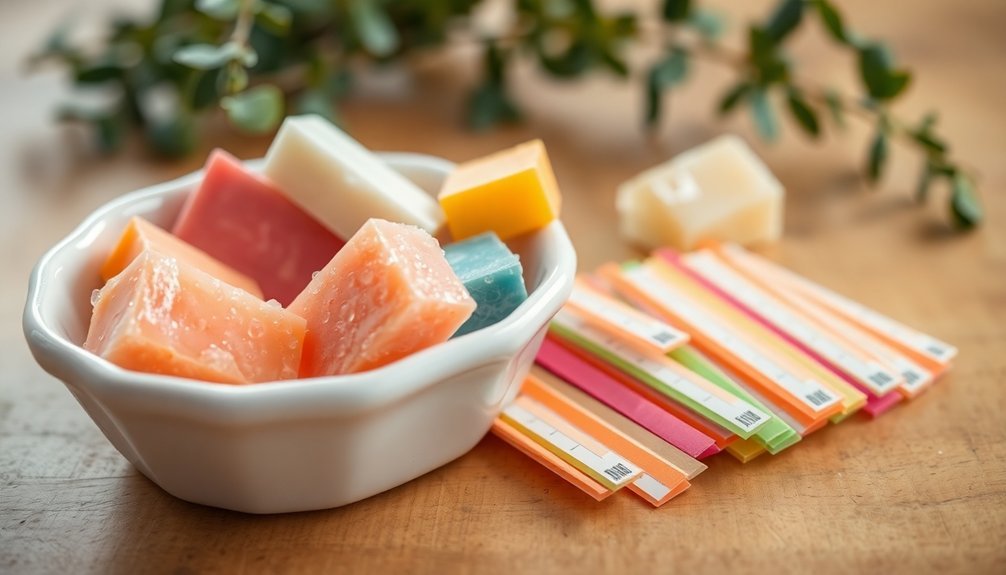
- pH strips: Lather your soap with distilled water and apply the strip to the foam
- pH meters: For more precise digital readings
- Phenolphthalein drops: Use in solution for liquid soaps
- Red cabbage juice: A natural indicator that changes color with pH levels
Remember to use distilled water for accurate results and test fully cured soap. Creating a 1% soap solution provides more reliable pH measurements than simply testing lather.
While the tongue/zap test detects free alkali, it's not a precise pH measurement and can be dangerous.
The Universal Indicator Paper Method
Universal indicator paper offers you a simple, cost-effective way to test your handmade soap's pH level through distinctive color changes.
You'll need to prepare a solution by dissolving a small portion of your soap in distilled water, with dilution ratios typically ranging from 10-30% depending on your soap type.
Once you've applied the solution to the paper, compare the resulting color against the reference chart to determine if your soap falls within the safe pH range for skin use. Safe handmade soaps typically display a light green color indicating a mildly alkaline pH of around 8-10.
The Universal Indicator Paper Method
Many soap makers consider universal indicator paper the most accessible method for testing handmade soap pH levels. This qualitative approach provides approximate pH values, helping you categorize your soap as mildly or strongly alkaline.
To use this method, you'll need universal indicator paper, distilled water, and a clean container. Prepare a 10% soap solution by dissolving a small sample in distilled water. Allow it to fully dissolve for accurate readings.
Then dip a test strip into your solution and compare the color change against the provided chart. Experts recommend using a 1% soap solution instead for more reliable pH readings.
While not as precise as digital pH meters, universal indicator paper is inexpensive and offers quick results. It's particularly useful for verifying that your handmade soap falls within the typical 8-10 pH range, ensuring basic safety parameters are met.
Reading Color Changes
Successfully interpreting color changes on your pH test strips is essential for accurately evaluating your soap's alkalinity.
Compare your test strip to the reference chart that came with your pH paper, noting that acidic conditions appear red while alkaline conditions show green.
For handmade soaps, you'll want to see a light green color, indicating a pH between 8 and 10 – the safe range for skin. If your soap turns the paper dark green, it may have a pH above 11, making it potentially harsh.
Distilled water should show yellow-green (neutral pH 7) when used as a control test.
Remember that phenolphthalein drops offer an alternative method, turning pink in the 8.2-9.8 pH range, with pH 9 considered ideal for most soaps.
Testing at different soap concentrations can provide more comprehensive insights into your product's true pH level.
Solution Preparation Steps
Preparing the proper solution is essential for accurate pH testing of your handmade soap. Start by shaving a small piece (about 1 gram) of your soap into a clean container.
Add 100ml of distilled water – tap water contains impurities that can skew your results. Stir thoroughly until the soap dissolves completely, creating a 1% soap solution.
Let the mixture sit for 10-15 minutes to guarantee proper dissolution.
If you're using red cabbage juice as a natural alternative, puree fresh cabbage and strain the liquid.
For the universal indicator method, use a clean dropper to apply the solution to the test paper.
Remember that handmade soaps typically range from pH 8 to 10 when properly cured and formulated.
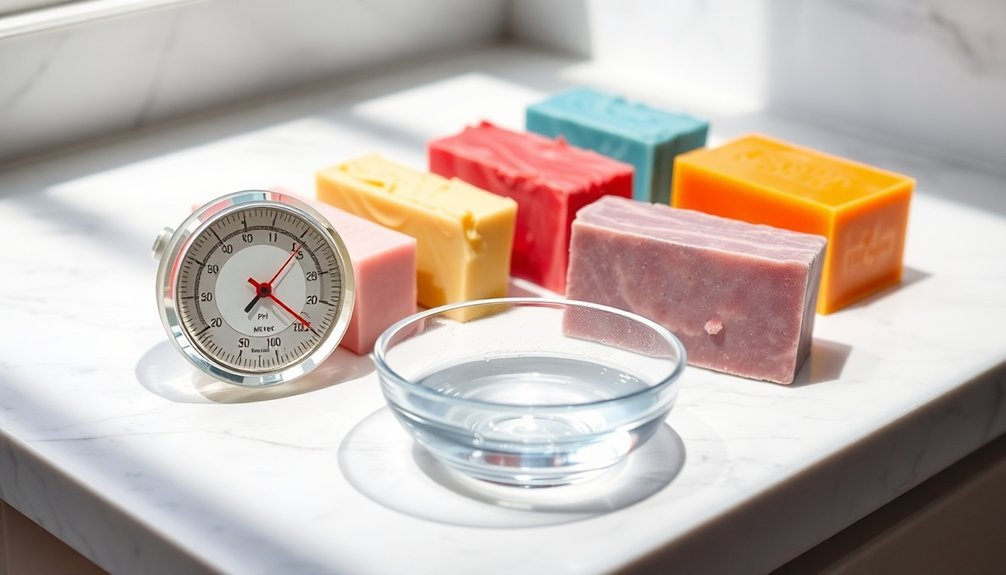
Digital Ph Meter Testing for Precise Results
When accuracy matters in soap making, digital pH meters offer a significant advantage over traditional testing methods. Unlike pH strips, these devices provide readings accurate to 0.01 pH units, giving you confidence in your soap's safety profile.
To use a digital pH meter effectively:
- Prepare a soap solution by dissolving a small sample in distilled water.
- Calibrate your meter with buffer solutions (usually pH 4, 7, and 10).
- Submerge the probe completely in your soap solution and wait for a stable reading.
- Record your results and adjust your formula as needed to achieve the ideal 8-10 pH range.
Remember that pH differences at higher levels represent exponential changes, making precise measurement particularly important when testing alkaline soap formulations.
Red Cabbage Indicator: A Natural Testing Alternative
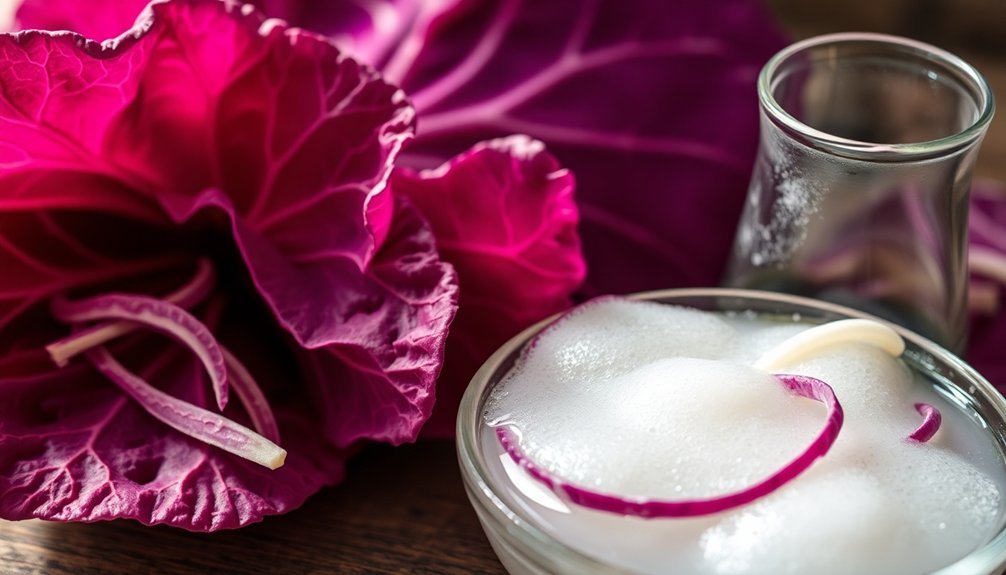
For soap makers seeking an accessible and eco-friendly pH testing method, red cabbage offers a surprisingly effective solution. This natural indicator contains anthocyanin pigments that change color based on pH levels—turning red in acids and green-blue in bases.
To prepare your indicator, simply boil chopped red cabbage in distilled water or blend it, then strain the liquid. Simmer the mixture for 10 minutes exactly to extract the pigment effectively. When testing soap, you'll see blue shades for properly cured soap (pH 8-10), indicating it's skin-safe.
Nature's pH meter awaits in your kitchen—transform red cabbage into a color-changing solution that reveals when your soap is perfectly balanced for skin.
While not as precise as digital meters, red cabbage indicators are inexpensive, non-toxic, and perfect for beginners. You can even experiment with other plant-based alternatives like beetroot or blackberries.
This method doubles as an educational tool, visually demonstrating the science behind pH while providing practical feedback on your soap's safety.
The Tongue (Zap) Test Explained
While natural indicators like red cabbage offer visual pH feedback, many veteran soap makers rely on a more direct approach. The tongue or "zap" test is a traditional method for quickly determining if your soap contains excess lye.
Simply wet your finger, touch it to the soap, and place it on your tongue—if you feel a zap or sting, your soap still contains active lye and isn't ready for use. This technique has been scientifically documented by Kevin Dunn in his book "Scientific Soap Making" as a reliable assessment method.
- Chemical Basis – The zapping sensation occurs due to free alkali from incomplete saponification
- Quick Assessment – Provides immediate feedback without special equipment
- Safety Concerns – Use cautiously as direct contact with active lye can cause burns
- Best Practice – Combine with other testing methods for thorough safety checks
Phenolphthalein Drops for Liquid Soap Assessment
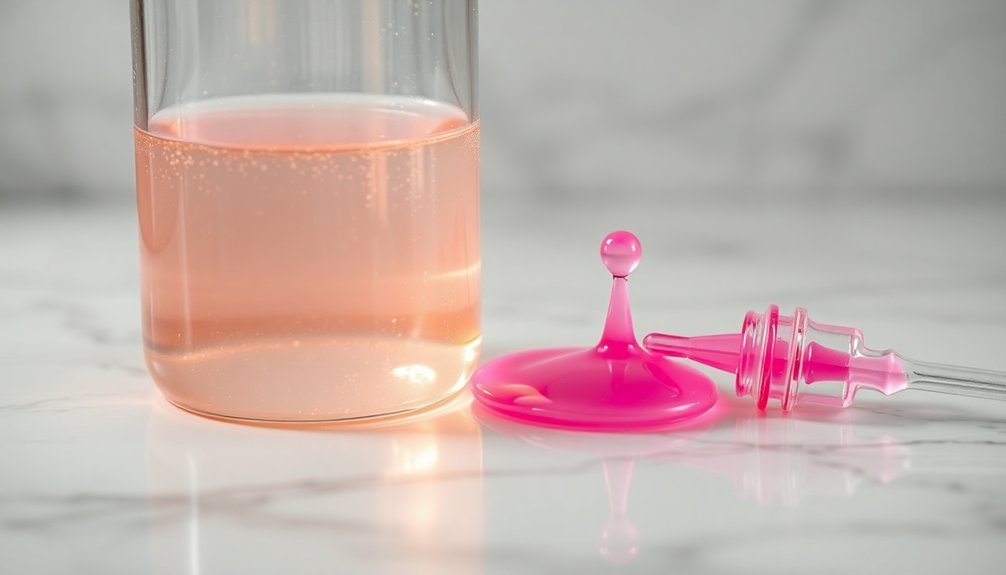
Although phenolphthalein drops serve as valuable indicators in many soap-making applications, they're not particularly effective for testing liquid soap pH. The natural alkalinity of liquid soap, typically ranging from 9 to 10.5, makes these drops less useful since they only indicate pH changes between 8.2 and 9.8.
For accurate liquid soap testing, you'll want to invest in a digital pH meter instead. These provide precise measurements that phenolphthalein simply can't match. Using a quality device like a Hanna pH meter ensures reliable readings for your liquid soap products. Remember that higher soap concentrations affect accuracy regardless of method, so always test diluted solutions.
When using phenolphthalein, be aware that it requires an aqueous environment to work properly and should never be applied directly to soap.
Your primary concern with liquid soap should be excess lye rather than exact pH readings anyway.
Creating and Testing a Soap Solution
To create an effective pH testing solution, you'll need to shave a small amount of your soap into distilled water and mix until completely dissolved.
Your measurements should be precise—typically 1 gram of soap to 100ml of water—to guarantee consistent and reliable pH test results.
Remember that temperature affects readings, so it's best to test your solution at room temperature for the most accurate assessment of your handmade soap's true pH.
A properly measured pH value helps determine if your soap has reached proper neutrality, which is essential for creating products that won't irritate your skin.
Ph Testing Solution Basics
Creating a proper soap testing solution is the foundation of accurate pH measurement.
You'll need to dissolve your soap in distilled water to guarantee contaminants don't affect your results. For cold process soap, use a 10% solution (1 gram soap to 9 grams water), while hot process soap requires a stronger 10-15% concentration. A quick and effective way to mix your solution is to use a milk frother for thorough blending.
Make sure your solution is:
- Fully dissolved with no visible soap particles
- Made with distilled water only, never tap water
- Well-mixed before testing to guarantee uniform distribution
- Appropriate for your soap type (cold process, hot process, or liquid)
Accurate Measurements Matter
When it comes to soap testing, accuracy in measurement can make the difference between skin-safe products and potentially irritating ones.
While handmade soaps typically register between pH 8-10, readings above 11 signal danger for your skin.
For reliable results, create a proper testing solution by mixing 1-10% soap by weight with distilled water at room temperature.
Don't test lather directly—it introduces variables that skew readings.
Standard pH strips often underread by 2-3 units, so invest in sensitive strips designed for the 7-14 range.
Digital pH meters offer precision but require calibration before each use.
Remember that pH testing alone can't detect excess lye.
Combine it with other methods like the zap test for thorough safety checks, especially if you're selling your products.
Properly made soap typically has a pH between 9.5 and 11.5, which varies based on the fatty acid composition of oils used.
Litmus Paper Testing Techniques
Litmus paper testing offers a straightforward and accessible method for determining the pH level of your handmade soap. To conduct an accurate test, you'll need to dissolve a small, consistent amount of soap in distilled water at room temperature.
For reliable results, follow these key steps:
- Create a standardized soap solution by mixing your soap with distilled water (not tap water) to avoid pH variations.
- Briefly dip the litmus paper into your solution or gently rub it against the soap.
- Compare the resulting color change to the provided color chart immediately.
- Test multiple times to verify consistency, especially if you're getting unexpected readings.
Remember that proper testing conditions matter—temperature, water quality, and soap-to-water ratio all affect your readings' accuracy. Your goal is to ensure the pH falls between 7 and 10 for safe use, as readings above 10 indicate potential caustic properties.
Using Ph Test Strips With Distilled Water
Proper pH testing with test strips requires distilled water to achieve reliable and consistent results. Tap water can vary in pH, potentially skewing your readings, so always use distilled water for consistency.
To test your soap accurately, dissolve a small amount in hot distilled water (around 70°C) and briefly dip your pH strip into the solution. Minimize contact time to prevent false readings. The strip should indicate a pH between 8-10 for properly made soap.
If your readings consistently show above 10, your soap may be lye-heavy and unsafe for skin use.
For more precise measurements than strips can provide, consider investing in a pH meter as recommended by one customer who found that test strips didn't meet product expectations. Remember to test your soap throughout the curing process to guarantee it reaches a safe, skin-friendly pH level.
Combining Visual Cues With Ph Testing
Experienced soapmakers rely on more than just one testing method to guarantee their products are safe for use.
Combining visual indicators with traditional pH testing gives you thorough insights into your soap's true acidity levels.
Trust both your eyes and tools—comprehensive pH evaluation reveals what a single test cannot.
When evaluating your handmade soap, consider these complementary approaches:
- Use red cabbage juice alongside pH strips to confirm alkalinity through color changes.
- Monitor visual changes during the curing process as pH naturally stabilizes.
- Document user feedback about skin irritation as a signal to retest pH levels.
- Track pH readings over time to understand how your specific recipe stabilizes.
This multi-method approach helps you catch potential issues that a single test might miss.
For most accurate results, always use distilled water when testing to prevent contamination from tap water impurities.
Remember that properly cured soap should ideally have a pH between 9 and 10, which is considered safe for skin application.
Frequently Asked Questions
Can Ph Testing Determine if My Soap Is Safe for Babies?
pH testing alone can't guarantee baby safety. You'll need to verify your soap isn't caustic (pH 8-10 is typical) and consider that babies need gentler formulations closer to their skin's natural pH of 5.5.
How Does Soap Ph Change During the Curing Process?
During curing, your soap's pH gradually decreases as carbon dioxide reacts with free alkali, while water evaporates. You'll notice it stabilizes between 8-10 after several weeks, making it gentler for skin use.
Why Does Cold Process Soap Have a Different Ph Than Melt-And-Pour?
Cold process soap has a different pH than melt-and-pour because you're starting with raw lye in cold process. During curing, saponification continues, while melt-and-pour is already fully saponified with a stable, consistent pH.
Can I Lower My Soap's Ph With Natural Additives?
You can attempt to lower soap's pH slightly with natural additives like citric acid, but it's limited – using too much will destabilize your soap. True neutral pH isn't possible while maintaining soap's natural properties.
How Often Should I Test Ph During Soap Making?
Test your soap's pH after initial saponification (24 hours), weekly during curing, and before use. You'll need more frequent checks if you're experimenting with new recipes or experiencing quality issues.
In Summary
You've now got 10 reliable methods to test your handmade soap's pH. Whether you're using high-tech digital meters or simple cabbage indicators, you'll know if your soap is safe for skin. Don't skip this essential step in your soapmaking process. Remember, properly cured soap should fall between 8-10 on the pH scale. With these testing methods, you're well-equipped to create safe, quality products your customers will love.


Leave a Reply