
Soap bars must rest for 4-6 weeks to undergo essential chemical changes that improve their quality and performance. During this time, your bars will lose excess moisture, develop a stronger crystalline structure, and complete the neutralization between oils and lye. You'll notice better lathering, longer-lasting bars, and gentler cleansing properties after proper curing. Understanding the specific storage conditions and monitoring techniques will help you achieve the best possible results from your handmade soap.
Essential Storage Conditions for Proper Curing
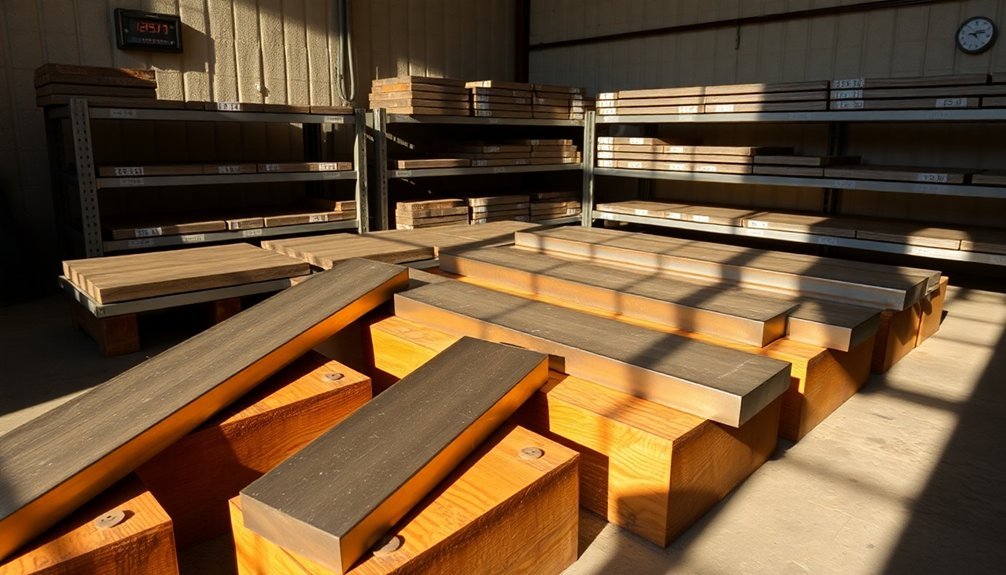
While curing soap bars demands patience, maintaining proper storage conditions is essential for achieving the best results. Your cured soap needs to cure in a space with temperatures between 60°F to 80°F, away from direct sunlight that can damage its quality.
Good airflow is vital during this process, so you'll want to place your bars on a wire rack that promotes air circulation. Since humidity environments can interfere with proper curing, consider using a dehumidifier to maintain ideal conditions.
When it comes to proper storage materials, opt for breathable options like cardboard boxes, muslin, or parchment paper. These materials allow air exchange while preventing unwanted moisture buildup.
Impact of Temperature and Humidity Control
Since temperature and humidity directly affect soap curing, you'll need to monitor these conditions carefully throughout the process.
Your curing space should maintain temperatures between 60°F to 80°F to achieve optimal soap hardness and proper moisture evaporation.
You'll want to control humidity levels, as high moisture content can slow down the curing process and potentially lead to mold growth. If you're in a humid climate like Florida, consider using a dehumidifier to maintain ideal conditions.
In contrast, drier regions like Arizona may experience faster evaporation rates.
To guarantee consistent air circulation, place your soap bars on wire racks, allowing airflow from all sides. This setup prevents moisture from getting trapped beneath the bars and promotes even drying throughout the curing period.
Optimal Air Circulation Requirements
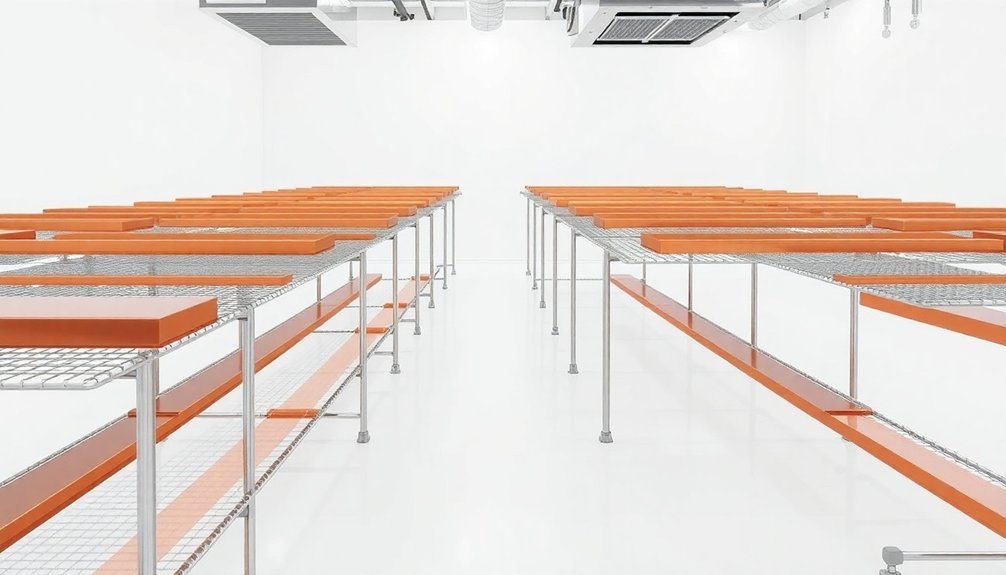
You'll need to position your soap bars with at least an inch of space between them on a wire rack to guarantee proper air circulation during the curing process.
Keep your cured bars in a well-ventilated storage area where air can freely flow around each bar, preventing moisture buildup and potential quality issues.
If you're using shelves for long-term storage, arrange the bars so they aren't touching and rotate them periodically to maintain consistent airflow exposure on all sides.
Space Bars For Drying
To guarantee your soap bars cure properly, maintaining ideal air circulation is critical during the drying process. When using your soap making supplies, place each bar on a wire rack or tray with enough space between them to allow air to flow freely around all sides.
This spacing helps prevent humidity retention and promotes even drying.
Store your soap in a cool area where temperatures stay between 60°F and 80°F for optimal drying conditions. Keep the bars away from direct sunlight and high-humidity environments that could interfere with proper curing.
Ventilation During Shelf Storage
While your soap bars have completed their initial curing phase, proper ventilation remains essential during shelf storage.
You'll need to guarantee consistent airflow around your bars to prevent moisture accumulation and potential mold growth. Place your cured soap on wire racks, which allow air to circulate freely on all sides as your soap cures further.
Keep your storage area's temperature between 60°F to 80°F in a dry environment. Instead of using airtight containers, opt for cardboard boxes that allow your soap to breathe naturally.
Don't store your bars in direct sunlight or highly humid areas, as these conditions can compromise their texture and lather quality.
Chemical Changes During Rest Periods
Your soap bar's transformation continues beyond the initial saponification as molecular bonds slowly strengthen and mature during the rest period.
You'll find that pH levels gradually shift toward a more balanced state, creating a gentler product that's less likely to irritate your skin.
These ongoing chemical changes work together to produce a better-performing soap with improved lathering qualities and enhanced moisturizing properties.
Molecular Bonds Form Slowly
Although saponification occurs within 24 hours, the chemical changes in cured soap bars continue for 4-6 weeks as molecular bonds gradually develop.
During this curing process, you'll notice several important transformations that enhance your soap's quality:
- The crystalline structure forms slowly, improving the bar's lathering ability and moisturizing properties.
- Excess moisture evaporates, creating a denser, harder bar that lasts longer.
- Complete neutralization occurs between oils and lye, making the soap gentler on your skin.
These molecular bonds don't form instantly – they need time to properly establish themselves.
The gradual chemical changes during this rest period are essential for creating a mild, skin-friendly soap.
You'll find that patience pays off, as properly cured bars perform better and are less likely to cause irritation.
Ph Levels Stabilize Gradually
During the crucial resting period, pH levels in freshly made soap bars continue to stabilize as residual lye completes its reaction with the oils.
You'll find that this ongoing saponification process gradually brings the pH to a balanced range between 7 and 10, making your soap safer for everyday use.
As your soap cures, you'll notice significant improvements in its overall quality.
The chemical changes help neutralize excess alkalinity, reducing the risk of skin irritation.
This stabilization process enhances the soap's mildness, making it particularly suitable if you have sensitive skin.
You'll also experience better lather quality and improved moisturizing properties once the pH levels reach their ideal state.
This is why you shouldn't rush to use your handmade soap immediately – proper resting guarantees you'll get the best performance from your bars.
Shelf Arrangement and Spacing Guidelines
Proper spacing between cured soap bars plays an essential role in maintaining their quality and preventing potential issues. You'll want to guarantee adequate air circulation by placing your cured soap bars at least half an inch apart on appropriate storage surfaces. Following these storage guidelines will help prevent moisture accumulation and extend your soap's shelf life.
For ideal airflow and preservation, consider these key arrangements:
- Use wire racks instead of solid surfaces to promote ventilation around each bar
- Keep bars in a cool, dry place, away from direct sunlight
- Maintain half-inch spacing between bars, never stacking cured soap
Remember to avoid plastic containers, as they trap moisture and can compromise your soap's quality.
These simple spacing practices will guarantee your handcrafted bars remain in perfect condition until they're ready for use.
Environmental Factors Affecting Cure Time
Your soap's curing time depends heavily on your local climate, with humid regions like Florida requiring longer curing periods than dry areas like Arizona.
You'll notice that maintaining temperatures between 60°F to 80°F provides ideal curing conditions, while higher temperatures can cause your bars to warp or overheat.
If you're dealing with high humidity, consider using a dehumidifier and ensuring good air circulation around your curing soaps to promote consistent water evaporation and proper hardening.
Humidity Impact on Curing
The presence of humidity plays an essential role in how quickly and effectively soap bars cure. High humidity levels can greatly extend your soap's curing time by slowing down moisture evaporation, leading to excess water retention and softer bars.
You'll notice this especially if you're making soap in humid climates like Florida, where the process takes longer compared to drier regions.
To maintain ideal soap quality in humid conditions, you'll want to:
- Use a dehumidifier in your curing area
- Guarantee proper air circulation around your soap bars
- Monitor the curing process regularly to adjust timing
Temperature's Role in Storage
Maintaining consistent temperatures between 60°F and 80°F creates ideal conditions for soap curing and storage.
When you're storing your soap, you'll need to take into account how temperature and humidity work together to affect the curing process. If your storage area is too hot, you'll risk uneven soap hardening and inconsistent saponification. Too cold, and you'll slow down the entire curing timeline.
Your storage environment's air circulation plays an essential role in managing moisture levels. You'll want to guarantee proper ventilation to prevent excess humidity from building up around your soap bars.
Environmental factors in your region matter too – if you live in a humid climate, you might need to take extra steps to control moisture levels, while dry climates naturally support faster curing through enhanced evaporation rates.
Regional Climate Differences
Since regional climate variations can dramatically affect soap curing times, you'll need to adjust your expectations based on your location. Regional climate differences directly impact how your cold process soap cures and develops its final qualities. The ideal temperature range of 60°F to 80°F promotes the best curing, while proper air circulation remains essential throughout the process.
Consider these location-specific factors:
- In humid regions like Florida, your cure time may extend considerably due to slower moisture evaporation.
- Dry climates like Arizona can accelerate the curing process through faster moisture loss.
- Cold regions slow down chemical reactions, requiring additional curing time.
If you're in a humid area, using a dehumidifier can help create better curing conditions.
Remember that humidity affects both cure time and quality, so monitor your soap's environment carefully.
Storage Container Material Selection
Selecting appropriate storage containers plays an essential role in your soap's curing success. You'll want to choose breathable materials that prevent moisture accumulation while protecting your soap's quality. Don't use plastic wrap or airtight containers, as they'll trap humidity and compromise your soap's texture.
| Material | Benefits | Drawbacks |
|---|---|---|
| Cardboard | Good air circulation | Less durable |
| Muslin | Highly breathable | Light exposure possible |
| Metal | Durable | Reacts with lye |
| Plastic | Cost-effective | Traps moisture |
| Glass | Easy to clean | Limited ventilation |
Instead, opt for decorative cardboard boxes or muslin bags that allow proper air circulation while shielding your soap from dust and light. Keep your storage area cool and dark throughout the curing process to maintain the soap's scent and overall quality.
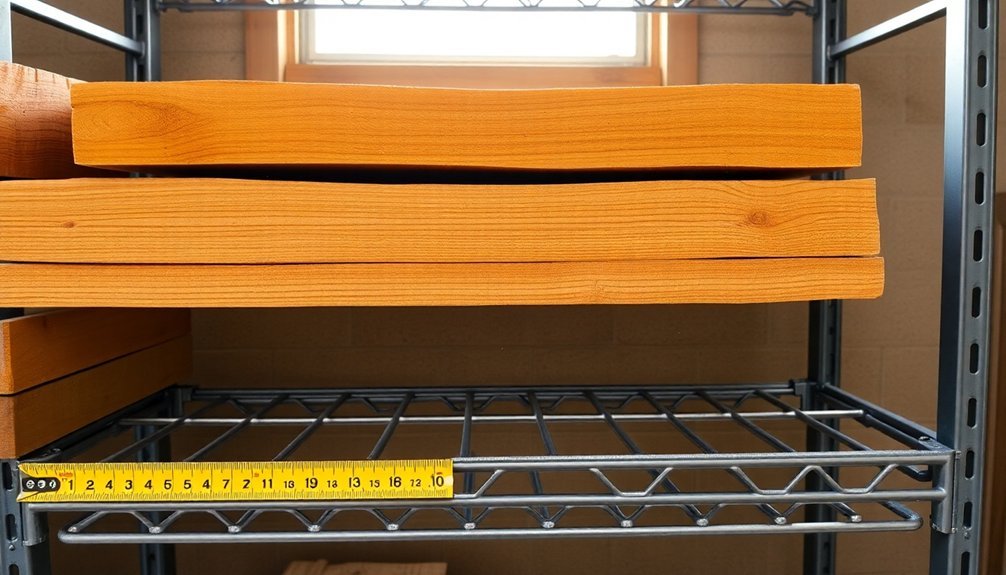
Monitoring Weight Loss and Hardness
Beyond choosing the right storage container, you'll need to track your soap's progress during the curing phase. Monitoring weight loss is vital as it indicates when your soap has reached a stable state.
You'll know it's ready when the weight remains consistent for two consecutive days.
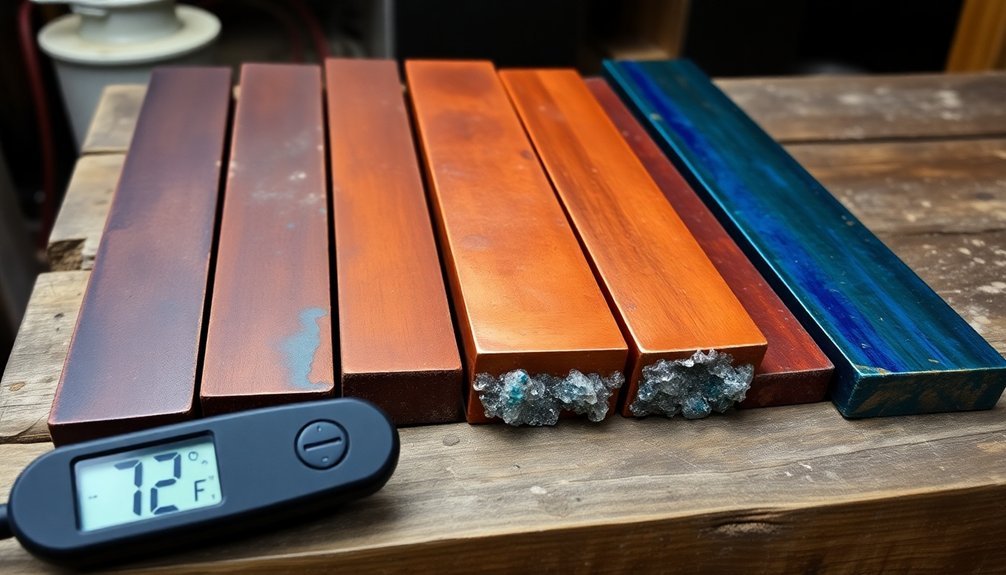
Test bars demonstrate how the hardness of soap evolves throughout the curing process:
- At 24 hours: Bars are soft and easily squishable (12 grams)
- At 10 days: Notable increase in firmness
- At 20 days: Rock-hard consistency (10.2 grams)
Regular weight checks help you track moisture loss, which directly affects your final product's quality.
Long-term Storage Best Practices
Once your soap bars have fully cured, proper storage becomes essential for maintaining their quality. You'll want to store your cured soap in a cool, dark place with good air circulation to preserve its fragrance and prevent degradation. Using wire racks or cardboard boxes promotes ideal airflow, while wrapping bars in breathable materials like muslin protects them from dust.
| Storage Element | Benefits |
|---|---|
| Wire Racks | Maximizes air circulation, prevents moisture buildup |
| Breathable Wraps | Protects from dust while allowing moisture escape |
| Cardboard Boxes | Shields from light, maintains proper ventilation |
For long-term storage, avoid plastic wrap as it traps humidity. Instead, choose a dark, cool location and make sure your soaps have enough space between them. This approach will help maintain hardness, preserve scents, and extend the overall life of your handcrafted bars.
Quality Indicators During Rest Phase
During the essential resting phase, you'll want to monitor several key indicators that reveal whether your soap bars have properly cured. When you check your cured soap, look for specific quality indicators that confirm ideal readiness for use.
Key physical characteristics you'll notice include:
- A firm, hard texture with no surface moisture or sticky residue
- Enhanced fragrance that becomes more pronounced over time
- Rich, creamy lather that demonstrates improved cleansing properties
These changes aren't just superficial – they're signs of important chemical changes happening within your soap.
You might notice the color deepening or shifting slightly, which signals the ongoing maturation process. By paying attention to these quality indicators, you'll know exactly when your soap has reached its peak hardness and performance potential.
Frequently Asked Questions
What Happens if You Use Soap Before It's Cured?
You'll risk skin irritation from leftover lye, experience harsh drying effects, and waste money as uncured soap dissolves quickly. It won't lather well, and you'll miss out on the gentle, moisturizing benefits of properly cured soap.
How Long to Let Soap Cure Before Cutting?
You'll need to let your soap rest for 24-48 hours after pouring before cutting it into bars. This initial resting period guarantees your soap's firm enough to hold its shape and won't crumble during cutting.
What Happens if You Use Cold Process Soap Too Soon?
If you use cold process soap too soon, you'll experience skin irritation from unreacted lye, poor lathering, and harsh drying effects. Your soap will also dissolve faster and won't provide the moisturizing benefits you're expecting.
Can You Use Hot Process Soap Right Away?
Yes, you can use hot process soap immediately since saponification is complete. However, you'll get better quality and gentler bars if you let them cure for a few weeks to reduce moisture and improve performance.
In Summary
You'll find that allowing your cured bars to rest properly is vital for ideal results. During this resting phase, excess moisture evaporates, chemical reactions stabilize, and the bars develop their final texture and scent profile. By maintaining proper temperature, humidity, and air circulation while monitoring quality indicators, you're ensuring your bars reach their peak performance before use. Don't skip this essential step in your process.


Leave a Reply