
Real lye soap requires just three essential ingredients: sodium hydroxide (lye), water, and fats or oils. You'll need to mix lye with water first, then combine with your chosen oils like olive, coconut, or tallow—each contributing different properties to your soap. Always wear protective gear when handling lye, as it's caustic. Optional additives include essential oils for fragrance and natural colorants. The detailed process below will transform these simple ingredients into beautiful, handcrafted soap.
The Essential Components of Real Lye Soap
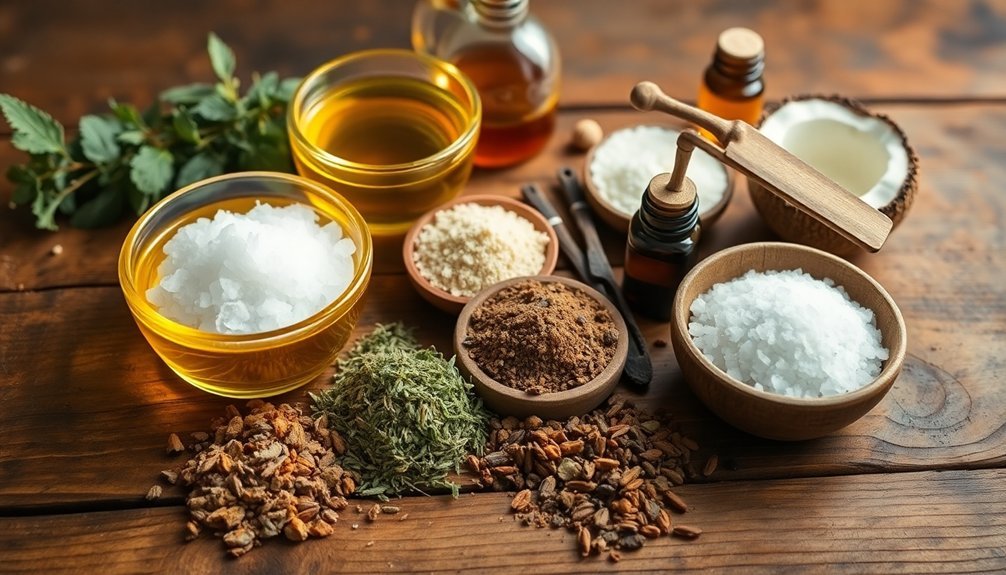
When crafting traditional lye soap, you'll need several fundamental ingredients that work together through the saponification process. Lye (sodium hydroxide) is non-negotiable—it's the catalyst that transforms oils into soap. Without it, you're simply making scented oil mixtures.
For oils, traditional options include lard and tallow for hardness, olive oil for moisturizing properties, and castor oil for creating luxurious lather. You'll also need purified water to dissolve the lye properly, as tap water's minerals can interfere with saponification. Always remember to pour lye into water when mixing, as adding water to lye can cause a dangerous chemical reaction.
Don't skimp on essential tools—a kitchen scale for precise measurements, a reliable thermometer to monitor temperatures, and protective gear (gloves and goggles) to guard against lye's caustic nature.
For enriched varieties, consider adding goat milk, which creates a creamier, nutrient-rich bar.
Understanding Sodium Hydroxide: The Catalyst in Soap Making
Sodium hydroxide stands at the heart of all true soap making processes. This powerful chemical, commonly known as lye or caustic soda, facilitates the essential saponification reaction where fats and oils transform into soap and glycerin. Without it, you simply can't create authentic soap from scratch.
Lye isn't just an ingredient—it's the alchemical key that transforms ordinary oils into true soap through saponification.
When handling NaOH, you'll need proper protective gear—gloves and goggles are non-negotiable due to its highly corrosive nature. Always add lye to water slowly while stirring, never the reverse.
Despite its caustic properties during production, properly made soap contains no residual lye, as all sodium hydroxide is consumed in the chemical reaction. The NaOH solution is highly alkaline and will turn phenolphthalein red.
Even "melt-and-pour" soaps that let you avoid direct lye handling were initially created through saponification with sodium hydroxide.
Selecting Quality Fats and Oils for Your Soap Base
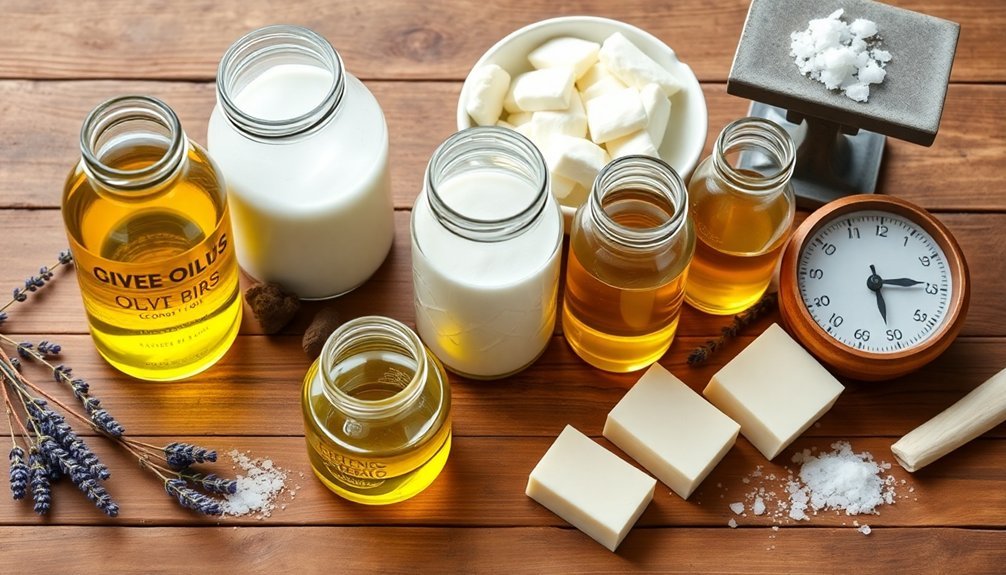
The foundation of any quality soap begins with carefully selected fats and oils, each contributing unique properties to your final product.
Coconut oil provides hardness and cleansing through its high lauric acid content, while olive oil offers moisturizing benefits but creates softer soap. For a balanced recipe, combine palm oil or tallow (rich in palmitic acid) for hardness with castor oil's moisturizing properties.
Consider incorporating specialty oils like shea butter or cocoa butter for added stearic acid, which increases hardness without excessive cleansing. The careful blending of different fatty acid profiles creates an optimal balance of qualities in your final soap. Always source cold-pressed, unrefined oils when possible for ideal results.
Remember to calculate your superfatting percentage carefully—this excess oil remains unsaponified and adds moisturizing qualities.
Finally, use a soap calculator to guarantee proper lye-to-oil ratios before beginning your batch.
The Role of Water in Traditional Soap Production
Water serves as the essential medium in traditional soapmaking, facilitating the chemical reaction between lye and oils known as saponification.
You'll typically use a 2:1 water-to-lye ratio by weight, though this can range from 1.5:1 to 3:1 depending on your desired results.
The quality of water matters greatly—soft or distilled water produces more consistent results than hard water, which contains minerals that may affect your soap's quality.
Too much water creates soft, sticky soap requiring longer curing times, while too little can result in brittle bars. Many soapmakers prefer to avoid ambiguous terms and instead calculate water amounts based on lye concentration for clarity and consistency.
When calculating your recipe, most soap calculators default to 38% water as a percentage of oils.
Remember to always handle your lye solution with proper safety gear in a well-ventilated area to protect yourself and the environment.
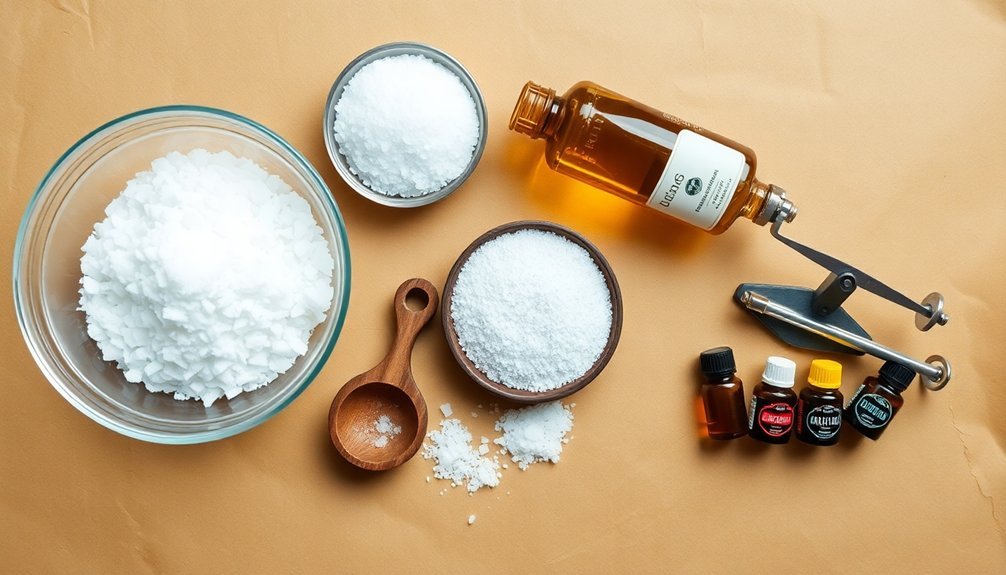
Natural Additives That Enhance Homemade Soap

Natural additives transform ordinary lye soap into personalized creations with enhanced properties and characteristics.
The alchemy of nature's gifts elevates simple soap into extraordinary personal care treasures.
You'll find these ingredients not only beautify your soap but also provide functional benefits for your skin. Clay adds smooth texture while creating earthy tones, while honey boosts lather and moisturizes simultaneously. Using essential oils at 3% by weight creates a pleasant scent while possibly adding therapeutic benefits.
- Exfoliants like coffee grounds, oatmeal, and poppy seeds – Feel the satisfaction of gentle skin renewal as these natural particles slough away dead skin cells, leaving your skin refreshed and invigorated.
- Colorants from beetroot, turmeric, and activated charcoal – Experience the joy of creating vibrant, chemical-free soaps that showcase nature's palette.
- Moisturizing additives like milk powders, aloe, and silk fibers – Indulge in the luxury of soap that cleanses while nourishing your skin to silky smoothness.
Safety Equipment and Precautions for Working With Lye
Working safely with lye requires five essential pieces of protective equipment before you ever open a container of sodium hydroxide. Always wear a full-face respirator, safety goggles, lye-resistant gloves, protective clothing with long sleeves, and closed-toe shoes to shield yourself from potential chemical burns. Using dedicated soapmaking supplies is critical as they should never be repurposed for food preparation.
| Safety Category | Essential Items | Key Precaution |
|---|---|---|
| Workspace | Well-ventilated area | Add lye to water, never reverse |
| Handling | Digital scale | Monitor solution temperature |
| Emergency | Cleanup tools | Establish spill response plan |
Set up your workspace on lye-resistant surfaces like stainless steel or polypropylene. Keep children and pets away, and work without distractions. Store lye in clearly labeled, sealed containers, and always have a plan for accidents or exposure.
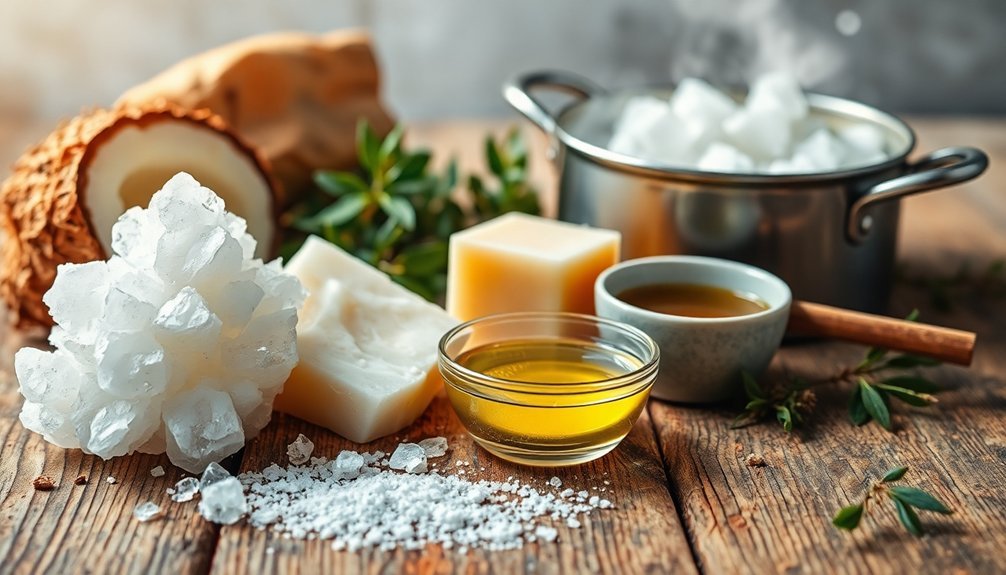
Step-by-Step Guide to the Saponification Process
The saponification process transforms simple ingredients into genuine homemade soap through precise chemical reactions. You'll need to carefully measure your lye and oils using a specialized calculator, as accuracy is essential for successful saponification and proper superfat levels.
The alchemy of soapmaking demands precision, where exact measurements transform ordinary ingredients into extraordinary creations through saponification's elegant chemistry.
- Mix with confidence – Combine your lye with water (never the reverse!), allowing it to cool before slowly incorporating it into your melted oils and fats while stirring continuously. Using frozen goat milk instead of water creates a creamier soap with additional moisturizing benefits.
- Watch for the magic moment – Continue blending until you reach "trace" – that satisfying pudding-like consistency that signals saponification has begun.
- Pour with purpose – Transfer your soap batter to prepared molds, tapping gently to remove air bubbles before covering to insulate the chemical reaction as it completes.
Curing and Storing Your Handcrafted Soap Properly
Once your soap has been poured into molds, the most essential phase of soapmaking begins—proper curing and storage.
While saponification completes within 48 hours, your soap needs 4-6 weeks of curing in an airy, dark environment to evaporate excess water and develop mildness.
Don't rush this process! Uncured soap disintegrates quickly and may irritate skin. High olive oil soaps require even longer curing times. You can enhance curing by discounting water in your recipe, ensuring good air circulation, and arranging bars properly on racks. In humid conditions, using a dehumidifier can significantly decrease the required curing time.
After curing, store your soap in cool, dry areas away from direct sunlight. Use soap dishes with drainage to prevent deterioration.
Only package soap after it's fully cured to avoid condensation issues. Keep good batch records to track ingredients and expiration dates.
Troubleshooting Common Issues in Traditional Soap Making
Even the most experienced soapmakers encounter challenges when crafting traditional lye soap.
Recognizing common problems early can save your batch from disaster. If your soap seizes unexpectedly, it's likely due to high temperatures or problematic fragrance oils. When soap doesn't reach trace, check your lye solution strength and mixing technique. Alternating between hand stirring and short bursts of stick blending can help prevent premature acceleration of trace.
- Soap Volcanoes – Nothing's more disheartening than watching your carefully crafted soap overflow its mold because of overheating.
- Soda Ash Formation – That disappointing white powder on your soap's surface ruins its appearance but can be prevented with proper techniques.
- Glycerin Rivers – These marbled patterns might look artistic, but they signal temperature problems in your soap making process.
Remember to use lye calculators religiously and monitor your soap's temperature throughout the process.
Frequently Asked Questions
Can I Make Lye Soap With Leftover Kitchen Grease?
Yes, you can make lye soap with leftover kitchen grease. You'll need to clean and render it first, then mix with lye and water following safety precautions. It's eco-friendly but may be better for cleaning than skincare.
How Can I Test if My Cured Soap Is Lye-Free?
You can test your cured soap for lye-safety by using pH strips (aim for 8-10), checking for no zapping sensation on your tongue, and ensuring it doesn't cause skin irritation during a patch test.
Is Lye Soap Suitable for Babies and Sensitive Skin?
You can use lye soap for sensitive skin if it's properly cured and superfatted. For babies, though, it's best to be cautious – choose recipes with gentle oils and always test on a small area first.
Will Changing Water Sources Affect My Soap Quality?
Yes, changing water sources will affect your soap quality. Different water hardness levels influence lather, texture and pH. You'll get most consistent results using distilled water rather than tap or well water containing varying minerals.
Can I Rebatch Soap That Didn't Set Properly?
Yes, you can rebatch soap that didn't set properly. Grate it, melt it in a crock pot or double boiler, add any missing ingredients, and remix before placing in molds to cure again.
In Summary
You've now got everything you need to make authentic lye soap at home! Remember, it's the careful combination of lye, quality oils, water, and optional natural additives that creates this traditional product. Don't rush the process—respect the science, follow safety precautions, and enjoy the satisfaction of creating something truly from scratch. With practice, you'll master the art of handcrafted soap making.


Leave a Reply