Traditional wood ash lye soap making connects you to ancient practices dating back over 5,000 years. You'll need hardwood ashes from woods like oak or hickory, plus basic safety gear including gloves and goggles. Through a simple leaching process, you'll extract natural lye by filtering water through the ashes in a drainage container. This sustainable method transforms waste into powerful cleaning agents, and there's much more to discover about this ancestral craft.
Historical Significance of Wood Ash Lye
While modern soap making often relies on commercial lye, wood ash lye stands as a proof of human ingenuity throughout history. You'll find that ancient civilizations mastered the art of extracting this essential ingredient from wood ashes, demonstrating remarkable chemical understanding long before the advent of modern science.
Traditional soap making with wood ash lye wasn't just about creating cleaning products – it represented a cornerstone of community life and self-sufficiency. As families shared their expertise in processing wood ashes and crafting soaps, they strengthened social bonds and preserved cultural knowledge.
The resulting soaps were highly effective, particularly in tackling tough grease and grime, validating these time-tested methods. This heritage of resourcefulness continues to influence today's artisanal soap makers, who recognize the environmental sustainability and cultural significance of these ancestral techniques.
Essential Materials and Equipment
To begin your soap-making journey, you'll need to gather clean hardwood ashes by collecting them from your fireplace or woodstove, making sure they're free from contaminants and stored in a dry place.
You'll also need essential safety gear, including chemical-resistant rubber gloves and protective goggles, to shield yourself from the caustic lye solution.
When selecting containers, choose non-aluminum vessels for ash leaching and material mixing, as wooden buckets or stainless steel pots work best for the traditional process.
Wood Ash Collection Methods
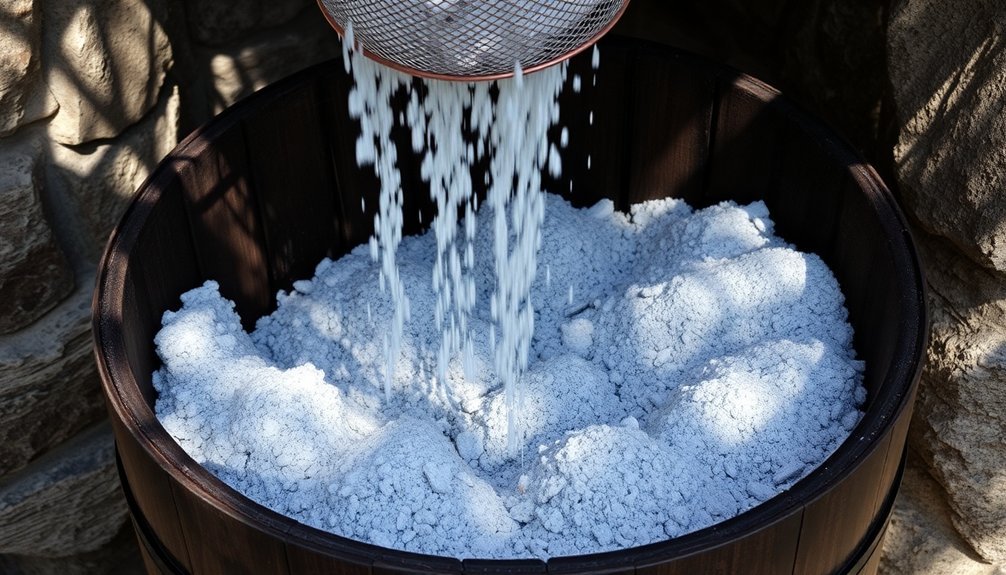
Three essential materials form the foundation of proper wood ash collection: a five-gallon bucket, a sifting box, and a dry storage container. When making lye, you'll need to collect hardwood ash from oak or beech trees, avoiding softwoods like pine that contain unwanted resins. As you gather the ash, sift it carefully to separate pure white ash from unburnt chunks.
| Process Step | Key Action |
|---|---|
| Collection | Select hardwood ash only |
| Sifting | Remove unburnt chunks |
| Storage | Keep in cool, dry place |
Inspect your sifted ash for any remaining carbon particles to verify a clean base for your lye solution. Store your processed ash in a cool, dry location to maintain its potency for future soap making projects. This careful collection process helps secure successful lye production.
Safety Equipment Requirements
Because traditional wood ash lye can severely burn skin and eyes, proper safety equipment isn't optional – it's vital.
You'll need several significant items before starting the soap-making process to protect yourself from the caustic nature of lye and its dangerous fumes.
When handling lye, always verify you're equipped with:
- Heavy-duty rubber gloves that cover your forearms
- Safety goggles that provide complete eye protection
- A protective face mask to prevent fume inhalation
- Long sleeves and closed-toe shoes
Set up your workspace in a well-ventilated area, ideally with open windows or outdoor access.
Keep a bottle of vinegar within arm's reach as your emergency neutralizing agent. If you accidentally get lye on your skin, immediately apply vinegar to minimize potential burns and seek medical attention if needed.
Container Selection Guide
Now that you've gathered your safety equipment, selecting the right containers can make the difference between success and disaster in wood ash soap making. Your container selection must prioritize non-reactive materials, as aluminum will create dangerous chemical reactions with lye solution.
Choose a five-gallon bucket for storing and mixing your sifted wood ashes – it's the perfect size for the leaching process. Make sure your leaching container has proper drainage holes to let excess water escape while keeping the ashes in place.
When it comes to mixing and boiling, select a pot with a wide opening to allow for easy stirring and proper evaporation. Don't forget to use a wooden spoon or non-reactive mixing stick to prevent contamination when you're blending the lye with your fats or oils.
Selecting the Right Wood for Ash
When making traditional lye soap, you'll want to choose hardwoods like oak, beech, or hickory over softwoods because they produce cleaner, more potent ashes without problematic resins.
You can identify high-quality ash by its pure white color, while gray or black-speckled ash indicates incomplete burning and won't yield effective lye.
For best results, you'll need roughly one bushel of properly burned hardwood ash to produce up to 1.5 quarts of lye for your soap-making project.
Hardwood Vs Softwood Differences
The success of your wood ash lye soap depends heavily on choosing the right type of wood for ash production. When you're making traditional lye soap, hardwood ash delivers superior results due to its high potassium carbonate content and ideal mineral composition.
Key differences between hardwood and softwood for lye production:
- Hardwoods burn hotter, creating finer, more suitable ash
- Softwoods contain resins that can disrupt saponification
- Hardwood ash yields a more concentrated potassium content
- Hardwood produces a more effective and stable lye solution
You'll find that hardwoods like oak and beech greatly outperform softwoods like pine in the soap-making process.
The density of hardwood ash guarantees a more efficient saponification reaction, making it the clear choice for traditional lye soap production. Your final product's quality directly reflects this vital wood selection.
Optimal Tree Species Guide
Selecting the right tree species for ash production forms the foundation of successful lye soap making.
You'll want to focus on hardwood varieties like oak, beech, and maple, as they contain higher concentrations of potassium carbonate, which is vital for creating quality lye water.
When choosing your wood source, steer clear of softwoods such as pine or fir. Their resinous compounds can compromise your lye water quality and negatively affect your final soap product.
Instead, look for mature, healthy hardwood trees, as they'll provide superior wood ash with better cleansing and lathering properties in your finished soap.
Remember to confirm that your chosen wood hasn't been treated with chemicals or exposed to contaminants.
Using clean, untreated hardwood guarantees you'll create safe, effective lye water for your traditional soap making process.
Ash Color Quality Indicators
Beyond choosing the right tree species, understanding ash color serves as your key visual guide for quality lye production.
When evaluating wood ash, you'll want to focus on its color and purity, as these factors directly impact your lye's effectiveness in soap making.
The ideal wood ash should display these key quality indicators:
- Pure white coloration without gray or black specs
- No visible chunks of unburnt wood
- Free from dark particles when sifted
- Uniform, powdery consistency throughout
You'll need to sift your wood ash carefully to remove any remaining carbon or debris.
Remember that darker colored ash often indicates contamination or incomplete burning, which will compromise your lye solution.
If you're working with ash that isn't pristinely white, it's best to discard it and start fresh with properly burned hardwood.
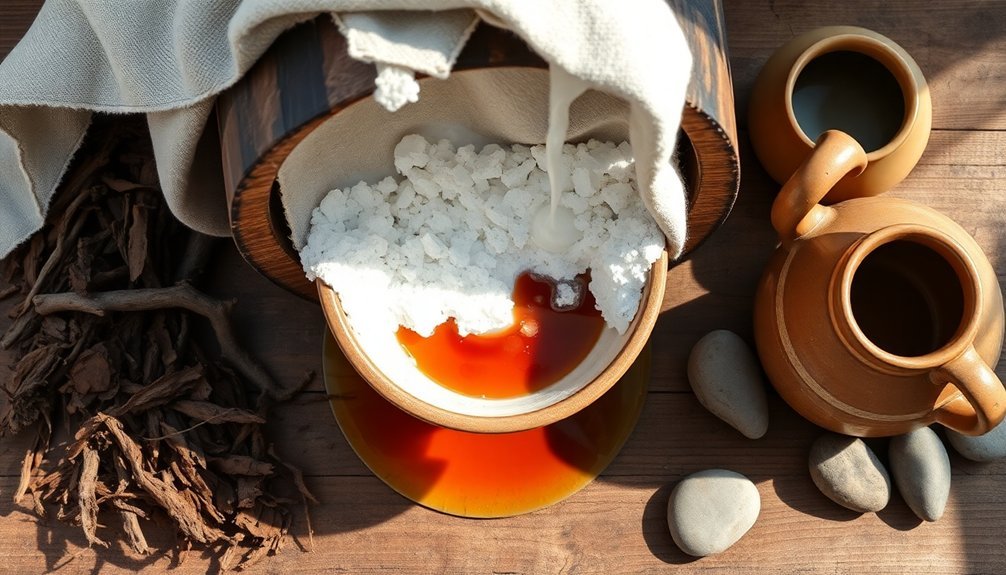
Step-by-Step Ash Collection Process
Successful lye-making begins with proper ash collection from hardwood sources like oak or beech trees. This traditional method requires you to gather only white, fully burned wood ash that's free from contamination.
When collecting lye from wood ash, you'll need to separate any unburnt pieces using a box or container.
Take your collected ash and run it through a flour sifter into a five-gallon bucket. You'll want to inspect carefully for any remaining carbon to guarantee you're working with pure white ash.
Next, use a watering can to add distilled water while stirring until you achieve a milkshake-like consistency. Let this mixture settle for several hours or overnight.
Finally, pour the clear liquid from the top into your cooking pot, being careful to leave the sediment behind.
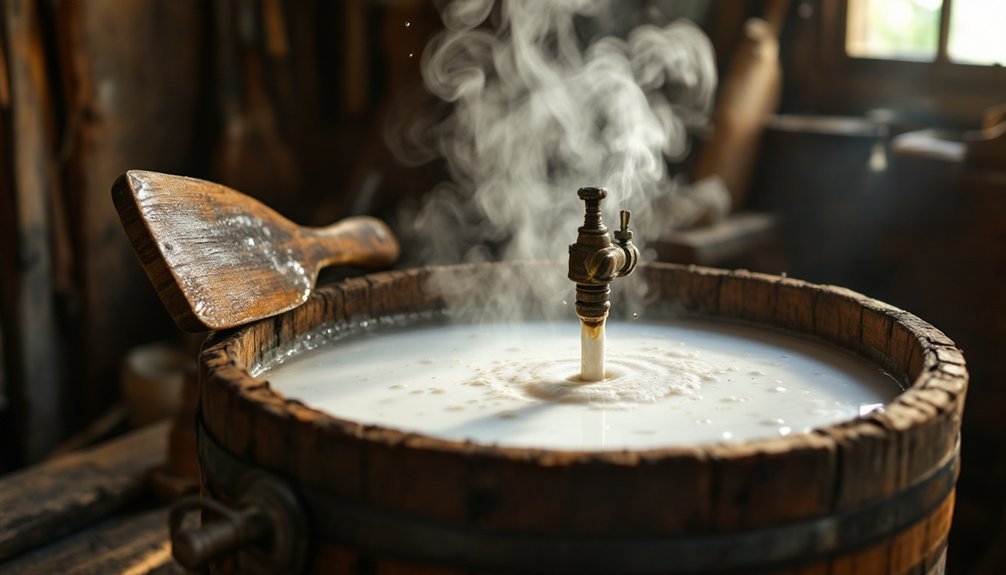
Creating the Leaching Container
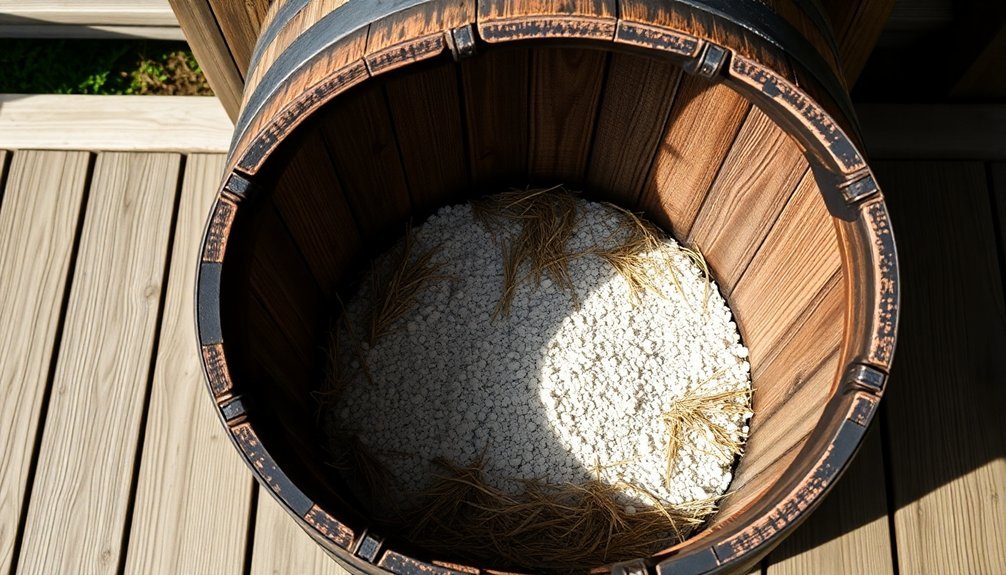
When creating your leaching container, you'll need to choose between a sturdy wooden barrel or plastic bucket that can withstand the corrosive nature of lye.
Your container must have properly placed drainage holes at the bottom to allow the lye solution to flow through while keeping the ash in place.
Start by laying down a substantial layer of gravel or small stones at the container's base, which acts as an essential filtration system to prevent ash particles from clogging the drainage holes.
Container Material Selection
Selecting the right container material stands as an essential first step in creating your wood ash lye. You'll need to choose non-reactive materials that won't compromise your lye solution or deteriorate during the leaching process.
When making your container material selection, consider these significant factors:
- Never use aluminum containers, as they'll react with the lye and break down
- Choose plastic or ceramic containers for their non-reactive properties
- Select a size that matches your wood ash quantity
- Guarantee your container can accommodate drainage holes and filtration layers
Your container should include drainage holes at the bottom and a layer of gravel or small stones to filter larger ash particles.
This setup will help you achieve a clean, uncontaminated lye solution while maintaining the container's structural integrity throughout the leaching process.
Proper Drainage Setup
Creating an effective drainage setup requires careful attention to both container construction and layering techniques. To make lye from wood ash properly, you'll need a sturdy vessel with drainage holes at the bottom that allow liquid to escape while keeping ash particles in place.
Start by placing a layer of gravel or small stones at the container's base. This creates a natural filtration system that prevents the drainage holes from becoming clogged with ash.
The proper drainage setup continues with alternating layers of hardwood ash and clean water, ensuring complete saturation of the ash for ideal lye extraction. Let the mixture sit undisturbed for several days, allowing the lye solution to leach through naturally.
You'll collect the filtered solution through a bottom spigot or drainage point, removing any remaining particles before use.
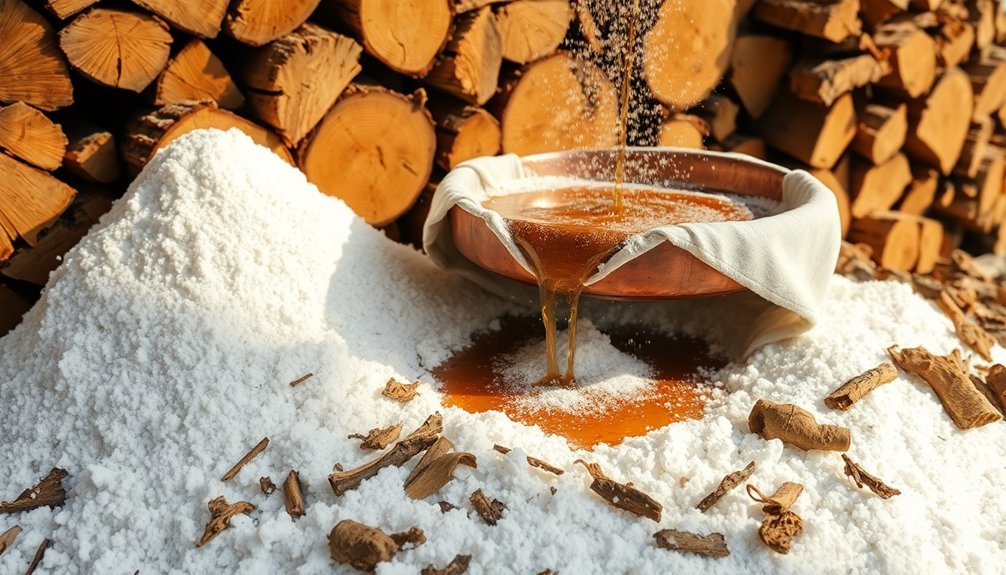
Filtration Layer Assembly
A successful leaching container begins with proper layer assembly and careful attention to filtration materials. When preparing your vessel for the soap making process, you'll need to create effective filtering layers that'll guarantee pure lye production.
Start by placing drainage holes in your container that are small enough to prevent ash escape. Then, build your filtration system from bottom to top:
- Place a base layer of gravel or small stones for ideal drainage
- Add sifted hardwood ash in even layers
- Pour clean water while maintaining consistent ash-to-water ratios
- Repeat these layers until reaching the container's top
Your layered setup will create an efficient leaching environment, allowing the lye solution to filter through naturally over several days.
Once complete, carefully collect the filtered lye solution, ensuring no ash particles contaminate your final product.
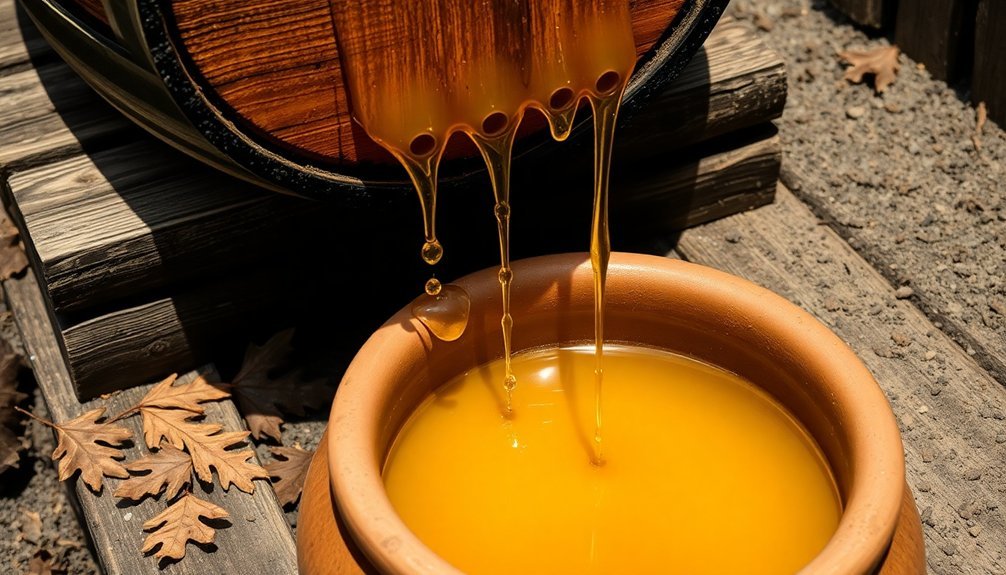
The Art of Water Filtration
When making traditional lye from wood ash, proper water filtration becomes the cornerstone of producing high-quality soap.
You'll need to set up your leaching vessel with carefully arranged layers of gravel and hardwood ash, allowing clean water to slowly percolate through the system over several days.
The gravel at the bottom of your vessel acts as a natural filter, catching larger ash particles as the water moves through.
As you monitor the process, you'll notice the lye solution developing an apple juice-like color.
Don't skip the final filtration step – it's essential for removing any remaining ash particles that could compromise your soap's quality.
This meticulous water filtration process guarantees you'll extract the vital alkaline properties while keeping unwanted impurities out of your final lye solution.
Testing Lye Concentration
How do you know if your wood ash lye solution has reached the right strength for soap making? The egg flotation method provides a reliable way of testing your lye concentration.
You'll need to wait for your solution to settle first, allowing any impurities to sink to the bottom.
Before testing your lye, make sure you're wearing proper protective gear to prevent burns.
Drop a fresh egg into the settled solution and observe its behavior:
- If the egg sinks completely, your lye is too weak
- If the egg floats too high, your solution is too concentrated
- The ideal depth is about 1 inch below the surface
- Wait for the solution to stabilize before making your assessment
This simple yet effective testing method has been used for generations to achieve the perfect lye concentration for soap making.
Safety Measures and Precautions
Testing lye strength effectively means nothing without proper safety protocols in place.
You'll need to implement essential safety measures before handling this caustic substance. Always wear protective rubber gloves and goggles to shield your skin and eyes from potential burns.
Keep your workspace well-ventilated to avoid inhaling harmful fumes during the mixing process. Remember to add lye to water, never water to lye, as this prevents dangerous reactions and excessive heat generation.
Store vinegar nearby as your emergency neutralizing agent – it'll provide immediate relief if you accidentally get lye on your skin.
When you're done working, store your lye in clearly labeled containers away from children and pets.
These precautions aren't optional – they're vital steps that protect you from serious injury while working with this powerful alkali.
Storing and Preserving Lye Solution
Proper storage of lye solution demands careful attention to both container selection and environmental conditions.
You'll need to store lye in either glass or HDPE containers that seal tightly to prevent moisture absorption. Using a labeled container is vital, and you should always place it in a cool, dry area away from sunlight.
When handling your lye solution, use a glass or plastic funnel to prevent dangerous spills during transfers.
Here are essential storage requirements to maintain your lye solution's effectiveness:
- Keep containers airtight to prevent moisture absorption
- Store in a secure location away from children and pets
- Use only glass or HDPE containers with tight seals
- Check regularly for leaks or changes in appearance
Remember to monitor your stored lye solution periodically and dispose of it properly if you notice any signs of contamination.
Troubleshooting Common Issues
When making soap with traditional wood ash lye, you'll likely encounter several common challenges that can affect your final product.
As lye reacts with oils during the making soap process, various issues may arise that you'll need to address.
If your soap isn't hardening properly, you're either using too much water or insufficient lye strength. Always verify you're using hardwood ash and leaching it thoroughly.
When your soap smells unpleasant, check your oils for rancidity before use.
For soap that's too harsh, modify your recipe to include more gentle oils like olive or shea butter.
To prevent uneven texture or coloring in your final product, mix your lye water and oils thoroughly during blending.
These adjustments will help you achieve better results in your next batch.
Traditional Uses Beyond Soap Making
Although soap making remains its primary modern application, wood ash lye has served diverse purposes throughout history.
You'll find this traditional cleaning agent's versatility extends far beyond the soap-making process, proving invaluable in various household and industrial tasks.
Lye's powerful properties make it particularly effective for:
- Cleaning and maintaining farm equipment and tools
- Unclogging stubborn drains when mixed with water
- Stripping paint from surfaces
- Processing textiles for weaving and dyeing
In many cultures, traditional wood ash lye also plays a significant role in food preparation.
You'll find it used in making hominy, where the lye solution helps remove corn hulls.
While these applications demonstrate lye's remarkable versatility, it's vital to handle this corrosive substance with proper safety precautions.
Environmental Benefits and Sustainability
Traditional soap making's rich history of practical applications leads naturally to its modern environmental advantages. When you make soap using wood ash lye, you're embracing sustainability by transforming waste materials into valuable products.
This ancestral method offers significant environmental benefits through its use of renewable resources and biodegradable ingredients.
You'll find that wood ash soap making reduces your ecological footprint in multiple ways. It minimizes chemical additives, promotes natural decomposition in water systems, and decreases reliance on fossil fuel-based materials.
By choosing traditional soap making methods, you're not just creating cleaner products – you're participating in a sustainable practice that connects you to historical wisdom while protecting our environment.
This approach supports both community knowledge sharing and eco-conscious living.
Frequently Asked Questions
How to Make Lye Soap the Old Fashioned Way?
You'll need to collect hardwood ashes, make lye water through leaching, strain it, then boil until powdered. Mix heated lye with melted fats, pour into molds, and let cure several weeks.
How Was Lye Soap Made in the Old Days?
You'd collect hardwood ashes, leach them with water to make lye, then combine the filtered solution with melted animal fats. After mixing until bubbly, you'd pour it into molds to cure for weeks.
How to Make Lye From Wood Ash for Soap?
Collect hardwood ash, sift it clean, and layer it in a leaching vessel. Add water gradually, let it drain for days. Filter the solution, then boil it down until you've got concentrated lye powder.
What Is the Traditional Way of Making Lye?
You'll need to layer hardwood ash and water in a vessel with drainage holes and gravel. As water filters through the ash, it creates lye solution. Test strength using a floating egg method.
In Summary
You'll find wood ash lye making both rewarding and sustainable. By reviving this ancestral practice, you're not only creating eco-friendly cleaning products but also preserving important traditional knowledge. Whether you're making soap, preserving food, or exploring other historical uses, you've now got the skills to produce your own lye solution. Keep experimenting with different wood types and methods to perfect your technique.


Leave a Reply