You'll need poplar wood or Baltic birch plywood, 5/8-inch steel bolts, wood screws, and basic power tools to build your own wooden soap mold box. Start by cutting your wood to size, pre-drilling holes every two inches, and assembling the base and sides. Make sure to add an extra inch in height above your soap fill line and test for leaks before first use. Our detailed guide will transform you into a confident soap mold craftsperson.
Essential Tools and Materials for Your DIY Soap Mold
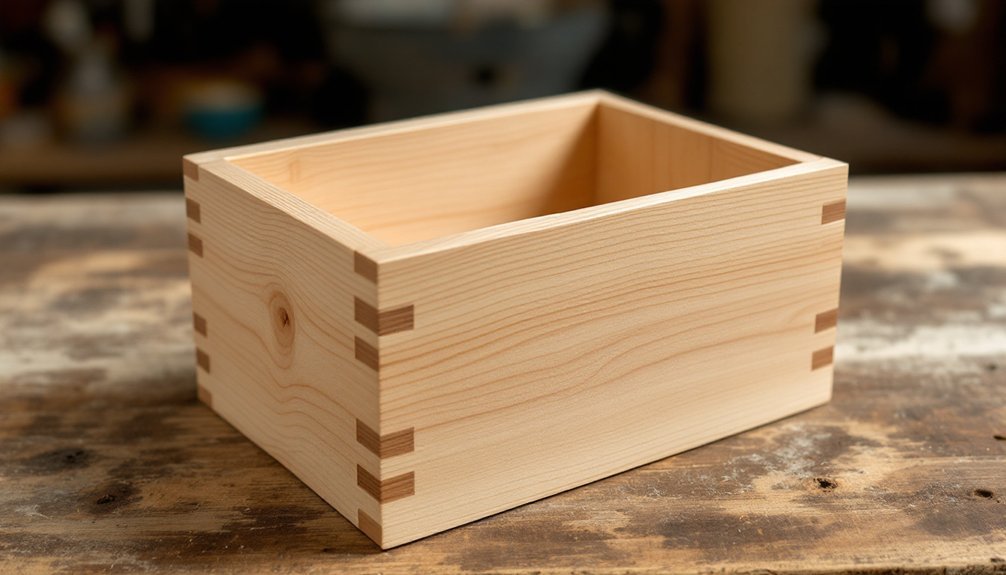
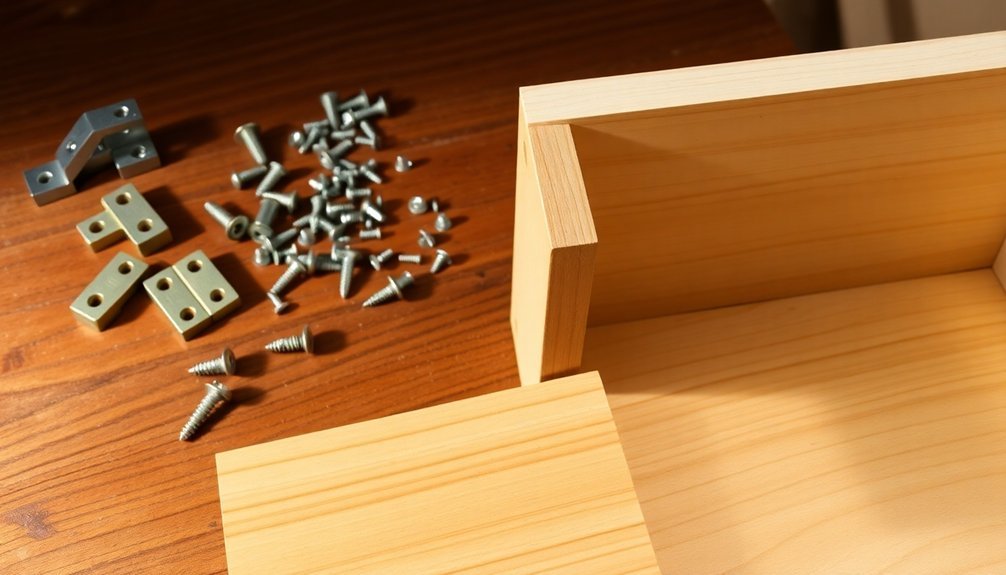
Crafting success begins with assembling the right tools and materials for your wooden soap mold.
You'll want to start with high-quality poplar or Baltic birch plywood, which offers superior insulation and durability for your soap-making projects.
For assembly, you'll need wood screws (plan on one screw per every two inches of mold length) and 5/8-inch steel bolts with matching nuts.
Your power drill will be essential for creating precise holes for both screws and bolts.
Don't forget to grab some wood glue for added strength and clamps to hold everything steady during construction.
Consider adding washers to create more stable connections between the bolts and wood surfaces.
These materials guarantee your wooden soap mold will maintain its structural integrity through multiple uses.
Selecting the Perfect Wood Type for Durability
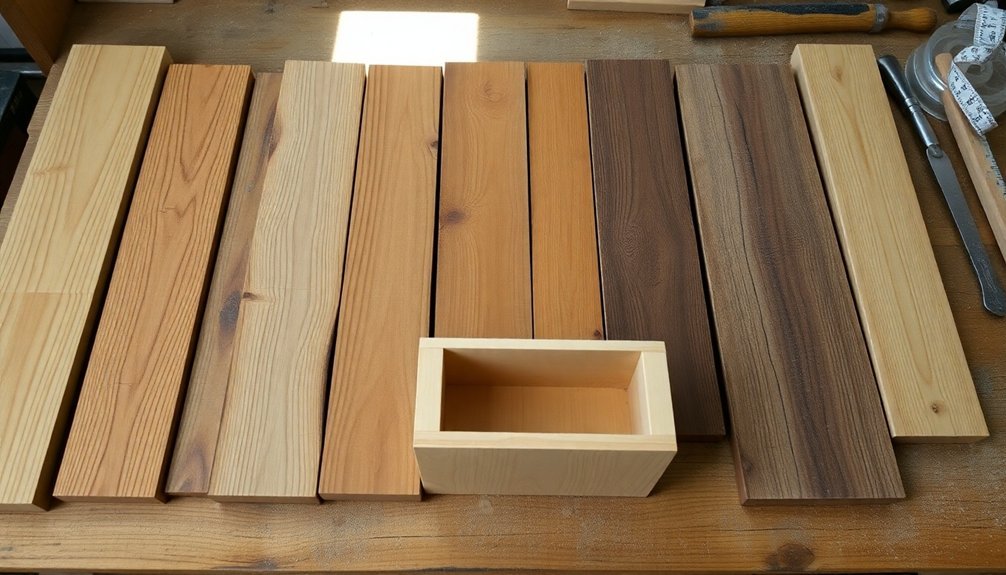
When building a soap mold that'll last for years, your choice of wood makes all the difference. Poplar wood stands out as your best option, offering superior durability and excellent insulation properties that you'll need for temperature-sensitive soap making processes.
While you might consider Baltic birch plywood or pine as alternatives, they're not your ideal choices. Pine can warp over time, compromising your mold's structure, and plywood may release unwanted chemicals.
For cold process soap making, you'll want to avoid any wood that's been chemically treated or contains adhesives. Choose solid wood that's at least 0.75 inches thick to prevent bowing under your soap's weight.
Calculating Your Soap Mold Dimensions
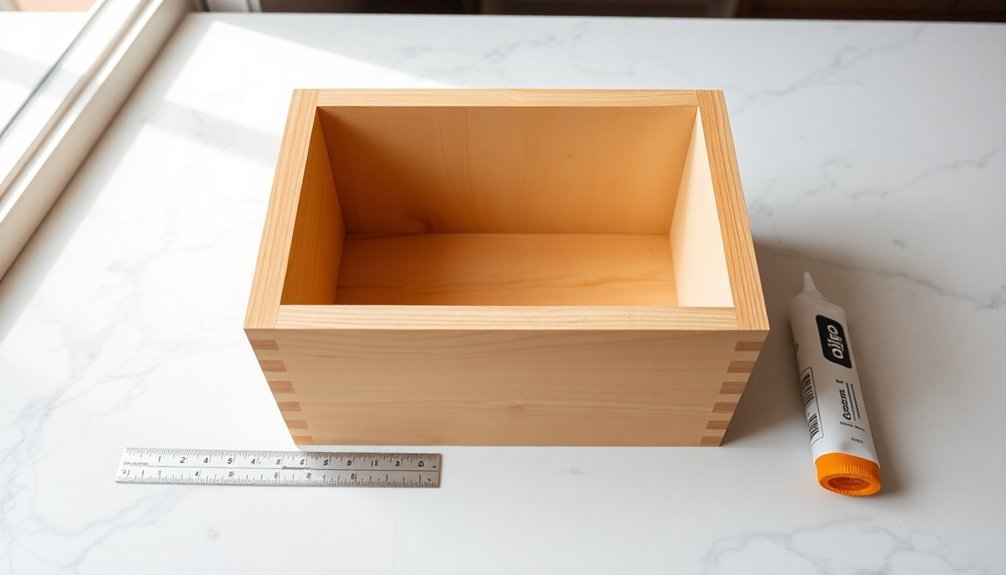
Now that you've selected your poplar wood, precise measurements will make or break your soap mold's success. Your end board height should match your sideboard height and extend one inch above your soap fill line for proper containment.
To determine your wooden mold dimensions, start with your desired soap loaf measurements. For a typical 3.5-inch wide, 2.5-inch tall, and 10-inch long soap loaf, you'll need to calculate your sideboards by adding the end board thickness plus extra length for stability.
Don't exceed 18 inches in length or 12 inches in width, as this guarantees easy handling.
When measuring bolt length, use this formula: soap loaf width + thickness of two sideboards + 1 inch. This calculation assures your soap mold will accommodate your soap perfectly while maintaining structural integrity.
Choosing the Right Fasteners and Hardware
The right fasteners make all the difference in building a sturdy soap mold that'll last for years. You'll want to use zinc-plated steel fasteners instead of aluminum, particularly 5/8 inch diameter bolts that'll prevent rusting and guarantee durability. Don't forget to pre-drill holes for your wood screws, spacing them every two inches for ideal support.
| Hardware Type | Size | Purpose |
|---|---|---|
| Hex Bolts | 5/8" diameter | Main assembly |
| Wood Screws | #8 or #10 | Side support |
| Washers | 5/8" inner diameter | Pressure distribution |
| Carriage Bolts | 5/8" diameter | Alternative assembly |
Remember to add washers between your bolts and wood to distribute pressure evenly and protect the wood's surface. When you're buying your fasteners, consider purchasing in bulk if you're planning to build multiple molds.
Preparing Your Workspace and Safety Measures

Before you start building your soap mold box, you'll need to organize your workspace with essential tools like a power drill, measuring tape, screws, and bolts within easy reach.
You'll also want to put on your safety gear, including protective goggles and work gloves, to guard against wood splinters and tool-related injuries.
Keep your first aid kit close by and make certain your work area is well-lit and clear of obstacles that could interfere with construction.
Essential Tools Setup
Setting up your workspace properly with essential tools is the first critical step in building a wooden soap mold box.
You'll need to gather and organize your tools strategically to create efficient wooden soap molds while maintaining safety standards.
Position your power drill, measuring tape, and level within easy reach on your clean workbench.
Don't forget to place your safety goggles and ear protection nearby – you'll need these whenever you're operating power tools.
Set your clamps at the edge of your workspace, ready to secure wood pieces during construction.
Keep your first-aid kit visible and accessible, just in case.
Ensure your work area has proper lighting to see detailed measurements and markings clearly.
This thoughtful tool setup will help you work safely and efficiently throughout your project.
Safety Equipment Checklist
Proper safety equipment stands between you and potential woodworking injuries when building your soap mold box.
Before starting your project, make certain you've got your safety goggles ready to shield your eyes from flying wood particles and dust during cutting and drilling operations.
Don't forget to wear a dust mask or respirator while working, as it'll protect your lungs from fine wood particles, especially when you're sanding or cutting treated lumber.
Put on protective gloves to guard your hands against splinters and rough edges while handling the wood materials.
Keep your workspace well-ventilated to minimize exposure to any fumes from finishes or adhesives you might use.
Having a first aid kit within reach is essential for treating minor injuries that could occur during the building process.
Step-by-Step Assembly Guide
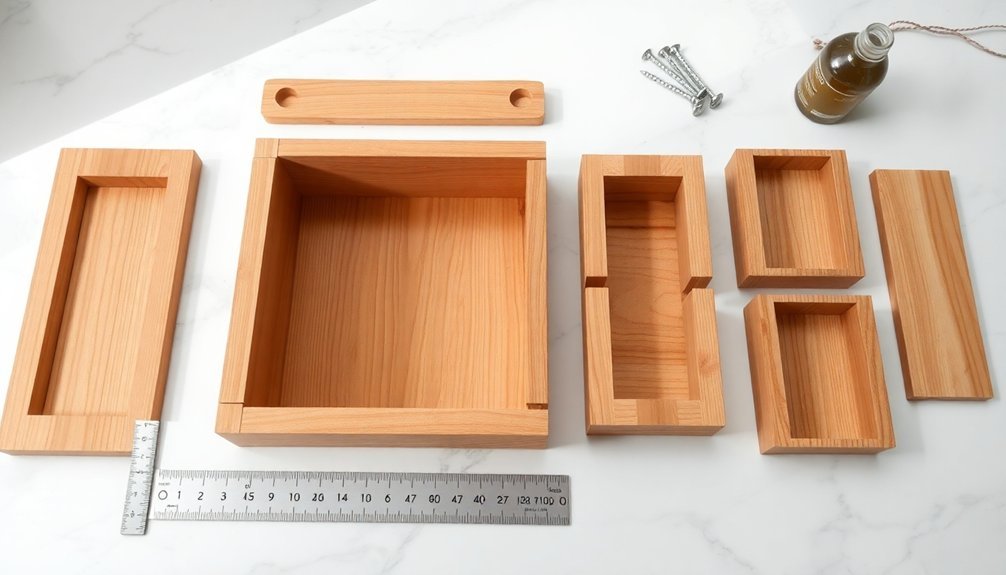
Once you've gathered your wood materials and tools, assembling your soap mold box follows a systematic process that guarantees durability and functionality. Start by measuring and cutting your chosen wood to match your desired soap mold dimensions, adding an extra inch in height for overflow protection. Pre-drill your holes in the sideboards, spacing them every two inches for maximum stability.
| Step | Action | Purpose |
|---|---|---|
| 1 | Attach baseboard | Creates foundation |
| 2 | Secure sideboards | Forms cavity walls |
| 3 | Position end boards | Completes box structure |
When making soap, verify all pieces are tightly bolted together before lining your wooden mold with freezer paper or a trash bag. Double-check that all screws are firmly in place, and your mold's joints are secure to prevent leakage during the pouring process.
Lining Options for Your Wooden Mold
After assembling your wooden soap mold, you'll need to protect it with the right lining material. You'll find several effective options that prevent your soap from sticking and make unmolding a breeze.
Freezer paper is a popular choice for lining wooden molds due to its non-stick properties, though you might want to choose a thicker alternative for block molds to prevent leaks.
Parchment paper offers a practical solution, as it's easy to cut and fits standard mold widths perfectly.
If you're considering plastic liners, avoid those with chemical treatments or adhesives, as they can interfere with saponification.
For additional unmolding ease, try silicone sheets or butcher paper.
Whatever material you choose, verify it provides a clean barrier between your soap and the wooden surface.
Customizing Your Mold for Different Soap Sizes
Your wooden soap mold's versatility comes from its adjustable end boards, which you'll position based on your desired loaf size and production volume.
You can create single, double, or triple-width soap cavities by selecting appropriate end board measurements and positioning them to match your specific needs.
When choosing bolt lengths for securing the adjustable components, make sure they accommodate your maximum planned mold width while allowing for proper tightening of the wing nuts.
Adjustable End Board Placement
When designing a versatile soap mold, the adjustable end board system serves as a key feature that lets you customize the width of your soap loaves. You'll need end boards that match your desired soap loaf width and stand at least 1 inch taller than your soap fill level. For the sideboard length, remember to add the end board thickness plus an extra inch to your desired loaf width.
| Loaf Size | End Board Width | Boards Needed |
|---|---|---|
| Single | 3.5 inches | 2 sets |
| Double | 7 inches | 3 sets |
| Triple | 10.5 inches | 4 sets |
| Custom | Your choice | Varies |
Using multiple end board sets allows you to create single, double, or triple loaves, while extra boards can act as dams for shorter configurations.
Multi-Width Soap Options
Creating a multi-width soap mold gives you remarkable flexibility in your soap-making process. You'll have the ability to customize your mold's width by using multiple sets of end boards, allowing you to produce single, double, or triple loaves with the same base and sideboards.
To achieve a versatile Soap Mold design, follow these key steps:
- Cut end boards to match your desired soap loaf widths.
- Confirm end board height matches sideboards with 1-inch overflow capacity.
- Calculate sideboard length by adding end board thickness plus needed space.
- Position end boards at different points to adjust mold width.
This multi-width approach lets you craft various soap sizes without investing in multiple molds. For instance, you can easily switch from a 3.5-inch loaf to wider options by simply repositioning or swapping end boards.
Bolt Length Selection Guide
A properly sized bolt guarantees your soap mold can withstand the pressure of multiple soap batches while accommodating different loaf widths. When building your wooden box, you'll need to calculate the minimum bolt length using this formula: soap loaf width + thickness of two sideboards + 1 inch. Choose zinc-plated steel bolts for maximum durability.
| Loaf Width | Required Bolt Length |
|---|---|
| 3.5 inches | 6 inches |
| 5 inches | 7.5 inches |
| 8 inches | 10.5 inches |
| 12 inches | 14.5 inches |
| 18 inches | 20.5 inches |
For wider soap molds, you'll need multiple end boards and additional bolts. Don't use aluminum bolts, as they won't provide the necessary strength for your soap mold. Remember to factor in the sideboard thickness when selecting your bolt length.
Proper Maintenance and Storage Tips
Proper maintenance of your wooden soap mold will greatly extend its lifespan and guarantee consistent, high-quality soap batches. After each use, thoroughly clean your mold to prevent soap residue build-up that can affect future batches.
Regular cleaning and proper care of your wooden soap mold ensures lasting durability and superior soap quality with every batch.
Store it in a cool, dry area away from direct sunlight to maintain its structural integrity.
To keep your wood soap mold in peak condition, follow these essential storage tips:
- Apply food-safe mineral oil periodically to protect the wood from moisture absorption.
- Keep the mold away from heavy items that could cause warping or deformation.
- Inspect regularly for loose screws, cracks, or signs of wear.
- Make necessary repairs promptly to prevent further damage.
Remember to treat your mold with care, and it'll serve you well for many soap-making sessions to come.
Troubleshooting Common Construction Issues
When your soap mold's bolt holes aren't lining up correctly, you'll need to carefully re-drill them using a drill guide and clamps to maintain perfect alignment.
If you notice warping in your wooden mold, immediately move it to a climate-controlled area and consider applying a moisture-resistant sealant to protect the wood from humidity damage.
You can fix loose components by tightening all bolts and screws systematically, replacing any stripped hardware, and adding wood glue to reinforce joints where needed.
Bolt Alignment Fix Tips
Several common bolt alignment issues can derail your soap mold construction, but they're easy to prevent with the right techniques.
When building your soap mold, proper bolt alignment guarantees stability and prevents leaks. Here's how to achieve perfect alignment:
- Clamp your sideboards together tightly before drilling to maintain consistent hole placement and prevent shifting.
- Choose a drill bit that perfectly matches your bolt diameter for a snug, wobble-free fit.
- Pre-drill holes through both sideboards at once to ensure alignment between pieces.
- Start threading bolts from the base-secured sideboard first, then attach the loose board.
Before tightening any nuts, verify that your end boards sit flush with the sideboards.
This attention to detail guarantees your soap mold maintains proper dimensions and creates a leak-proof cavity for pouring.
Warping Prevention Methods
Beyond bolt alignment, your wooden soap mold needs protection against warping to maintain its structural integrity. Start by selecting moisture-resistant woods like poplar or Baltic birch plywood instead of pine.
You'll want to use boards that are at least 0.75 inches thick, as they're less likely to warp under pressure from your soap mixture.
Before assembly, verify your wood is properly dried and acclimated to your workspace environment. Make precise cuts and apply a quality sealant to all surfaces to prevent moisture absorption.
Don't skip treating hidden areas, as these can still absorb humidity and cause warping over time. Store your mold in a climate-controlled space and check it regularly for early signs of warping.
These preventive steps will greatly extend your mold's lifespan and maintain its shape.
Securing Loose Components
Tightening loose components in your soap mold requires systematic attention to prevent structural issues during use. When you notice any movement in your mold's structure, you'll need to take immediate action to guarantee all parts remain securely fastened.
For ideal stability, follow these essential steps:
- Pre-drill holes in sideboards before inserting wood screws, using two screws per every two inches of length.
- Place washers between all bolts/nuts and wood surfaces to distribute pressure evenly.
- Apply wood glue alongside mechanical fasteners for enhanced strength, particularly in larger molds.
- Check and retighten all nuts after your first few uses, as wood naturally settles.
Don't skip these vital steps, as loose components can compromise your mold's integrity and affect the quality of your soap making process.
Enhancing Your Mold With Additional Features
Once you've constructed your basic wooden soap mold, adding thoughtful features can transform it into a more versatile and user-friendly tool.
Your wooden box mold becomes more functional when you install adjustable partitions, allowing you to create different soap sizes and designs in a single batch.
Don't forget to secure parchment or freezer paper with elastic bands around the mold's edges for cleaner pours and easier unmolding.
Adding a lid helps retain heat and promotes better gel formation, reducing the likelihood of cracks in your finished soap.
Install handles on the end boards to make moving your filled mold safer and more convenient.
For smooth soap removal, consider applying vinyl lining to the mold's ends, but be sure to test it first to prevent any unwanted reactions with raw soap.
Testing Your Mold Before First Use
Before pouring your first batch of soap, testing your newly constructed wooden mold helps prevent costly mistakes and guarantees reliable performance. To confirm your mold is ready for soap making, follow these essential testing steps:
- Line your mold with freezer paper or a trash bag liner to establish proper release methods and prevent soap from sticking to the wood.
- Fill the mold completely with water to check for leaks and verify structural integrity.
- Verify all screws and bolts are securely fastened to prevent any unexpected disassembly during use.
- Check that your mold's dimensions match your intended soap recipe requirements.
Before starting your testing process, let your mold adjust to room temperature to prevent warping.
These verification steps will give you confidence in your mold's performance and help confirm successful soap-making results.
Best Practices for Unmolding Your Soap
Successful soap unmolding relies on three key steps that protect your finished product.
First, you'll want to prep your wooden mold before pouring by lining it with freezer paper or a trash bag – this makes removal considerably easier once your soap has set.
Line your wooden soap mold with freezer paper or a trash bag to ensure easy removal after setting.
When you're ready to unmold, start by loosening the bolts about half an inch and gently pull the sideboards to break the suction with your soap loaf.
If you notice any resistance, remove the end boards completely for better leverage. You can use a sharp knife to carefully separate any stubborn edges from the mold walls.
To prevent future unmolding challenges, make sure your mold's construction includes washers between the bolts and wood.
This simple addition provides the stability needed for smooth soap removal.
Frequently Asked Questions
What Is the Best Wood for Soap Molds?
You'll find poplar is your best choice for soap molds due to its durability and insulation properties. If that's unavailable, you can use Baltic birch plywood, but avoid pine as it'll warp over time.
How Do You Make a Soap Mold Box?
You'll need to cut durable wood pieces, pre-drill holes for steel bolts, align the sideboards, attach end boards with nuts, and line the assembled box with freezer paper for easy soap removal.
What Is the Best Material for Soap Molds?
You'll find poplar wood is your best choice for soap molds due to its durability and insulation properties. If that's not available, Baltic birch plywood works well, but avoid pine as it warps easily.
Can I Use Parchment Paper to Line My Soap Mold?
Yes, you can definitely use parchment paper to line your soap mold. It's an excellent non-stick solution that'll make unmolding easier. Just secure the edges with elastic bands and avoid lining the end pieces.
In Summary
You've now got all the knowledge needed to build your own wooden soap mold box. With proper wood selection, accurate measurements, and careful assembly, you'll create a durable mold that'll serve you for years of soap making. Remember to line your mold, test it before the first batch, and maintain it properly. Don't forget to apply what you've learned about unmolding techniques for the best results.


Leave a Reply