Mastering traditional lye soap requires diligent attention to safety, precise measurements, and patience. Start with proper protective gear, then gather quality ingredients and equipment. Calculate exact lye-to-oil ratios, prepare your fats, and carefully mix until reaching trace. Add optional fragrances or colorants before pouring into molds. After cutting your bars, allow them to cure for 4-6 weeks. This methodical process transforms simple ingredients into luxurious, handcrafted soap—the details of each step make all the difference.
10 Steps to Master Traditional Lye Crafted Bars
While modern soap making often relies on commercial lye, traditional methods using wood ashes create unique, high-quality bars with historical authenticity.
You'll need to begin by collecting clean wood ashes and sifting them to remove unburnt chunks. Mix these ashes with water until you achieve a thin milkshake consistency. Hardwood trees produce the best quality ashes for traditional soap making.
Let your mixture settle overnight, then strain the liquid. Boil this solution until it's strong enough to float a potato or egg halfway.
Meanwhile, prepare your fats by rendering and cleaning them thoroughly. Heat both your lye solution and fats to the proper temperature before combining them slowly with constant stirring.
Continue blending until the mixture reaches "trace" – a pudding-like consistency. Pour into lined molds and allow your soap to cure for at least a month before cutting into bars.
Understanding Lye Safety Fundamentals
The beauty of traditional soap-making comes with important responsibilities. Working with lye (sodium hydroxide) requires careful handling and proper safety protocols to prevent injuries. Always add lye to water—never the reverse—and use only food-grade lye intended specifically for soap making.
⚠️ Remember: Respect the power of lye—add it to water, never water to lye.
Your safety arsenal should include:
- Protective eyewear to shield your vision from potential splashes that could cause permanent damage
- Chemical-resistant gloves to preserve the delicate skin on your hands from painful chemical burns
- Proper ventilation to prevent respiratory irritation from the caustic fumes
- Clear workspace organization to eliminate cross-contamination risks with food or children's items
Soap must undergo a proper curing time to ensure all lye has fully reacted and the final product is safe for skin use.
Work in a well-ventilated area using lye-safe containers (HDPE or PP), and always have an emergency plan for accidental exposure.
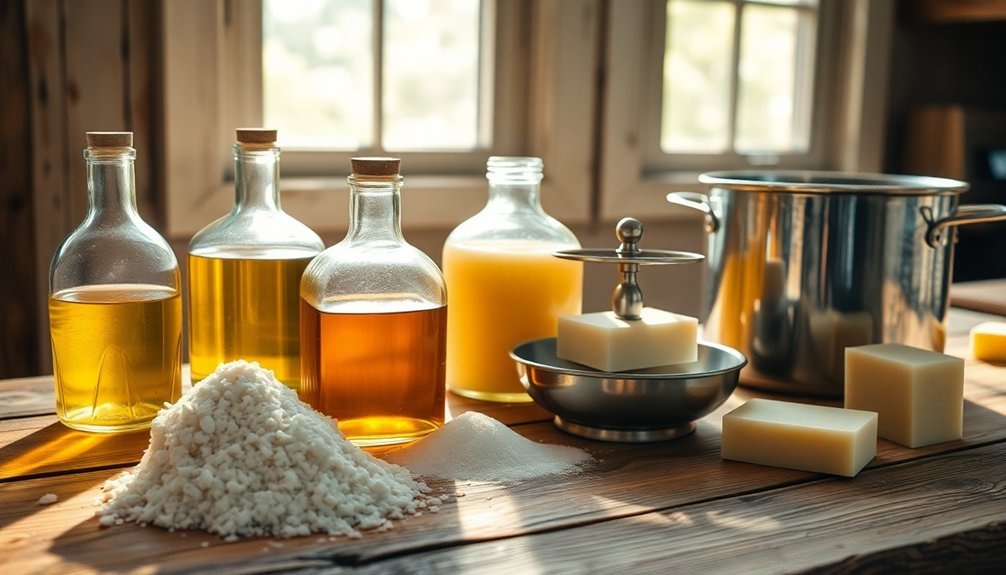
Gathering Essential Equipment and Ingredients
Successful lye soap crafting begins with assembling high-quality equipment and ingredients that guarantee both safety and excellent results.
You'll need an accurate scale, thermometer, and heat-resistant containers made of stainless steel or heavy-duty plastic to handle lye's corrosive nature.
For ingredients, source quality fats like olive oil, coconut oil, or shea butter. You'll need lye (sodium hydroxide) from hardware stores or online retailers, and soft water to prevent rough soap textures.
Consider adding essential oils for fragrance, natural colorants like clays, and texturizing elements such as oatmeal.
Don't forget appropriate molds—wooden with removable sides, flexible silicone for detailed designs, or DIY options using cardboard.
Adding a small amount of salt can create harder bars that float better in water.
Always wear proper safety equipment including goggles and chemical-resistant gloves when handling raw soap ingredients to protect yourself from potential burns or irritation.
Calculating Precise Lye-to-Oil Ratios
Precise calculations serve as the foundation of safe, effective soapmaking, since incorrect lye amounts can ruin your entire batch.
You'll need to understand saponification values for each oil in your recipe and calculate the exact lye needed to convert them into soap.
Start by determining total lye requirements using SAP values, then apply your desired superfat percentage (typically 5-15%).
Remember that a standard lye solution contains 33% lye and 67% water, though you can adjust this ratio based on your experience level. Always ensure you maintain at least a 1:1 ratio of water to lye to properly dissolve the crystals and prevent dangerous lye pockets in your finished soap.
- The thrill of perfectly balanced ingredients creating silky, luxurious bars
- The confidence of knowing your soap is safe for even sensitive skin
- The satisfaction of mastering the chemistry behind traditional craftsmanship
- The relief of avoiding harsh, caustic mistakes through precise measurement
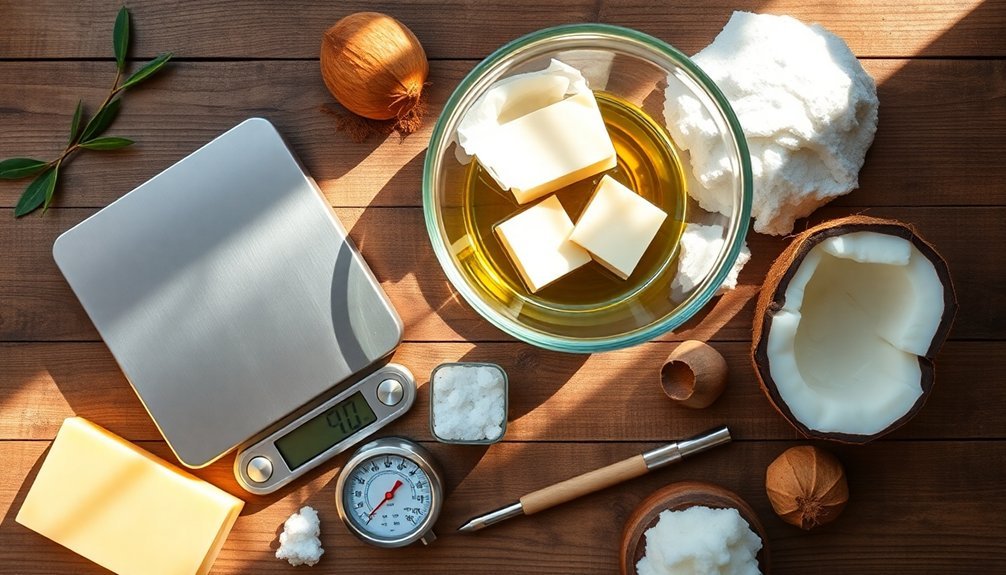
Preparing Oils and Fats for Saponification
Before mixing lye with oils, successful saponification requires proper preparation of your fats and oils to confirm they're in ideal condition for the chemical reaction.
Start by selecting a balanced blend of oils based on their fatty acid profiles. Combine coconut oil for lather, olive oil for mildness, and palm oil or shea butter for hardness. Consider both environmental impact and fair trade status when sourcing these oils. Measure all ingredients precisely using a scale for accuracy.
The foundation of exceptional soap lies in thoughtfully balanced oils, each contributing specific qualities to your final product.
Melt your solid fats and oils while maintaining temperatures between 37-43°C (100-110°F). Avoid overheating, as excessive temperatures can hinder the saponification process.
While your fats are melting, organize your workspace and confirm proper ventilation.
Store your ingredients properly before use, keeping them in cool, dry places to maintain their quality. Always wear appropriate safety gear when handling both oils and the lye solution.
Mixing the Lye Solution Properly
You'll need to prioritize safety with proper gloves, goggles, and ventilation when handling caustic lye for your soap bars.
Control the solution's temperature by slowly adding lye to cold water (never reverse), then allowing it to cool gradually to prevent dangerous splashing or boiling.
Your equipment must include heat-resistant containers, accurate digital scales, and enough mixing space to accommodate the exothermic reaction without overflow. Always remember to weigh all ingredients precisely as you need accurate measurements to ensure the proper ratios for successful soap making.
Safety First Always
When working with lye, your safety should never be compromised, as this caustic substance demands respect and careful handling.
Always work in a well-ventilated area—preferably outdoors or near an open window—and wear complete protective gear including goggles, gloves, and long sleeves.
Remember these essential safety practices:
- Never add water to lye—always add lye to water slowly while stirring to prevent dangerous splashing and excessive heat
- Keep children and pets away from your workspace and clearly mark all containers with warning labels
- Use appropriate containers made of glass, stainless steel, or plastics labeled #2 HDPE or #5 PP
- Be prepared for emergencies by keeping vinegar nearby to neutralize spills and knowing how to treat accidental exposure
Proper precautions guarantee your soapmaking journey remains both creative and safe.
Dissolving lye in water produces a significant exothermic reaction that can cause serious burns if proper safety measures aren't followed.
Temperature Control Matters
Understanding temperature dynamics ranks among the most crucial aspects of successful soapmaking. When you mix lye with water, the solution can exceed 200°F, requiring cooling to the ideal 120-130°F range before combining with oils.
Always use a reliable thermometer to monitor temperatures precisely. Your oils should reach a similar temperature to guarantee proper saponification and prevent false trace. Remember, you don't need exact matching temperatures—consistency is key.
Environmental factors considerably impact your soap's development. Maintaining your lye and oil temperatures within 10 degrees of each other helps achieve optimal results. Room temperature soaping works well with liquid oils, while warmer conditions accelerate trace—useful when making simple designs.
For intricate swirls, consider working with cooler temperatures to slow the process.
If your lye solution cools too much, reheat it carefully using a hot water bath rather than direct heat to maintain control over your soapmaking process.
Proper Equipment Required
Beyond temperature control, selecting the right equipment forms the backbone of safe lye handling. You'll need chemical-resistant containers made of glass, stainless steel, or heavy-duty plastic—never aluminum or tin which react dangerously with lye. A precise digital scale guarantees accurate measurements critical for successful soap.
Always use proper safety gear and follow these essential practices:
- Never add water to lye—the reverse order prevents violent reactions that could seriously harm you.
- Work in well-ventilated areas to avoid inhaling caustic fumes that burn lung tissue.
- Store clearly labeled solutions away from children and pets to prevent devastating accidents.
- Keep white vinegar nearby as a neutralizing agent for immediate spill response.
Stirring tools should be wooden or silicone to prevent unwanted splashing during the exothermic mixing process. Pour lye directly into a sealed bottle for mixing to minimize air exposure and enhance overall safety during the process.
Achieving Trace: The Critical Moment in Soapmaking
The success of your handcrafted soap hinges on recognizing and properly managing trace – that pivotal moment when oils and lye water emulsify to form a stable mixture. This stage guarantees your ingredients won't separate and prevents unsaponified pockets in your final bars.
Mastering trace is non-negotiable in soapmaking—it's the critical emulsification point that ensures product integrity.
You'll encounter different trace consistencies: light trace resembles thin cake batter (perfect for swirls), medium trace has pudding-like thickness (ideal for suspending additives), while thick trace supports textured tops. Before modern equipment became available, soapmakers would spend hours of stirring to achieve proper trace.
Your recipe composition affects trace speed—hard oils and butters accelerate it, while liquid oils slow it down.
To control trace, adjust temperatures (cooler for intricate designs), watch your mixing intensity, and be mindful of acceleration from additives like clays or certain fragrance oils.
Avoid false trace by verifying your lye and oils maintain similar temperatures.
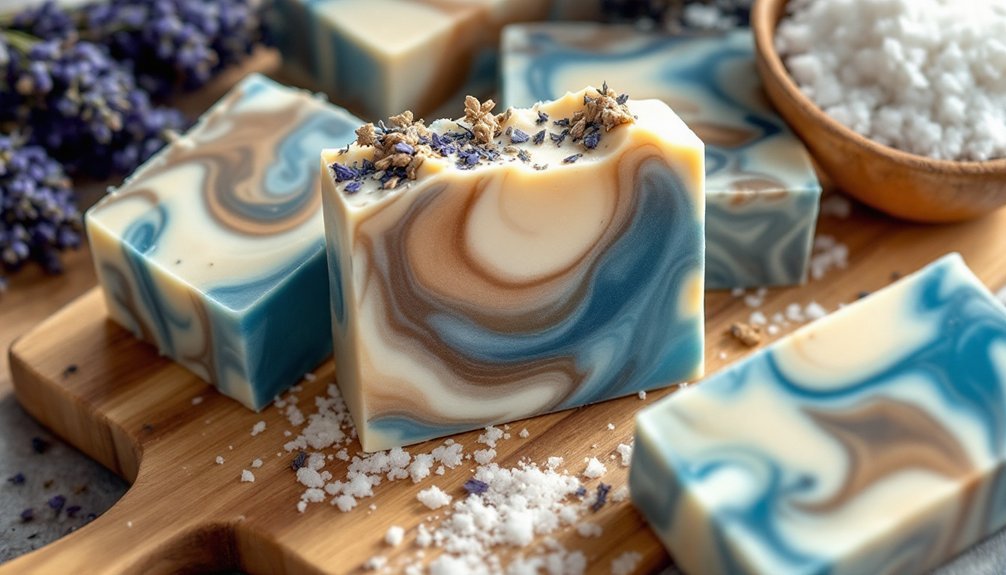
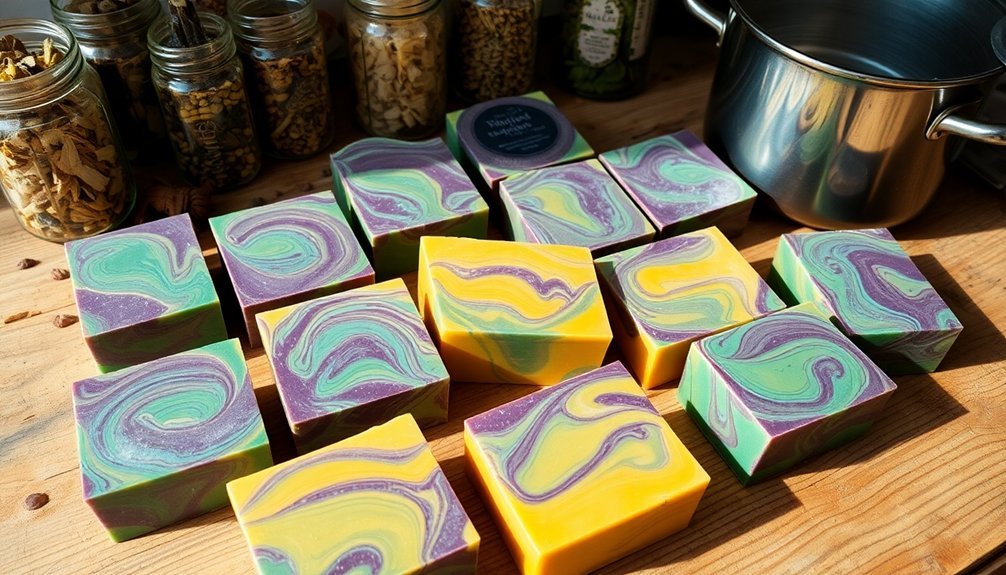
Adding Fragrances and Natural Colorants
When you've achieved proper trace, your soap base becomes a blank canvas awaiting your creative touch with fragrances and natural colorants.
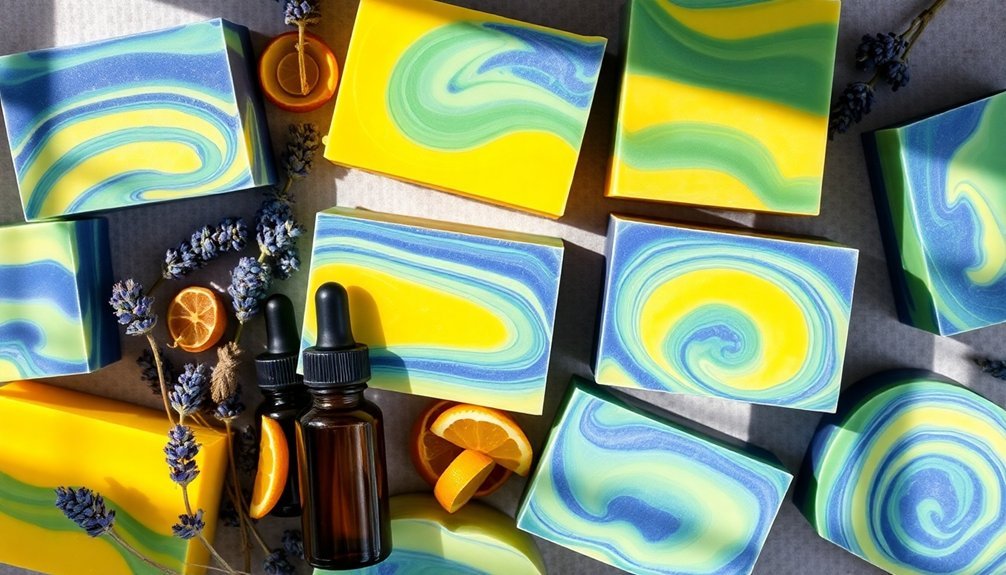
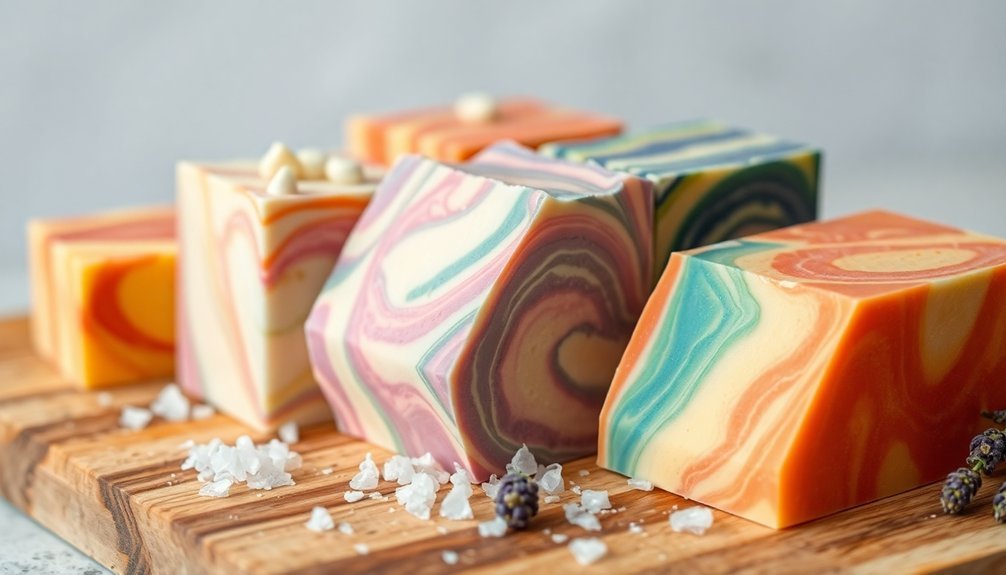
Select natural colorants like turmeric for yellow, annatto for orange, or indigo for blue hues to enhance your soap while providing skin benefits. For vibrant purple shades, consider using Ratanjot or Alkanet root infusions. Essential oils not only add scent but can influence color—citrus oils complement yellow or orange tones.
You can incorporate colorants through infused oils, direct addition to lye, or mixing at trace. For consistent results, always test small batches first, as natural colorant intensity varies widely.
- Feel the satisfaction of creating truly natural products free from synthetic chemicals
- Experience the joy of unique, one-of-a-kind color variations in each batch
- Connect with ancient traditions while expressing your creative vision
- Delight in offering soaps with both aesthetic appeal and therapeutic benefits
Pouring and Molding Your Soap Mixture
Selecting the right mold for your soap—whether silicone, wooden lined with parchment, or plastic—will greatly impact your final product's appearance and ease of removal.
You'll need to prepare your chosen mold before pouring by applying a release agent or liner to guarantee your soap doesn't stick.
To prevent frustrating air bubbles in your finished bars, pour your soap mixture at the right consistency and gently tap the filled mold against your work surface several times. For hot process soap, work quickly while filling the mold to avoid issues with the rapid cooling that can occur once the mixture is removed from heat.
Mold Selection Basics
As your soap mixture reaches trace and becomes ready for pouring, choosing the right mold becomes critical to both the aesthetic appeal and functionality of your finished bars.
Different materials offer distinct advantages—silicone provides flexibility and easy release for intricate designs, while wooden molds with liners deliver excellent insulation during the gel phase.
For your handcrafted soap journey, consider these key factors:
- The satisfying pop of a perfectly demolded bar from a silicone mold
- The rustic charm wooden molds bring to your artisanal soap line
- The professional precision achieved with sharper-edged plastic molds
- The creative freedom unique molds offer your personal soap expression
Match your mold selection to your production needs, desired aesthetic, and how easily you'll want to release your finished bars. Standard wooden loaf molds with silicone liners typically accommodate five pounds of soap, yielding 15-18 bars depending on cut thickness.
Preventing Air Bubbles
The perfect mold awaits your soap mixture, but bubbles can quickly undermine your artistic vision. While these pesky air pockets don't affect soap quality, they're visually unappealing.
Start by "burping" your stick blender—tap it against your container's bottom before and during blending to release trapped air. Pour lye water over the blender head to minimize splashing and air entrapment. Always check your blender's seal to prevent it from sucking in air.
When pouring, maintain a smooth, even flow from a low height. Pour at a moderate pace while keeping temperatures consistent. After pouring, tap the mold on the counter several times to help release any bubbles that might be trapped in your soap mixture.
Once in the mold, firmly tap it against a hard surface to release trapped bubbles. Finish by spraying the surface with alcohol to pop any remaining bubbles.
Cutting and Curing Your Handcrafted Bars
Once you've successfully created your soap loaf, you'll need to transform it into individual bars through proper cutting and curing techniques.
Wait until your soap has hardened sufficiently—usually 24 hours—before using a straight cutter or wire cutter to slice uniform bars. Apply even pressure to achieve clean cuts. Much like the production process described by Carla Davis-Walters, maintaining a clean workspace is essential for this delicate step.
For proper curing, place your freshly cut bars in a dark, cool, well-ventilated area for about four weeks. This patience allows excess water to evaporate, creating harder, longer-lasting soap.
- Feel the satisfying slice as your cutter glides through a perfectly-timed loaf
- Watch your creation transform from soft mixture to professional-looking bars
- Experience the reward of revealing fully cured bars after patient waiting
- Enjoy the pride of craftsmanship when presenting your finished soaps
Frequently Asked Questions
Can I Substitute Oils if I'm Allergic to Certain Ingredients?
Yes, you can substitute oils based on your allergies. Choose alternatives with similar SAP values, recalculating lye amounts accordingly. Use rice bran, canola, sunflower, or apricot kernel oil for common allergies like nuts or coconut.
How Long Does Homemade Soap Typically Last Before Expiring?
Your homemade soap typically lasts 6-12 months before expiring. You'll extend its life by storing it in cool, dry places away from sunlight. It's still usable beyond this time but may lose fragrance.
Why Did My Soap Develop White Crystals During Curing?
Your soap developed white crystals (soda ash) because the lye reacted with carbon dioxide in the air. Air exposure, cool temperatures, and water impurities can all contribute to this common cosmetic issue during curing.
Can I Revive a Failed Batch of Soap?
Yes, you can revive failed soap through rebatching. Grate your soap, melt it in a slow cooker or oven with a little liquid, fix any imbalances, then remold it. It'll have a rustic appearance but works fine.
Are There Eco-Friendly Alternatives to Palm Oil in Soapmaking?
Yes, you'll find several eco-friendly palm oil alternatives: cocoa butter, shea butter, and kokum butter work well for hardness in vegan soaps, while sustainable olive oil creates a stable base with gentler properties.
In Summary
You've now mastered the essentials of traditional lye soapmaking. With safety knowledge, proper equipment, and precise measurements, you're ready to create your own signature bars. Remember, practice makes perfect—each batch teaches you something new. Don't rush the curing process; it's what transforms your raw soap into those luxurious, long-lasting bars you'll be proud to use and share.


Leave a Reply