
For precise soap loaf cutting, use a wooden miter box paired with a metal pastry scraper or spackling knife. Mark your desired thickness on both sides before cutting with a single, confident stroke—avoid sawing motions that create jagged edges. Place your miter box on a stable surface and apply consistent pressure throughout each cut. Budget alternatives include bread slicers and plastic pastry scrapers for softer soaps. These techniques transform amateur creations into professional-looking products worth selling.
What Are The Best Ways To Cut Soaploafs?
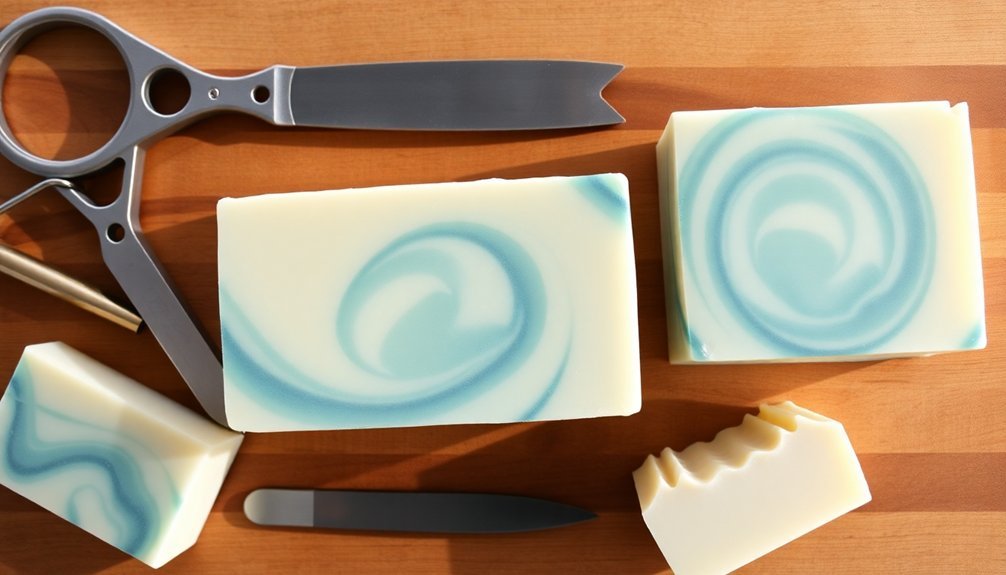
When crafting homemade soap, achieving clean, uniform cuts can transform your product from amateur to professional. Using specialized tools is essential for quality bars of soap.
A wooden mitre box offers stability for consistent one-inch cuts, while a metal pastry scraper creates cleaner edges than a standard knife. For precise measurements, first score your soap loaf with a yardstick to create guidelines, then follow these marks with your scraper.
Consider investing in dedicated soap cutter tools like a fancy cake cutter or log splitter for more professional results. You'll find that a spackling knife can also work effectively for smooth cuts.
Practice different techniques to develop your skills and overcome common cutting challenges. The right tools will elevate the presentation of your handmade soap.
Essential Tools for Precise Soap Cutting
Precision tools make all the difference between professional-looking soap bars and irregular chunks that disappoint customers. A metal mitre box stands out as your essential guide for perfectly straight cuts when you're ready to cut into bars of uniform thickness.
Pair your setup with a quality metal pastry scraper, which offers durability and clean cuts without damaging your soap. For exact measurements, combine a ruler with a sharp knife to guarantee each bar meets your specifications.
While specialized soap cutters like fancy cake cutters or log splitters deliver consistent results, they require higher investment.
If you're budget-conscious, repurposed tools such as spackling knives and bread slicers work surprisingly well for soap cutting projects. These affordable alternatives still provide the precision needed for professional-quality soap bars.
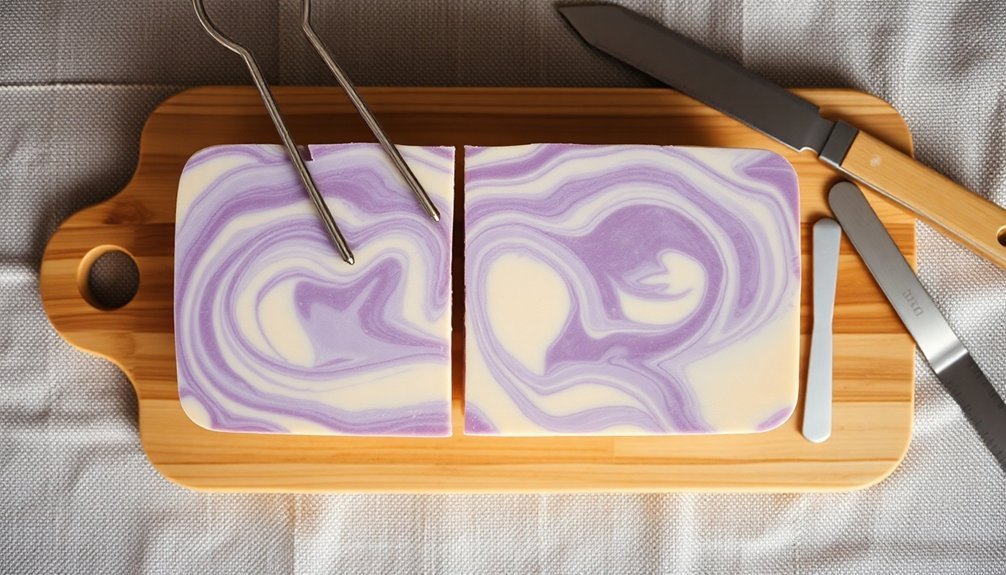
Using a Miter Box for Even Soap Bars
To achieve perfectly even soap bars, you'll need to mark your desired thickness on both sides of the miter box before positioning your soap loaf securely against the back wall.
Place your cutting tool in the guide slots and apply firm, consistent pressure while maintaining a smooth forward motion through the soap.
You'll get cleaner results by avoiding sawing motions and instead using a single, confident stroke that follows the miter box's cutting channel from top to bottom.
Measuring Bar Thickness
One of the most challenging aspects of cutting soap loafs is achieving bars with consistent thickness. The wooden miter box serves as your best ally in this process, eliminating guesswork and ensuring uniformity.
Begin by marking your desired thickness—typically one inch—directly on the miter box. These marks create a reliable guide that you'll use throughout the cutting process.
When you're ready to cut soap, align your loaf with these markings to maintain precise dimensions for each bar.
For the cleanest cuts, use a metal pastry scraper in a gentle rocking motion. This technique produces even edges and reduces the risk of jagged or slanted bars.
Don't discard the small end pieces after cutting—they make perfect samples or can be repurposed for future soap projects.
Proper Box Positioning
While cutting beautiful, even soap bars depends on your technique, proper miter box positioning forms the foundation of the entire process.
Start by placing your miter box on a completely flat, stable surface to prevent any movement during cutting.
Align your soap loaf securely inside the box, ensuring it fits snugly against the edges to enhance your control and accuracy.
Mark your desired bar thickness directly on the miter box to create visual cutting guides for consistency. These markings serve as invaluable reference points as you work through the loaf.
When cutting, steady the loaf firmly against the miter box sides while using a rocking motion with your pastry scraper or knife.
Apply consistent pressure throughout each cut to achieve uniform bar thickness and professional-looking edges.
Clean Cutting Technique
Achieving professional-looking soap bars depends largely on mastering a clean cutting technique with your miter box. Start by marking your desired thickness directly on the miter box, then use a ruler to mark corresponding points on your soap loaf for added precision.
Position your loaf securely in the box, aligning it with your markings. For the actual cutting, use a metal pastry scraper in a smooth rocking motion rather than dragging it through the soap. This technique prevents tearing and guarantees clean edges.
As you progress, continuously check your loaf's alignment to maintain uniformity throughout the process. Even small shifts can lead to inconsistent bar sizes.
With practice, you'll develop a rhythm that combines proper tool handling and careful attention to positioning, resulting in perfectly portioned soap bars every time.
Pastry Scrapers vs. Knives: Choosing the Right Cutting Tool
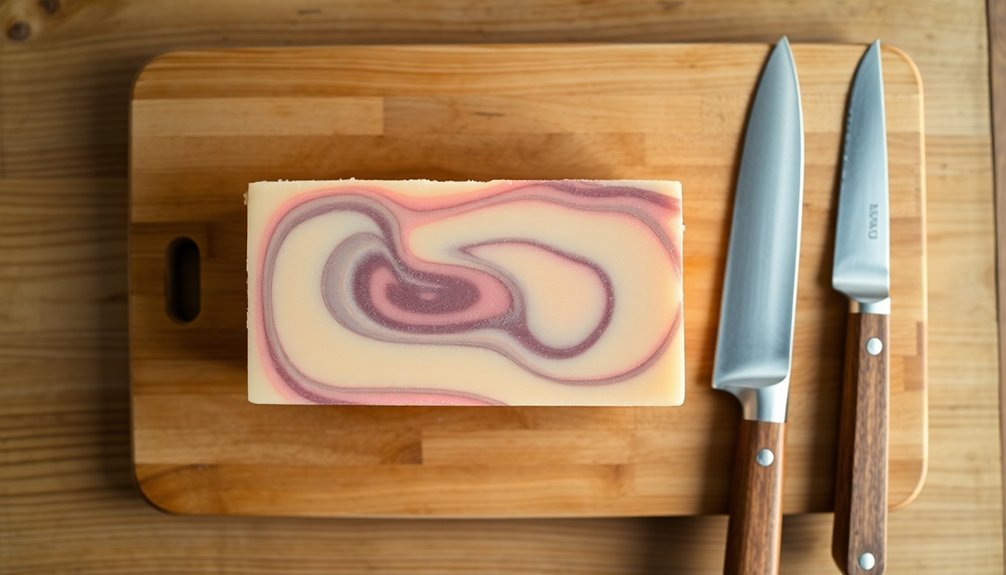
When it comes to slicing your soap loaves, the battle between pastry scrapers and knives represents one of the most critical equipment decisions you'll make. Metal pastry scrapers often deliver cleaner cuts than knives by allowing you to rock through the soap with their straight edge, resulting in uniform thickness throughout your bars.
| Tool | Advantages | Best For |
|---|---|---|
| Metal Pastry Scraper | Straight edge, rocking motion, durability | Beginners, consistent cuts |
| Plastic Pastry Scraper | Lightweight, inexpensive | Soft soaps only |
| Chef's Knife | Versatility, control | Experienced crafters |
For beginners, consider pairing your cutting tool with a mitre box for added stability. While larger chef knives can be effective, they require a steadier hand than scrapers, which naturally guide your cutting motion more predictably.
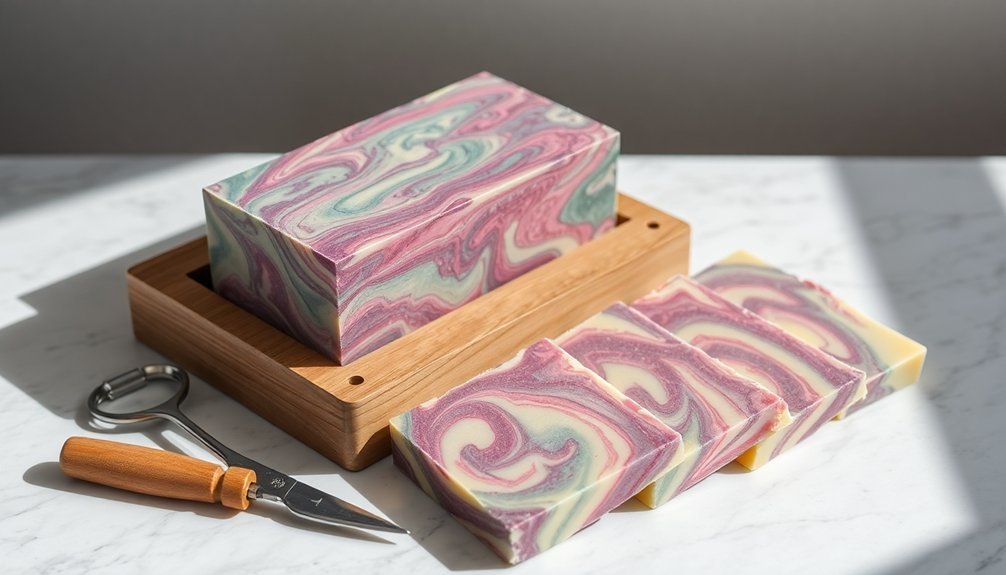
Horizontal Cutting Techniques for Stacked Designs
The art of horizontal cutting transforms ordinary soap loaves into stunning stacked designs with distinctive visual impact. When you split your soap loaf down the middle horizontally, you're creating a unique presentation where both the top and middle surfaces become visible in your finished bars.
Precision is absolutely critical when executing these horizontal cutting techniques. A 10-inch mold typically yields about 2.5 bars when segmented, so accuracy guarantees each piece maintains uniform thickness and appeal.
You'll find tools like fancy cake cutters or log splitters particularly helpful for creating clean, neat cuts.
To master stacked soap designs, consider watching video demonstrations from experienced soapmakers. These resources provide valuable insights into achieving the perfect horizontal split, helping you create professional-looking stacked designs with confidence.
Marking and Measuring Your Soap Loaf for Consistency
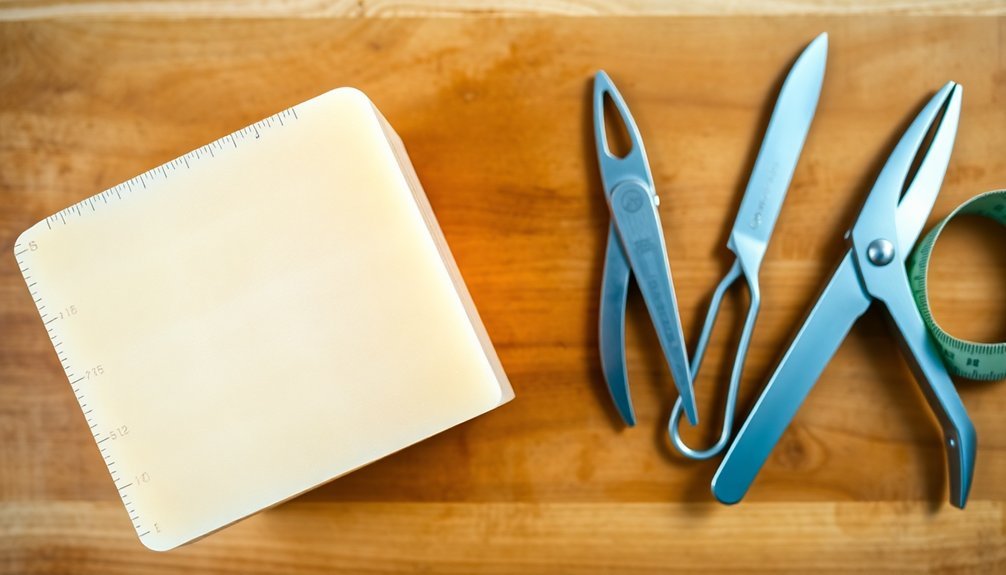
Precise measurements form the foundation of professionally crafted soap bars that customers will appreciate for their consistency.
Start by deciding on your standard bar thickness—typically one inch—and mark this measurement on your mitre box for reference.
Use a yardstick to measure and mark cutting points along your soap loaf. For block-shaped soaps, measurements at three and six inches are common.
Create small slits at these marks to guide your cutting tool and guarantee accuracy.
For improved precision, score lines with a knife along the yardstick before making full cuts. This creates a clear path for your pastry scraper to follow.
Alternatively, notch the sides of your loaf as visual guides that help maintain consistency throughout the cutting process.
Budget-Friendly Alternatives to Professional Soap Cutters
You don't need to invest in expensive equipment to achieve clean, consistent soap cuts.
Consider using a plastic miter box as a cutting guide or repurpose kitchen tools like metal pastry scrapers and bread slicers for your soap-making projects.
Everyday items such as spackling knives can also serve as effective alternatives, proving that professional results are possible with budget-friendly solutions.
DIY Cutting Guides
While professional soap cutting equipment can cost hundreds of dollars, savvy crafters have discovered numerous budget-friendly alternatives that deliver impressive results.
A miter box is perhaps the most accessible option, available at hardware stores for about $5, providing reliable guides for straight, consistent cuts.
You'll achieve even better results by pairing your miter box with a metal pastry scraper, which offers smoother slices than standard knives.
Don't overlook spackling knives and bread slicers as effective alternatives.
Try experimenting with different tools to determine what works best for your specific technique and soap formula.
Many successful soapmakers implement DIY modifications to common household items, creating customized cutting solutions.
Check second-hand stores for affordable tools that can be repurposed for your professional soap cutting needs.
Household Tools Repurposed
Resourceful soapmakers don't need to invest in expensive equipment to achieve professional results. Your home likely contains several items that double as effective soap cutting tools. A plastic miter box from Lowes (around $5) serves as an excellent guide for creating uniform soap bars without specialized cutters.
Consider these kitchen and household items for soap cutting:
- Metal pastry scrapers – provide clean, effortless cuts through soap loaves
- Spackling knives – offer sturdy edges for creating straight, consistent slices
- Bread slicers – guarantee uniform thickness while minimizing uneven cuts
You can also modify existing tools, like reinforcing a wooden miter box or repurposing a kitchen knife.
These budget-friendly alternatives deliver professional results without breaking the bank—perfect for beginners or those scaling their soap-making business.
Troubleshooting Common Cutting Challenges
Even experienced soap makers encounter frustrating cutting issues that can affect the professional appearance of their final product.
When you're struggling to achieve consistent thickness across your bars, consider using a mitre box to guide your cutting tools. This simple aid helps maintain straight cuts and uniform sizing that's difficult to achieve freehand.
Before making your first cut, try marking notches along the sides of your soaploaf. These visual guides greatly improve accuracy, especially when you're working without specialized equipment.
If you find yourself struggling with hand strength, don't hesitate to experiment with different cutting tools. A metal pastry scraper often provides better results than standard kitchen knives, while budget-friendly alternatives like spackling knives or bread slicers might solve your problems before you invest in expensive soap-specific cutters.
Frequently Asked Questions
How to Cut a Soap Loaf?
To cut a soap loaf, slide it into a marked mitre box, use a metal pastry scraper with rocking motions, or measure and score your block before cutting. You'll need steady hands and appropriate cutting tools.
What Is the Best Tool for Cutting Soap?
For cutting soap, you'll find a wooden mitre box with a metal pastry scraper gives superior precision. If you're serious about soapmaking, consider investing in a professional soap cutter for consistently perfect bars.
Is There a Way to Cut Soap Without Special Tools?
Yes, you can cut soap without special tools. Use your hands for soft soaps, repurpose kitchen items like chef knives or pastry scrapers, or try a wooden mitre box as a cutting guide for straight slices.
How Do You Cut Soap so It Doesn't Crumble?
To keep soap from crumbling, let it fully cure for 4-6 weeks. Use a sharp tool like a metal pastry scraper, cut with a gentle rocking motion, and make certain your soap's slightly cool before cutting.
In Summary
Cutting soap loafs doesn't need to be complicated. With the right tools—whether it's a miter box, wire cutter, or even a kitchen knife—you'll achieve professional results. Remember to measure carefully, allow proper curing time, and practice your technique. Don't worry about perfection initially; your cuts will improve with experience. Choose tools that fit your budget and soap style, and you'll soon be creating beautifully uniform bars.


Leave a Reply