You'll need essential tools like a miter saw, router, and clamps to achieve professional bar trim work. Start by thoroughly cleaning and leveling your bar surface, then take precise measurements for your trim pieces. Use quality hardwoods like oak or maple, and apply wood glue before securing trim with a nail gun. Create clean joints using splines or dovetails for added strength. Professional techniques and proper preparation will elevate your bar's appearance from basic to extraordinary.
Essential Tools and Materials for Bar Trim Work
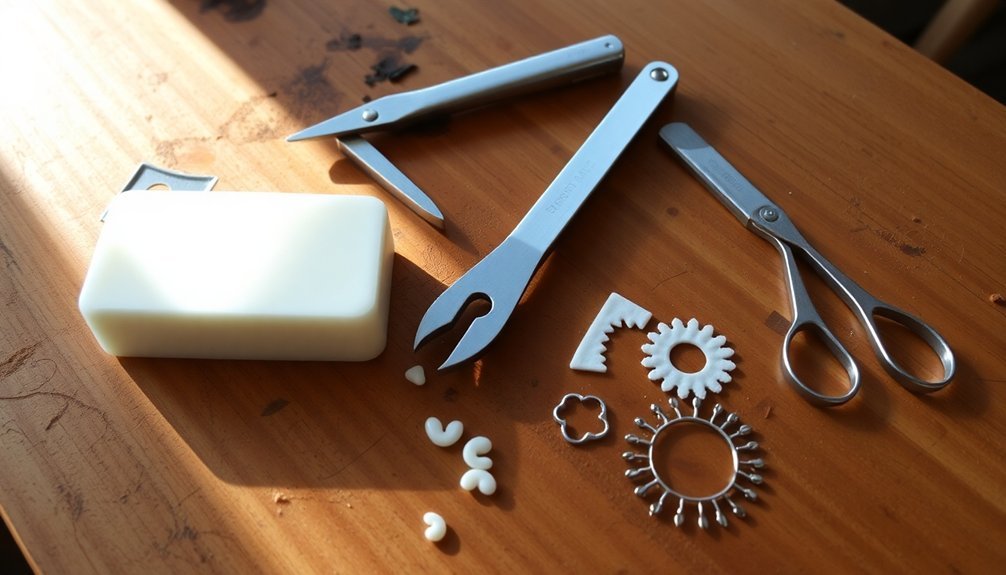
Before starting any bar trim project, you'll need to gather a thorough set of professional-grade tools and quality materials. Your essential equipment should include a miter saw for precise angles, a router to shape edges, and clamps to secure pieces while working on bar tops.
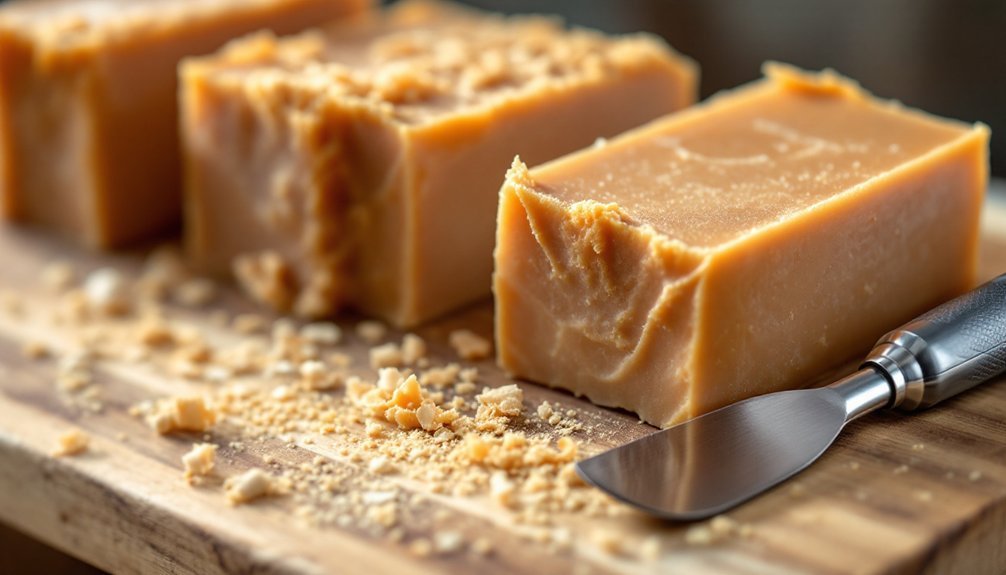
You'll want to select solid wood moldings like oak, maple, or cherry that match your design vision and provide lasting durability. A nail gun will speed up your installation process, while wood glue guarantees strong bonds between trim pieces.
Don't forget your sanding equipment – an orbital sander and various grit sandpapers are vital for achieving smooth, professional results before applying finishes.
These tools, combined with quality materials and proper technique, will help you create expertly trimmed bars that look polished and professional.
Preparing Your Bar Surface for Trim Installation
Since proper surface preparation directly impacts your trim's longevity, a methodical approach to readying your bar surface is vital.
Begin by thoroughly cleaning the entire bar surface, removing any dust, debris, or residue that could compromise adhesion. This step is essential for achieving that professional bar look you're aiming for.
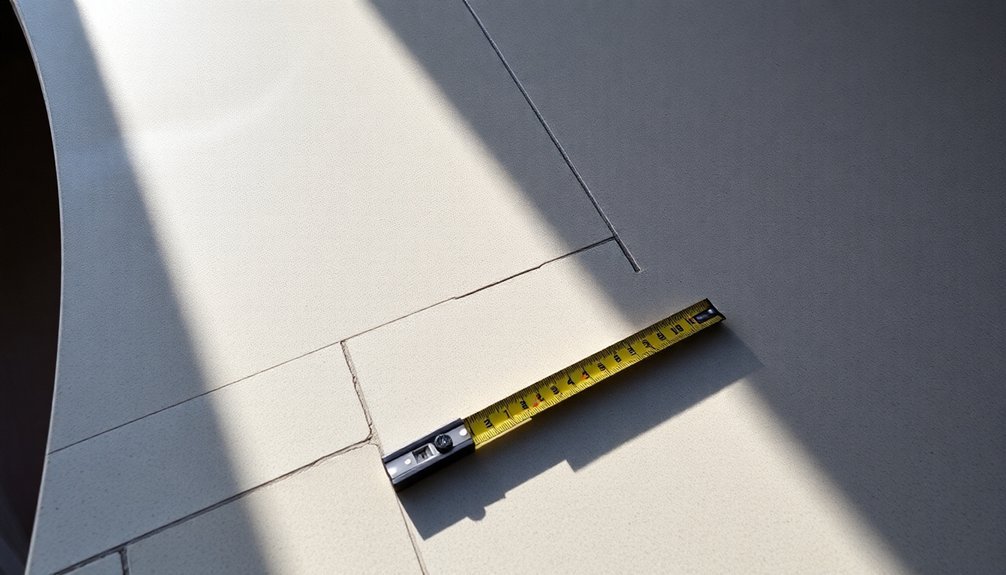
Next, use your level to check that the bar top is perfectly even. An uneven surface will create unsightly gaps and alignment issues with your trim work.
Once you've confirmed the surface is level, take precise measurements for your trim pieces, accounting for any corners that'll need mitering.
Before securing the trim, pre-drill your holes to prevent splitting, and apply a consistent bead of wood glue along the edges. These preparation steps will guarantee your trim installation is secure and seamless.
Measuring and Planning Trim Layouts
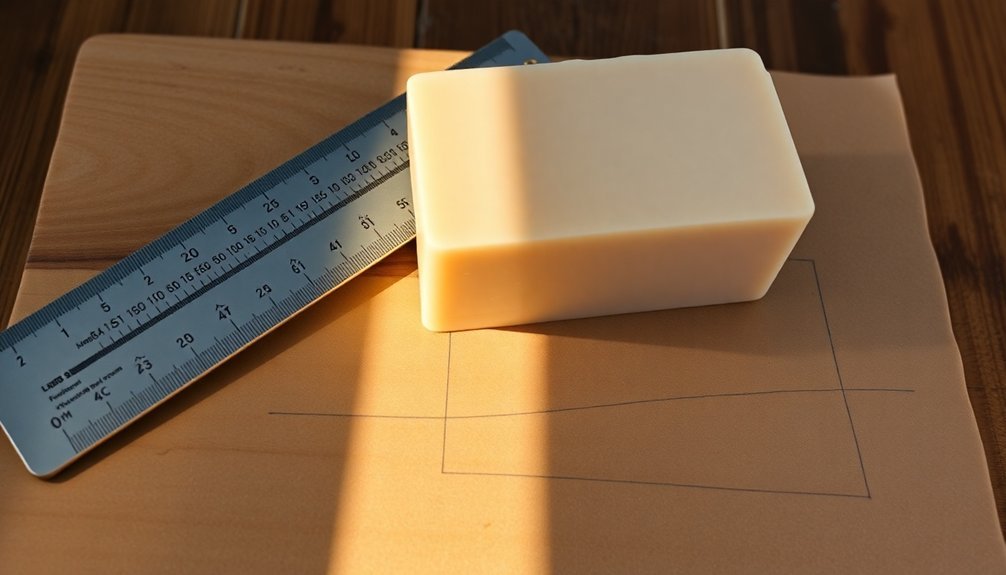
Taking accurate measurements stands as the foundation of professional trim installation. For your custom bar, you'll need to measure every dimension, including length, height, and depth, using a measuring tape to ascertain a perfect fit.
Don't forget to account for the bar top's overhang in your calculations.
Create a detailed blueprint of your trim layout, marking the placement of each piece before you begin cutting. Use templates for corners and joints to guarantee precise angles and professional-looking connections.
When measuring, always double-check your numbers with a square to verify accuracy. You'll want to be certain each trim piece fits exactly where intended, preventing costly mistakes during installation.
This careful planning will result in a polished, seamless appearance that elevates your bar's overall design.
Cutting and Shaping Bar Rail Moldings
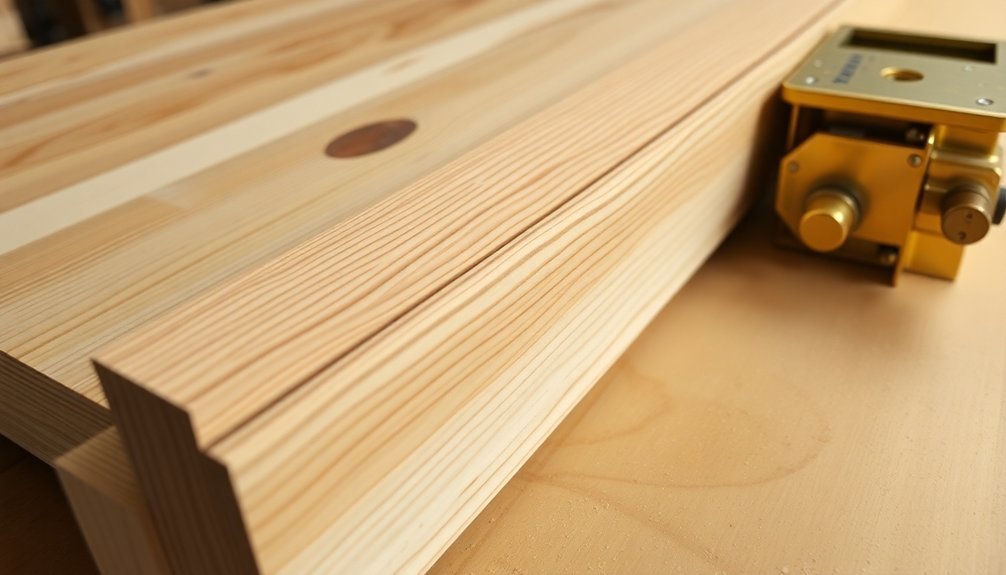
To achieve professional-looking bar rail moldings, you'll need to start with a full-size pattern from AmericanWoodworker.com/WebExtras as your cutting template.
Select a blank that's at least 6 inches longer than your intended bar top length to allow for adjustments during the cutting process.
Set up your tablesaw to create the top molding's profile through a series of overlapping cuts.
Creating precise bar molding profiles requires careful tablesaw setup and multiple overlapping cuts to achieve professional-grade results.
Next, use your router to cut a shallow dado on the blank's bottom, which will create the reveal and guarantee the bar rail sits flush against the bar top.
For the quarter-round section, use a 1-inch roundover bit, making multiple passes to achieve the ideal shape.
Complete your bar rail by carefully gluing the cap molding in place, making sure all edges align perfectly for a seamless, professional appearance.
Advanced Joint Techniques for Corner Details
When building your bar's corner joints, you'll want to contemplate using hidden spline joints, which provide exceptional strength while maintaining a clean aesthetic.
You can create these joints by cutting a thin channel along the mitered edges and inserting a hardwood spline that locks the pieces together.
For even more stability, add dovetail reinforcement along the edges, which not only strengthens the joint but also prevents any future separation as the wood naturally expands and contracts.
Hidden Spline Corner Joints
Although many bar builders rely on basic miter joints, hidden spline corner joints offer a superior solution for creating seamless, professional-looking corners in your handmade bar.
You'll need to cut precise grooves into both adjoining edges using your table saw, then insert a 1/4-inch thick spline that connects the pieces without visible fasteners.
When you're working on bar trim, these joints provide exceptional strength while maintaining clean, uninterrupted lines.
You can craft your splines from either matching wood for an invisible connection or contrasting species to add visual interest.
The key to success lies in ensuring your grooves are accurately cut and your splines fit snugly within them.
This technique not only enhances your bar's durability but also delivers the polished, professional finish that sets custom bars apart.
Dovetail Edge Reinforcement
For craftsmen seeking the ultimate corner joint strength, dovetail edge reinforcement stands as the gold standard in bar construction. When building handmade bars, you'll find that properly executed dovetail joints not only provide superior structural integrity but also create an attractive visual detail that elevates your work.
| Wood Thickness | Joint Depth | Strength Rating |
|---|---|---|
| 1/2 inch | 3/8 inch | Good |
| 3/4 inch | 1/2 inch | Better |
| 1 inch | 5/8 inch | Best |
| 1 1/4 inch | 3/4 inch | Excellent |
| 1 1/2 inch | 7/8 inch | Superior |
Before cutting your bar's dovetail joints, practice on scrap wood using a dovetail jig or router. You'll want to maintain precise measurements and angles throughout the process. The recommended thickness of 3/4 inch to 1 inch provides ideal strength while ensuring clean, professional-looking joints that distribute stress evenly across your bar's corners.
Securing Trim With Proper Adhesives and Fasteners
Proper adhesion serves as the foundation for professional-looking trim work on handmade bars. When securing your bar rail and foot rail trim, you'll want to combine wood glue with appropriate fasteners for maximum strength.
Start by applying a consistent bead of wood glue along the trim surface, then pre-drill holes to prevent splitting when using finish nails. For heavier trim pieces like the bar rail, use a combination of wood screws and adhesive to guarantee long-lasting stability.
Pre-drill and glue first, then secure with appropriate fasteners – it's the key to strong, lasting trim installation on any bar project.
Position clamps at regular intervals to maintain alignment while the glue dries. Choose your fasteners wisely – 1-1/4 inch finish nails work well for thinner decorative pieces, while larger trim sections might need longer screws.
This approach guarantees your trim stays securely in place while maintaining a clean, professional appearance.
Sanding and Finishing Trim Components
With your trim securely fastened, achieving a professional finish requires careful attention to sanding techniques. Start with 120-grit sandpaper to remove rough spots and imperfections, then progress to 220-grit for a finer finish. Always sand in the direction of the wood grain to prevent unwanted scratches.
After initial sanding, use a card scraper to further refine the surface and eliminate any remaining imperfections.
Before applying your finish, make certain you've thoroughly removed all dust from the trim components, as debris can compromise the final appearance.
If you're planning to stain your trim, consider applying a wood conditioner first, particularly on softwoods. This extra step will help guarantee even color absorption and create a more polished, professional look for your bar's trim work.
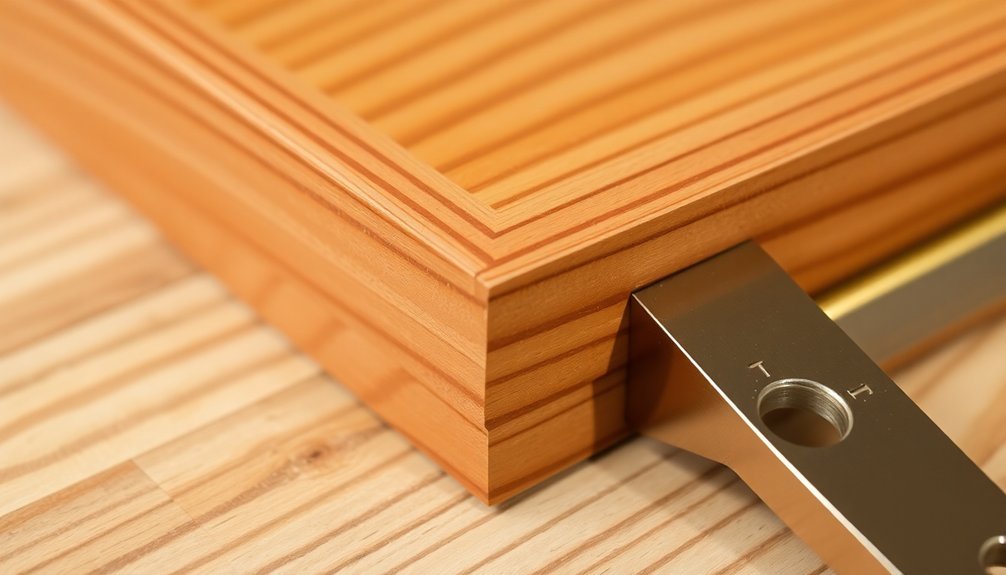
Decorative Edge Treatments and Profiles
When you're crafting a professional bar, you'll find that classic bar rail designs like the Chicago Bar Rail offer both elegance and functionality through their seamless integration with the bar top.
You can create complex edge patterns by routing multiple passes with specialized bits, building layers of detail that transform simple wood into sophisticated profiles.
To achieve professional results, focus on your mitered corner techniques, ensuring tight joints and consistent profiles that wrap cleanly around the bar's perimeter.
Classic Bar Rail Designs
Classic bar rail designs serve as both functional elements and aesthetic focal points in handmade bars. When you're selecting a Chicago bar rail profile, you'll find options ranging from traditional Roman ogee to sleek contemporary lines that match your bar's style.
The solid wood construction guarantees a seamless appearance without visible fasteners or joints. Your bar rail's ergonomic shape plays an essential role in guest comfort. By incorporating rounded or mitered corners, you'll create a more inviting surface for patrons to rest their arms while seated.
Consider the wood's grain orientation carefully – end grain, edge grain, and flat grain each provide distinct visual characteristics. The thickness of your chosen profile affects both the rail's durability and its visual impact, so select one that complements your bar's overall design theme.
Routing Complex Edge Patterns
Creating distinctive edge patterns enhances your bar's visual appeal beyond basic rail designs. You'll need a well-designed template that matches your desired profile and the right router bit to achieve your perfect bar rail shape.
Whether you're looking for decorative bevels or rounded edges, maintaining steady control of your router is essential for clean, precise cuts.
- Make shallow passes first, gradually increasing depth for complex profiles
- Guide your router along the template without forcing it to prevent tear-out
- Finish with fine-grit sanding to perfect your edge treatment
Remember to take your time with each pass, especially when working on intricate patterns. Your bar's edge detail work requires patience and precision, but the results will elevate your project from ordinary to extraordinary, creating a professional-looking rail that catches the eye.
Mitered Corner Techniques
The art of mitered corners elevates your bar's aesthetic by joining decorative edges at precise 45-degree angles. You'll achieve great looking results by using a miter saw to cut your trim pieces with careful attention to measurement and precision.
When creating these professional joints, start by marking your cuts clearly and double-checking your measurements to avoid wasting materials.
Apply wood glue to both surfaces before joining them, and secure the mitered corners firmly with clamps while the adhesive dries. This guarantees a strong, lasting bond that won't separate over time.
After the glue has set, lightly sand the joints to achieve a seamless blend with the surrounding woodwork.
Your finished mitered corners will create clean, sophisticated changes that make your bar look professionally crafted.
Custom Trim Solutions for Unique Bar Designs
When designing a handmade bar, custom trim solutions offer endless possibilities to elevate your project beyond standard designs.
You'll find that specialty components like fluted columns and radius rails can create distinctive profiles that perfectly match your vision. Whether you're aiming for a traditional or modern look, you can incorporate different materials such as solid oak or cherry moldings to guarantee durability and seamless integration.
- Work with suppliers who specialize in custom trim solutions to develop unique shapes that reflect your personal style
- Choose ergonomic designs that maximize comfort while maintaining sophisticated aesthetics
- Combine various trim components to create one-of-a-kind profiles that set your bar apart
Frequently Asked Questions
What Is the Best Material for the Front of a Bar?
You'll want to use solid woods like oak, cherry, or walnut for your bar's front. They're durable and look elegant, but you can also consider cultured stone or stainless steel for modern, easy-maintenance alternatives.
How Wide Should a Bar Top Be?
You'll want your bar top to be between 16-20 inches wide, with at least an 8-inch overhang. If you're planning to serve lots of food or accommodate larger patrons, opt for the full 20 inches.
In Summary
With proper planning, tools, and techniques, you're now equipped to create professional-looking trim work for your handmade bar. Don't rush the process – take time with measurements, joint details, and finishing touches. Whether you've chosen simple or elaborate moldings, your attention to trim installation will elevate your bar's overall appearance and guarantee it stands up to years of use.


Leave a Reply