Start with thoroughly dried flowers and herbs to prevent mold in your oil infusions. You'll want to use clean, sterilized dark glass bottles and maintain a ½ to 1-ounce ratio of botanicals per cup of oil. Monitor weekly for unusual odors or cloudiness, and strain through fine mesh or cheesecloth for clarity. Choose calendula for yellow hues, lavender for therapeutic benefits, and roses for subtle fragrance. The right techniques will transform your handcrafted soaps into professional artisanal creations.
Selecting the Right Flowers and Herbs for Oil Infusion

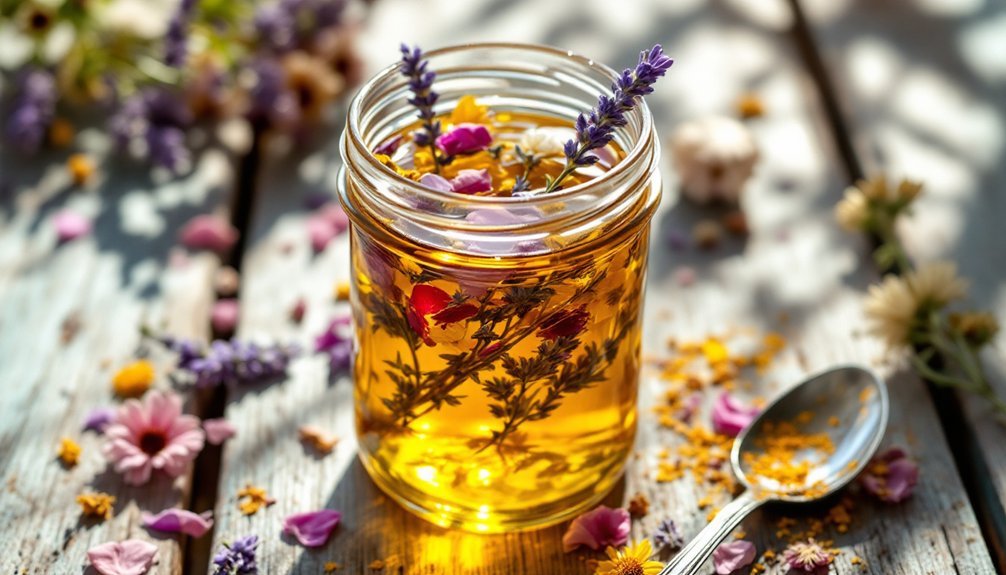
Success in floral oil infusions begins with choosing the right botanical ingredients. When selecting flowers and herbs, opt for dried varieties like calendula, chamomile, and lavender to prevent moisture-related spoilage in your infused oils.
If you're working with fresh flowers, let them wilt overnight to reduce their water content and minimize the risk of mold.
For skin-safe formulations, incorporate edible flowers such as rose petals and cornflowers, which add natural colors to your oils.
You'll enhance your infusions by including dried herbs like rosemary, sage, and thyme, which contribute both therapeutic benefits and subtle hues.
Always source your botanicals from pesticide-free environments, whether from your own garden or reliable organic suppliers, to guarantee the purity and safety of your final product.
Essential Equipment and Storage Containers

To create successful floral-infused oils for soap making, you'll need clean glass jars, dark storage bottles, and sterilized straining equipment as your basic toolkit.
Start by thoroughly cleaning and sterilizing all your equipment, paying special attention to removing any moisture that could lead to mold growth.
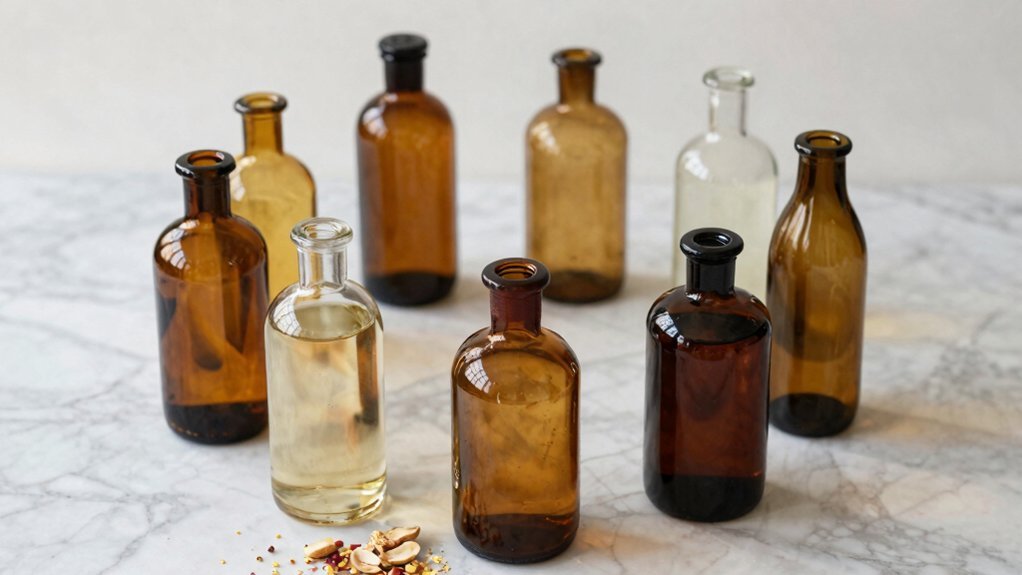
When choosing containers, opt for dark-colored glass bottles with secure lids for long-term storage, while using clear glass jars during the initial infusion process to monitor your herbs and oils.
Basic Tools For Success
Proper equipment forms the foundation of successful floral oil infusions. When you're using infused olive oil for soap making, you'll need clean, sterilized glass jars with airtight lids to prevent contamination.
Choose dark-colored bottles for storing your infusions, as they protect your oils from light damage, whether you're working with fresh and dried botanicals.
Your straining setup is essential – keep coffee filters, cheesecloth, or muslin cloth ready to separate plant material from your jar with oil.
You'll want a stable work area to prevent spills during the straining process. Remember to maintain a collection of sterilized tools for handling ingredients and transferring oils.
Store your finished infusions in a cool, dark place, and they'll stay fresh for up to six months.
Proper Container Selection Guide
Building on your basic tool setup, choosing the right containers makes all the difference in your floral oil infusions. For successful infused oils, you'll need to select proper containers that protect your creations and maintain their quality.
Glass jars with tight-sealing lids are your best choice, especially dark-colored ones that shield oils from harmful light exposure.
- Choose glass containers over plastic to prevent chemical leaching
- Select dark or amber-colored glass for maximum light protection
- Guarantee your jars have airtight, tight-sealing lids to prevent oxidation
- Clean and sterilize all containers before use
- Store your infused oils in appropriately-sized jars to minimize air space
Sterilizing Your Equipment First
The three essential steps of sterilizing your equipment will determine the success and safety of your floral oil infusions. Start by washing all your jars and utensils with hot, soapy water, guaranteeing you've removed any residues that could contaminate your infused oils.
After rinsing thoroughly, let them air dry completely.
For ideal sterilization, place your clean equipment in an oven at 350°F for 10-15 minutes. It's vital to eliminate all moisture, as any water droplets can lead to mold growth in your infusions.
Before storing your oils, inspect your storage containers for absolute cleanliness and dryness. Choose dark-colored bottles to protect your infused oils from light exposure, which can compromise their quality.
Following these sterilization steps will help make sure your floral oil infusions remain pure and have maximum shelf life.
Proper Drying Techniques for Botanical Materials

Successfully drying your botanical materials marks an essential first step in creating floral-infused oils for soap making. Proper drying techniques help prevent mold growth and guarantee the highest quality infusions.
You'll want to harvest fresh herbs early in the day after the morning dew has evaporated to minimize moisture content. Instead of rinsing your botanicals, simply lay them out in a single layer on clean newspaper.
- Place your materials in a well-ventilated area away from direct sunlight
- Use paper towels to absorb excess moisture from freshly picked petals
- Allow flowers and herbs to wilt overnight before starting the infusion
- Arrange botanicals in a single layer to guarantee even drying
- Skip washing flowers after harvesting to avoid introducing additional moisture
Following these steps will help preserve the natural colors and essential oils while preventing spoilage in your final infusion.
Cold vs. Hot Infusion Methods

When creating floral-infused oils for soap making, you'll need to choose between cold and hot infusion methods.
Cold infusion involves placing dried herbs in oil and letting them sit in sunlight for 2-4 weeks, requiring occasional shaking to guarantee even distribution. This gentle method works best for preserving delicate flower properties.
If you're short on time, hot infusion offers a faster alternative. Simply heat your jar of herbs and oil in a water bath for 2-3 hours.
While this method speeds up the process, you'll need to watch the water level carefully to prevent evaporation. It's particularly effective for extracting stronger flavors from hardy herbs.
Choose your method based on your timeline and botanical materials. Cold infusion preserves subtle qualities, while hot infusion delivers quicker results with more robust herbs.
Preventing Mold and Contamination

You'll greatly reduce contamination risks by using only thoroughly dried flowers and herbs in your oil infusions, never fresh materials that can introduce harmful moisture.
Keep a watchful eye on your infusions for any signs of spoilage, such as unusual odors or visible mold growth, and discard any compromised batches immediately.
Start with impeccably clean, completely dry storage containers and tools to create the ideal environment for your infusions to remain pristine throughout the process.
Proper Drying Before Infusion
Properly drying your flowers and herbs before oil infusion stands as the essential first step in preventing mold and contamination. When you're using dried materials for infusing oils, it's critical to guarantee they keep their color while eliminating excess moisture.
You'll want to wilt your fresh botanicals for at least 24 hours before starting the process.
- Spread your petals in a single layer on newspaper to promote even drying
- Skip rinsing newly picked flowers, as added moisture can lead to mold
- If washing is necessary, pat thoroughly with paper towels
- Allow flowers and herbs to wilt for a minimum of one day
- Store your completely dried materials in clean, dry jars until you're ready to infuse
Following these drying guidelines will greatly reduce the risk of contamination and guarantee a successful oil infusion for your soap making process.
Sterilization Of Storage Containers
Sterilizing your storage containers stands as a critical defense against mold and bacterial growth in floral oil infusions.
Begin by washing all containers thoroughly with hot, soapy water, ensuring you've removed any residue that could promote contamination.
You'll need to sterilize your jars and lids by submerging them in boiling water for at least 10 minutes. If you have a dishwasher with a sterilization cycle, that's also an effective option.
Once sterilized, let your storage containers air dry completely in a clean space – any remaining moisture can lead to mold growth in your infused oils.
Don't rinse your flowers or herbs before infusing, as added moisture increases contamination risk.
Before sealing your containers, cover them with a clean cloth to protect your oils from airborne particles.
Monitoring For Warning Signs
Careful monitoring of your floral oil infusions helps prevent potential contamination issues before they become serious problems.
When creating infused oils for your soap, you'll need to regularly inspect them for any warning signs of spoilage. Keep an eye out for unusual smells, changes in color, or cloudy appearance that could indicate your herbs weren't completely dried before use.
- Check your infusions at least once a week for any unusual odors or discoloration
- Hold bottles up to light to inspect for cloudiness or floating particles
- Smell your infused oils before each use – they should maintain their original fragrance
- Look for any separation or strange textures that weren't present initially
- Watch for condensation inside container lids, which suggests moisture contamination
Store your infusions properly and document any changes you notice during monitoring to maintain the quality of your soap-making ingredients.
Optimal Infusion Ratios and Timing
Success in floral oil infusion depends heavily on the right proportions and timing. You'll want to use ideal infusion ratios of ½ to 1 ounce of dried herbs or flowers per cup of oil for the best results. During the infusion period, you've got two methods to choose from:
| Method | Time Required |
|---|---|
| Slow Infusion | 2-4 weeks |
| Quick Heat | 2-3 hours |
| Fresh Herb Prep | 24 hours wilting |
| Straining | 15-20 minutes |
| Storage Life | 6 months |
Once your infused oil is ready, strain it through a coffee filter or muslin cloth. For the slow method, place your jar in sunlight and shake it every few days. If you're using the quick method, keep an eye on your water bath to maintain proper levels. Store your final product in a dark bottle to preserve its qualities.
Straining and Filtering Best Practices
Before you begin straining your floral-infused oil, make sure all your filtering equipment is thoroughly cleaned and dried to prevent any contamination.
You'll want to start with a fine-mesh strainer lined with your chosen filter material, whether it's a coffee filter, cheesecloth, or muslin cloth.
For the clearest possible infusion, strain your oil multiple times through fresh filters, letting each round drip naturally without pressing or squeezing the plant material.
Clean Filtering Equipment First
Proper cleaning of your filtering equipment stands as the foundation for successful oil infusion straining.
Before you strain the oil, verify your tools are completely dry and free from any residue that could contaminate your infused oils.
Whether you're using coffee filters, cheesecloth, or muslin cloth, thorough cleaning prevents unwanted particles from mixing with your botanical creations.
- Wash all filtering materials with unscented soap and hot water
- Air dry equipment completely to prevent moisture from spoiling your oils
- Inspect filters for any tears or damage before using
- Store clean filtering equipment in a dust-free container
- Check for any residual flowers or herbs from previous straining sessions
Set up your clean filtering equipment over a stable collection vessel, confirming you'll have a smooth straining process that results in pristine infused oils for your soap making projects.
Multiple Straining For Clarity
While a single strain might seem sufficient, achieving crystal-clear floral oils requires multiple passes through your filtering materials.
You'll want to set up a stable straining station using a combination of coffee filters, cheesecloth, or muslin cloth to catch even the tiniest particles in your oil infused mixture.
For the best results, strain your oils into a clean jar, then let them settle for a few hours.
You'll notice sediment collecting at the bottom – that's your cue for another round of straining.
Multiple straining sessions will greatly enhance clarity and guarantee a professional-quality product.
Once you've achieved the desired clarity, transfer your oil to a dark-colored bottle for storage.
This protects your infusion from light damage and maintains its quality for up to six months.
Color Preservation in Infused Oils
The art of preserving vibrant colors in floral-infused oils requires careful attention to your botanical selections and storage methods.
When you're infusing oils with flowers, always opt for dried materials instead of fresh ones to prevent unwanted browning and spoilage. Calendula flowers are your best choice for achieving a beautiful butter yellow color that'll enhance your soap's appearance.
- Store your infused oils in amber-colored bottles to protect them from light damage
- Choose completely dried flowers to avoid moisture contamination
- Keep track of your infusion's progress to prevent overexposure to heat
- Skip adding loose flowers directly to your soap batter
- Consider calendula as your go-to choice for naturally colored infusions
Remember to monitor your infusions regularly, as both heat and sunlight can affect the final color quality of your oils.
Proper storage and preparation will help maintain those lovely natural hues you're aiming for.
Incorporating Infused Oils Into Soap Recipes
Successfully incorporating floral-infused oils into your soap recipes requires precise measurements and careful attention to balance. Start by adding ½ to 1 ounce of infused oil per pound of soap to maintain the proper ratio.
While you'll get natural coloring and conditioning benefits, don't count on the floral scents surviving the saponification process.
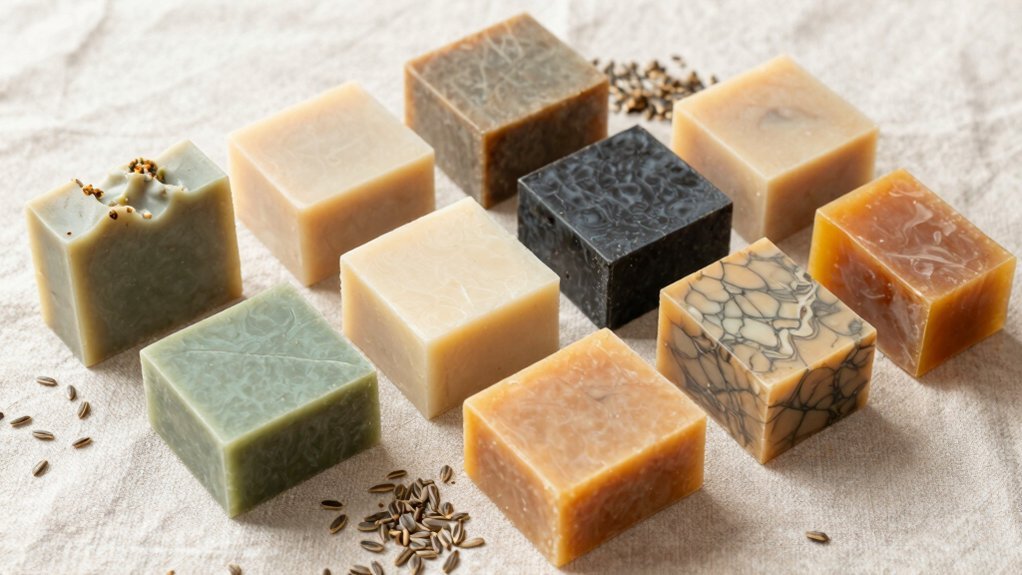
Calendula flowers make an excellent choice for making the soap, as their infused oil produces lasting yellow hues that hold up better than other floral infusions. To enhance your soap's visual appeal, sprinkle dried petals from the same flowers you've used for infusion on top of your bars.
Remember to run your recipe through a lye calculator when you're substituting infused oils to guarantee proper saponification. This step prevents your soap from hardening too quickly or becoming unstable.
Testing Oil Potency and Quality
Testing your infused oils before incorporating them into soap recipes guarantees prime results and prevents waste of precious ingredients.
When testing oil potency, examine both color intensity and fragrance strength—vibrant hues and robust scents indicate higher concentrations of beneficial compounds. Use pH strips to verify neutral levels for peak quality for soap making, and always check for signs of spoilage like unusual odors or mold.
- Trust your nose—if the scent has weakened compared to fresh botanicals, your infusion may have lost potency
- Store infused oils in dark glass containers away from light and heat
- Use your infusions within six months for best results
- Look for rich, deep colors that indicate proper infusion
- Test small batches first to verify consistent quality before scaling up production
Frequently Asked Questions
How to Infuse Oil for Soap Making?
You'll need to fill a jar with dried herbs and cover them with vegetable oil. Let it sit in sunlight for 2-4 weeks, shaking occasionally. Strain through a filter before storing in a dark bottle.
How Do You Avoid Botulism in Infused Oil?
You'll prevent botulism by using only dried herbs and flowers, never fresh ones. Keep all equipment sterilized and completely dry. Store your infusions in dark bottles, and strain thoroughly using coffee filters after infusion's complete.
What Is the Best Oil to Add to Homemade Soap?
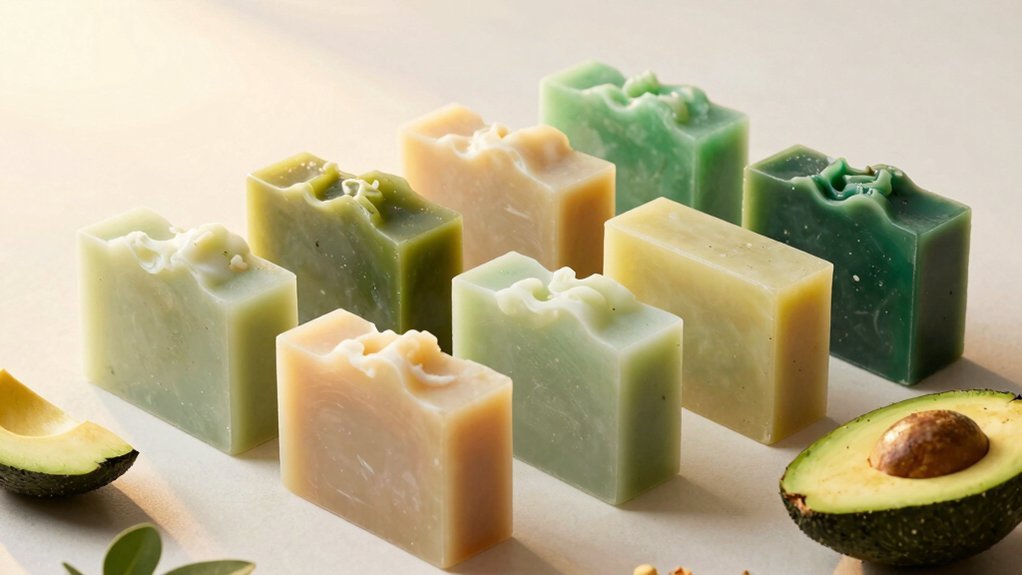
You'll get the best results by combining olive oil as your main base (50-60%) with coconut oil (25-30%) and either avocado or sunflower oil (15-20%). This blend creates a balanced, moisturizing soap.
How Do You Add Flowers to Homemade Soap?
You'll want to use dried flowers, not fresh ones, to prevent mold. Infuse them into your oils first, or add them directly to soap batter. For decoration, attach dried flowers after curing with witch hazel.
In Summary
Creating floral-infused oils for your handcrafted soaps isn't complicated once you've mastered these essential techniques. You'll find that proper preparation, careful attention to cleanliness, and patience during the infusion process will reward you with beautiful, aromatic oils. Whether you choose cold or hot infusion methods, remember to always test your oils before incorporating them into your final soap recipes for the best results.


Leave a Reply