To prevent soap sticking and crumbling during unmolding, you'll need the right balance of hard oils (60-70%) and soft oils (30-40%), proper temperature control (100-110°F), and correct timing. Use silicone molds with reliable release agents like mineral oil, and add sodium lactate to your cooled lye water. Wait at least 24 hours before unmolding, and consider a 10-15% water discount for faster results. Master these fundamentals, and your unmolding success rate will soar.
Essential Equipment and Mold Selection
When it comes to successfully unmolding soap, having the right equipment and molds is essential to your success.
You'll need reliable mold release agents like mineral oil or cyclomethicone to prevent sticking. For harder soaps that release easily, add sodium lactate to your recipe or mix salt into your water before combining it with lye.
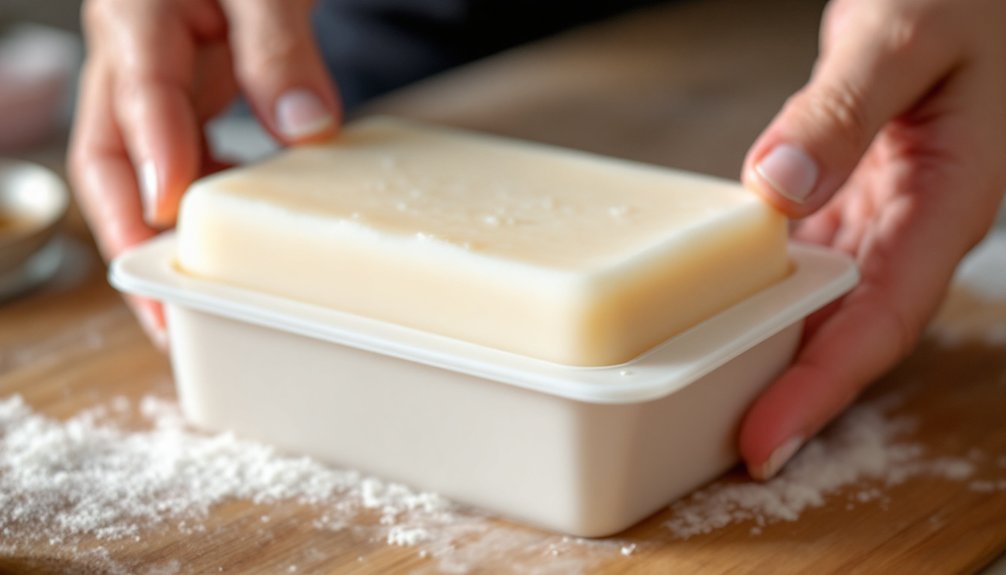
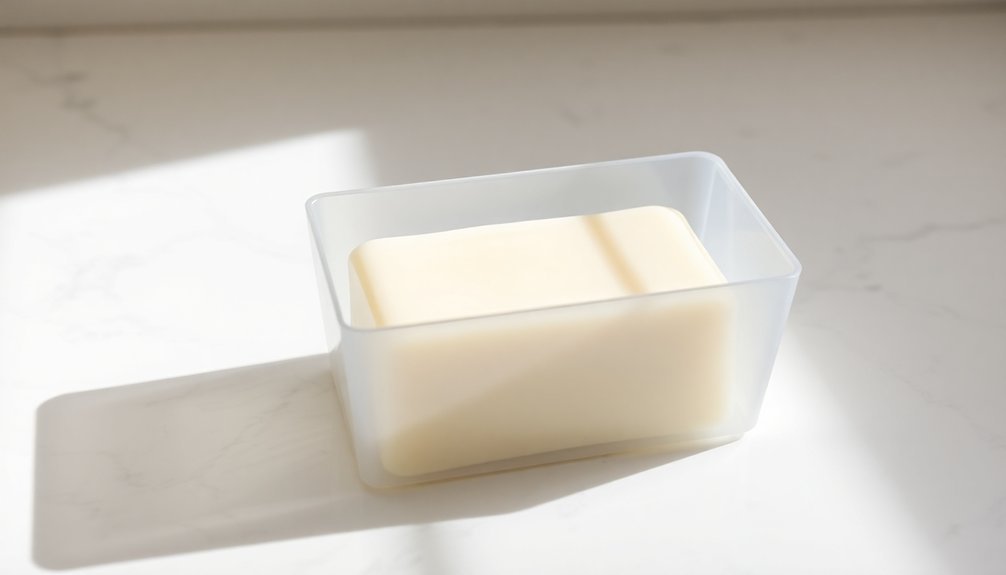
Choose your molds carefully – silicone options offer the most flexibility and easiest release. If you're using plastic molds, you'll need to break the airlock by gently pulling the sides and pressing the back. Supporting the top of the loaf while pushing from the bottom ensures even pressure during unmolding.
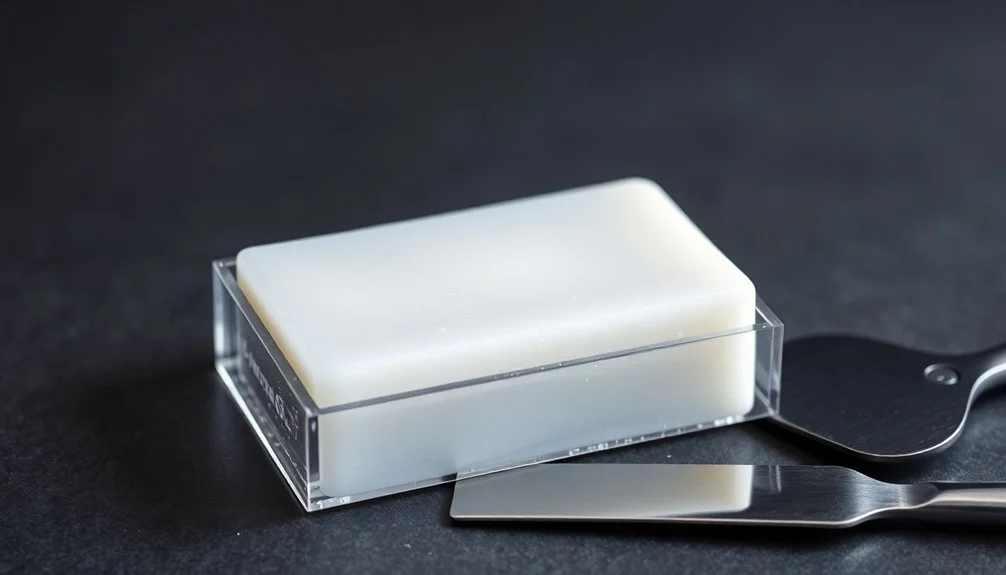
Avoid molds with sharp corners or intricate designs that can trap soap. Keep basic tools handy, including paper towels for cleanup and a soap cutter for loaf molds.
Don't forget that freezing your soap for 10-15 minutes can help with stubborn unmolding.
The Science Behind Perfect Unmolding Timing
The timing of soap unmolding depends heavily on the chemical reactions occurring as your soap cures, with saponification transforming liquid oils into solid soap.
You'll notice temperature plays an essential role, as warmer conditions accelerate the hardening process and help achieve proper gel phase.
The moisture content in your recipe directly impacts unmolding speed, with higher water percentages requiring longer setting times and water discounts helping your soap solidify faster. Recipes containing sodium lactate additives can significantly decrease the time needed before unmolding.
Chemical Reactions While Curing
Understanding chemical reactions during soap curing helps you determine the perfect unmolding time. Four key processes occur: saponification, water evaporation, precipitation crystallization, and acidification. While saponification completes within 24 hours, the other reactions continue throughout the curing period, affecting your soap's unmolding readiness.
- Saponification transforms your oils and lye into soap molecules and glycerin, usually completing within the first day.
- Water starts evaporating immediately, gradually hardening your soap as it reaches equilibrium with the surrounding air. Hot process soaps achieve significantly faster evaporation rates due to their elevated temperatures during production.
- Precipitation crystallization forms solid soap crystals as water evaporates, making your bars harder and longer-lasting.
- Atmospheric CO2 neutralizes excess alkalinity, bringing the pH down from 13 to a gentler 8-10 range.
- Temperature and humidity profoundly impact these reactions' speed, affecting your unmolding timeline.
Temperature's Role In Hardening
Maintaining proper temperature control serves as a critical factor in achieving the perfect soap hardness for unmolding.
You'll want to keep your soap-making temperatures between 100°F and 110°F to guarantee proper emulsification and prevent false trace.
Temperature directly impacts how your soap hardens during the curing process. When you're working with lower water content, your soap can withstand higher oven temperatures, leading to smoother surfaces and easier unmolding.
However, you'll need to watch for overheating signs, especially if you're using heat-sensitive additives like milk or sugar. Saponification creates heat naturally during the chemical reaction, which can compound temperature management challenges.
The size and shape of your mould also affect heat retention and escape. For best results, consider your environmental conditions – if you're making soap in summer, you might need less insulation or even refrigeration to maintain consistent temperatures during hardening.
Moisture Content Effects Speed
While temperature control sets the stage for proper soap hardening, moisture content determines how quickly you can unmold your soap. The amount of water in your recipe directly impacts unmolding speed – lower water concentrations allow for faster hardening and earlier unmolding, while higher water content requires longer waiting periods. The standard water to lye ratio of 2:1 provides optimal unmolding conditions in most cases.
- Your soap's water concentration affects crystallization and hardening speed.
- You'll need to wait up to 4 weeks for high-water soaps to reach the hardness of low-water versions.
- Environmental humidity influences unmolding time – use dehumidifiers in damp conditions.
- Lower moisture content leads to better unmolding due to increased precipitation crystallization.
- Water evaporation continues until your soap reaches equilibrium with ambient air moisture.
Consider reducing initial water content if you want to speed up unmolding time, but remember that environmental conditions will always influence the final timing.
Hard Vs Soft Oils: Finding the Right Balance
When creating soap that'll unmold smoothly, you'll need to balance your hard and soft oils carefully to achieve the right level of firmness.
You'll want around 60-70% hard oils like palm, tallow, or coconut for structural stability, while keeping 30-40% soft oils like olive or almond for conditioning properties.
The hard oils contribute to quick solidification and clean unmolding, while your soft oils guarantee the final product isn't too brittle or prone to cracking during removal.
Ideal Oil Ratio Basics
To create a perfectly unmoldable soap, understanding the balance between hard and soft oils is essential.
You'll want to aim for a 60/40 ratio of hard to soft oils in your recipe. Hard oils like cocoa butter and coconut oil create stability and guarantee your soap maintains its shape, while soft oils like olive and avocado provide moisturizing properties and creamy lather.
- Use hard oils (coconut, palm, cocoa butter) at 60% for best unmolding
- Keep soft oils (olive, avocado, castor) at 40% for balanced moisturizing
- Limit coconut oil to 45% unless increasing superfat content
- Include castor oil at 5-10% for improved lather quality
- Combine shea or cocoa butter (up to 15-20%) with olive oil for ideal hardness
This balanced approach prevents sticking and crumbling while guaranteeing your soap delivers both cleansing and moisturizing benefits.
Hard Oils For Stability
Understanding hard oils forms the foundation of creating stable, long-lasting soap bars. These oils, which include coconut oil, palm oil, cocoa butter, and shea butter, are solid at room temperature and rich in saturated fats that contribute to your soap's structural integrity.
To achieve ideal unmolding, you'll want to include about 60% hard oils in your recipe. Coconut oil, used at 15-50%, delivers exceptional cleansing properties and creates a bubbly lather.
Palm oil, typically added at 25-50%, enhances firmness and provides a creamy, stable lather. While these oils excel at creating firm bars that unmold easily, they can be drying if used excessively.
You'll need to balance them with soft oils to guarantee your soap maintains both stability and skin-friendly properties.
Balancing Properties Together
Successful soap making requires a delicate balance between hard and soft oils to achieve the perfect bar consistency.
You'll need to blend soft oils like olive and sweet almond with hard oils like coconut and palm to create soap that's both moisturizing and long-lasting. While soft oils contribute essential moisturizing properties, they can make your soap too soft if used in high percentages.
- Limit soft oils like rice bran and sweet almond to 20% of your recipe
- Add hard oils rich in lauric acid for better lather and stability
- Consider using sodium lactate to help harden bars with high soft oil content
- Allow extra curing time when using higher percentages of soft oils
- Combine oils with different fatty acid profiles to achieve ideal hardness and moisturizing properties
Water Discounting and Temperature Control
When crafting cold process soap, mastering water discounting and temperature control proves essential for achieving ideal unmolding results.
You'll want to start with a 10-15% water discount, which helps reduce unmolding time and prevents issues like glycerin rivers and soda ash.
Keep your temperatures in check by maintaining both oils and lye solution around 38°C. If you're creating intricate designs, work slightly cooler at 29-35°C to slow down saponification.
For accurate monitoring, use an infrared thermometer to verify you're staying below 43.3°C.
Remember that water discounting affects how quickly your soap reaches gel phase, while temperature influences the batter's workability.
When using additives like milk or honey that heat up naturally, avoid heavy water discounts to prevent your mixture from thickening too rapidly.
Sodium Lactate and Other Hardening Additives
To achieve quicker unmolding times and firmer soap bars, you'll want to familiarize yourself with sodium lactate and other hardening additives.
Add 1 teaspoon of sodium lactate per pound of oils to your cooled lye water (below 130°F) for ideal results. When using salt as an alternative, dissolve it in your lye solution at up to 25% of your oil weight, or add beeswax at 1-2% of total oils for extra hardness.
- Sodium lactate maintains skin moisture while speeding up unmolding time
- Salt bars combat acne and provide natural exfoliation
- Beeswax creates durable bars when melted with your oils
- Stearic acid works well at 0.5 ounces per pound of oils
- Each additive affects lather differently, so adjust your recipe accordingly
Be careful not to overuse these additives, as too much can lead to crumbly soap that's difficult to use.
Step-by-Step Unmolding Process
The unmolding process requires careful timing and proper technique to prevent damaging your soap. Wait at least 24 hours after pouring to guarantee proper saponification before you attempt unmolding. If your soap feels soft, give it another day or two to harden.
Start by pulling gently on the sides of the mold to break the airlock. For stubborn soaps, place the mold in the freezer for 10-15 minutes.
Once you're ready, flip the mold over and press carefully on the back of the cavities. If you're using silicone molds, flex them gently to release the soap.
After unmolding, let your bars rest at room temperature for 3-5 days before cutting or handling. Place them in a well-ventilated area to complete the curing process.
Common Unmolding Mistakes to Avoid
Many soapmakers rush into unmolding their creations before they're ready, leading to damaged or deformed bars. Your soap's hardness depends on factors like curing time, lye concentration, and environmental conditions.
If you're finding your soaps too soft to unmold, you're likely making one of several common mistakes that can affect the final product.
- Unmolding before the recipe-specific wait time (24 hours for most soaps, longer for Castile, shorter for salt bars)
- Using incorrect lye-to-water ratios or mis-measuring ingredients
- Skipping the gel phase or not maintaining proper temperature control
- Failing to use sodium lactate or water discounting when needed
- Choosing inappropriate molds or not providing proper insulation during the saponification process
Troubleshooting Difficult-to-Release Soaps
Stubbornly stuck soap can test even experienced crafters' patience, but several proven techniques can help release your bars safely from their molds. For melt and pour soaps, try freezing the mold for 30 minutes, then letting it warm slightly. With cold process soaps, you'll need more patience – wait up to two weeks before attempting removal.
| Problem | Solution |
|---|---|
| Soft Soap | Add sodium lactate (1 tsp/lb oils) |
| Sticky Texture | Reduce water in recipe |
| Won't Release | Freeze mold for 2 hours |
| Bends/Cracks | Extend curing time |
If your soap still won't budge, try running warm water over the mold's bottom or using a hair dryer to gently heat it. Remember to apply even pressure when unmolding to prevent damage to your finished bars. For future batches, consider adjusting your recipe with more hard oils or using wood molds for better airflow.
Frequently Asked Questions
Can I Safely Reuse Silicone Molds That Have Developed Surface Scratches?
You can reuse scratched silicone molds if the damage is minor. Just apply mold release before each use and inspect regularly. If you notice deep scratches that catch your fingernail, replace the mold.
How Does Altitude Affect Soap Unmolding Time?
Altitude won't directly affect your soap's unmolding time, but you'll notice faster water evaporation at higher elevations. This might slightly speed up hardening, though humidity and temperature have more significant impacts on unmolding.
Does Adding Essential Oils Impact How Quickly Soap Unmolds?
Yes, essential oils can affect your soap's unmolding time. You'll find that spice oils like clove and cinnamon tend to accelerate hardening, making your soap unmold faster, while other oils may have minimal impact.
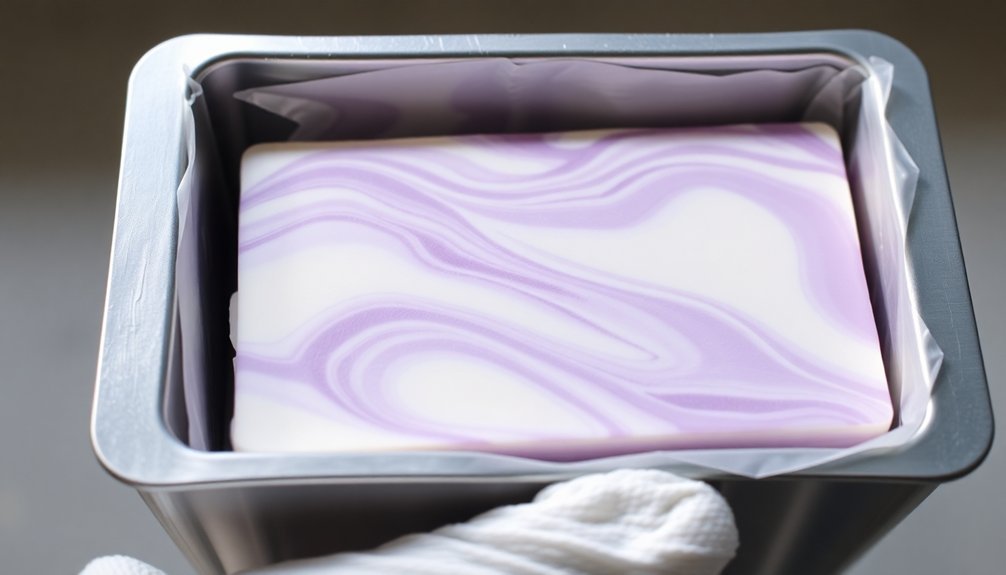
Will Colored Mica or Oxide Powders Affect Unmolding Properties?
You won't experience unmolding issues with mica or oxide powders, as they don't affect soap's structure. When you mix them properly, these colorants stay suspended without causing sticking or crumbling problems.
Can I Speed up Unmolding by Placing Molds in Front of Fans?
Yes, you can use fans to speed up unmolding, but it's most effective with wood molds that allow good airflow. You'll see less benefit with silicone or plastic molds due to limited air circulation.
In Summary
You've now learned the key elements of successful soap unmolding. By selecting proper equipment, timing your unmolding correctly, balancing your oils, and using additives wisely, you'll achieve clean releases every time. Remember to control your temperatures and water content carefully. If you're still having trouble, revisit your recipe ratios and double-check your unmolding technique. With practice, you'll master this essential soapmaking skill.


Leave a Reply