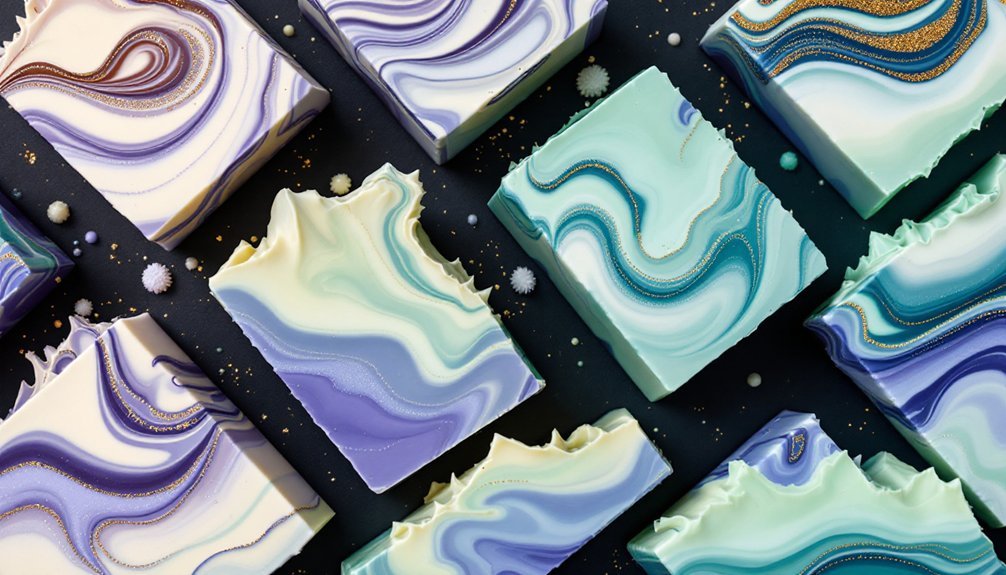
Five stunning cold process soap designs will elevate your handmade creations. Start with the beginner-friendly Drop Swirl for graceful patterns, then try ITP Swirls using light-trace mixtures for flowing designs. The Taiwan Swirl offers intricate Eastern-inspired patterns, while Linear Swirls create elegant top decorations. When you're ready for advanced techniques, the Hanger Swirl delivers mesmerizing marbled effects. Each technique opens new doors to soap-making artistry.
Drop Swirls: A Classic Pattern for Every Skill Level
Grace and simplicity define drop swirls, one of cold process soap making's most beloved techniques. You'll need just basic equipment – a loaf mold, pouring cups, and a spatula – to create these stunning designs.
To craft your drop swirls, divide your soap mixture into different colored portions after reaching trace. Pour each color from a height into your mold, alternating between them in a rotating pattern. The skill level: easy makes this technique perfect for novice soap makers. The high-pour technique helps colors penetrate deeper, creating more dramatic effects.
You can experiment with traditional, layered, or thin-line variations. For best results, work with slow-moving recipes that give you enough time to perfect your design.
Once your soap hardens, cut it vertically or horizontally to reveal unique patterns. It's an ideal technique for beginners, yet versatile enough to challenge experienced soap makers.
ITP Swirls: The Perfect Beginner's Design
Mastering the in-the-pot (ITP) swirl technique offers beginners a perfect entry point into decorative soap making.
You'll need only basic tools and a simple understanding of soap making to create stunning marbled effects.
To achieve this design, bring your soap mixture to a light trace, then divide it into portions for coloring.
After adding your chosen colorants, pour the mixtures into your mold using different clock positions.
Create your swirl by moving a spatula in a clockwise direction and cutting through the center.
For best results, maintain a thin to medium trace consistency, similar to cake batter. Using natural powdered colorants will produce more vibrant swirls than infused oils.
Choose contrasting colors that'll make your swirls pop, and select fragrances that won't accelerate trace.
You can even experiment with multiple colors or add textured tops to enhance your design's visual appeal.
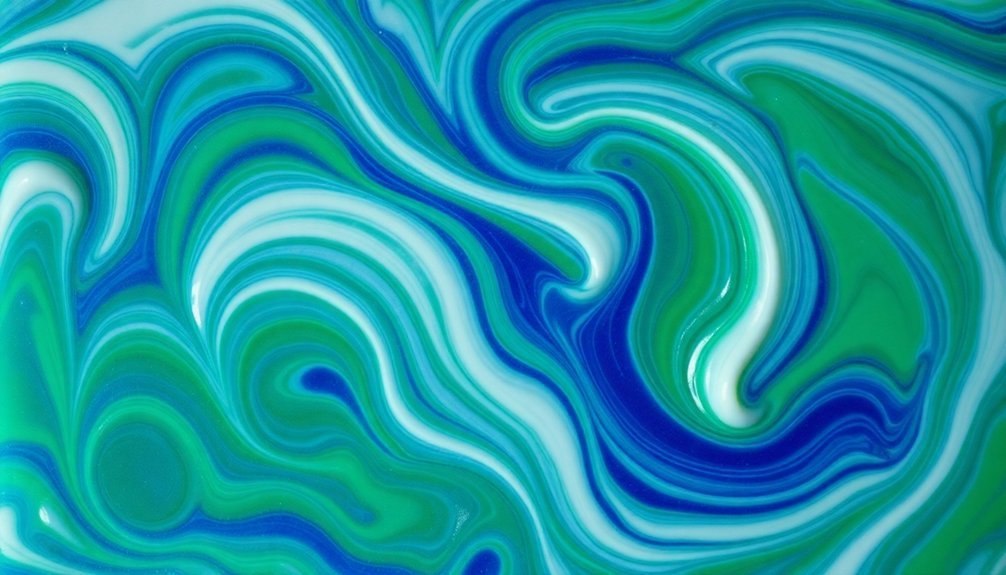
Taiwan Swirl: Elegant Eastern-Inspired Patterns
While many soap designs rely on simple patterns, the Taiwan Swirl elevates cold process soaping into an art form with its intricate, flowing patterns.
Named after the first YouTube video that showcased this technique, it's inspired by Elaine Wright's creative approach to soapmaking.
You'll start by creating a mantra swirl base, dividing your soap batter into multiple colors.
Using a skewer or chopstick, you'll swirl the colors in figure-eight motions to achieve the signature look.
For added complexity, try the Circling Taiwan Swirl variation, which involves swirling around the mold's edges to create curved patterns. This advanced technique requires maintaining thin trace consistency throughout the process.
To master this technique, keep your lye and oil temperatures within 10 degrees of each other, use sodium lactate for easier unmolding, and maintain a light trace.
Avoid over-stick blending to give yourself enough time for the perfect swirl.
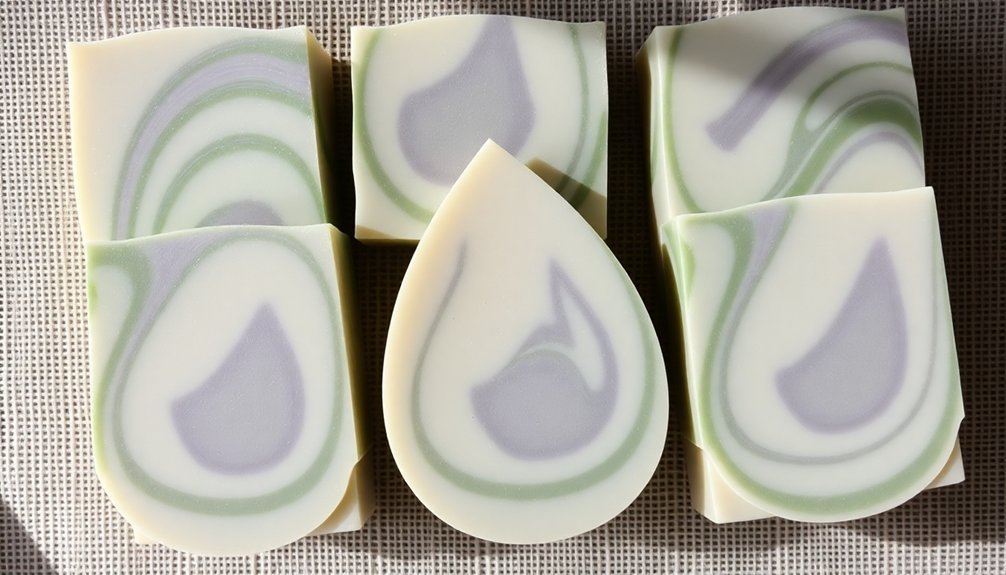
Linear Swirl: Creating Beautiful Top Designs
When creating stunning soap designs, the Linear Swirl technique stands out for its versatility and elegant results.
You'll find this pattern works beautifully in both slab and loaf molds, creating either linear top patterns or delicate color stripes.
To master this technique, start by pouring a white base layer for contrast.
Then, pour your colored soaps in a linear or zig-zag pattern, keeping in mind that your trace consistency will determine layer thickness.
You'll want to work with a light to medium trace at slightly cooler temperatures for ideal control.
Using a chopstick, you can transform your basic linear swirl into more complex designs like the impressionist, serpentine, or peacock variations. The size of soap lines will vary depending on how much soap you pour at a time.
Remember to minimize mixing when using natural colorants, as they can change during saponification.
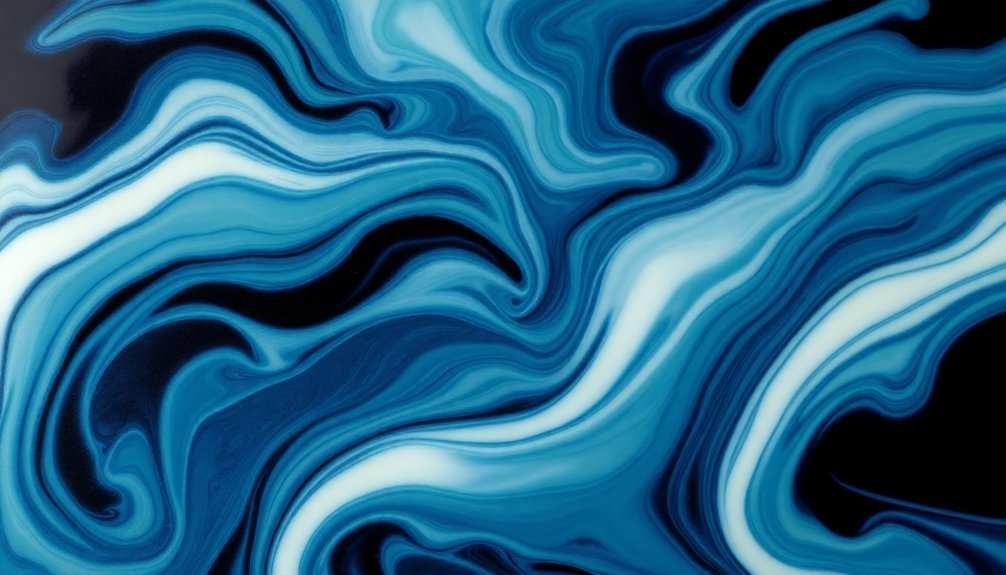
Hanger Swirl: Advanced Marbling Effects
The Hanger Swirl technique transforms ordinary soap into mesmerizing marbled masterpieces through a series of deliberate swirling motions.
To achieve this effect, you'll need a wire hanger tool and silicone loaf mold, plus your soap mixture at medium to thick trace.
Start by dividing your soap batter into different colors, adding fragrance oils proportionally to each. Pour a thin white base layer, then alternate your colored soaps at varying heights to prevent distinct layers. Ensure your soap temperatures stay below 130 degrees for optimal swirling conditions.
Insert your hanger tool from one side and create 7-10 loop-de-loop motions, mixing both horizontal and vertical movements for complex patterns. For best definition, pour white soap between your colors.
Don't forget to decorate the top by plopping remaining soap and creating peaks with a spoon's back.
Let your creation cure for 4-6 weeks before use.
Frequently Asked Questions
Can I Combine Different Swirling Techniques in a Single Soap Batch?
Yes, you can combine different swirling techniques in one soap batch. You'll need to plan carefully, maintain proper trace consistency, and guarantee you've got the right tools for each technique you're combining.
How Long Should I Wait Before Cutting Swirled Soap Designs?
You'll want to wait 24-48 hours before cutting your swirled soap. Check that it's firm but not too hard. If it's still soft or gel-like, give it more time to properly set.
What Temperatures Work Best for Achieving Vibrant Swirl Patterns?
You'll achieve the most vibrant swirl patterns by keeping your soap batter between 120-125°F. This temperature range helps maintain the perfect consistency, giving you enough time to create beautiful, defined swirls.
Which Essential Oils Can Affect the Success of Swirl Patterns?
You'll want to avoid cinnamon, clove, and peppermint oils as they accelerate trace. Instead, choose lavender, sweet orange, or litsea cubeba, which won't rush your trace and allow better swirling opportunities.
Do Different Soap Bases Impact the Final Appearance of Swirls?
Yes, your soap base greatly affects swirl patterns. Hard oils like coconut create firmer textures for defined swirls, while soft oils like olive oil provide smoother, more fluid movements in your design.
In Summary
Whether you're a beginner or advanced soaper, these five cold process soap designs will help you create stunning bars every time. Start with basic drop swirls and ITP swirls to build your confidence, then move on to more complex Taiwan and linear patterns. Once you've mastered those techniques, try the challenging hanger swirl. Remember to keep your soap batter at the right trace, and you'll achieve beautiful, swirled results.


Leave a Reply