For beginners, these seven cold process soap methods offer approachable entry points: Basic Olive Oil Soap (traditional foundation), Single-Pot Method (simplified equipment), Room Temperature Technique (eliminates thermometer needs), Heat Transfer Method (utilizes natural reactions), Water Discount Method (accelerates curing), Individual Oil Layering (customizes properties), and Slow Trace Method (extends working time for designs). Each technique minimizes different challenges while teaching fundamental skills. Continue exploring these methods to discover which best matches your comfort level and creative aspirations.
7 Best Cold Process Methods For Beginners
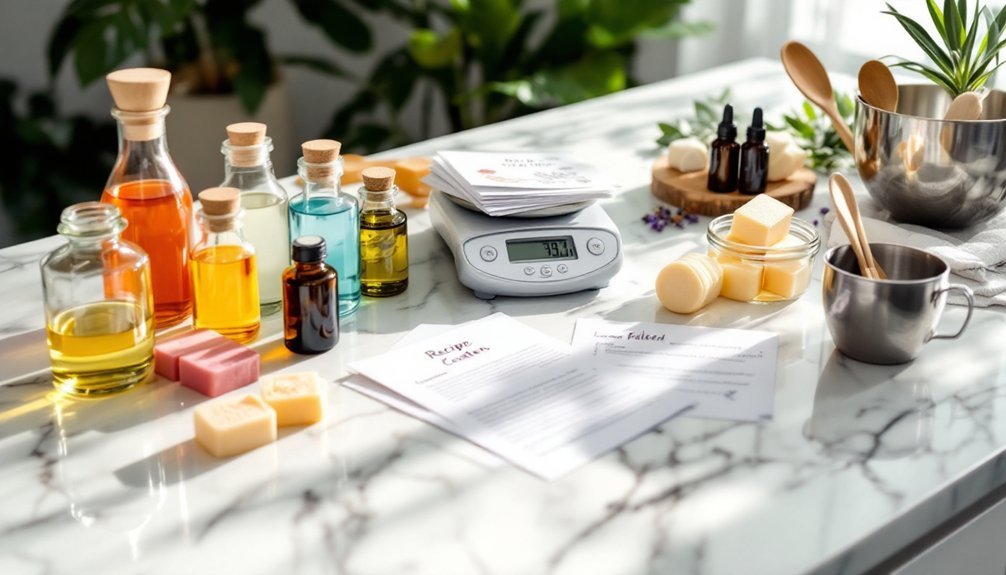
When diving into cold process soap making, you'll need to master a few fundamental techniques before getting creative. Start by properly measuring your ingredients using a scale—never substitute volume for weight measurements.
Then carefully mix your lye solution, maintaining proper safety precautions with gloves and eye protection. For best results, verify your lye solution and oils reach temperatures within 10°F of each other, typically around 120°F.
Safety first! Always mix lye with proper protection and ensure solution temperatures match your oils within 10°F for optimal results.
Use your stick blender in short pulses to avoid overheating the mixture. Begin with simple three-oil recipes (olive, coconut, and palm) without colorants or fragrances to focus on technique. Remember to always add lye to water to prevent dangerous splashing and chemical reactions.
Add a 5% superfat ratio to create moisturizing soap that won't irritate skin. After pouring into silicone molds, allow 24-48 hours for saponification before unmolding, then cure for at least 4 weeks.
Basic Olive Oil Soap: The Beginner's Foundation
You'll discover that traditional olive oil soap recipes date back thousands of years to ancient Mediterranean civilizations where soap-making first emerged.
This time-tested formula serves as your perfect entry point into cold process soap-making because it requires minimal ingredients while teaching fundamental techniques.
With just olive oil, lye, and water, you're connecting to an ancient craft that has sustained generations of artisans through its simplicity and effectiveness. The resulting soap provides exceptional skin benefits, promoting hydration and smoothness while helping treat dry, damaged skin.
Simple Traditional Recipe
Three key ingredients form the backbone of traditional olive oil soap: high-quality olive oil, lye (sodium hydroxide), and distilled water.
For a basic batch, you'll need 32 oz olive oil, 4.1 oz lye, and 12 oz distilled water.
Start by measuring ingredients precisely with your digital scale.
Slowly add lye to water (never reverse this order) in a well-ventilated area while wearing protective gear.
Allow this mixture to cool to 100-110°F.
Meanwhile, warm your olive oil to the same temperature range.
When both solutions reach proper temperatures, gradually pour the lye water into the oil while blending with your immersion blender until reaching a light trace.
Pour into your mold and allow 24-48 hours to harden before cutting.
Then cure for three months.
Some soapmakers find that adding coconut oil creates a harder bar with improved lathering properties compared to pure olive oil soaps.
Ancient Soap History
The fascinating history of soap stretches back over 4,800 years, offering valuable context for today's cold process methods. As you explore the foundations of soap-making, you'll find that ancient civilizations pioneered techniques still relevant today.
| Era | Key Innovation | Primary Use |
|---|---|---|
| Babylon (2800 BC) | Fat + wood ash | Textile cleaning |
| Egypt (1550 BC) | Oils + trona | Medicine & hygiene |
| Roman Empire | Refined techniques | Personal bathing |
| Middle Ages | Soap guilds | Specialized products |
| Industrial Era | Mass production | Commercial varieties |
The olive oil soaps you'll create using cold process methods have direct lineage to Mediterranean traditions developed during the Renaissance. When you mix oils with lye, you're participating in a craft that connects you to ancient Babylonian soap makers who first discovered these transformative chemical reactions. During the Islamic Golden Age, artisans perfected methods for creating hard toilet soap with pleasant scents, significantly advancing the soap-making craft we practice today.
Single-Pot Method for Foolproof Results
The single-pot method simplifies your soap-making journey by combining all ingredients in one container, reducing potential errors and cleanup time.
You'll need fewer tools than traditional methods, making this approach more accessible for beginners with limited equipment. Using a reliable stick blender ensures proper mixing of oils and caustic soda solution when working with the single-pot method.
Since everything happens in a single vessel, you'll spend less time monitoring temperature fluctuations between multiple containers, allowing you to focus on mastering the basic techniques.
All-in-One Simplicity
Simplifying your soap-making journey begins with the single-pot method, where you'll combine all ingredients in one container to create beautiful handmade soap with minimal fuss. This approach uses recipes with fewer ingredients, making the process more manageable as you learn.
You'll appreciate how this streamlined technique reduces steps and potential errors, especially in temperature management. Since you're working with just one pot, you'll spend less time switching between containers and more time perfecting your craft.
Don't mistake simplicity for limitation—the single-pot method still offers creative opportunities for colors and designs. As a beginner, you'll gain confidence faster while producing professional-looking soap bars.
The efficiency of this method means you can complete a batch in less time while still achieving excellent results. For optimal soaping conditions, maintain temperatures between 85°F and 95°F when working with your batter to ensure proper saponification.
Fewer Tools Required
One major advantage of the single-pot method lies in its minimal equipment requirements, making it perfect for beginners who don't want to invest in numerous tools before mastering the basics.
You'll only need the essentials: lye, distilled water, basic oils (coconut, olive, shea butter), and safety gear like goggles and gloves.
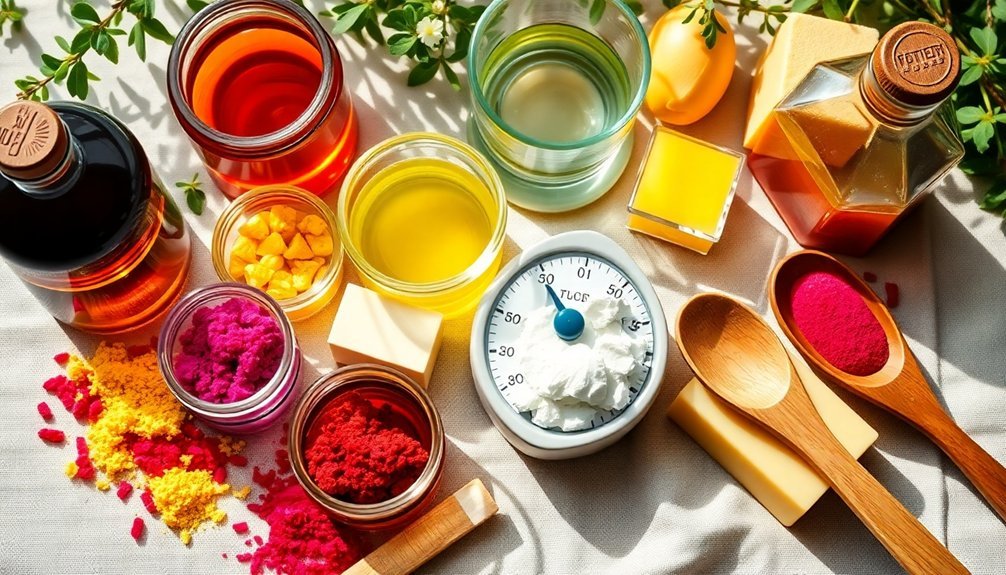
This approach eliminates the need for multiple mixing containers. You can create beautiful swirls using techniques like the in-the-pot swirl or line pour method—all within a single vessel.
Color mixing becomes straightforward as you can add colorants directly to your soap batter. Working at lower temperatures of 80-90°F helps maintain a thinner batter for easier swirling and manipulation.
For heating, a microwave, crockpot, or stovetop works perfectly. Remember to use a thermometer to monitor temperatures.
With simple molds like silicone or loaf designs, you'll be making impressive soaps with minimal equipment.
Reduced Heat Monitoring
Perhaps the most compelling advantage of the single-pot method comes from its simplified heat management, making temperature monitoring nearly foolproof for beginners.
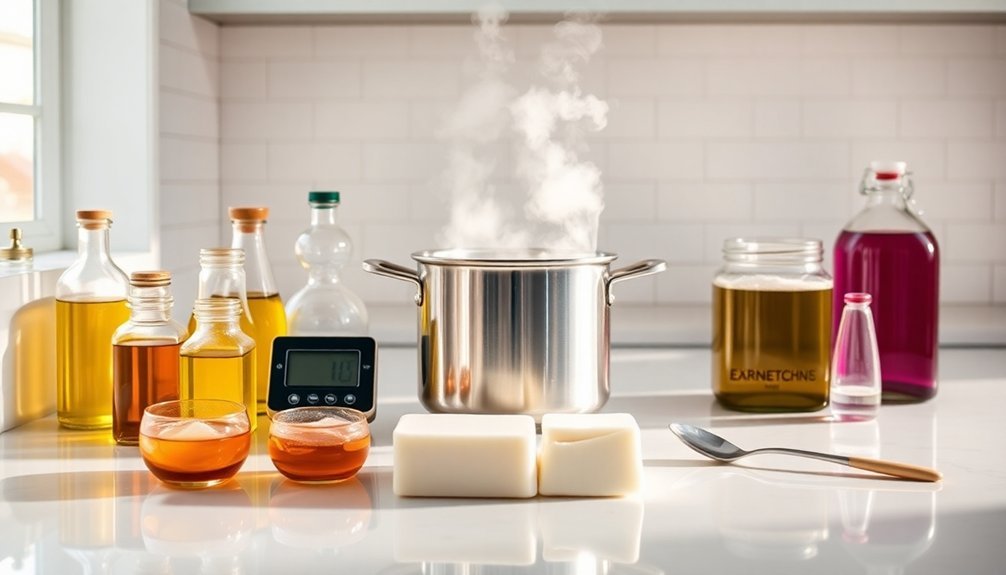
You'll utilize the natural heat generated when lye meets water to melt your hard oils and butters, eliminating separate heating equipment.
With temperatures around 100°F typically sufficient, you'll avoid false trace while achieving proper saponification.
Simply prepare your lye solution (which can reach 200°F initially), allow it to cool somewhat, then add it directly to your hard oils in your soap pot. The exothermic reaction does the work for you.
This approach not only saves time and equipment but also creates more consistent batches. Incorporating liquid oils afterward will help lower the overall temperature of your mixture to a more manageable level.
Remember to adjust for room temperature—cooler environments slow saponification while warmer settings accelerate it—and always use a recipe calculator for precise measurements.
Room Temperature Technique for Safer Handling
When you're just starting your soap-making journey, the traditional hot process methods can seem intimidating with their precise temperature requirements and potential safety hazards.
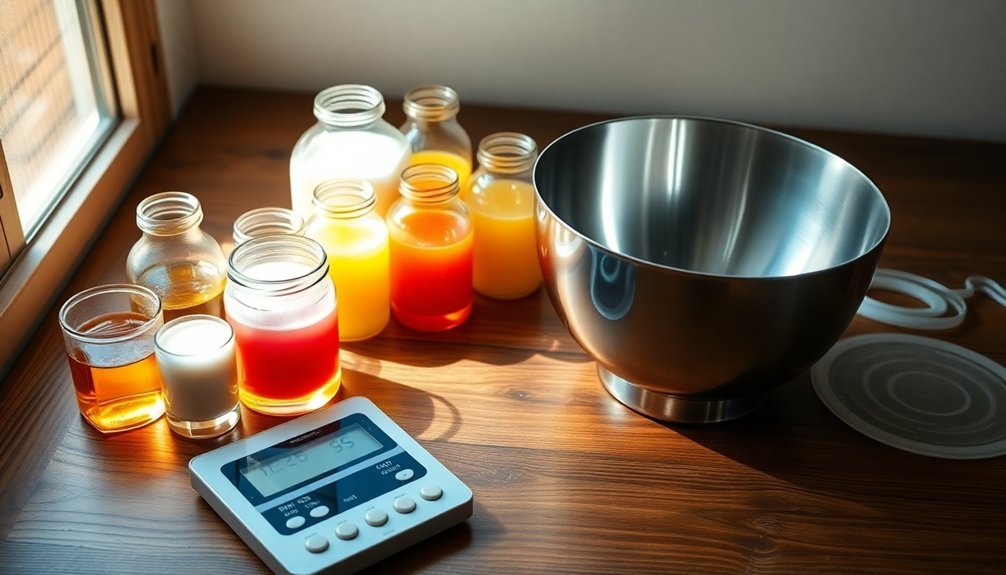
That's where the room temperature technique shines as a beginner-friendly alternative. This simplified approach eliminates the need for thermometers and stoves, reducing risks associated with hot equipment.
You'll enjoy a longer working time for creative designs while experiencing fewer issues like volcanoing or inconsistent coloring. The process requires minimal specialized tools and accommodates various recipes. Always remember to wear safety equipment when handling lye, including goggles, gloves, and an apron.
To succeed with this method, prepare your lye solution well in advance to cool properly, guarantee oils are fully melted, and stir continuously until reaching the desired consistency.
You'll find this technique offers consistent results with fewer variables to manage, making your entry into soap making both safer and more accessible.
Water Discount Method for Faster Curing Times
While many beginners focus on temperature control, the water discount method offers a valuable shortcut to faster-curing soaps that you'll appreciate as you gain experience.
This technique involves using less water than standard recipes call for, creating a more concentrated lye solution.
A modest 10% discount (multiply original water by 0.9) can reduce curing time from 4-6 weeks to just 3-4 weeks.
You'll enjoy additional benefits like faster unmolding, reduced soda ash, fewer glycerin rivers, and harder bars.
Be aware that water discounting accelerates trace, which can challenge intricate designs. When using a water discount, it's important to understand that the soap may require higher temperatures to achieve the gel phase properly.
Start with simple patterns until you're comfortable with the faster process.
Don't exceed 15% discounts to avoid lye pockets.
For recipes containing liquid additives like pumpkin, you can discount more aggressively to compensate.
Individual Oil Layering for Balanced Properties
Unlike traditional soap-making where oils are combined before adding lye, individual oil layering creates bars with distinct properties in each section. This technique allows you to leverage different oils' benefits in specific areas of your soap, creating a customized experience.
Start by dividing your soap batter and adding different oils to each portion:
- Use coconut oil in bottom layers for excellent cleansing and abundant lather.
- Add avocado oil or shea butter in middle sections for conditioning benefits.
- Incorporate olive oil in top layers for gentle cleansing and moisturizing properties.
When layering, maintain consistent temperatures between 80-120°F and test each layer's firmness before adding the next. For perfectly straight layers, you must exercise patience and control as you build up each section.
You'll need to calculate proper lye ratios for each section using Soap Calc to guarantee complete saponification while allowing for superfatting where desired.
Slow Trace Method for Intricate Swirl Designs
Creating intricate swirl designs in cold process soap requires mastering the slow trace method, a technique that gives you extended working time before your soap batter solidifies.
To achieve this, keep your lye solution and oils between a85-95°F, and select unsaturated oils like olive and avocado as your base.
Mix to emulsion rather than trace—think thin cake batter consistency—before adding colors for ideal swirling. Avoid common accelerators such as floral fragrances, cinnamon essential oil, and excessive castor oil.
Use a higher water percentage (25-33% lye solution) for additional working time.
When ready to swirl, separate your emulsified batter, add colorants, and pour using techniques like spin or peacock swirls.
Remember that hand stirring offers better control than stick blending for beginners tackling intricate designs. Short pulsing bursts of the stick blender followed by hand whisking is ideal for achieving the perfect emulsification without over-mixing.
Frequently Asked Questions
Can I Substitute Palm Oil for Environmental Concerns?
Yes, you can substitute palm oil with coconut, babassu, jojoba, or sunflower oils. While they're more expensive, they're environmentally friendlier. Alternatively, you can source RSPO-certified sustainable palm oil for your products.
What Causes Soap to Seize and How to Prevent It?
Soap seizes when fragrance oils, essential oils, high temperatures, over-mixing, or water discounts accelerate saponification. You'll prevent seizure by researching fragrances, working at cooler temperatures, gentle mixing, and maintaining proper water content.
How Do I Troubleshoot Lye Pockets in Finished Soap?
You'll need to cut out visible lye pockets from your soap. Consider rebatching the remaining soap by grating it, adding water, and gently heating until smooth. Always wear safety gear when handling affected soap.
When Is the Best Time to Add Fragrance Oils?
Add fragrance oils to your soap at 100-130°F for best results. You'll want to incorporate them once you've reached a light trace, but before your soap batter thickens too much for pouring.
Why Did My Soap Develop Orange Spots During Curing?
Your soap likely developed orange spots due to rancid oils oxidizing during curing. You're probably using soft oils like olive oil, experiencing high humidity, or didn't include antioxidants. Using fresh ingredients will help prevent this.
In Summary
You've now got seven reliable cold process methods to start your soapmaking journey. Each technique offers unique benefits, from the simplicity of basic olive oil soap to the creative potential of slow trace swirling. Don't be intimidated—start with what feels comfortable and gradually explore other methods. With practice, you'll develop your signature style and soon be creating beautiful, handcrafted soaps you'll be proud to use and share.
Leave a Reply