While ceramic molds offer unique textures and artisanal appeal for cold process soap, they present significant release challenges. You'll need to apply suitable release agents thoroughly, as soap tends to stick due to chemical bonding and surface tension. Ceramic molds require careful preparation, proper temperature control, and gentle demolding techniques. Their weight and fragility demand cautious handling, but their durability and distinctive designs make them worthwhile for dedicated artisans. The following guide reveals essential techniques to master these traditional vessels.
Why Ceramic Molds Challenge Soap Makers
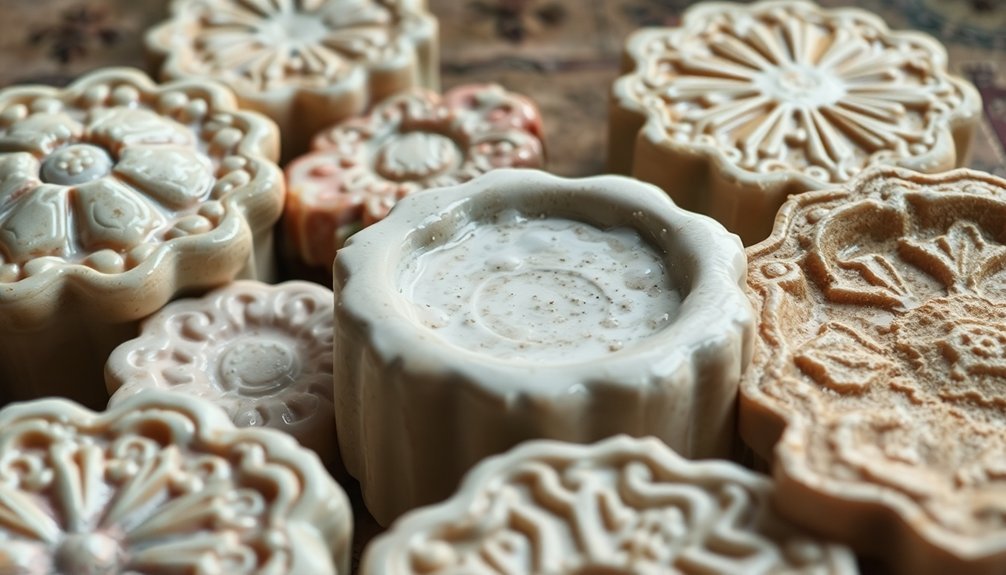
While ceramic molds offer beautiful aesthetic appeal for artisanal soap makers, they present several significant challenges that can frustrate even experienced crafters.
You'll immediately notice soap doesn't release easily from ceramic surfaces due to incomplete shrinkage—a fundamental issue that complicates unmolding.
Ceramic's porosity absorbs oils and can interact with soap-making chemicals, potentially affecting both your final product and the mold's longevity.
You're also dealing with molds that are heavier and more fragile than alternatives like silicone, requiring careful handling.
Finding effective release methods proves consistently difficult, as common agents like oils can leave unwanted residue on your soap.
Additionally, you'll face limitations with fixed shapes and designs that don't allow the flexibility you might need for creative expression.
Many soap makers have resorted to using cling film as a barrier between the ceramic mold and soap mixture to facilitate easier removal.
The Science Behind Soap Sticking to Ceramic
The chemical bonds that form between soap's alkaline compounds and ceramic's micro-porous surface create a tenacious adhesion you'll struggle to overcome.
Surface tension further compounds this issue, as liquid soap naturally seeks to maximize contact with the ceramic's hydrophilic areas.
You'll notice this sticking effect especially with high-moisture soap recipes where the water content enhances these surface interactions. Adding sodium lactate to your soap batch can significantly improve release from ceramic molds, similar to its effectiveness with silicone molds.
Chemical Bond Factors
Understanding chemical bonds between soap and ceramic surfaces helps you create better molds and achieve cleaner releases. The interaction between your soap's fatty acid salts and the ceramic's silicate compounds creates both physical and chemical bonds through van der Waals forces and ionic interactions.
Your soap's composition matters greatly—saturated fatty acids produce harder soaps that release more easily, while unsaturated acids create more pliable products that might stick.
Longer fatty acid chains increase hydrophobicity, affecting how your soap adheres to the mold. Additionally, the glycerol byproduct from saponification can enhance adhesion through its binding properties. The type of alkali used can also influence sticking behavior, with sodium hydroxide soaps typically releasing more cleanly than potassium hydroxide formulations due to their harder composition.
Surface energy of your ceramic molds plays an essential role too. Smoother surfaces generally allow easier release, while porous ceramics may trap soap components, requiring additional release agents or surface treatments to prevent sticking.
Surface Tension Issues
Surface tension fundamentally drives how soap interacts with your ceramic molds, creating both challenges and opportunities for crafters. When you're working with ceramic molds, understanding these forces helps you achieve better releases and finished products. Consider using a dust mask when handling pottery plaster to protect your respiratory system during the mold preparation process.
| Surface Tension Factor | Impact on Mold Performance |
|---|---|
| Temperature | Higher temperatures reduce tension, improving slip flow |
| Surfactants | Aid in releasing ceramics by lowering surface adhesion |
| Mold Cleanliness | Residue affects tension and can cause sticking issues |
| Glaze Composition | MgO increases tension while fluxes like PbO reduce it |
For ideal results, apply a thin, even layer of release agent like soap or Vaseline to your molds. This creates a barrier that modifies surface tension properties, preventing your ceramic pieces from sticking while preserving fine details in your finished work.
Effective Release Techniques for Ceramic Vessels
When working with ceramic molds, mastering release techniques can make the difference between a flawless vessel and a damaged creation.
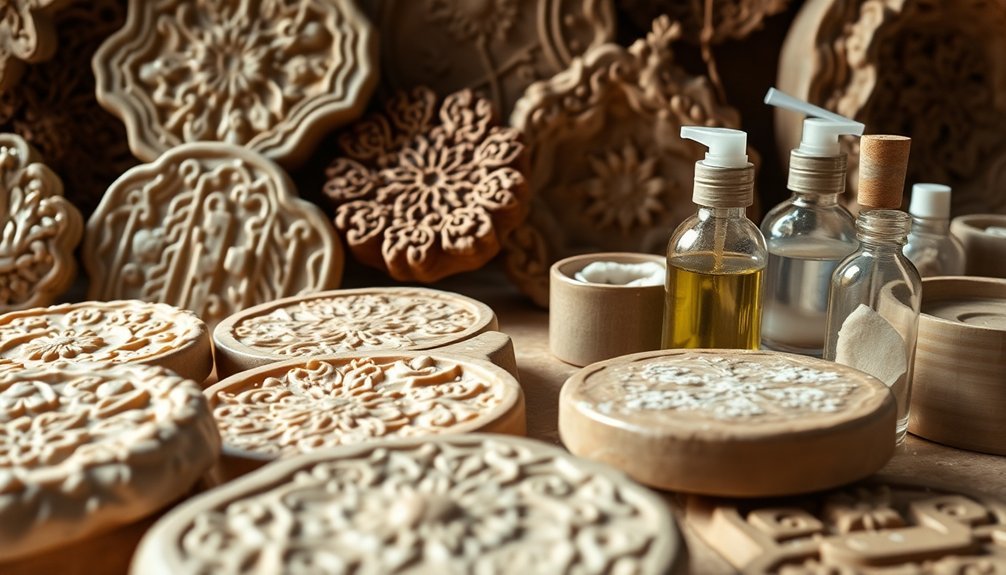
Apply release agents with precision—either by spray or brush—ensuring complete coverage without excess that could create imperfections. The agent you choose must be compatible with your mold material, whether it's porous plaster or non-porous silicone. Preparing your clay with proper wedging technique helps ensure the ceramic will release cleanly from the mold.
Release agent application is a delicate balance—thorough coverage prevents sticking while avoiding excess ensures flawless ceramic surfaces.
For successful demolding, position your mold at an angle during pouring, and remove the piece gradually after proper drying time to prevent cracks in delicate areas.
- Feel the satisfaction of a clean release when your vessel separates perfectly from the mold
- Experience the relief of avoiding breakage after hours of careful preparation
- Enjoy the pride of professional-quality results that properly applied release agents provide
Comparing Ceramic to Silicone and Wooden Alternatives
Although ceramic molds have their place in pottery studios, you'll find notable differences when comparing them to silicone and wooden alternatives for your projects.
Silicone molds offer greater flexibility and easier soap release without lining, while being more budget-friendly and heat-resistant. They're also simple to clean and available in diverse shapes.
Wooden molds excel at natural insulation, facilitating gel phase without additional heat sources. Though they require lining with freezer paper and cost more than silicone options, they're ideal for larger batches and produce soap with professional edges. They typically allow for quicker unmolding compared to silicone alternatives under normal conditions.
Wood molds can also be customized to your specific size requirements.
Your choice ultimately depends on your design goals, budget constraints, and whether you prioritize easy unmolding (silicone) or natural insulation properties (wood).
Best Lining Materials for Ceramic Soap Molds
Properly lining your ceramic soap molds can make the difference between a smooth unmolding process and a frustrating one that damages your finished product.
While ceramic molds aren't typically lined for soap making, adding the right liner can greatly enhance their usability and extend their lifespan.
Freezer paper stands out as your best option—it's sturdy, heat-resistant, and won't melt when exposed to hot soap.
Unlike waxed or greaseproof paper, it maintains its integrity throughout the curing process. For a more sustainable approach, consider Teflon sheeting as a durable investment.
Similar to wood molds, ceramic containers require proper lining to prevent soap from sticking to the surface.
- Save precious time with liners that prevent soap adhesion and simplify cleanup
- Preserve your artistic creations with unmolding that doesn't damage intricate details
- Protect your investment by reducing wear on your ceramic molds
How Temperature Affects Ceramic Mold Performance
Temperature plays an essential role in determining how well your ceramic molds perform during soapmaking. Higher temperatures can actually enhance your mold's strength, improving durability from 8.5 to 27.5 MPa at 1200°C when using materials like mullite whiskers.
You'll find that controlling temperature helps minimize shrinkage—keeping it below 0.3% with proper additives like aluminum. This maintains dimensional accuracy in your final soaps. Material selection is critical; choose temperature-resistant options like mullite for consistent results. The use of urchin-like mullite whiskers synthesized through vapor-liquid-solid growth methods can significantly improve high-temperature performance of ceramic molds.
Stable temperatures extend your mold's lifespan by preventing stress-related damage. Remember to store molds in temperature-controlled environments and avoid exposing them to extreme temperature fluctuations during cleaning.
Well-managed temperatures during production will also reduce processing times and improve your overall efficiency.
Unique Design Opportunities With Ceramic Vessels
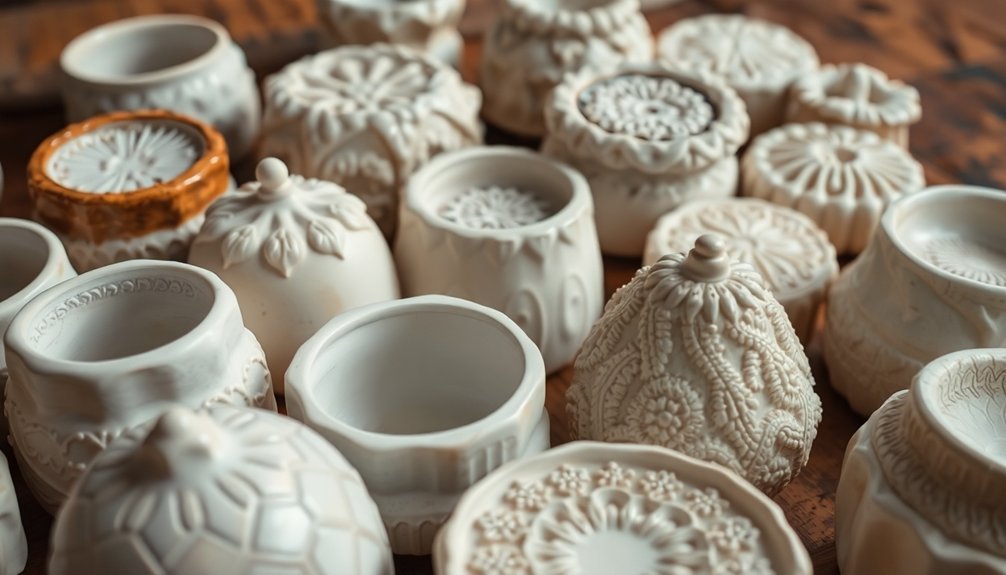
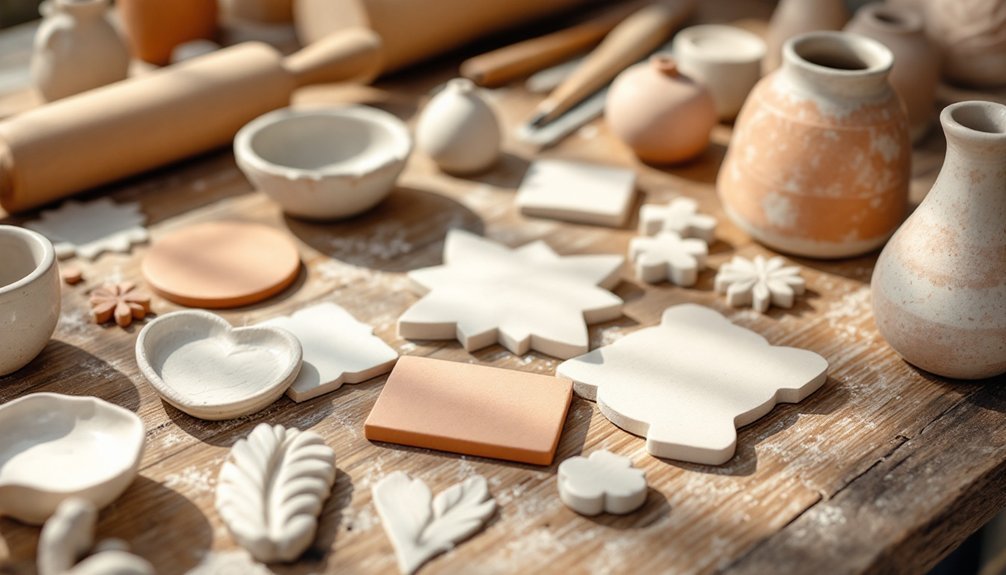
Ceramic vessels offer remarkable texture transfer possibilities, allowing you to imprint lace, leaves, or textured fabrics directly onto clay surfaces for distinctive finishes.
You'll find vintage dishware forms provide excellent starting points for contemporary designs, whether you're reimagining traditional soup tureens or repurposing classic teapot shapes.
For truly distinctive pieces, consider incorporating playful designs similar to Philip Kupferschmidt's whimsical ceramic work, which features unique grins and expressive elements.
These historical references can inspire your modern ceramic creations while maintaining a connection to ceramic traditions that resonate with collectors and enthusiasts alike.
Texture Transfer Techniques
While molding forms the foundation of your ceramic pieces, texture transfer techniques breathe life and character into your vessels.
You'll find underglaze transfers particularly effective on leather-hard clay, where moisture helps the designs adhere perfectly. For precise patterns without altering your clay's surface, try paper slip or ink transfer methods using water and gentle pressure. Creating texture using gritty particles in clay can add interesting tactile elements to your transferred designs.
Experiment with these approaches to transform your ceramic molds:
- Create depth and visual interest by layering multiple transfers, building complex designs that tell stories through texture.
- Combine transfers with carved elements for striking contrast between smooth and textured surfaces.
- Apply transfers to unexpected areas of your vessels, creating surprise moments that delight when discovered.
For a professional finish, seal your transferred designs with clear glaze for protection and visual enhancement.
Vintage Dishware Potential
Beyond contemporary mold options, vintage dishware offers extraordinary potential for distinctive ceramic creations that stand apart from mass-produced pieces.
You'll embrace sustainability while reducing costs—no need to invest in new molds when thrift stores offer treasure troves of unique shapes and patterns.
These repurposed ceramics add an eco-friendly dimension to your soap-making process, minimizing your carbon footprint while providing one-of-a-kind designs that can command premium prices.
Each vintage piece transfers its unique character to your soap, creating products with historical charm and artisanal appeal.
Remember to check vintage items for soap safety, particularly testing for lead.
While these pieces may require gentle handling and aren't ideal for high-volume production, they'll transform your soaps into conversation pieces that tell stories through their distinctive molds.
The absence of any superfat in cold-process dish soap recipes means your ceramic molds won't retain any oily residue after unmolding, making cleanup easier and preserving the integrity of your vintage dishware.
Proper Preparation of Ceramic Molds
Successful pottery creation hinges on five essential steps in mold preparation, making the difference between professional results and frustrating failures. Start by thoroughly cleaning your mold surface to prevent imperfections, then apply an appropriate release agent before verifying the surface is completely dry.
Always clamp your molds properly to avoid deformation during the casting process.
For ideal results and extended mold life, you'll need to:
- Store your molds in a controlled environment with proper ventilation to prevent moisture damage and warping
- Inspect your molds regularly for signs of wear and repair them promptly with defloculated slip
- Avoid overuse of any single mold and clean with dedicated tools to maintain quality
Remember to band mold halves together during drying to prevent warping and guarantee longevity. Ensure your ceramic molds have proper holes to allow air to escape during firing and prevent unwanted bubbles in your finished pieces.
Avoiding Common Pitfalls With Ceramic Curing
Even after preparing your molds perfectly, the curing process can make or break your ceramic project. Temperature sensitivity is vital—curing below recommended levels will compromise your results.
Perfect curing is the decisive factor between ceramic success and failure—temperature precision makes all the difference.
Keep humidity below 70% and guarantee adequate airflow to prevent moisture issues.
Avoid applying ceramic coatings too thickly or unevenly, as this leads to streaking and high spots. Don't rush the manufacturer's specified cure time, which may range from hours to days.
Curing in direct sunlight or on hot surfaces often causes premature or uneven results. Working in a sheltered area like a garage provides optimal conditions for proper ceramic curing.
For peak curing, choose controlled indoor environments with stable temperatures. Keep dust and debris away by using protective covers when necessary.
After curing, maintain your ceramics with pH-neutral cleaners, avoiding harsh chemicals that could damage your finished work.
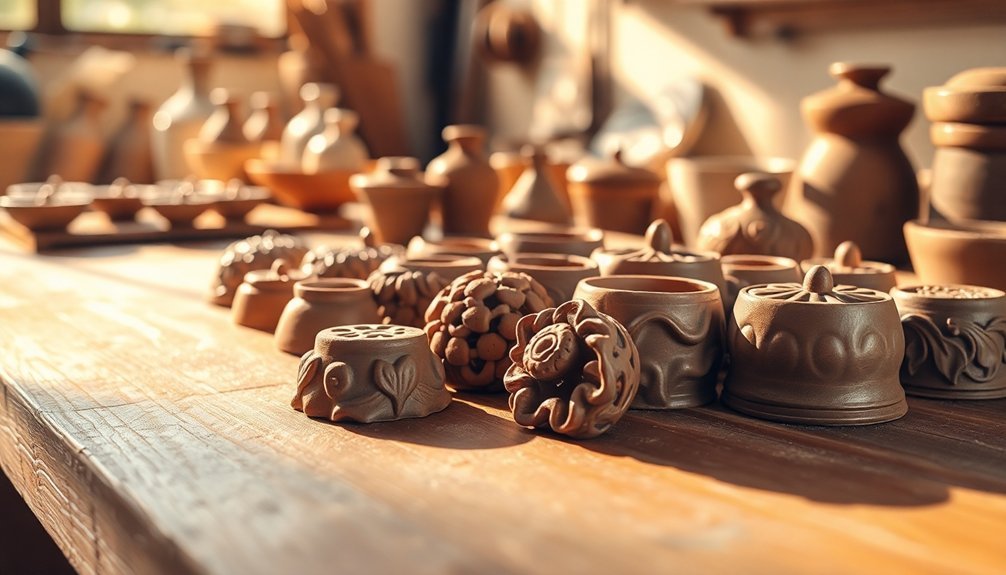
Artisanal Benefits of Traditional Ceramic Vessels
When you invest in traditional ceramic vessels, you're acquiring much more than just functional containers.
These uniquely crafted pieces carry cultural significance while supporting sustainable practices and local communities. Each vessel tells a story through its distinctive design, reflecting the artisan's personal style and cultural heritage.
By choosing handcrafted ceramics, you're supporting:
- Fair compensation for skilled artisans who pour their expertise into creating durable, high-quality pieces that last generations
- Environmental sustainability through locally sourced materials and reduced carbon footprints compared to mass-produced alternatives
- Cultural preservation of traditional techniques that might otherwise be lost to industrialization
The authenticity and character of these pieces bring warmth to any space, creating an emotional connection that mass-produced items simply can't replicate. Handcrafted ceramics feature rigorous quality control to ensure each product meets exceptional standards of craftsmanship.
Their aesthetic versatility makes them suitable for various decorative styles.
When to Choose Ceramic Despite the Challenges
Despite their notable challenges, ceramic molds offer distinct advantages that make them the preferable choice in specific soap-making scenarios.
You'll find them invaluable for hot process soap making due to their superior heat resistance—they won't warp or release chemicals when exposed to higher temperatures. Hot process soap requires additional heat to speed up saponification time, making ceramic molds an excellent choice for this method.
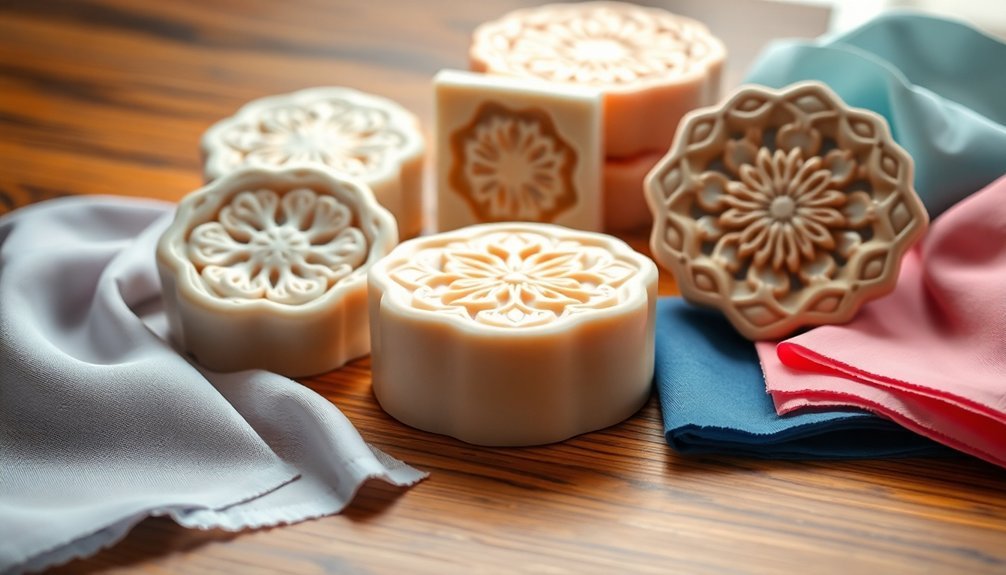
Consider ceramic molds when you're creating artisanal soaps for craft fairs, as they impart unique textures and patterns that elevate your product's visual appeal.
If sustainability factors into your business model, properly maintained ceramic molds can serve you for years, making them more eco-friendly than disposable alternatives.
For soap makers committed to traditional craftsmanship, ceramic molds reinforce your artisanal identity.
They're particularly worthwhile for large batch production where their durability ultimately offsets the higher initial investment.
Frequently Asked Questions
Can Ceramic Molds Be Used for Melt-And-Pour Soap?
Yes, you can use ceramic molds for melt-and-pour soap. Just apply a non-stick coating first, keep temperatures below 160°F, and handle with care as ceramics are more fragile than silicone alternatives.
How Long Should Soap Cure in Ceramic Compared to Other Molds?
In ceramic molds, your soap will initially harden faster than in silicone but similar to wood. You'll still need the standard 4-6 weeks curing time after demolding, regardless of the mold material you've used.
Will Glazed vs. Unglazed Ceramic Affect Soap Release Differently?
Yes, glazed ceramics provide easier soap release as they're non-porous. You'll find your soap releases more cleanly from glazed surfaces, while unglazed ceramics may absorb moisture and require more release agent to prevent sticking.
Can Antique Ceramic Dishes Safely Be Used for Soap Making?
You can use antique ceramic dishes if they're fully glazed and free of cracks. They're lye-resistant but may have limited durability. Always test them first and avoid pieces with metallic decorations or lead content.
Do Certain Soap Recipes Work Better With Ceramic Molds?
Yes, recipes with sodium lactate and higher hard oil content work better in ceramic molds. You'll find formulations that create harder bars are ideal since they're easier to unmold from rigid ceramic surfaces.
In Summary
Ceramic molds add artistic character to your cold process soaps, but they're not for beginners. With proper preparation and release techniques, you'll overcome sticking issues that make them challenging. Line them carefully, apply release agents liberally, and allow proper curing time. You're investing in both tradition and uniqueness when choosing ceramic over easier alternatives—a worthwhile effort when you're ready to elevate your soap making craft.


Leave a Reply