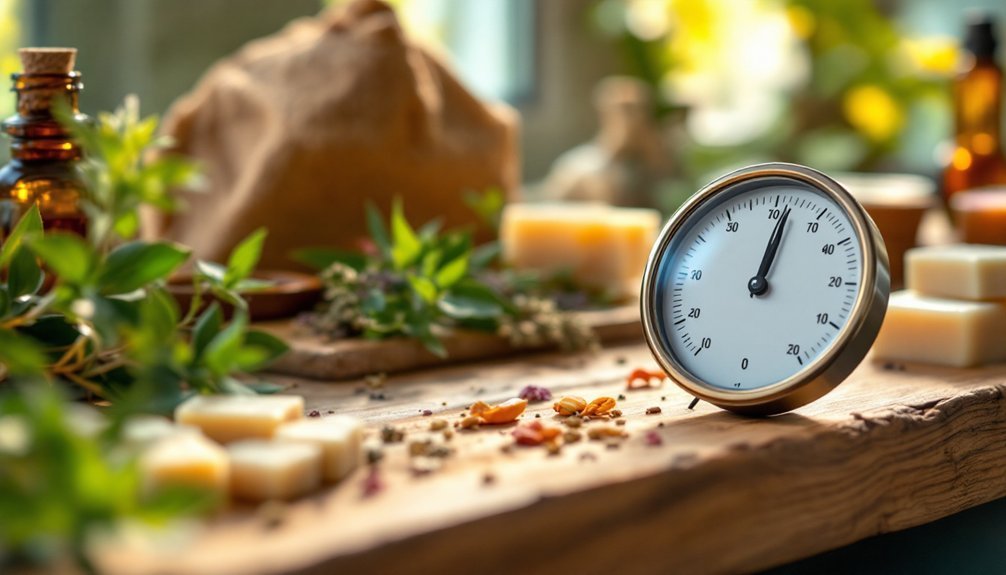
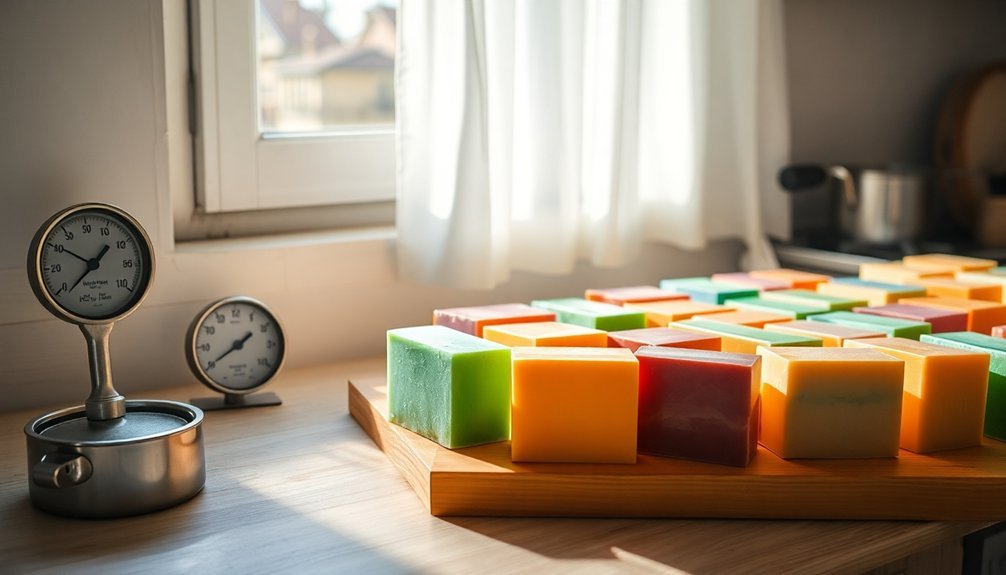
The ideal humidity range for successful soap making is 40-60% relative humidity. You'll achieve proper saponification and curing within this range, ensuring consistent texture and quality in your finished bars. At higher humidity levels, your soap may sweat or take longer to cure, while overly dry conditions can cause cracking. Consider using water discounting techniques and appropriate packaging to protect your creations. The perfect balance of moisture will transform your soap crafting experience.
Understanding the Science of Humidity in Soap Making
When making soap, humidity plays an essential yet often overlooked role in determining your final product's quality. The surrounding moisture directly affects how your soap behaves throughout the creation and curing processes.
Humidity influences your soap's moisture content and can cause "sweating" when glycerin attracts water from the air. This isn't moisture escaping from inside the soap but rather humectants drawing in external moisture. The science behind this involves glycerin—naturally produced during saponification—acting as a powerful water-binding agent. Proper control of environmental conditions helps ensure complete crystallization of fatty acids, which is crucial for developing optimal soap hardness and lathering properties.
Temperature also matters because warmer air holds more moisture, indirectly affecting your soap's appearance and curing time.
Understanding this relationship helps you anticipate how your soap will respond in different environmental conditions, particularly when using ingredients like honey, castor oil, or Dead Sea mud.
The Ideal 40-60% Humidity Range for Cold Process Soaping
The ideal humidity range for cold process soap making falls between 40-60% relative humidity (RH).
For successful cold process soaping, maintain 40-60% relative humidity to ensure proper curing and optimal results.
This range provides the best environment for both creating and curing your soaps, allowing them to harden properly without becoming too dry or retaining excess moisture. Maintaining proper temperature alongside humidity control is crucial, as saponification requires specific conditions to achieve optimal results.
When you maintain this humidity sweet spot, you'll notice more consistent results in your soap's texture, appearance, and quality.
Outside this range, you risk common problems: below 40% can make soaps excessively hard and dry, while above 60% might lead to soggy bars or glycerin rivers affecting your soap's appearance.
Consider investing in humidity monitoring tools and control methods like dehumidifiers or Damprid to maintain stable conditions, especially important if you're making soap in areas with seasonal humidity fluctuations.
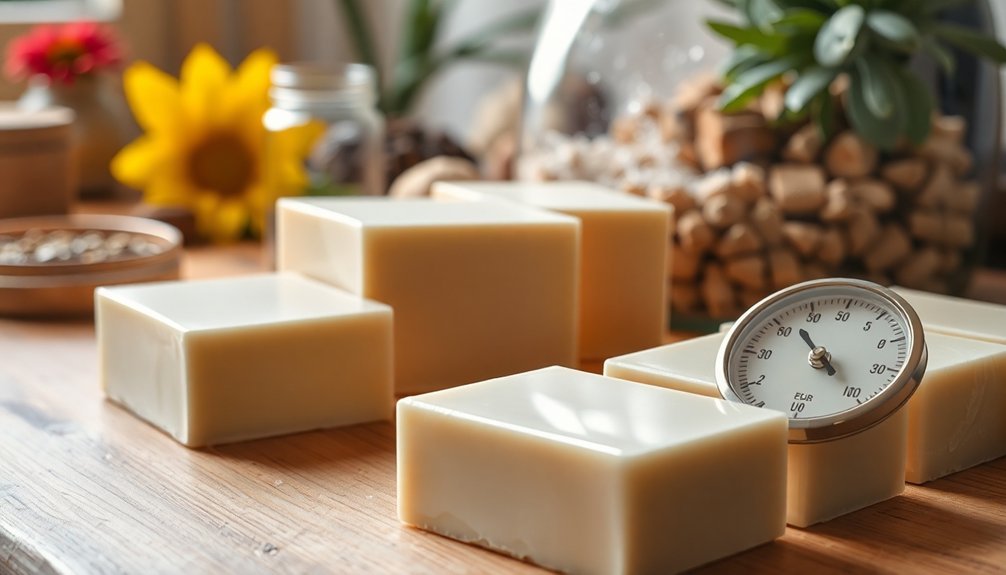
How Excessive Moisture Affects Saponification
Despite its essential role in soap making, excessive moisture can greatly disrupt the saponification process.
Too much water slows down the rate at which alkali attacks fat molecules, potentially causing soap separation in molds and delaying hardening.
When you're working with high humidity environments, your soap will struggle to fully dry.
The glycerin in your soap acts as a humectant, drawing additional moisture from the air, making your bars feel sticky or sweaty.
This prolongs curing time and can compromise your final product's quality.
You'll notice that soaps made with excessive water or cured in humid conditions may ironically feel more stripping when used, even with superfatting.
Finding the right water:lye ratio is vital—calculate based on alkali weight to prevent common issues like weeping and separation.
Experienced soapmakers often adjust their water levels to accommodate for added sugar or purees that can dramatically accelerate soap heating during saponification.
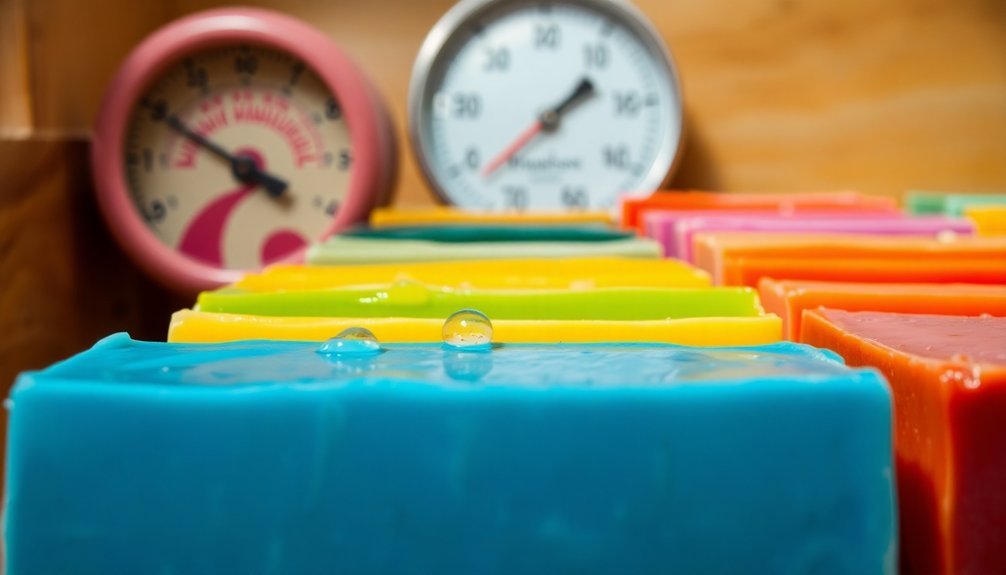
Managing Glycerin Sweating in High Humidity Environments
When you notice your soaps developing a moist, dewy appearance, you're witnessing glycerin sweating that commonly occurs at 40-80% relative humidity.
You'll want to wrap your finished soap immediately in plastic or biodegradable biolefin to create a protective barrier against ambient moisture.
For long-term storage, placing silica packets in your soap containers will absorb excess humidity and keep your products looking professional rather than sweaty. This natural occurrence is primarily caused by high glycerin content attracting moisture from the surrounding environment.
Identifying Glycerin Dew
How can you tell if your soap is experiencing glycerin dew rather than some other issue? Look for beads of moisture appearing on the soap's surface, especially concentrated around corners and edges. This common phenomenon occurs particularly in melt and pour soap due to its higher glycerin content. Natural soaps retain glycerin, unlike mass-produced detergent bars sold in stores.
| Characteristic | What It Means |
|---|---|
| Water beads on surface | Glycerin attracting moisture from air |
| More prominent on edges | Normal distribution pattern of dew |
| Clear liquid (not cloudy) | Pure moisture, not soap degradation |
Don't worry when you spot glycerin dew—it's actually a good sign indicating beneficial skin-moisturizing properties in your soap. The presence of these droplets doesn't affect the soap's quality or effectiveness, only its appearance. Remember, this isn't spoilage but simply glycerin doing what it does best: attracting moisture.
Wrap Soap Immediately
Immediate wrapping of your soap provides the most effective defense against glycerin sweating in high humidity environments.
Once unmolded, glycerin begins attracting moisture from the air, especially when humidity exceeds 80%, resulting in those unwanted beads of water on your soap's surface.
Apply shrink wrap using a heat gun or hairdryer to create an airtight seal, being careful not to overheat the soap.
Alternatives like coffee filters or waxed paper can also effectively limit air exposure.
Remember, timing is essential—any delay increases the risk of visible moisture accumulation on your soap.
For soap makers in particularly humid regions, consider using low-sweat bases like Crystal NS or Crystal WNS, which are specifically designed to minimize sweating issues while maintaining the moisturizing benefits that consumers value.
This sweating phenomenon occurs because glycerin attracts moisture from the surrounding environment, creating what appears to be frost on your finished product.
Silica Packet Protection
Silica packets offer another powerful defense against glycerin sweating when humidity threatens your soap's appearance. These moisture-absorbing packets can easily be included in airtight containers or fabric pouches alongside your soap to maintain ideal humidity levels.
Never staple these packets together, as silica spillage creates inhalation hazards. You can recondition used packets for multiple uses, making them a cost-effective solution for your soap-making operation. They come in various sizes to accommodate different storage needs. Many soap makers find that silica packets are cheaply available online through retailers like Amazon.
If you prefer eco-friendly alternatives, consider Micro-Pak clay, activated charcoal, or baking soda. Even dried herbs can serve as natural desiccants for smaller quantities.
Using a hygrometer to monitor relative humidity levels will help you determine how many silica packets you'll need based on your specific storage environment.
Seasonal Adjustments for Summer vs. Winter Soap Making
When the seasons change, so must your soap making techniques. Summer's high humidity slows curing times to 8+ weeks, while winter's drier air accelerates the process.
| Factor | Summer Adjustments | Winter Adjustments |
|---|---|---|
| Temperature | Lower (100-110°F) to prevent overheating | Higher (120-130°F) to guarantee proper melting |
| Water Content | Discount water to speed curing | Standard amounts work well |
| Curing Setup | Use dehumidifiers or Damp Rid | Natural conditions usually sufficient |
| Gel Phase | Often avoided to prevent overheating | May be encouraged for faster curing |
You'll need cooler soaping temperatures in summer to prevent glycerin rivers, while winter may require insulation to maintain proper saponification. Consider your local climate's specific humidity levels when planning your seasonal soap making strategy. Proper mold preparation techniques become especially important during temperature extremes to ensure consistent quality of your soap batches.
Dehumidification Techniques for Your Soap Studio
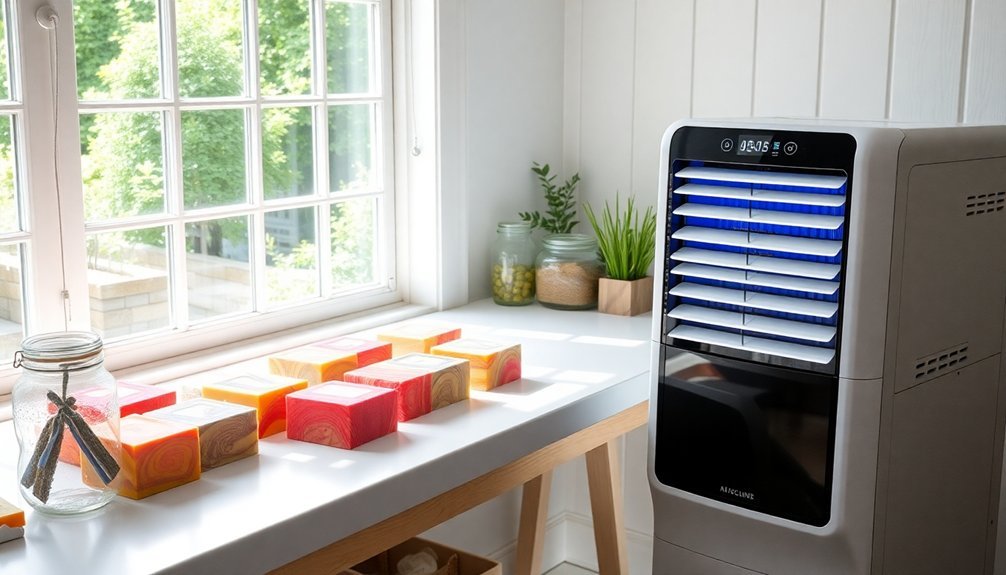
Maintaining proper humidity levels in your soap studio can greatly impact both the quality and curing time of your finished products.
While dehumidifiers efficiently remove excess moisture, they won't accelerate the complete curing process that involves chemical changes in your soap.
For ideal results, aim to keep your studio's relative humidity between 20% and 80%.
Use a hygrometer to monitor these levels consistently.
Besides electronic dehumidifiers, consider alternatives like Damprid, silica gel, or activated charcoal as effective moisture absorbers.
Proper air circulation is equally important—install fans or improve ventilation to prevent moisture buildup.
Store your curing soaps on breathable shelves, and keep lye in airtight containers to prevent moisture absorption.
Remember that while lower humidity helps maintain texture and prevent splits, it doesn't greatly affect fragrance retention.
Many soapmakers have found that a 42% humidity level works particularly well for standard soap recipes, requiring minimal adjustment with dehumidification equipment.
The Relationship Between Temperature and Humidity Control
Temperature directly impacts how quickly your soaps cure, with higher temperatures accelerating the process while potentially causing quality issues if humidity isn't simultaneously controlled.
You'll need to adjust your saponification methods based on your local climate, using cooler temperatures and harder oils in tropical environments or warmer settings with increased ventilation in colder, damper regions.
Balancing these two environmental factors creates ideal conditions for consistent, high-quality soap production regardless of your geographical location. Using a digital scale for precise measurements ensures your soap recipe maintains the proper oil-to-lye ratio despite environmental variations.
Heat Affects Cure Time
Although soap makers often focus on recipe formulation, the environmental conditions during curing dramatically impact your final product's quality and readiness.
Temperature plays an essential role in determining how quickly your soap cures and develops its final properties. Higher temperatures accelerate the saponification process, potentially reducing overall cure time. The reaction rate typically doubles every 10°C increase in temperature, significantly affecting your soap's development timeline.
When you maintain temperatures between 70-75°F (21-24°C) during curing, you'll achieve ideal results with controlled evaporation rates. If your curing area is too warm, your soap might cure unevenly or develop issues like overheating and cracking.
Conversely, cooler temperatures extend the curing period—sometimes considerably.
Remember that heat's effects vary between cold and hot process methods. Hot process soaps become usable faster but still benefit from curing time, while cold process varieties require longer curing periods for ideal quality.
Climate-Adaptive Saponification Methods
When crafting soap in varying climate conditions, you'll need to adapt your saponification methods to work harmoniously with both temperature and humidity factors.
Keep your workspace between 90°F and 110°F (32°C-43°C) for ideal results, allowing lye solutions to cool to 120-130°F before mixing with oils.
In humid environments, reduce your water-to-lye ratio and consider adding clay or charcoal to absorb excess moisture.
You'll find a dehumidifier invaluable for maintaining proper curing conditions. For tropical climates, choose coconut or palm oil, which remain solid at room temperature.
Always adjust your insulation techniques based on ambient temperature—less insulation for warmer climates prevents overheating. Additionally, using heat transfer method can be especially effective for recipes with high soft oil content.
Working in air-conditioned or well-ventilated spaces helps maintain consistency, and using a digital thermometer guarantees you're tracking temperature variables accurately throughout the process.
Optimal Curing Conditions: Balancing Airflow and Humidity
Creating the ideal environment for soap curing requires careful attention to both humidity and airflow. Your soap's quality, durability, and curing time depend on maintaining the right balance between these factors. Modern soap-making has significantly reduced necessary curing times, with some methods allowing for soap to be usable after just 48 hours of curing.
| Condition | Ideal Range | Effect if Too Low | Effect if Too High | Monitoring Method |
|---|---|---|---|---|
| Humidity | 20-80% RH | Accelerated curing, possibly too brittle | Delayed curing, softer bars | Hygrometer |
| Airflow | Consistent, gentle | Uneven curing | Dust accumulation | Visual check of setup |
| Temperature | 65-80°F | Slower curing process | Excessive oil sweating | Thermometer |
| Protection | Mesh covers | Contamination risk | Restricted airflow | Regular inspection |
| Space | 1" between bars | Uneven curing | Extended drying time | Ruler measurement |
You'll achieve best results by positioning your curing rack in a well-ventilated area away from direct sunlight, with consistent temperature and moderate humidity levels.
Water Discounting Methods for Humid Climate Soap Making
While balancing humidity and airflow sets the foundation for proper soap making, soap makers in humid climates often need additional techniques to guarantee successful results.
Water discounting is particularly effective, creating harder, longer-lasting bars that cure faster in challenging environments.
Water discounting produces superior bars with enhanced durability and accelerated curing times when humidity challenges persist.
To implement this technique, multiply your standard water amount by a discount factor (like 0.9 for a 10% discount). Keep discounts between 1-15% to avoid excessive acceleration. Be cautious about going beyond 15% discount as this can create dangerous lye pockets that might cause skin irritation. The resulting concentrated lye solution speeds saponification and reduces moisture retention, helping prevent common humid-climate problems like soda ash and glycerin rivers.
Remember that water discounting accelerates trace, potentially limiting design options.
When using liquid additives, adjust your discount accordingly to maintain proper consistency and monitor your soap carefully during the process.
Packaging Solutions to Protect Soap From Humidity Damage
You'll need effective moisture-blocking wraps like dobby, crease wrap, or biolefin to shield your soap from humidity's damaging effects.
Vacuum sealing offers superior protection by completely eliminating air contact, preventing the humectants in your soap from attracting moisture.
For maximum humidity defense, consider implementing a double-layer approach that combines plastic barriers with paper or cardboard outer packaging. When choosing packaging, remember that glycerin in soap naturally draws moisture from the air, making proper humidity protection essential.
Moisture-Blocking Wraps
Protecting handmade soap from humidity damage requires proper packaging solutions that create an effective moisture barrier. Wax paper stands out as an excellent choice due to its moisture resistance and non-stick properties. Unlike plastic wrap, wax paper doesn't stick to glycerin soap while providing effective protection.
For eco-conscious crafters, kraft paper, recycled materials, and soywax paper offer biodegradable alternatives that still mitigate humidity effects.
Cellophane and shrink wrap provide superior protection by creating a complete moisture barrier, while parchment paper offers durability against environmental conditions.
Consider biolefin shrink wrap for an environmentally friendly option that doesn't sacrifice performance.
Remember that a single layer of wax paper alone may not suffice in high-humidity environments. For best results, verify your soap is fully cured before wrapping to prevent trapping moisture inside the packaging, which could lead to sweating or mold growth.
Vacuum Sealing Benefits
Vacuum sealing represents one of the most effective packaging methods for safeguarding handmade soap against humidity damage. This technique creates an airtight environment that extends shelf life and maintains fragrance integrity by removing oxygen that can accelerate deterioration. The process, invented in 1940s by German engineer Karl Busch, has evolved to become an essential preservation method across various industries.
| Benefit | How It Protects Your Soap |
|---|---|
| Moisture Barrier | Prevents humidity from causing premature softening |
| Contamination Shield | Blocks dust, insects, and environmental pollutants |
| Fragrance Preservation | Keeps essential oils and scents from dissipating |
| Professional Presentation | Enhances consumer confidence with tamper-evident packaging |
| Space Efficiency | Reduces storage volume for easier shipping and storage |
You'll find vacuum sealing particularly valuable for long-term storage, as it eliminates the need for frequent monitoring while creating a non-porous barrier against environmental factors that compromise soap quality.
Double-Layer Defense
A double-layer defense strategy offers soap makers the most thorough protection against humidity damage. By combining flexible packaging with custom soap sleeves, you'll create an effective multi-layer barrier against moisture intrusion.
The inner layer—typically laminated rollstock—provides airtight sealing and puncture resistance, while the outer cardboard or kraft sleeve adds structural integrity. Consider including small moisture-absorbing packets containing raw rice in your packaging to naturally draw away ambient humidity from your soap products.
This approach not only shields your products from humidity but also creates branding opportunities on both packaging layers. You'll appreciate the tamper-evident features that maintain product integrity from production to customer.
The lightweight, space-efficient nature of this combination reduces shipping costs while minimizing environmental impact.
For maximum protection, guarantee your packaging includes moisture-resistant materials and consider adding DIY dehumidifiers with calcium chloride near storage areas to maintain ideal conditions throughout the distribution process.
Creating a Controlled Environment for Consistent Results
Creating a controlled environment stands as the cornerstone of successful soap making, especially when consistency is your goal. To achieve reliable results, maintain temperatures between 100°F and 120°F when mixing ingredients. This precise range guarantees proper saponification while preventing overheating.
Beyond temperature, you'll need to manage airflow and humidity effectively. Proper ventilation disperses lye fumes, keeping you safe, while adequate air circulation promotes even curing of your soap bars. The ideal humidity level for soap curing should be maintained at 45-55 percent to prevent excess moisture retention or overdrying.
A well-organized workspace also prevents contamination and streamlines your production process.
Don't underestimate the importance of quality tools – digital scales for precise measurements, reliable thermometers to monitor temperatures, and appropriate safety gear.
These elements work together to create an environment where you can produce consistently high-quality soap with predictable results batch after batch.
Frequently Asked Questions
Can Essential Oil Scent Retention Be Affected by Humidity Levels?
Yes, humidity directly affects your essential oil scent retention. In high humidity, you'll notice your oils' aromas become weaker as moisture dilutes volatile compounds. You'll need stronger oils when it's humid for comparable effects.
How Does Altitude Influence Soap Making Humidity Requirements?
At higher altitudes, you'll need to manage lower humidity levels that cause faster soap drying. You're not changing your process because of altitude itself, but rather adapting to the drier conditions it creates.
Do Certain Colorants React Differently Under Varying Humidity Conditions?
Yes, your colorants do react differently to humidity. Water-soluble dyes can bleed, natural colorants may fade, and micas can lose vibrancy. Pigments generally remain most stable when humidity fluctuates during soap curing.
Is Humidity Control Different for Liquid Soap Versus Bar Soap?
Yes, humidity control differs considerably between these soaps. Your bar soap requires more careful humidity management due to glycerin content causing sweating, while your liquid soap's water-based formula makes it less sensitive to ambient moisture.
Can Humidity Affect the Shelf Life of Finished Soap Products?
Yes, humidity will shorten your soap's shelf life. It causes softening, mold growth, and degrades essential oils. You'll notice faded colors, weaker scents, and reduced lathering ability when storing soap in humid environments.
In Summary
You'll find maintaining 40-60% humidity is critical for soap making success. When you control your environment through proper ventilation, dehumidifiers, or water discounting, you're ensuring ideal saponification and curing. Don't let seasonal changes derail your efforts—adjust your techniques accordingly and store your finished soaps properly. With these humidity management practices, you'll consistently create beautiful, long-lasting soaps regardless of your climate challenges.


Leave a Reply