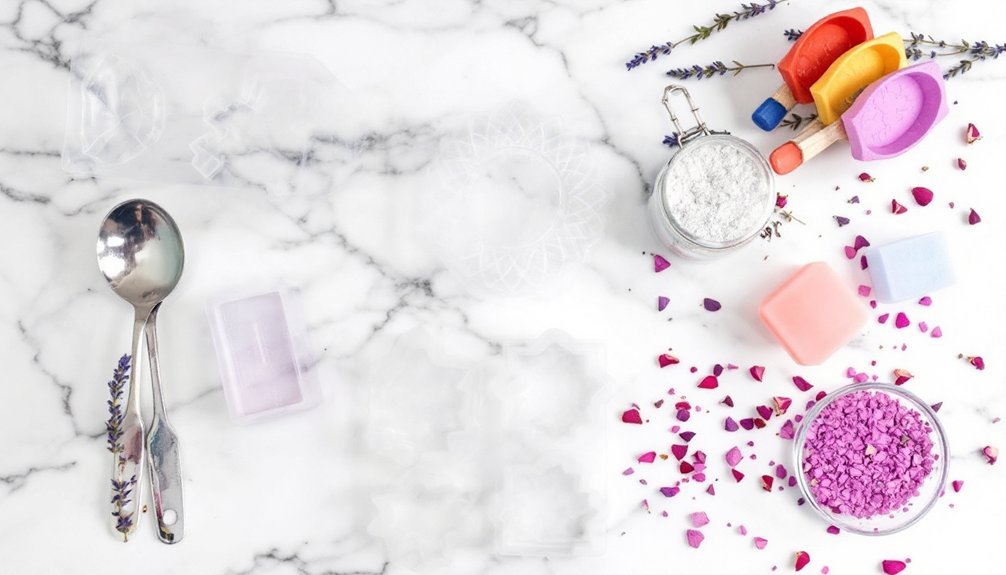
For your first soap making venture, you'll want to start with flexible silicone molds – they're durable, easy to clean, and release soap effortlessly without special preparation. If you're on a budget, consider using household containers like milk cartons or yogurt tubs lined with freezer paper. Just avoid aluminum containers, as they can react with soap ingredients. Once you've mastered these basic options, a world of creative mold possibilities awaits your exploration.
Understanding Basic Mold Materials

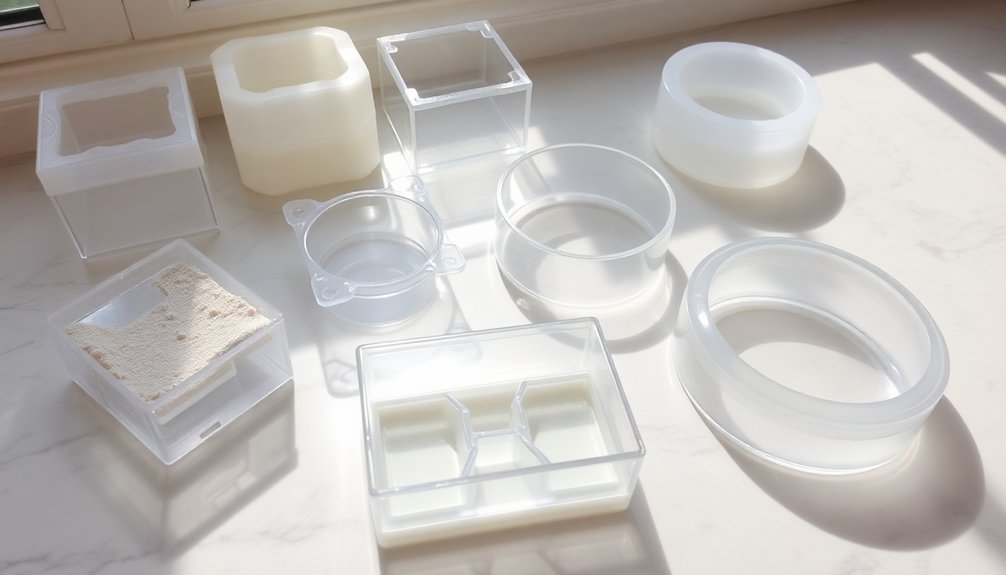
The world of soap mold materials can seem overwhelming at first, but understanding your options will help you make the right choice for your soap-making journey.
When you're exploring soap making supplies, you'll encounter four main mold types, each with distinct advantages.
Silicone molds are your most versatile option – they're flexible, easy to clean, and perfect for detailed designs.
If you're planning larger batches, wooden molds offer durability and customization, though you'll need to line them properly.
For budget-conscious beginners, plastic molds are lightweight and affordable, but handle them carefully to prevent cracking.
Acrylic molds let you watch your soap take shape through their clear walls, making them great for monitoring your creation, though they can be trickier to unmold than their silicone counterparts.
Silicone Molds for Easy Release
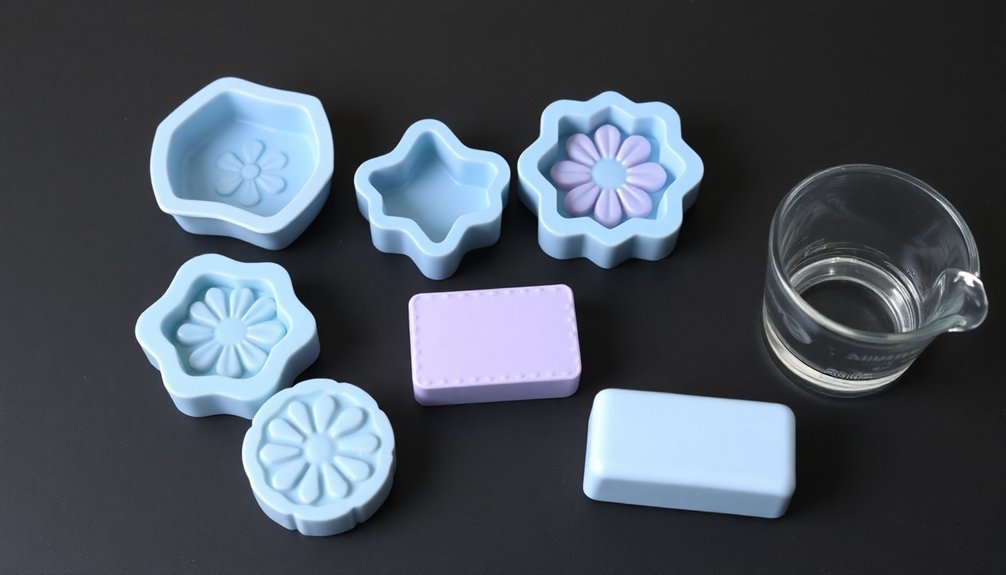
Anyone starting their soap-making journey will appreciate silicone molds' user-friendly nature. These flexible molds make unmolding a breeze, thanks to their non-stick surface that guarantees your soaps come out perfectly intact. You'll find they're incredibly durable and can last for years with basic care.
Silicone molds are a beginner's best friend, offering non-stick flexibility and durability that ensures perfect soap bars every time.
What makes silicone molds stand out:
- They're versatile enough to handle temperatures from -40°F to 500°F
- You won't need additional liners or prep work before pouring
- They come in a variety of shapes for endless creative possibilities
- The easy release feature prevents damage to intricate designs
When you're just starting out, you'll want tools that boost your confidence and help you create professional-looking bars. Silicone molds deliver exactly that, making them an excellent choice for beginners and experienced crafters alike.
Repurposed Household Containers
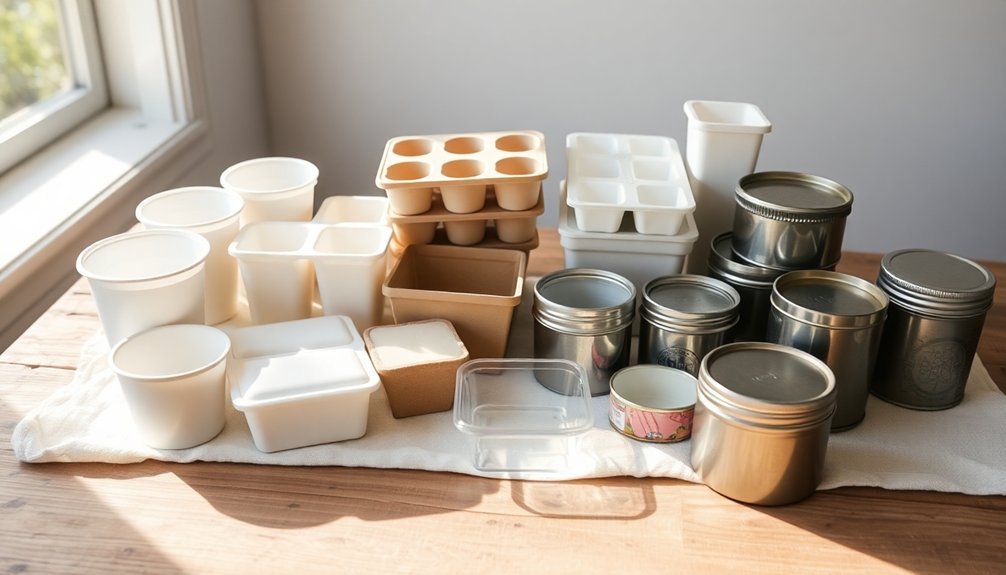
Smart soap makers know that everyday household containers make excellent molds for beginners. You'll find that waxed paper milk cartons and plastic yogurt containers offer great accessibility and cost-effective options to start your soap-making journey.
Just avoid aluminum containers, as they can react negatively with your soap mixture.
To guarantee your soap releases easily, line your repurposed household containers with freezer paper, plastic bags, or wax paper. These lining materials prevent sticking and make unmolding a breeze.
You can even create unique soap shapes using items like lined Pringles canisters. By choosing these repurposed containers as soap molds, you're not only saving money but also promoting environmental sustainability by giving these items a second life instead of sending them to landfills.
Wood Mold Benefits and Care
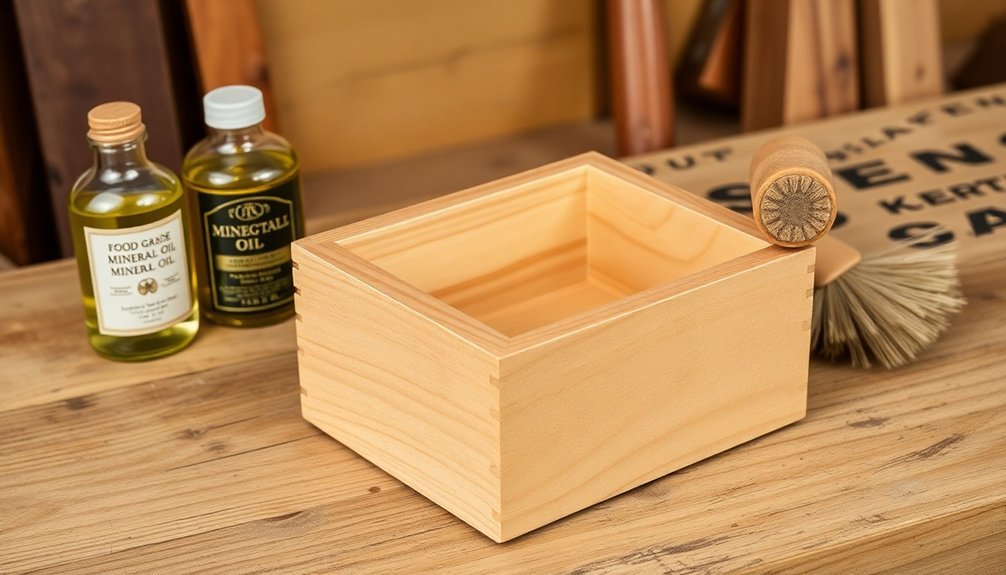
You'll find wooden soap molds highly effective when lined properly with freezer paper or corrugated plastic, preventing your soap from sticking and making removal effortless.
The natural insulating properties of wood help maintain consistent temperatures during the saponification process, allowing your cold process soap to set more efficiently.
These molds keep heat trapped inside due to their thick walls, which means your soap will likely reach gel phase faster than in thinner containers.
Lining Wood Molds Properly
The three key advantages of wooden soap molds – durability, affordability, and versatility – make them a popular choice among beginners, but proper lining is crucial for their successful use.
When you're lining wooden molds, you'll need non-stick materials that facilitate easy removal of your finished soap.
Here's what you need to know about effective mold lining:
- Cut your lining material slightly larger than the mold's dimensions to allow for secure folding over edges
- Consider using thick silicone liners for professional-looking edges and simplified removal
- Check your lining materials regularly for signs of wear to maintain their non-stick properties
- Line your molds carefully to prevent leaks and protect the wood's integrity
Insulation For Better Saponification
Because wooden soap molds provide superior insulation properties, they excel at maintaining perfect temperatures during the critical saponification process. The thick walls of wooden soap molds guarantee consistent heat retention throughout your batch, promoting faster and more complete chemical reactions.
You'll find that proper insulation directly impacts your soap quality by preventing common issues like overheating that can affect the final texture. To get the best results, line your mold with freezer paper, which not only aids in insulation but also makes removing your soap easier.
Remember to maintain your wooden molds by regularly inspecting them for wear and applying food-safe finish when needed. The natural insulating properties of untreated pine, a common material for these molds, make it an excellent choice for achieving ideal saponification temperatures.
Plastic Mold Options and Limitations
When starting your soap-making journey, plastic molds offer an excellent entry point due to their durability and beginner-friendly nature.
You'll find them lightweight and easy to handle, with affordable prices around $8.25 making them accessible for newcomers to the craft.
While plastic soap molds provide good flexibility in design options, there are some limitations to take into account:
Plastic soap molds offer versatile design possibilities, but crafters should carefully consider their inherent constraints before making a selection.
- Available in various shapes and sizes, eliminating the need for cutting
- Durable construction that can withstand regular use
- Less flexible than silicone alternatives, which can make unmolding challenging
- Requires careful handling to prevent cracking or deformation
When using plastic molds, you'll need to exercise caution during the unmolding process.
Too much pressure can damage both your soap creation and the mold itself, potentially shortening its lifespan.
Despite these limitations, they remain a practical choice for beginners.
Essential Safety Considerations
Safety stands at the forefront of successful soap making, regardless of your chosen mold materials. Always wear your protective gear, including gloves, goggles, and a mask, to shield yourself from lye and other potentially harmful substances during the process.
You'll need to work in a well-ventilated area, especially when handling essential oils or fragrances that release strong fumes. Before using your soap molds, check their temperature limitations to prevent warping or unsafe handling.
Keep all your supplies and equipment secured away from children and pets. Don't skip reviewing the safety data sheets for your chemicals – they're essential resources that outline specific hazards and handling procedures.
Understanding these safety protocols isn't just about following rules; it's about protecting yourself while creating quality soap products.
Cost-Effective Starter Choices
You'll find plenty of budget-friendly soap mold options right in your kitchen, from waxed paper milk cartons to plastic yogurt containers and Pringles canisters.
Your household items can easily transform into practical soap molds when lined with freezer paper, plastic bags, or wax paper, saving you significant startup costs.
These reusable container options not only help you minimize expenses but also support eco-friendly crafting practices as you begin your soap-making journey.
Budget-Friendly Container Options
Three readily available household items can serve as perfect soap molds for beginners without breaking the bank.
You'll find food containers like waxed paper milk cartons and plastic yogurt tubs are budget-friendly options that make soap making accessible. These reusable containers promote sustainability while offering convenient shapes for your creations.
- Plastic food storage containers without aluminum – perfect for various soap shapes
- Lined Pringles canisters – ideal for creating cylindrical soaps
- Waxed paper milk cartons – excellent for rectangular bars
- Yogurt containers – great for individual-sized soaps
To enhance your soap making experience, line your containers with freezer paper, plastic bags, or wax paper. This simple step prevents sticking and guarantees your soaps release easily.
These everyday items prove that you don't need expensive equipment to start crafting beautiful soaps.
Reusable Household Items
Looking beyond basic containers, many everyday household items double as excellent soap molds while keeping costs down. You'll find waxed paper milk cartons, plastic yogurt containers, and even Pringles canisters can serve as reliable soap molds for your initial soap making ventures.
When selecting reusable household items for experimentation, avoid aluminum containers, as they'll react with your soap mixture. Instead, opt for plastic containers that you'd normally recycle.
To prevent sticking, you can line these makeshift molds with freezer paper, plastic bags, or wax paper, making soap removal much easier. This sustainable approach to soap making not only saves you money but also gives new life to items you'd typically throw away.
These versatile lining materials guarantee your DIY molds perform just as well as commercial options.
Proper Mold Preparation Steps
Successful soap making starts with proper mold preparation, which varies depending on your chosen material.
Before you begin, inspect molds for damage and verify they're clean and dry to prevent contamination. Different mold types require specific preparation techniques to guarantee easy release of soap after curing.
Follow these essential steps for your mold type:
- For wooden molds: Line with freezer paper or silicone liners to create a non-stick surface
- For plastic and acrylic molds: Apply a thin layer of mineral oil or cosmetic silicone
- For silicone molds: No preparation needed – they're naturally non-stick
- For all molds: Check for cracks, clean thoroughly, and verify complete drying before use
These preparation steps will help you achieve professional results and prevent frustrating situations where soap sticks to your molds.
Size and Shape Selection Guide
When you're starting your soap-making journey, you'll find that standard loaf molds holding 2-5 pounds of soap are perfect for regular batch production, while individual cavity molds work better for smaller experimental batches.
Your choice between rectangular, square, or decorative shapes like flowers and hearts will greatly impact your final product's appearance and marketability.
Consider beginning with flexible silicone molds in basic shapes, which let you master the fundamentals before exploring more intricate custom designs.
Standard Mold Dimensions
Selecting the right soap mold dimensions can make or break your soap-making success. You'll find various soap molds on the market, each designed for specific batch sizes and final soap sizes. Standard loaf molds typically hold 2-5 pounds of soap, perfect for creating multiple bars from a single pour.
Here's what you'll need to know about common mold dimensions:
- Loaf molds measure 9-12 inches long, producing 8-16 bars depending on your cutting thickness.
- Cavity molds feature individual spaces holding 1-5 ounces, ideal for single decorative bars.
- Slab molds span 12-18 inches long and 4-6 inches wide, offering maximum surface area for designs.
- Individual cavities come in various shapes, letting you create unique soap presentations.
Remember to match your recipe volume to your chosen mold's capacity to avoid overflow or underfilling.
Popular Shape Categories
The world of soap mold shapes offers endless creative possibilities beyond standard dimensions. When choosing from various types of soap molds, you'll find rectangular molds are perfect for traditional bars and larger batches, typically producing about 16 bars from a 5 lb capacity.
Silicone molds have become a favorite among crafters because they're flexible and don't require lining. You'll appreciate how easily your soaps release while maintaining intricate details.
For gifting or special occasions, individual molds featuring flowers, ocean waves, or animal designs can make your creations stand out. While these hold less soap than rectangular molds, they're ideal for small, decorative batches.
Custom molds let you explore unique shapes that match your specific needs, whether you're making soaps for personal use or creative projects.
Lining Materials and Methods
Proper lining of soap molds serves as your first defense against sticking issues and guarantees a smooth unmolding process.
When you're working with wooden molds, you'll need reliable lining materials to protect your creations and make certain they release easily.
Here's what you can use to line your molds effectively:
- Freezer paper is your best bet, offering a non-stick surface that holds up well against moisture.
- Plastic bags provide a budget-friendly solution that's perfect if you're just starting out.
- Wax paper works efficiently but requires careful handling to avoid tears.
- Multiple layers of any lining material can offer extra protection for complex designs.
Remember to smooth out any wrinkles in your chosen liner before pouring the soap – this will help you achieve clean, professional-looking edges on your finished bars.
Common Mold Troubleshooting
While making soap can be rewarding, you'll likely encounter some common mold issues that need quick solutions. If you're struggling with sticking problems, apply mineral oil or cosmetic silicone to your soap molds before pouring.
When soap won't release, try freezing it for 30 minutes to help it pop out easily.
To prevent bubbles in silicone molds, pour your soap mixture at a light trace and gently shake the mold to distribute the soap evenly.
You'll also want to monitor temperature and lye concentrations carefully, as these factors can lead to cracking, overheating, and white pockets in your final product.
Don't forget to clean molds thoroughly after each use. Leftover lye or soap residue can contaminate future batches, especially if you plan to use the molds for food items later.
Frequently Asked Questions
What Is the Best Material for Soap Molds?
You'll find silicone molds are your best choice since they're flexible, non-stick, and easy to clean. However, if you're making larger batches, wooden molds offer great durability despite needing proper lining.
What Is the Best Wood for Soap Molds?
You'll find non-treated pine is your best choice for soap molds. It's affordable, easy to work with, and provides excellent insulation. If you're willing to spend more, hardwoods like maple or birch work well too.
Can I Use Muffin Tins for Soap Molds?
Yes, you can use muffin tins as soap molds. They're great for making small, round bars. Choose silicone or stainless steel tins, and consider lining metal ones with parchment paper for easier removal.
Can I Use Parchment Paper for Soap Mold?
Yes, you can use parchment paper to line your soap molds. It's an excellent non-stick option that's heat-resistant and makes removing soap easier. Just be sure to secure it well to prevent leaks.
In Summary
You'll find success with any of these mold options as you begin your soap making journey. Start with simple silicone molds or repurposed containers before investing in wooden or specialty molds. Remember to properly prepare your chosen mold, use appropriate liners when needed, and don't hesitate to experiment with different shapes and sizes. With practice, you'll discover which materials best suit your soap making style.


Leave a Reply