Ancient soap preservation methods include air-drying on wooden racks, linen wrapping, clay vessel storage, salt curing, ash coating, herbal infusions, sunlight curing, cold cellar storage, olive oil coating, and beeswax sealing. You'll find these techniques not only extend your soap's shelf life but also enhance its quality and fragrance. Each method leverages natural elements to protect against moisture, contaminants, and deterioration. Discover how these time-tested traditions can transform your handmade soap experience.
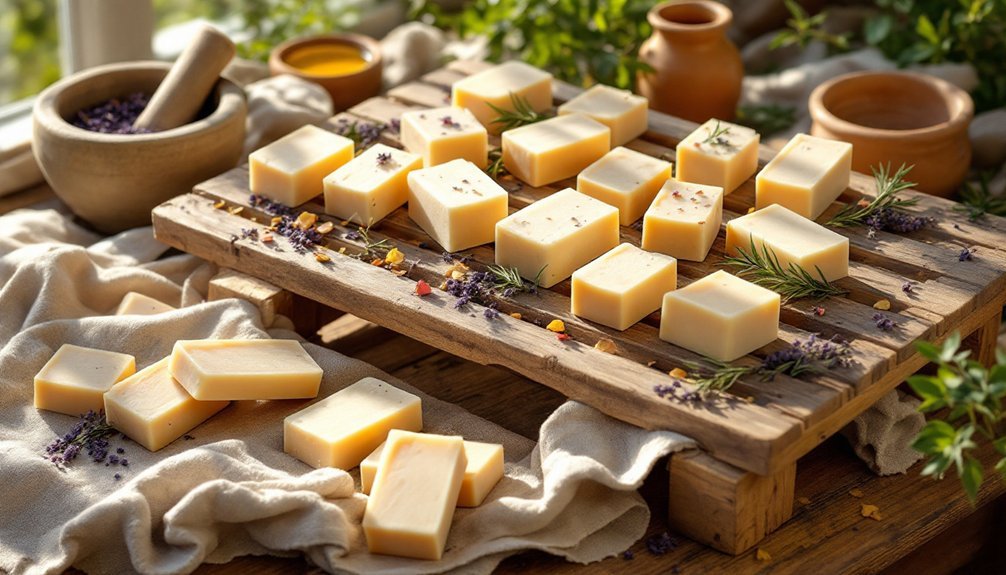
Air-Drying on Wooden Racks
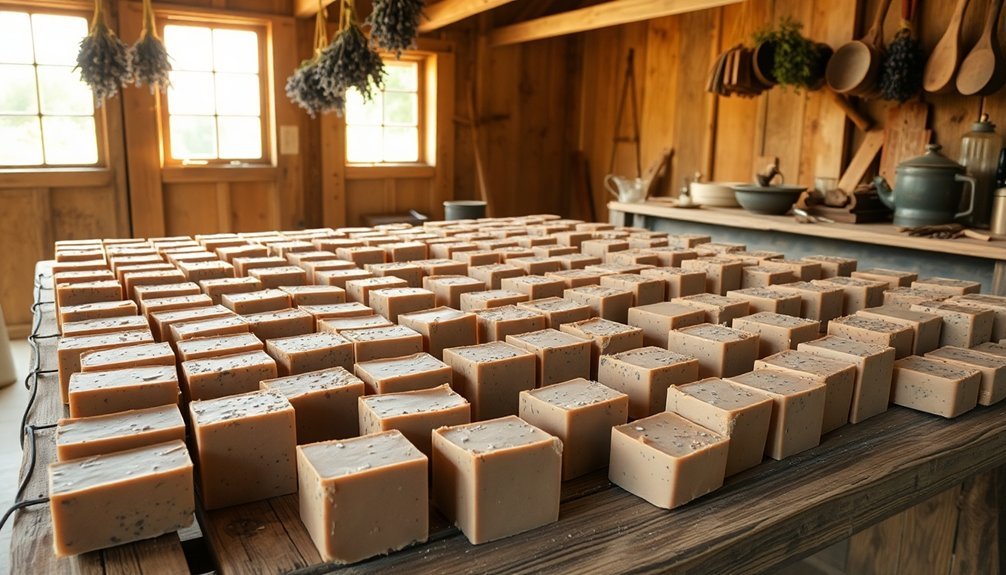
Although modern soap makers have access to various preservation techniques, air-drying on wooden racks remains one of the most effective ancient methods for curing handmade soap.
When you place your freshly cut bars on slatted wooden shelves, you're ensuring proper ventilation around each piece, which is essential for removing excess moisture.
You'll want to position your wooden racks in a cool, dry area away from direct sunlight. The wood naturally absorbs humidity while allowing air to circulate freely around your soap. This process typically takes several weeks, but it's worth the wait—properly air-dried soap becomes harder and lasts longer when used.
The slatted design prevents humidity buildup that could otherwise lead to spoilage or slime formation, preserving your handmade soap's quality and enhancing its lathering properties.
Linen and Cloth Wrapping Techniques
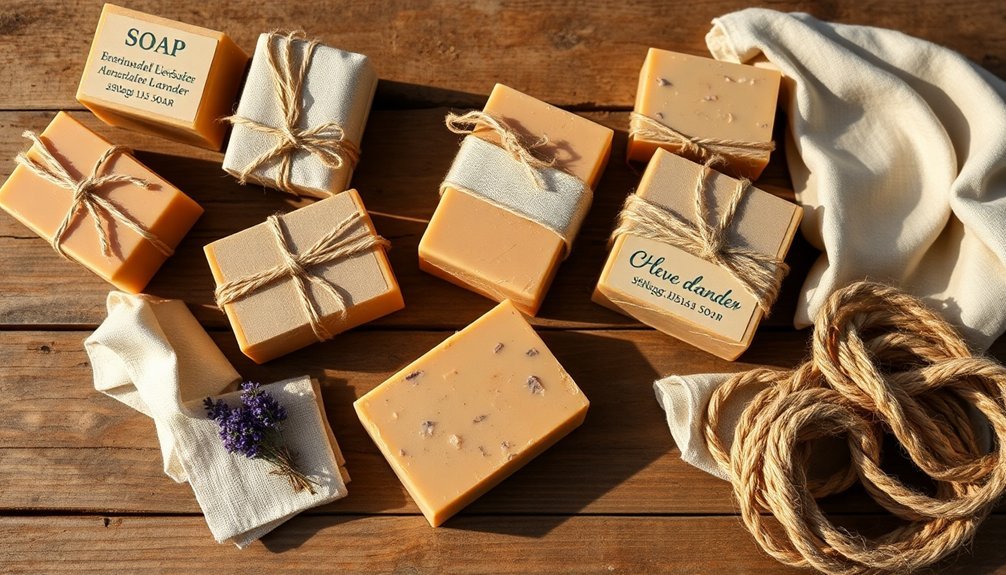
You'll find ancient soap makers meticulously wrapped their creations in unbleached linen, recognizing how this natural fabric absorbs excess moisture while allowing the soap to breathe.
When selecting your wrapping materials, opt for lightweight cotton or linen in neutral colors to prevent any dye transfer that might compromise your handcrafted soap.
These breathable fabrics don't just protect your soap from dust and contaminants—they create the ideal environment for scents to mature and develop complexity over time.
Ancient Linen Preservation Methods
When ancient civilizations sought effective ways to protect their handmade soaps, they turned to linen cloth as a primary preservation method. This wasn't merely decorative—linen's breathable nature prevented the handmade soap from becoming soggy while still protecting it from environmental contaminants.
You'll find it fascinating that these cultures discovered linen's natural absorbent properties also helped retain soap fragrances, extending both scent and usability. They'd typically wrap their soaps completely in linen before storing them in wooden boxes or hanging them in cool, dry spaces.
This preservation technique demonstrates our ancestors' practical understanding of material properties. Their choice of linen wasn't coincidental—they recognized this durable textile's unique ability to protect their valuable soap products while allowing them to mature without deteriorating.
Fabric Selection Matters
The ancient art of soap preservation hinges critically on your choice of wrapping fabric. When selecting materials to protect your handmade soaps, prioritize natural fabrics like linen that allow proper airflow while shielding against excess moisture.
This breathing capability is essential for extending your soap's shelf life and maintaining its quality. Linen stands out as an exceptional option due to its high absorbency and inherent antibacterial properties.
These characteristics help preserve your soap's integrity while keeping it hygienic. Consider implementing breathable cloth wraps using simple folding techniques or securing them with natural twine for both protection and visual appeal.
These methods create effective barriers against environmental contaminants while preventing soap slime—a common problem in non-ventilated storage. Cotton and other natural fibers also enhance the tactile experience, offering a softer feel than synthetic alternatives.
Clay Vessel Storage for Moisture Control
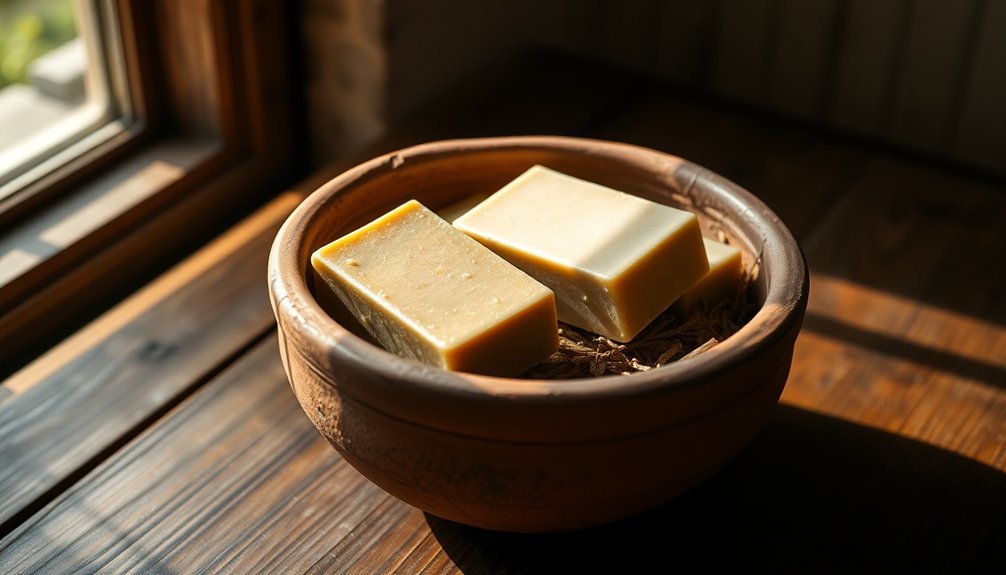
Ancient wisdom reveals that clay vessels provide a perfect environment for preserving handmade soap. These porous containers naturally regulate moisture levels by absorbing excess humidity that would otherwise damage your soap.
When you store your handmade bars in clay vessels, you're allowing them to breathe, extending their lifespan considerably. The clay works continuously to maintain ideal conditions, preventing the dreaded soap slime that often develops when natural soaps are improperly stored.
This traditional storage method has stood the test of time for a reason—it works remarkably well at maintaining your soap's texture and integrity.
For best results, verify your clay vessel is completely dry before placing soap inside, and don't seal it tightly. The key benefit comes from air circulation, which the natural properties of clay perfectly facilitate.
Salt Preservation Methods
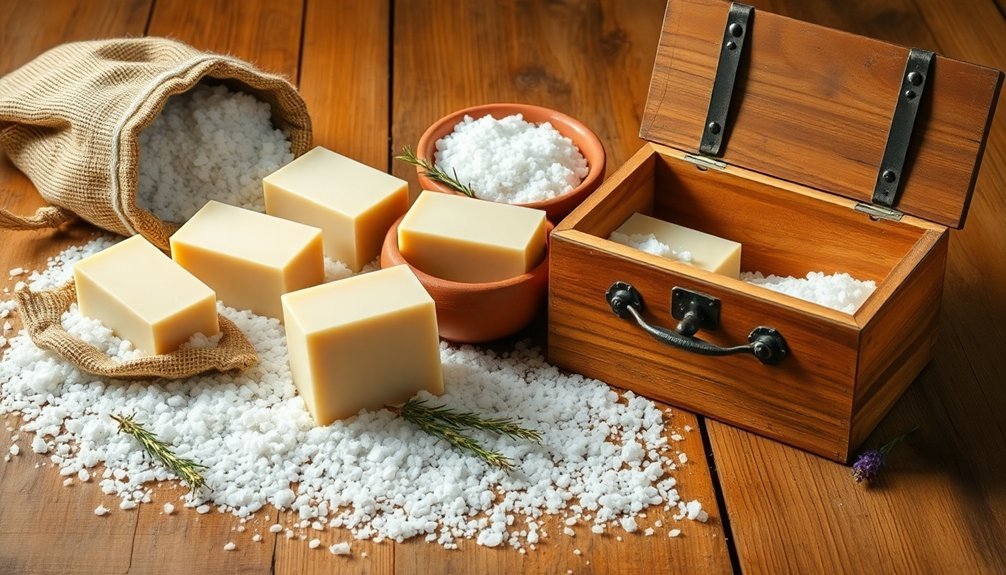
You'll find salt curing techniques date back thousands of years, when ancient soap makers discovered salt's remarkable ability to draw moisture and inhibit bacterial growth.
Traditional brine preservation involves immersing freshly cut soap bars in a salt solution before drying, creating a protective mineral barrier that extends shelf life.
Salt Curing Techniques
Among the most enduring preservation methods, salt curing stands as a tribute to our ancestors' ingenuity in extending the life of handmade soap. This practice of salt curing techniques for soap dates back centuries, when artisans discovered that adding 1-5% salt by oil weight considerably improved their products' longevity and quality.
When you're curing your handmade soap with salt, you'll need to allow several weeks for the process to complete properly. During this time, the salt draws out excess moisture, creating a harder, longer-lasting bar.
- Store your salt-cured soap in cool, dry conditions to maximize shelf life
- Expect increased hardness and durability from proper salt integration
- Adjust salt percentages (1-5%) based on your desired preservation effect
- Remember that salt not only preserves but also inhibits bacterial growth
Traditional Brine Preservation
While salt blended directly into soap provides excellent curing results, our ancestors developed another effective preservation technique: traditional brine preservation. This method involves submerging your handmade soap in saltwater solution, typically using 1 cup of salt per gallon of water.
The salt creates an inhospitable environment for bacteria while drawing moisture out of the soap. When you store your soap in brine, you're not just extending its shelf life—you're also potentially enhancing its cleansing properties as the salt gradually integrates into the soap.
For best results, keep your brine-preserved soap in airtight containers to maintain the salt concentration and prevent quality degradation. This ancient wisdom offers a simple yet effective way to guarantee your handmade soap remains usable far longer than untreated alternatives.
Ash Coating for Extended Shelf Life
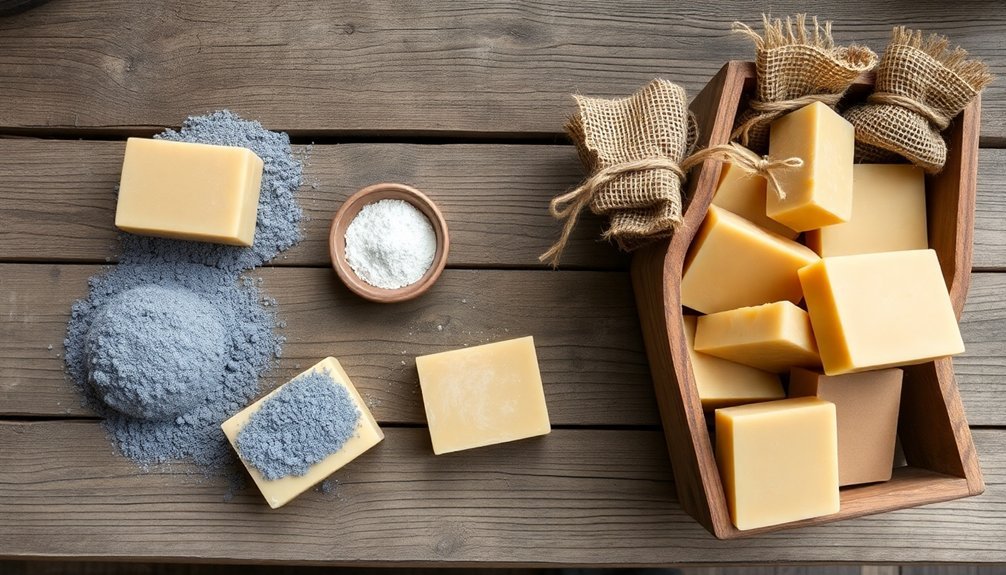
- Hardwood ash can neutralize excess acidity in your soap, improving quality.
- The ash barrier allows your soap to breathe while blocking environmental contaminants.
- You'll notice notably less degradation compared to unprotected soaps.
- This method is particularly beneficial for preserving natural soaps with high oil content.
Beeswax Sealing for Handcrafted Soaps
Beeswax sealing offers your handcrafted soaps exceptional protection through a technique that dates back centuries when artisans discovered its preservative qualities.
You'll need to melt your beeswax at the proper temperature (around 145°F) to achieve a liquid consistency that flows evenly across the soap's surface without damaging its integrity.
When applying the melted wax, you can use various historical methods including dipping, brushing, or pouring techniques that create a protective barrier while enhancing your soap's aesthetic appeal.
Beeswax Protection Methods
Among the most effective ancient preservation techniques, the application of melted beeswax creates a protective barrier that greatly extends your handcrafted soap's shelf life. This natural method prevents moisture loss while adding a subtle fragrance and enhancing your soap's visual appeal.
When incorporating beeswax into your soap making process, verify your product is completely cooled before application to avoid trapping moisture beneath the protective layer.
To successfully seal your soaps with beeswax:
- Melt the beeswax using a double boiler for even temperature control
- Apply a thin, even layer using a brush for consistent coverage
- Allow the wax to cool and harden completely before packaging
- Embrace this eco-friendly alternative to synthetic preservatives while maintaining your soap's natural integrity
Historical Sealing Techniques
While modern preservatives dominate today's market, ancient civilizations developed sophisticated beeswax sealing techniques that remain relevant for contemporary soap artisans.
You'll find this method particularly effective if you craft handmade soaps in humid environments where moisture threatens product longevity.
To employ this time-tested technique, you'll need to gently heat beeswax until it reaches its melting point, then either dip or coat your soap bars to create a protective barrier.
This natural seal doesn't just extend shelf life by blocking water exposure—it adds an aromatic quality that enhances the user experience.
The practice of beeswax sealing dates back thousands of years, demonstrating how our ancestors mastered natural preservation methods long before synthetic alternatives.
Their practical wisdom continues to serve today's craftspeople seeking authentic, effective ways to protect their creations.
Temperature and Application
The success of your beeswax sealing technique depends critically on maintaining the proper temperature throughout the application process.
You'll need to melt the beeswax until it's liquid but not overheated—aim for 145-150°F (63-65°C) to create an effective moisture-resistant barrier.
Apply the melted wax evenly across your soap's surface using a soft brush or by briefly dipping the soap for complete coverage.
- Allow your soap to cure fully (4-6 weeks) before applying beeswax sealing
- Work in a draft-free area to prevent the wax from cooling too quickly
- Test the temperature on a small soap piece first—too hot and it'll penetrate too deeply
- Apply two thin layers rather than one thick layer for ideal protection
Herbal Infusions as Natural Preservatives
For centuries, soap artisans have relied on nature's pharmacy to extend their creations' shelf life. Herbal infusions offer powerful antimicrobial properties that naturally preserve your handmade soaps without synthetic additives.
You'll find that rosemary, thyme, and oregano inhibit bacteria and mold growth, while calendula and chamomile soothe skin while preserving. These herbs impart subtle fragrances, eliminating the need for artificial scents.
| Herb | Preservation Benefit | Additional Benefit |
|---|---|---|
| Rosemary | Strong antimicrobial | Antioxidant properties |
| Calendula | Moderate preservation | Skin-soothing |
| Thyme | Inhibits mold growth | Natural fragrance |
| Chamomile | Gentle preservative | Anti-inflammatory |
To create your own infusion, steep dried herbs in carrier oil for several weeks before incorporating them into your soap recipe. This ancient technique enhances longevity while improving your soap's skin-nourishing qualities.
Sunlight Curing in Mediterranean Traditions
Mediterranean soap artisans discovered that harnessing the sun's power could dramatically extend their soaps' longevity. This traditional sunlight curing method involves placing freshly crafted soap bars under direct sunshine for several days.
You'll notice the process does more than just dry the soap—it actually enhances the natural saponification, allowing oils to transform more completely into soap.
- UV rays promote antioxidants in olive oil soaps, boosting skin-friendly properties
- The sun's heat concentrates essential oils, intensifying the soap's natural fragrance
- Moisture evaporation through sunlight curing creates harder, longer-lasting bars
- This ancient technique produces soaps with richer lather and better consistency
Today's artisanal soapmakers still value this time-honored method for creating premium products without artificial preservatives, maintaining the authentic character that can't be replicated by modern manufacturing.
Cold Cellar Storage Practices
Ancient cellars provided ideal sanctuaries for preserving handcrafted soap long before modern storage methods existed. Unlike commercial soaps with synthetic preservatives, natural handmade varieties benefit tremendously from cold cellar storage practices that protect their integrity.
You'll want to maintain temperatures between 50°F and 70°F, as excessive heat can melt your soap and diminish its beneficial properties.
Make certain your cellar remains not just cool but also dark and dry with proper ventilation to prevent moisture accumulation that leads to "soap slime."
Wrap your soap bars in breathable materials like muslin or parchment paper before storing them. This allows necessary air circulation while protecting against environmental moisture.
Don't forget to check your stored soap periodically for signs of deterioration, making sure your handcrafted treasures remain effective and high-quality for extended periods.
Olive Oil Coating for Moisture Retention
While many preservative techniques focus on keeping moisture away from soap, the olive oil coating method takes a different approach by selectively controlling moisture balance.
By applying a thin layer of olive oil to your handmade soap, you'll create a protective barrier that prevents excessive drying while maintaining the bar's integrity.
- Rub a small amount of olive oil over your soap's surface to lock in essential moisture
- Watch how this natural coating prevents the formation of soap slime when exposed to bathroom humidity
- You'll notice your soaps last considerably longer, saving you time and resources
- The olive oil's moisturizing properties complement your soap's skin benefits, enhancing its overall performance
This simple technique honors ancient wisdom while providing practical moisture retention benefits for your artisanal creations.
Frequently Asked Questions
How Do You Preserve Homemade Soap?
To preserve your homemade soap, keep it dry between uses on a well-draining soap dish. Don't expose it to direct water streams. You'll extend its life by using soap savers that prevent moisture buildup.
What Did Ancients Use for Soap?
Ancients used various natural ingredients for soap. You'll find that Babylonians combined fats with ash, Egyptians mixed animal fats with plant oils and alkaline salts, while Romans created cleansers from animal fat and wood ash.
How Do You Store Homemade Soap Long Term?
You'll want to store your homemade soap in a cool, dry place wrapped in breathable materials like parchment paper. Keep it away from sunlight, use airtight containers for fully cured bars, and avoid stacking them directly.
What Was Soap Made of in Biblical Times?
In biblical times, you'd find soap made from animal fats or plant oils mixed with alkaline substances from wood ash or lye. This crude but effective combination was boiled together to create cleansing agents for various uses.
In Summary
You've now discovered ten traditional soap preservation methods that have stood the test of time. Whether you're drying soap on wooden racks, wrapping it in linen, or coating it with olive oil, these ancient techniques don't just extend your soap's life—they connect you to generations of soapmakers before you. Try incorporating these methods into your soap crafting routine and you'll enjoy longer-lasting, better-quality handmade soaps.


Leave a Reply