To make successful bear fat soap, you'll need to focus on three critical steps. First, thoroughly clean and render your bear fat by cutting it into cubes and melting it slowly in a crockpot on low heat. Second, carefully measure your lye using 33g per 100g of fat for proper saponification. Third, maintain both your lye mixture and bear fat at 110-115°F during blending. Master these fundamentals, and you'll reveal the secrets to crafting premium handmade soap.
Proper Fat Rendering: The Foundation of Quality Soap
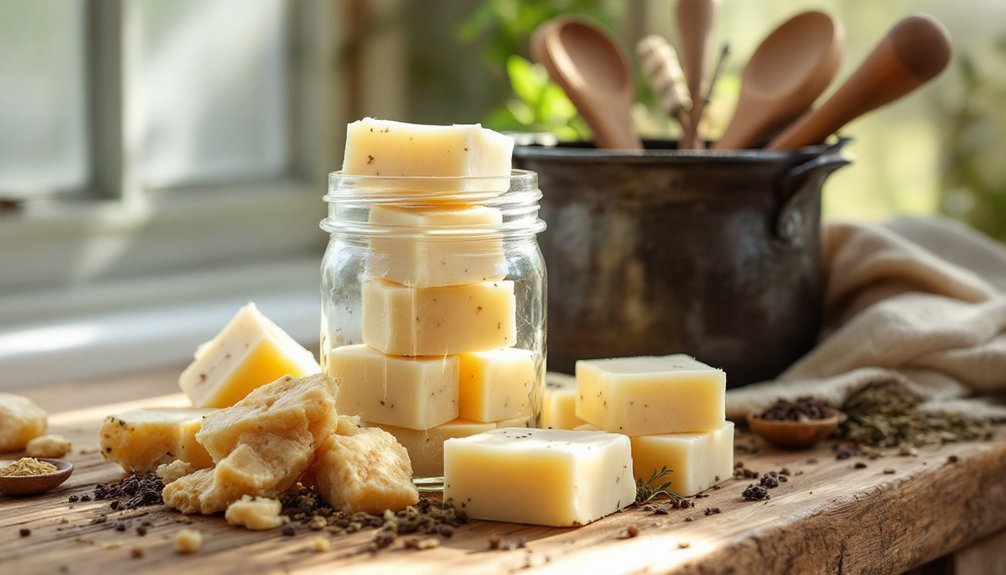
When making bear fat soap, proper rendering of the fat serves as the critical first step that determines your final product's quality.
You'll need to start by ensuring your bear fat is thoroughly clean and free of hair or meat pieces. Cut the fat into rough cubes to help it melt evenly during the rendering process.
Set your crockpot to low and add the prepared fat chunks. The gentle heat will help the fat melt slowly without burning, which is essential for high-quality rendered oil.
Once melted, strain the oil through a fine mesh or cheesecloth to remove any remaining impurities. You'll want to store your rendered oil in a clean container placed in a cool, dark location until you're ready to begin your soap-making project.
Mastering the Lye-to-Fat Balance
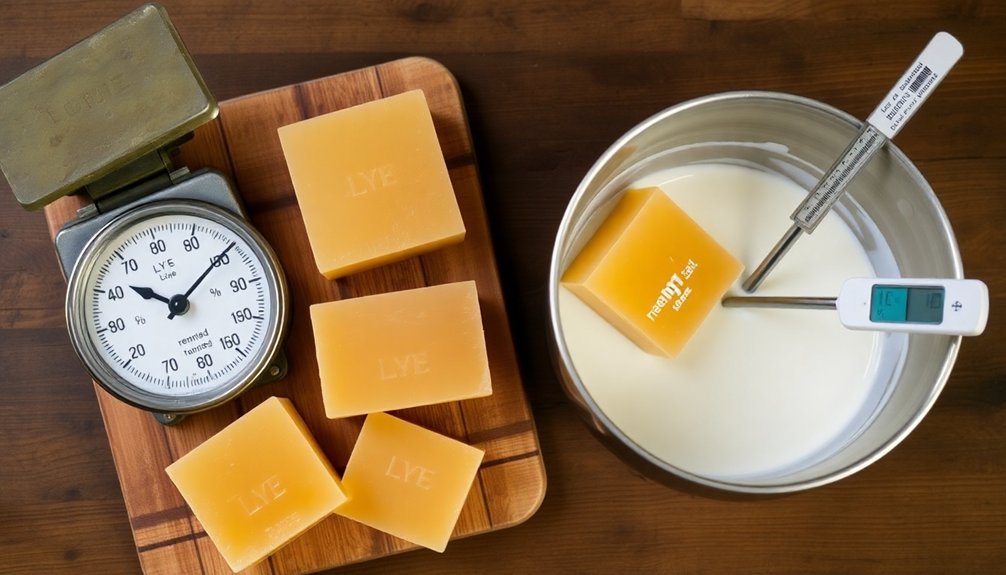
How precisely you balance your lye-to-fat ratio can make or break your bear fat soap. For successful saponification, you'll need to calculate your lye concentration accurately, typically using 33g of lye per 100g of bear fat.
Achieving perfect saponification requires precise measurements – use exactly 33g lye for every 100g bear fat in your soap recipe.
Use Soapee.com to determine exact measurements for your homemade soap recipe, especially when combining bear fat with other essential oils.
- Always add lye to water while maintaining proper safety protocols
- Keep your lye-water mixture and bear fat at 110-115°F for ideal blending
- Use your total oil weight to determine precise lye amounts needed
Remember that accurate lye calculation is vital for your soap's success.
You'll want to measure every ingredient carefully, as even small variations in your lye-to-fat ratio can affect your final product's quality and safety.
Essential Steps for Perfect Curing
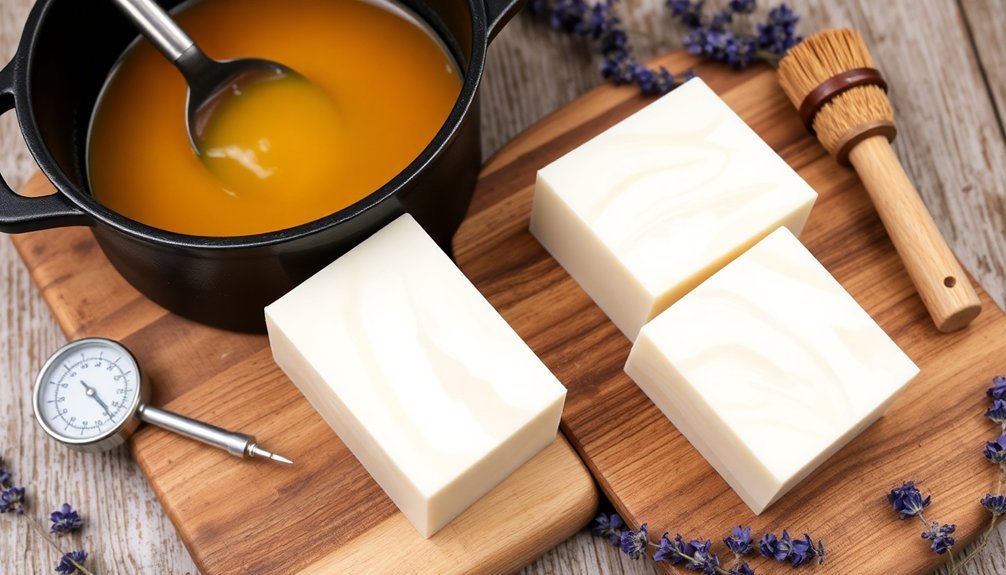
The three critical stages of soap curing – molding, setting, and aging – require careful attention to assure your bear fat soap reaches its full potential.
After pouring your soap into molds, cover them with towels or place them in a cooler to maintain a stable temperature. This initial step prevents cracking and assures even texture.
Let your soap set in the molds for 24 hours until it's firm enough to remove. If it's still too soft, give it more time, checking regularly until it reaches the right hardness.
Once unmolded, place your bars in a cool, dry space to cure for 4-6 weeks. During this time, the soap hardens as moisture evaporates.
Remember to inspect your curing bars periodically for signs of sweating, adjusting ventilation if needed.
Frequently Asked Questions
Is Bear Fat Good for Soap?
Yes, you'll find bear fat makes excellent soap due to its high-fat content. It creates a creamy, gentle lather that's nourishing for your skin, and produces long-lasting bars that won't get mushy with use.
How Long Does Tallow Soap Need to Cure?
You'll need to cure your tallow soap for at least four weeks in a cool, dry place. This essential waiting period guarantees your soap becomes properly hardened and safe to use, while improving its mildness.
What Temperature Do You Render Bear Fat?
You'll want to render bear fat at a low temperature of around 200°F (93°C). Don't exceed 250°F (121°C) to avoid scorching. Keep it slow and steady for several hours until it's fully melted.
What Is the Best Animal Fat for Soap Making?
You'll get excellent results with beef tallow for soap making. It's readily available and creates a hard, long-lasting bar with creamy lather. If you're new to soap making, it's your best starting point.
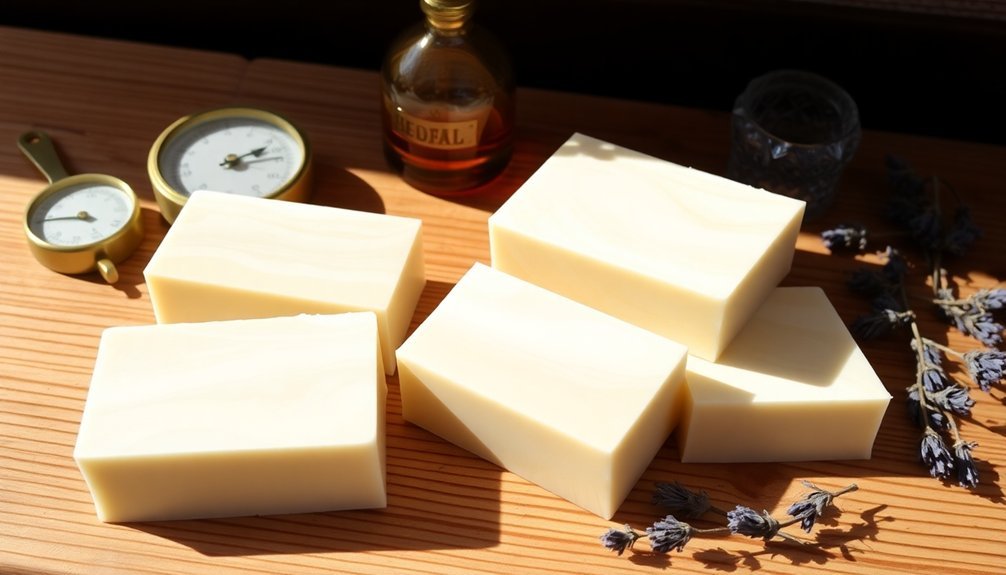
In Summary
You've now got all the key elements for making exceptional bear fat soap – proper rendering technique, precise lye measurements, and patient curing methods. Remember, you're working with a precious traditional material that deserves careful handling. Don't rush the process. When you follow these three fundamental tips, you'll create clean, hard bars of soap that honor this time-tested craft.


Leave a Reply