You can speed up soap curing by reducing water content by 7-10%, maximizing air circulation with cooling racks and fans, controlling temperature below 150°F, using a dehumidifier to manage moisture levels, and monitoring weight loss to track progress. While these methods can shave off 1-2 weeks from traditional curing times, you'll still need 2-4 weeks for proper pH stabilization. Our detailed guide will show you exactly how to implement each technique safely and effectively.
The Water Reduction Method: Accelerating Natural Curing
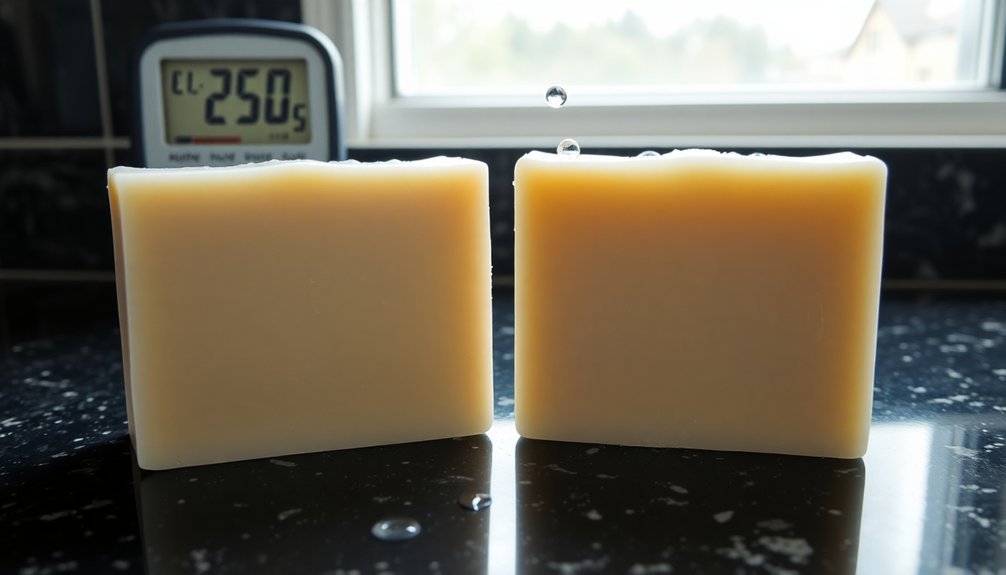
One of the most effective ways to speed up soap curing is through water reduction, also known as water discounting. By using less water than standard recipes call for, you'll accelerate the evaporation process and potentially save up to two weeks of curing time.
While typical recipes use a 33% lye concentration (meaning 200g of water for every 100g of lye), you can reduce the water by 7-10% to achieve faster results. The reduced water helps create a denser crystalline structure more quickly during the initial saponification.
However, you'll need to work quickly, as reduced water speeds up trace and hardening time. Be aware that this technique isn't for beginners – it requires experience to manage the faster trace and potential issues like uneven gel or cracking.
Despite the accelerated drying time, don't skip the essential pH phase – your soap still needs 2-4 weeks to complete the curing process.
Creating Optimal Air Circulation for Faster Curing
Beyond reducing water content, proper air circulation plays a powerful role in accelerating soap cure times.
You'll need to keep your soap bars separated to prevent moisture from getting trapped between them, which can lead to mold and slower curing.
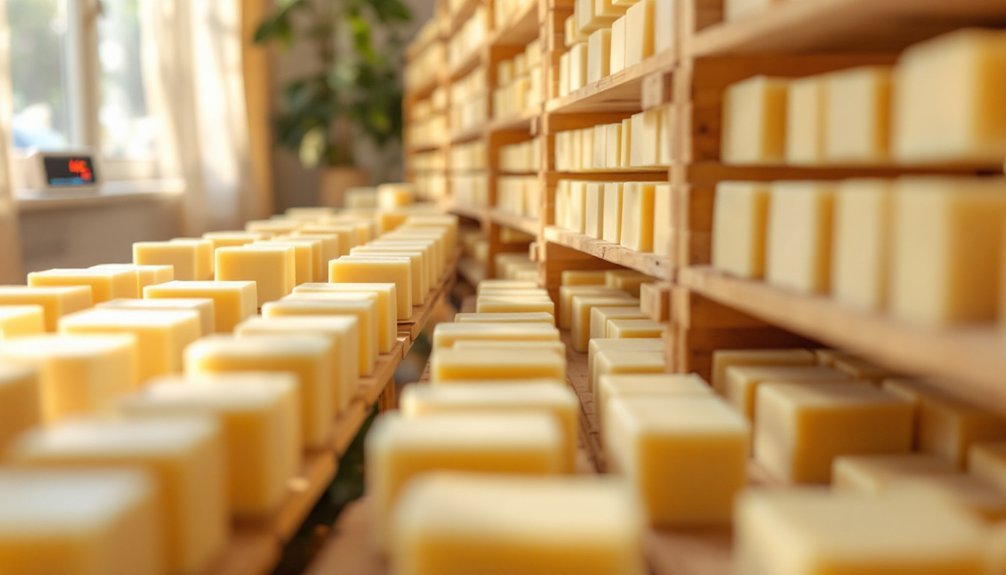
Set up your curing area with cake cooling racks or multi-layer shelves to maximize airflow around each bar.
Position electric fans strategically to create consistent air movement from multiple directions, helping moisture evaporate more quickly.
Don't forget to address humidity – running a dehumidifier near your curing space will greatly improve drying conditions.
For even better results, place moisture-absorbing materials like Damp Rid or zeolite rocks close to your curing racks.
This combination of proper spacing, active air movement, and humidity control will help your soap cure faster and more effectively.
Track progress by weighing soap bars periodically to ensure moisture is being lost at a steady rate during the curing process.
Temperature Control and Heat Management
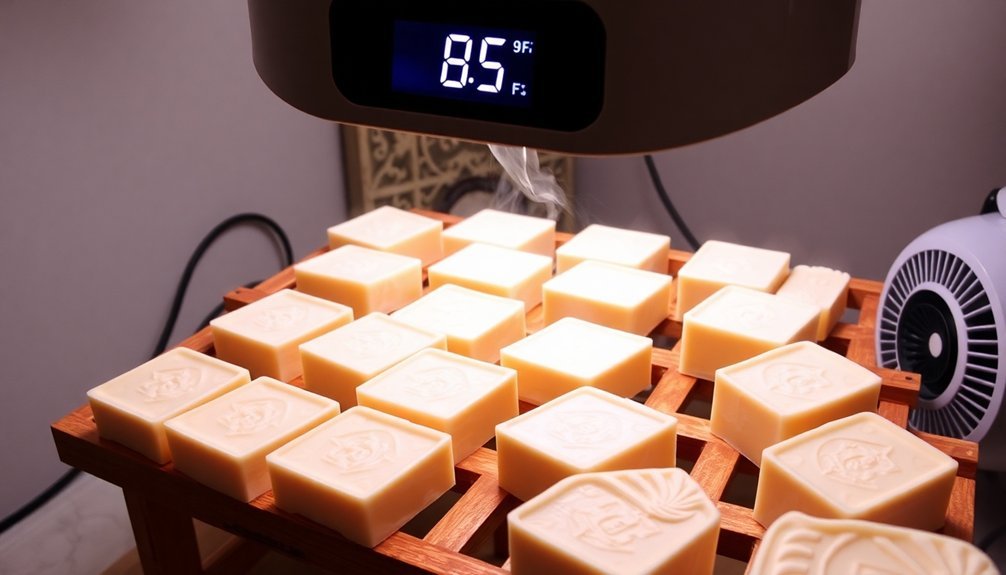
While temperature control might seem complex, mastering heat management can greatly accelerate your soap's curing process.
You'll want to keep temperatures balanced, especially when working with liquid oils and semi-solid fats. If you're using the Heat Transfer Method, let the lye solution's natural heat (around 200°F) melt your hard oils and butters, then add liquid oils to lower the temperature. Room temperature soaps work well with recipes high in liquid oils.
To prevent overheating and cracking, you can discount water in your recipe, but you'll need to monitor the process carefully.
Keep temperatures lower when using heating-prone additives, and consider your mold's material and size. For hot process soaps, don't exceed 180°F for oils, and if you're a beginner using a crockpot, stay below 150°F.
Regular stirring and using the low setting will help prevent volcanic reactions.
Using Dehumidifiers to Speed Up the Process
The right humidity level can make or break your soap's curing process, and using a dehumidifier offers a smart solution to speed things up. You'll notice up to a week's reduction in curing time while preventing unwanted soap sweating.
Set up your curing chamber by placing a dehumidifier near your soap rack and draping a shower curtain over the setup to trap dry air. Glycerin attracts moisture from the environment, so controlling humidity is essential. You'll create an excellent environment that helps your soap develop a proper crystalline structure, resulting in better lather and gentler skin interaction.
While you'll need to factor in electricity costs, the benefits often outweigh the expense, especially during humid seasons.
Keep your dehumidifier well-maintained and positioned for maximum air circulation. For even better results, consider adding zeolite rocks to your setup.
Monitoring Weight Loss for Perfect Timing
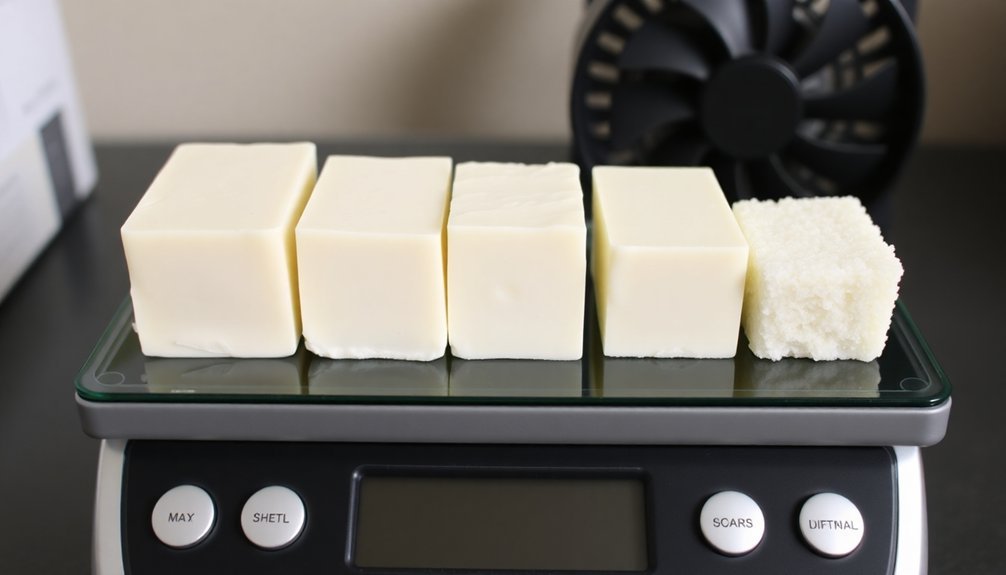
Since soap curing relies heavily on water evaporation, measuring your soap's weight offers a precise way to track its progress. The experiment showed that soap can lose up to 2.1 grams total during proper curing.
You'll notice significant weight loss during the first few days, which gradually slows down as the curing continues. Weigh your soaps every 24 hours or every few days, and record the measurements to monitor the drying curve.
Keep in mind that weather conditions can affect your results. High humidity might cause your soap to gain weight temporarily, while dry, well-circulated air promotes faster moisture loss.
- Track weight until your soap maintains a consistent measurement for several days, indicating full cure
- Consider using a digital scale for precise measurements
- Document your readings to establish patterns for future batches
Your soap is typically ready after 4-6 weeks when weight loss stabilizes completely.
Frequently Asked Questions
Can I Speed up Curing by Placing Soap Bars in Direct Sunlight?
No, you shouldn't put soap in direct sunlight. It'll cause uneven curing, cracks, and soft spots. The heat can also degrade essential oils and colorants. Instead, focus on good air circulation and dehumidifying methods.
Does Adding Preservatives to Soap Recipes Reduce the Required Curing Time?
No, preservatives won't reduce your soap's curing time. They help with shelf life but don't affect water evaporation or crystalline structure development. Your soap still needs the full 4-6 weeks to cure properly.
Will Using Essential Oils Affect How Quickly My Soap Cures?
No, essential oils won't affect your soap's curing time. While they'll continue to evaporate during curing and their scent may change, they don't impact the fundamental processes of water evaporation and saponification completion.
Does the Size and Shape of Soap Bars Impact Curing Speed?
Yes, your soap's size and shape considerably affect curing speed. Smaller bars cure faster due to higher surface-to-volume ratio, while shapes with more edges and irregular surfaces allow better air circulation during curing.
Can I Use a Food Dehydrator to Speed up the Soap Curing?
You shouldn't use a food dehydrator for soap curing. It'll get too hot, making your soap mushy and warped. The high temperatures disrupt proper crystallization, and won't guarantee proper moisture evaporation.
In Summary
You'll find these five methods will help greatly reduce your soap's curing time while maintaining quality. By combining water reduction, proper air circulation, temperature control, dehumidification, and weight monitoring, you're setting yourself up for success. Remember, while it's possible to speed up curing, don't rush the process too much – your soap still needs adequate time to become mild and long-lasting.


Leave a Reply