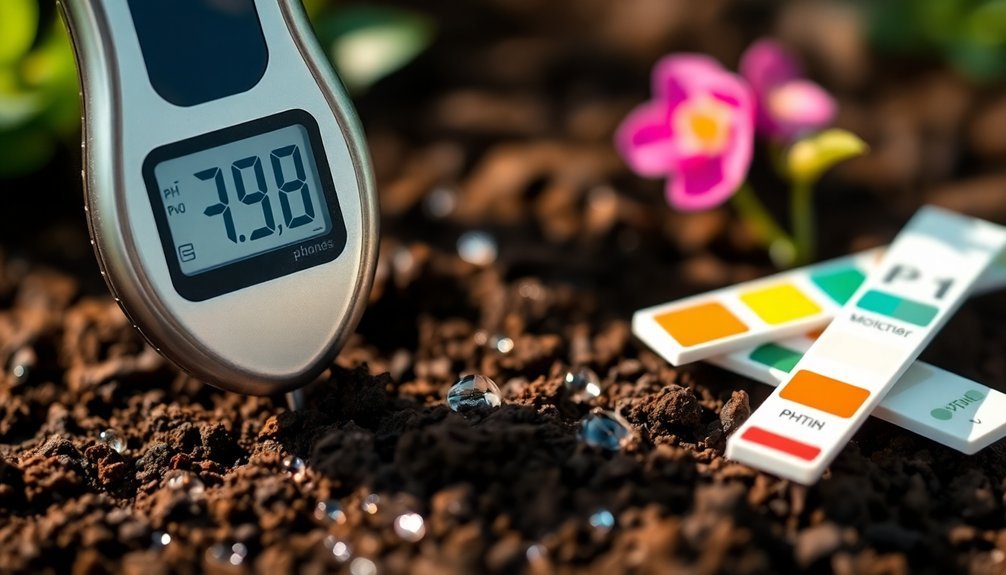
You can easily test for moisture using the snap test for hardness, paper towel press, weight loss tracking, digital moisture meters, oven drying, thumb print test, color/opacity assessment, infrared temperature gun, plastic sheet method, and halogen moisture analyzers. Each method offers different levels of accuracy and convenience depending on your material and needs. Discover which technique provides the most reliable results for your specific moisture detection challenges.
10 Simple Methods To Test For Moisture
When faced with potential moisture issues, you'll find several straightforward testing options available for quick assessment.
Halogen moisture analyzers offer precision results in just 5-15 minutes, making them ideal for time-sensitive applications.
If you're working with traditional methods, oven drying provides reliable data but requires several hours to complete.
For non-destructive testing, dielectric meters measure moisture by detecting changes in electrical properties without damaging your samples.
When maximum accuracy is needed, Karl Fischer titration delivers precise measurements for both free and bound water.
It's particularly effective for volatile or high-moisture substances with proper adjustments.
Proper sample preparation with even granulation and increased surface area ensures reliable results when using any moisture determination method.
For concrete specifically, you can choose between the plastic sheet method for basic presence detection, calcium chloride for quantifiable vapor emission rates, or relative humidity tests for in-situ measurements.
The Snap Test: Evaluating Soap Hardness
You can quickly assess your soap's moisture content through the snap test, which evaluates hardness by breaking the bar and observing its resistance.
The breaking point offers valuable insight about moisture levels—a clean, crisp snap typically indicates lower moisture content, while a soft, pliable break suggests excess water.
A similar principle applies when testing for hard water, where soap fails to produce lather due to calcium bonding with soap molecules.
Examining the texture at the break point further confirms water content, with dry soaps showing a more crystalline structure compared to the softer appearance of moisture-rich formulations.
Breaking Point Reveals Moisture
The snap test serves as one of the most accessible yet revealing methods for evaluating soap moisture content. When you bend a bar of soap until it breaks, you're actually gathering essential information about its internal composition.
A clean, sharp break typically indicates low moisture and ideal curing, while soap that bends without breaking likely contains excess moisture.
- Soaps that snap with a clean break are generally drier and will last longer in your shower
- Flexible bars that bend without breaking need additional curing time
- The sound of the snap provides additional clues—a crisp sound suggests proper moisture levels
- Professional soapmakers use this test as part of their quality control process
This simple physical test helps you determine whether your soap is ready for use or needs further drying. Soap manufacturers aim for products to reach constant weight before selling them to ensure consistent quality and value for customers.
Texture Indicates Water Content
Beyond the breaking point, texture analysis offers deeper insights into a soap's moisture profile. When you handle your soap, firmness indicates lower moisture levels, while softness suggests higher water content. Though the snap test won't give you exact percentages, it's valuable for evaluating curing completion. Laboratory tests can provide precise measurements, showing that quality soap typically contains about 12.36% moisture when properly manufactured.
| Texture Characteristic | Moisture Level | Quality Impact | Usage Recommendation |
|---|---|---|---|
| Hard, brittle snap | Very low | Long-lasting | Ready for packaging |
| Clean, firm break | Ideal | Balanced | Ideal for use |
| Slight bend before break | Moderate | Good lather | Additional curing beneficial |
| Bends without breaking | High | Short lifespan | Requires more curing |
You'll notice that while moister soap may produce more immediate lather, it won't maintain its shape or quality over time. Visual cues like appearance and lather formation complement what you learn through texture evaluation.
Paper Towel Press Method
You'll find the paper towel press method useful for quickly analyzing surface moisture in aggregates, particularly with pre-wetted lightweight materials.
This technique requires applying paper towels to absorb surface moisture until no visible moisture remains on fresh towels.
While it's relatively simple to perform, you should be aware that results may vary based on paper towel quality and the pressure you apply during testing.
Material Absorption Analysis
While seemingly simple in execution, the Paper Towel Press Method represents an accessible approach to moisture testing that relies on fundamental principles of capillary action and absorption.
You'll find this technique particularly useful for coarse aggregates, though fine materials tend to stick to paper towels, complicating analysis.
When testing materials, you'll need to take into account several factors:
- Consistency varies between paper towel brands, affecting absorption rates
- Your applied pressure greatly impacts results, causing operator-dependent variability
- Testing takes considerably longer (average 42 minutes) compared to centrifuge methods (12 minutes)
- Results are approximately ten times less precise than centrifuge testing in multi-operator scenarios
Despite these limitations, the method's low cost and simplicity make it valuable for initial moisture assessment when precision requirements aren't stringent. This approach can serve as an educational tool to help students distinguish between qualitative and quantitative observations in scientific testing.
Quick Surface Detection
The Paper Towel Press Method stands as a practical application of the absorption principles we've examined.
You'll find this technique useful for detecting surface moisture on various materials without specialized equipment.
To perform this test, simply expose your material to a gentle air current, then pat it with paper towels until a clean towel shows no moisture.
While accessible and non-destructive, you'll need to maintain consistent pressure for reliable results.
The effectiveness of this method relies on paper towels' unique capillary action that drives liquid absorption in fibrous assemblies.
Be aware that this method has limitations compared to techniques like centrifuging.
It's roughly ten times less precise, more time-consuming, and heavily dependent on your technique.
Environmental factors such as temperature and air circulation will also affect your results.
For best outcomes, follow a standardized approach whenever possible and recognize when more precise methods might be necessary.
Weight Loss Tracking During Curing
Moisture monitoring during material curing can be effectively tracked through weight loss measurements, which provide valuable data on the drying process. By consistently tracking weight changes, you'll gain precise insights into how moisture escapes from your materials over time.
Several approaches can enhance your tracking accuracy:
- Use digital scales for consistent measurements, preferably at the same time daily
- Calculate percentage weight loss to determine when your material reaches ideal moisture content
- Document environmental conditions (temperature, humidity) alongside weight measurements
- Establish a baseline weight and target endpoint based on your specific material requirements
This systematic approach transforms simple weight tracking into a powerful quality control tool.
Though perfect tracking isn't necessary, maintaining consistency around 30-70% of measurement points will provide reliable curing progress indicators. Research shows that significant results can be achieved without requiring daily perfect tracking, similar to findings in weight loss studies.
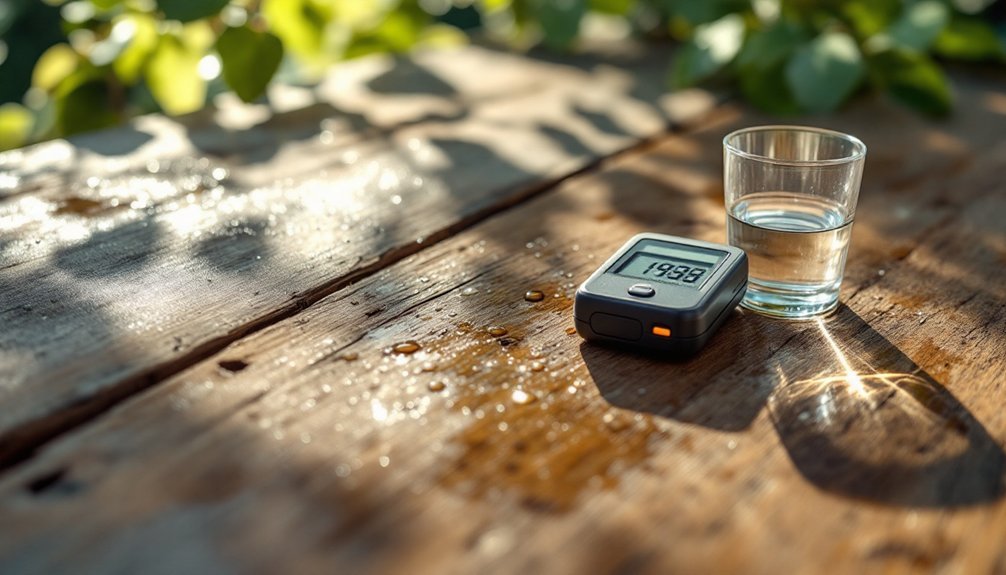
Using a Digital Moisture Meter for Soap
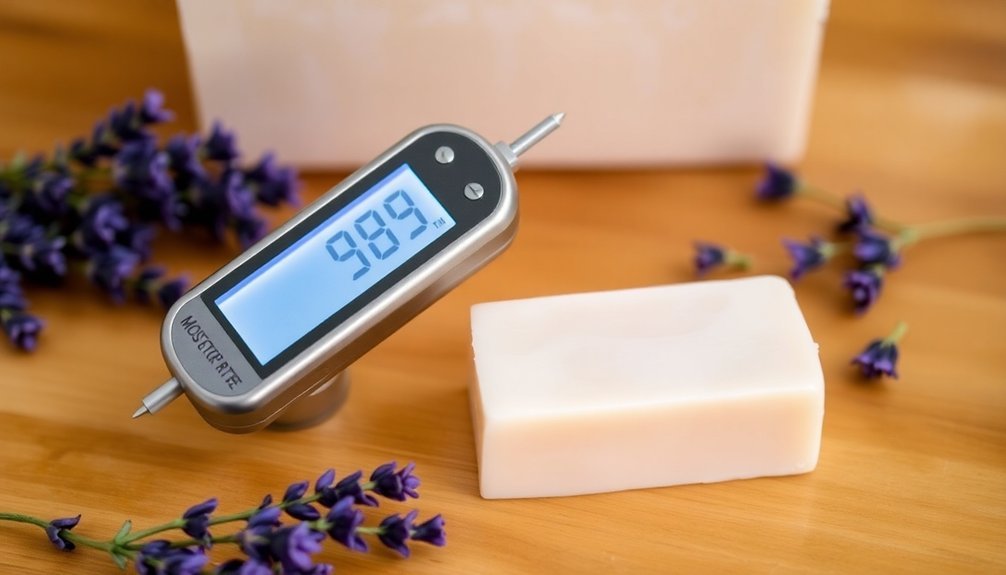
When you're selecting a moisture meter for soap testing, look for specialized models like the MoistTech IR-3000 rather than standard meters designed for building materials.
You'll get the most accurate readings by positioning the meter at a 20° angle above your soap on a conveyor system, which reduces specular reflection and improves measurement precision.
The digital readings will show moisture content within tenths of a percent, allowing you to make real-time adjustments to maintain ideal moisture levels in your soap production. These precise moisture measurements are critical because incorrect moisture levels can lead to inferior product quality and reduced profits in both soap flakes and bar soap production.
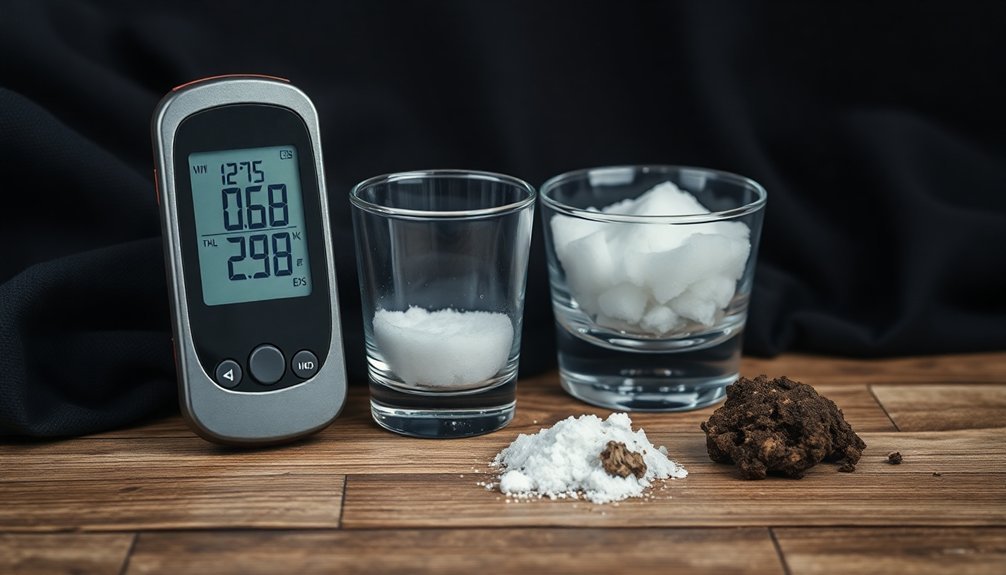
Meter Selection and Features
Selecting the right digital moisture meter for soap production requires careful consideration of several critical factors. Look for devices with accuracy within 0.3-0.5% range and compatibility with your existing systems.
For peak industrial performance, prioritize these features:
- Non-contact measurement capabilities to prevent product contamination
- Multiple calibration options (up to 99 curves) for versatility across product lines
- Integration with PLC systems through analog (4-20mA) or digital outputs
- Temperature-stable detectors for consistent readings in variable environments
The ideal meter should be installed at a specific angle (approximately 20° relative to product flow) to avoid specular reflection. Advanced systems like the MCT460 can control moisture with one-tenth percent accuracy for superior product consistency.
Near-Infrared (NIR) technology offers superior reliability for continuous production environments, while modular designs simplify maintenance and troubleshooting in harsh conditions.
Proper Testing Technique
To achieve accurate readings when testing soap moisture content, you'll need to follow systematic procedures that maintain sample integrity.
Begin by preparing your sample—shave the soap into small pieces and place them in an appropriate container. This guarantees the moisture meter can properly assess the material.
Calibrate your digital moisture meter specifically for soap testing before each use. Place the sample as directed by your device's manufacturer, either directly on the scanner or in close proximity.
Take multiple readings from different areas of your sample to verify consistency. It's important to take multiple measurements with the same meter to ensure your results are reliable and repeatable. Control your testing environment to minimize humidity variations that could skew results.
Record all measurements promptly, and calculate moisture percentage according to your device's guidelines. Store samples in sealed containers between tests to prevent environmental contamination.
Interpreting the Results
Understanding your digital moisture meter readings requires knowledge of both the device and soap-specific parameters. While most meters aren't specifically designed for soap, you can still obtain reliable measurements with proper interpretation.
When analyzing your readings, remember:
- Adjust your meter to the appropriate scale that most closely matches soap density—often between wood and drywall settings.
- Take multiple measurements from different areas of your soap to guarantee consistency.
- Compare results with a known dry sample to establish your baseline.
- Note that temperature can affect readings, so test soap at consistent room temperature.
If you're getting inconsistent results, check that your meter's contact points are clean and undamaged. For greater certainty, consider using reference scales for a qualitative assessment of your soap's moisture content rather than relying solely on precise measurements.
Reliable moisture readings help you determine when your soap has properly cured, guaranteeing a quality final product.
The Zap Test: Ph and Moisture Correlation
When evaluating soap safety, the zap test stands as one of the simplest yet most effective methods for detecting excess lye. Unlike pH test strips which often lack sensitivity for detecting small variations in lye content, the zap test directly assesses free alkali presence.
While the zap test doesn't measure moisture directly, moisture levels indirectly affect your results. High moisture can interfere with saponification, potentially leaving excess lye that the test will detect. The zap test involves touching soap to your tongue as sensor to determine if any caustic substances remain.
Finished soap typically has a pH between 8-11, but this varies based on fatty acid content, making pH alone unreliable.
For thorough assessment, consider using the zap test alongside the total alkalinity test, which provides precise quantification of residual alkali.
Remember that the test's subjective nature requires experience to interpret correctly, and certain additives or fragrances may affect its accuracy.
Oven Drying Small Soap Samples
Precise moisture measurement stands as an essential factor in determining soap quality and shelf stability. Oven drying provides a reliable method to quantify moisture content in your handcrafted soaps.
You'll need to cut small samples, weigh them accurately, then dry them at temperatures between 150-200°F.
For best results:
- Place samples in oven-safe containers and preheat your oven before introducing soap
- Maintain consistent temperature using an oven thermometer
- Dry samples for several hours or overnight depending on size and initial moisture
- Weigh samples before and after to calculate exact moisture percentage
Be cautious of potential overheating, which can cause blistering or "alien brain" effects.
Even after oven drying, your soap will benefit from additional curing time to reach ideal hardness and quality.
The traditional CPOP technique recommends weighing soap regularly until it no longer loses weight to determine when curing is complete.
The Thumb Print Test for Cure Assessment

Although less scientific than oven drying, the thumb print test offers soap makers a quick, practical way to assess curing progress without specialized equipment.
Simply press your thumb firmly into the soap's surface and observe the impression quality. A well-cured soap will resist pressure and show minimal indentation, while uncured soap yields easily and displays defined impressions.
This test works because higher moisture content creates more visible impressions. While subjective, it provides immediate feedback during the soap curing process. You'll find it most effective when used alongside other assessment methods like weight tracking.
The thumb print technique can be adapted for other materials requiring moisture assessment, though its accuracy is limited by environmental factors and evaluator interpretation. The test becomes more reliable when performed in the ideal temperature range of 60°F to 80°F.
For precise moisture measurement, consider complementing this method with quantitative approaches.
Color and Opacity Changes as Moisture Indicators
Beyond the tactile feedback of the thumb print test, visual changes offer another powerful way to assess moisture content.
Visual indicators provide powerful moisture assessment beyond simple tactile tests, offering immediate environmental feedback through color changes.
You'll find color-changing indicators that shift from blue to pink when humidity exceeds acceptable levels, providing immediate visual confirmation without complex equipment.
These moisture indicators come in several forms that you can easily implement:
- Paper-based indicators – Chemically treated spots that change color at specific humidity levels (10-60%)
- Compressed air monitors – Anodized aluminum caps with gel that respond to moisture in air systems
- Colorimetric indicators – Non-toxic, low-maintenance options in crystal, paper, or plastic forms
- Electronic displays – Higher accuracy systems using resistance or absorbance measurements for critical applications
Most indicators are reusable up to 20 times, making them cost-effective for continuous monitoring. For proper assessment, a calibration period required of approximately 30 minutes allows the indicators to adjust after initial exposure.
Infrared Temperature Gun Method
Thermal detection takes on a new dimension with infrared temperature guns, providing you with non-invasive moisture assessment capabilities.
These portable devices use thermal imaging to spot temperature variations that often indicate moisture problems in your home. When you point the gun at a suspicious area, it measures surface temperature instantly without physical contact. Areas with moisture typically appear cooler than surrounding dry surfaces.
For maximum accuracy, look for models with multi-point laser targeting and adjustable emissivity settings. You'll find these tools particularly useful for building inspections and identifying potential mold growth areas before they become visible problems.
Many modern infrared guns combine moisture meter functionality, allowing you to confirm your findings immediately. Models like FLIR meters utilize IGM technology to guide users directly to moisture problem areas. This integration of technologies helps you pinpoint moisture issues quickly, preventing costly damage and health hazards.
Frequently Asked Questions
How Does Ambient Humidity Affect Moisture Testing Results?
Ambient humidity doesn't directly affect your moisture meter readings, but it can indirectly impact results by corroding components over time. You'll get more accurate readings if you maintain your equipment properly in high-humidity environments.
Can Moisture Testing Methods Damage Delicate Soap Formulations?
Yes, some moisture testing methods can damage your delicate soap formulations. Karl Fischer is destructive, while LOD can alter structure if not automated. Choose non-destructive alternatives when handling pH-sensitive or delicate soaps.
Which Method Is Most Accurate for High-Oil Content Soaps?
For high-oil content soaps, you'll find Karl Fischer Titration provides the highest accuracy. It won't be affected by oil components that might skew results in other methods like hot plate tests or drying ovens.
How Often Should Moisture Tests Be Performed During Curing?
You should test moisture in high-oil soaps daily during the first week, then weekly for the next month. Frequency can decrease as curing progresses, with final testing before packaging.
Do Fragrance Oils Impact Moisture Measurement Accuracy?
Yes, fragrance oils do impact your moisture measurement accuracy. Their volatile compounds can evaporate during testing and be mistakenly counted as moisture loss, especially when you're using loss-on-drying methods for analysis.
In Summary
You've now learned ten reliable methods to test your soap's moisture content. From the simple snap test to more technical approaches like digital meters and infrared guns, these techniques will help you determine when your soap is properly cured. Remember, proper moisture levels guarantee quality, longevity, and safety in your finished products. Try combining several methods for the most accurate assessment. Your soap making will improve dramatically with these moisture-testing skills in your arsenal.


Leave a Reply