
Safe DIY bath bar testing requires proper safety gear, including gloves and goggles, plus essential equipment like pH strips and digital scales. Always test in a well-ventilated area and maintain detailed records of your experiments. For quality assessment, check pH levels (aim for 7-9.5), evaluate lather characteristics, and conduct patch tests for skin compatibility. Following systematic protocols helps you create bath bars that are both effective and gentle on skin. Discover how proper testing transforms your homemade creations into professional-quality products.
Safe DIY Bath Bar Testing: Complete Lab Guide
While creating your own bath bars can be incredibly rewarding, establishing proper safety protocols is essential before diving into testing. Always wear protective gloves and safety goggles when handling lye or testing soaps to protect yourself from potential burns or eye irritation.
Safety first! Never compromise on protective gear when working with caustic ingredients like lye in soap making.
Set up your workspace in a well-ventilated area, keeping it clean and free of clutter. This organization minimizes accidents and creates a controlled environment for reliable testing. Handle all chemicals according to proper procedures, especially caustic ingredients like sodium hydroxide.
When conducting tests, use a stable, clean surface and maintain detailed records of test dates, soap weights, and observations. This documentation helps you track progress and replicate successful formulations. When comparing different soap formulations, evaluate their lather characteristics carefully as these indicate quality differences.
You'll build a valuable database for refining future bath bar recipes.
Essential Ph Testing Methods for Handmade Soaps
Testing the pH of your handmade bath bars represents a fundamental step in ensuring they're safe for skin use. You'll need specific tools like pH strips, digital meters, or litmus paper to get accurate readings.
Prepare samples by mixing 1g of soap with 9g of distilled water, ensuring you've allowed cold process soaps to cure fully first.
For testing, either wet the soap and rub a pH strip on its surface, or use a digital meter in your solution while stirring occasionally. Red cabbage indicator is a natural alternative option for those seeking a chemical-free testing method.
Aim for a pH between 7-9.5 for skin compatibility. Readings outside this range might require adjustments using citric acid to lower pH or additional lye to raise it.
Remember that improperly mixed solutions or color interference from additives can lead to inaccurate readings.
Evaluating Lather Quality and Bubble Performance
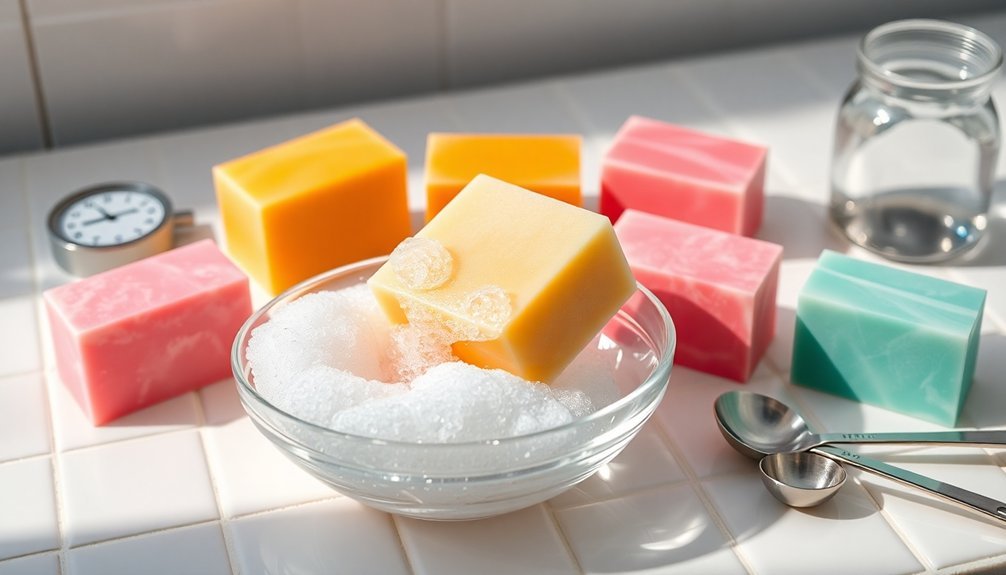
How your soap lathers can reveal volumes about its quality and effectiveness. To properly evaluate lather, test with cool water on dry soap for consistent results.
Observe whether your soap produces fluffy, creamy, or slimy lather based on your oil selections. Coconut oil creates abundant, fluffy bubbles while olive oil contributes a denser, smaller lather.
Try different physical manipulations—rolling the soap introduces more air for larger bubbles, while rubbing between palms produces a different texture. Quality soaps typically contain a balanced formula of oils and butters like olive oil, coconut, shea butter, and castor oil.
Test multiple soaps simultaneously to eliminate day-to-day variables in perception. Watch for lather stability; quality soap maintains its bubble structure without quickly dissipating.
Remember that properly cured, harder soaps typically generate better lather and last longer during use than softer varieties.
Testing for Skin Safety and Irritation Potential
You'll need to perform skin patch testing by applying a small amount of your DIY bath bar to your inner wrist or elbow for 24 hours to check for any adverse reactions.
Testing the pH balance is equally essential—use pH strips to guarantee your bath bar falls between 4.5-5.5, which matches your skin's natural acidity levels.
These two simple tests can help prevent irritation, redness, and other uncomfortable reactions before you use your handmade soap for full-body cleansing.
Similar to the Gotega grab bar that failed at 85 lbs, inadequately tested bath products can lead to unexpected problems when used regularly.
Skin Patch Testing
Before introducing a new bath bar to your skincare routine, it's crucial to perform a skin patch test to check for potential irritation or allergic reactions. This simple procedure can prevent uncomfortable or dangerous skin responses.
To conduct a patch test, apply a small amount of your DIY bath bar to clean skin behind your ear or on your inner forearm. Cover with an adhesive bandage for 48 hours, then remove and observe the area. Check for reactions one hour and 24 hours after removal.
If you notice redness, itching, or rashes, your skin is likely sensitive to an ingredient in your formula. For bath bars containing potent active ingredients, consider diluting the formula first.
This precautionary step is especially important for products containing known allergens or fragrances. You can use either occlusive patches or semi-occlusive patches for your test, depending on how much product penetration you desire.
Ph Balance Assessment
While patch testing reveals immediate skin reactions, the pH of your DIY bath bar determines its long-term impact on your skin's health.
Your skin naturally maintains a slightly acidic pH between 5.4 and 5.9, but most soaps register between 9 and 10, potentially disrupting your skin's protective barrier. Similar to how educational metrics require context for proper interpretation, pH values must be understood relative to your skin's natural balance.
To test your bath bar's pH, create a 10% dilution by dissolving a small sample in distilled water. Use a pH meter for accuracy, though pH strips can suffice for home testing.
If your soap's pH is too high, consider adjusting with citric or lactic acid to bring it closer to skin's natural levels.
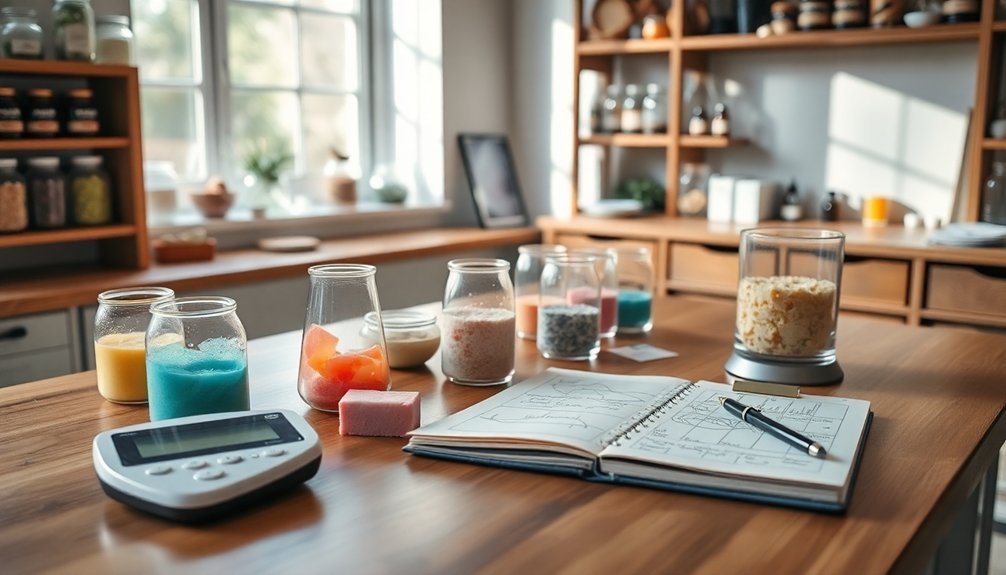
Equipment Setup for Home Soap Testing Laboratory
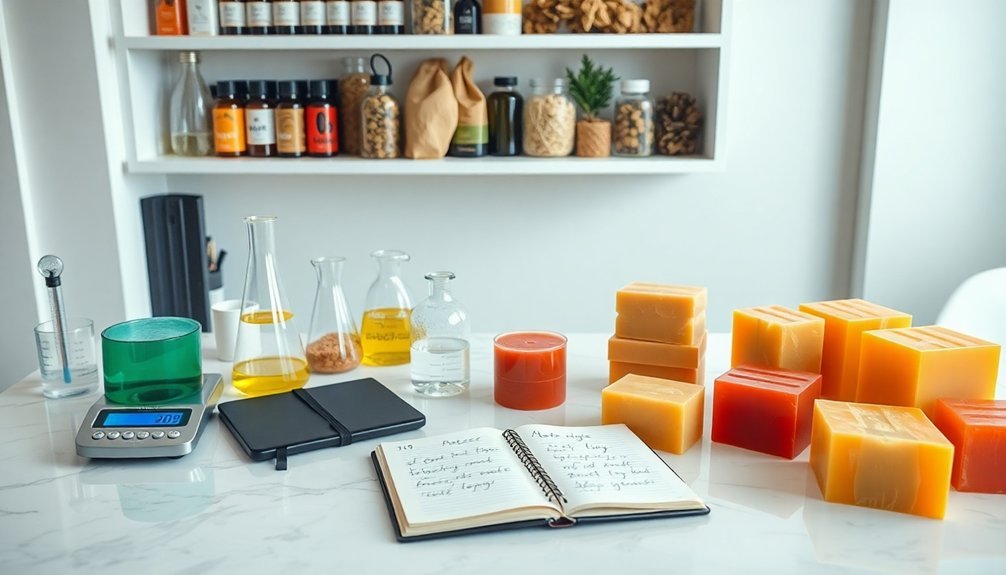
Setting up your home soap testing lab requires essential equipment like a digital scale, pH strips, and proper molds to guarantee accurate and consistent results.
You'll need protective gear including chemical-resistant gloves, safety goggles, and an apron to shield yourself from potential lye splashes and chemical irritants.
Don't forget adequate ventilation through open windows or a small fan to disperse fumes that could cause respiratory irritation during the soap-making process.
For temperature-controlled testing, consider using a laboratory dry bath with aluminum blocks that can maintain consistent temperatures for your soap samples during curing and testing phases.
Essential Testing Equipment
Creating a home soap testing laboratory requires specific tools that guarantee accuracy, safety, and consistency in your bath bar creations.
You'll need measuring instruments like precision scales and pH testing strips to verify your formulations are both effective and safe for skin contact.
Quality control instruments are non-negotiable for DIY soap makers. Your temperature monitors will prevent ingredient degradation, while moisture meters help achieve the perfect consistency in your finished products. Always consider using protective equipment like gloves when handling ingredients that might irritate skin.
- Precision scales (accurate to 0.01g) – Feel the confidence of knowing your essential oil measurements are perfectly balanced for safe skin application
- pH testing strips – Experience peace of mind knowing your creations won't irritate sensitive skin
- Thermometers (digital with probe) – Enjoy the satisfaction of perfectly executed chemical reactions every time
Safety First Measures
Safety measures form the foundation of your home soap testing laboratory, transforming a simple crafting space into a professional-grade environment where innovation can flourish safely.
Store all your equipment in a secured area, clearly labeling chemicals and keeping your workspace clutter-free. Develop detailed SOPs and emergency plans to handle accidents quickly.
Don't forget to wear appropriate PPE during all testing procedures. Ensure proper ventilation and adequate lighting in your testing area. Since many accidents happen in wet areas, install non-slip mats to prevent falls while handling soap-making materials.
Use non-slip mats to prevent falls and implement a proper waste disposal system for soap-making byproducts. Clean your workspace daily and sanitize equipment regularly with appropriate solutions.
Stay compliant with local regulations and industry standards by conducting regular self-audits. Keep updated with the latest safety guidelines to maintain a professional testing environment.
Troubleshooting Common Bath Bar Quality Issues
When your bath bar fails to provide the security you expect, several common issues could be at fault. Identifying these problems early can prevent dangerous situations and costly repairs.
Look for signs of instability, including looseness, visible rust, or unusual movement when pressure is applied. Performing monthly inspections can identify potential hazards before they lead to accidents.
- Anchoring failures – Improperly secured bars may suddenly pull away from the wall during use, creating a dangerous falling hazard that could result in serious injury.
- Material degradation – Substandard materials corrode in bathroom environments, gradually weakening until they fail precisely when you need support most.
- Finishing flaws – Slippery surfaces become treacherous when wet, offering a false sense of security rather than the stability you're counting on during vulnerable moments.
Don't wait for failure—regular inspection and maintenance are your best defense against accidents.
Frequently Asked Questions
How Long Should Handmade Soap Cure Before Testing?
You should cure your handmade soap for 4-6 weeks before testing. This guarantees proper hardening and mildness. Soaps with high olive oil content may need longer curing times for ideal results.
Can Natural Colorants Affect Ph Test Accuracy?
Yes, natural colorants can affect your pH test accuracy. They may discolor pH strips, making readings difficult to interpret. You'll get better results using digital pH meters when testing highly colored solutions or dye baths.
Is Soap Testing Different for Liquid Versus Bar Soaps?
Yes, you'll find that testing differs between liquid and bar soaps. Liquid soaps require viscosity checks and potassium hydroxide assessment, while bar soaps need hardness testing and evaluation of sodium hydroxide reaction completeness.
What Temperature Changes Affect Lather Quality During Testing?
Water temperature (15°C-38°C) doesn't markedly impact your soap's lather quality. You'll find that lather time and soap amount matter more than temperature. For testing, you should maintain consistent temperatures for reliable results.
How Do Seasonal Humidity Variations Impact Soap Testing Results?
Seasonal humidity affects your soap testing results by altering curing times, moisture absorption, and lather quality. You'll notice more sweating in humid conditions, extended curing periods, and potentially different texture and performance characteristics in your soaps.
In Summary
You've now mastered the essentials of DIY bath bar testing. With your pH strips, lather evaluation techniques, and proper equipment setup, you're ready to create safe, high-quality soaps. Remember, testing isn't just about safety—it's about refining your craft. When you encounter issues, trust your troubleshooting skills. Your home testing lab empowers you to confidently share your handmade creations with friends and family.


Leave a Reply