Testing handmade soap's aging process requires tracking multiple changes over 4-6 weeks. Monitor weight loss as moisture evaporates, document lather quality evolving from thin bubbles to creamy foam, and photograph color shifts weekly. Perform regular hardness tests using your thumb or breaking small samples. Test pH levels as they stabilize from 9-10 to 8-9, and evaluate scent changes as fragrances mature. Your detailed observations will reveal the fascinating science behind soap's transformation.
The Science Behind Soap's Natural Maturation
While commercial soaps often reach store shelves immediately after production, handmade soap undergoes a remarkable transformation as it ages. This maturation process, known as saponification, continues long after your soap has hardened in the mold.
During curing, excess moisture evaporates, creating a harder bar with improved longevity. The molecular structure of soap—featuring both hydrophilic and hydrophobic ends—stabilizes over time, enhancing its cleansing properties. Traditional cold-processed method soaps retain more beneficial glycerin, which contributes to their skin-nourishing qualities.
Patience rewards the soapmaker—each day of curing strengthens your creation while perfecting its cleansing chemistry.
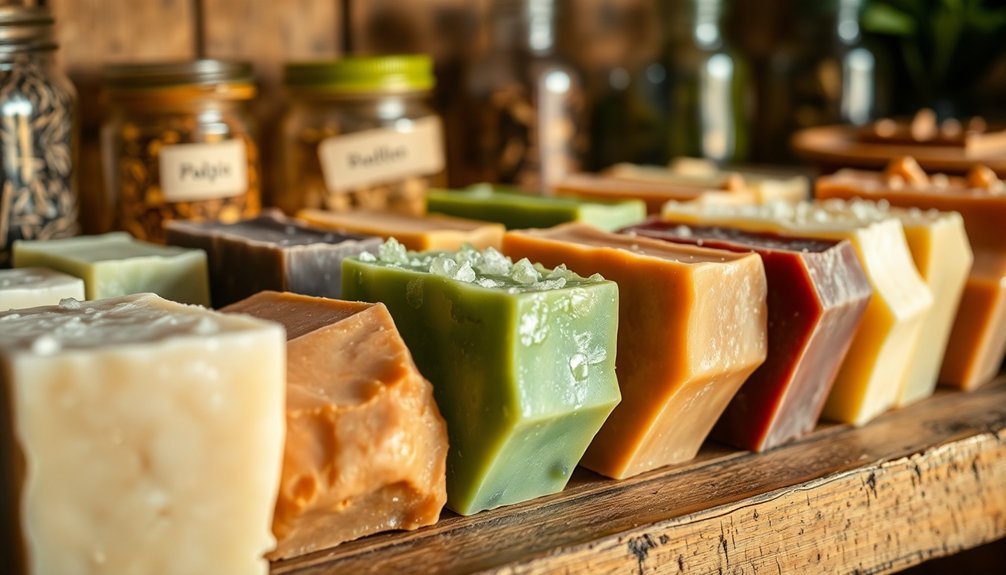
Your soap's pH gradually balances, making it gentler on skin. The type of oils you've chosen directly impacts aging: coconut oil creates harder bars that cure faster, while olive oil produces softer soaps requiring longer maturation.
Natural glycerin retained in handmade varieties continues to influence moisturizing properties throughout the aging process, unlike commercial soaps where it's often extracted.
Setting Up Your Soap Aging Experiment
As your handmade soap evolves from a soft, freshly cut bar into a mature, long-lasting product, setting up a proper aging environment becomes critical to its success.
Choose a room-temperature location with moderate humidity and minimal direct sunlight to prevent color changes and oxidation.
Position your bars on edges or sides to guarantee even drying and prevent flat spots. Good air circulation is essential—consider using drying racks with adequate spacing between bars.
Track your experiment with a detailed log documenting pH levels, texture changes, and lather quality. The saponification process continues during aging as any remaining sodium hydroxide reacts with oils. Take regular photos to capture visual transformations.
Use pH paper to confirm your soap reaches a safe pH between 6-10 before use. Test hardness weekly by applying gentle pressure—properly aged soap should break rather than bend.
Monitoring Color Changes Over Time
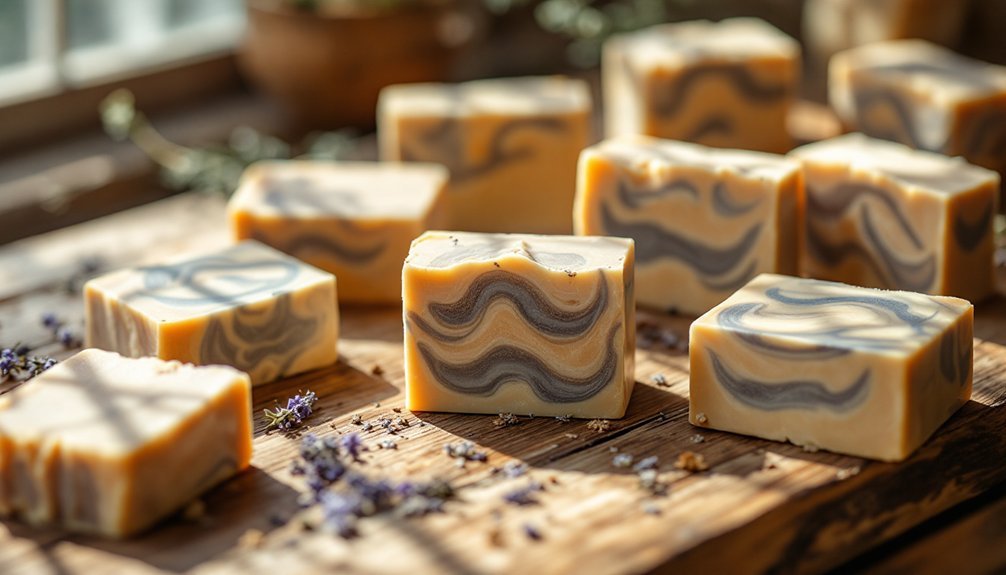
The vibrant hues of freshly made soap rarely remain static throughout the aging process. Natural colorants will settle and transform over weeks, with ingredients like spirulina shifting from bright green to earthier tones.
The ephemeral beauty of fresh soap colors tells its own story as natural pigments mature and mellow with time.
You'll need to document these changes carefully to understand how your specific formulation behaves.
- Track color development by photographing your soap weekly in consistent lighting conditions.
- Note how light exposure accelerates fading and color reactions, especially with vanilla-containing fragrances.
- Watch for pH interactions with natural colorants that can dramatically alter your intended color palette.
- Store test samples in different conditions (light/dark, cool/warm) to compare environmental impacts on color stability.
Remember that proper storage away from sunlight, heat, and humidity will help maintain whatever vibrancy your soap ultimately settles into. Most natural colors can maintain their settled appearance for over two years when properly stored away from direct light.
Tracking Fragrance Evolution During Aging
Fragrance evolution represents one of the most dramatic transformations your soap will undergo during the curing process.
You'll notice top notes like citrus and light florals fade first, while middle notes develop and base notes become more prominent.
Environmental factors greatly impact this evolution. Store your soaps in cool, dark places to slow oxidation and preserve scent integrity. High temperatures and UV exposure accelerate fragrance breakdown, while humidity can dilute scent potency. Glass containers provide superior protection against environmental elements that can degrade your soap's fragrance profile.
Monitor these changes by regularly sampling your soap throughout the aging process. Use blotter strips for consistent evaluation and keep detailed records of how scents develop.
Remember that natural essential oils typically change more rapidly than synthetic fragrances, so adjust your expectations accordingly. The alcohol in your soap formula will help notes mature and integrate harmoniously over time.
Evaluating Hardness and Structural Integrity
You'll need multiple techniques to properly evaluate your soap's hardness as it ages.
Though the "thumb test" is convenient for quick checks, remember it's subjective and doesn't reveal the interior condition where moisture may still be present.
For a more thorough assessment, consider breaking a test bar in half periodically to examine both the external crust and internal core structure.
The most substantial improvements in hardness occur during the first few days of the aging process, making early testing particularly informative.
Subheading Discussion Points
Anyone working with handmade soap knows that proper aging dramatically affects both hardness and structural integrity. As water evaporates during curing, your soap becomes harder and more durable, extending its lifespan and improving performance.
You'll notice soap bars becoming smaller and sometimes developing concave surfaces as moisture loss progresses. Properly aged natural soaps typically become longer-lasting and gentler on the skin.
- Oil composition matters – Soaps made with harder oils like tallow or palm will achieve desired hardness faster than those with mainly soft oils.
- Environment controls aging – Dry environments accelerate moisture loss while humidity slows it down.
- Storage affects quality – Keep aging soap in cool, dark places with good air circulation to prevent degradation.
- Testing reveals readiness – Regularly check hardness by pressing with your thumb to determine when soap has reached ideal curing stage.
Touch Test Reliability
The touch test stands as one of the most accessible methods for evaluating your handmade soap's readiness, yet its reliability deserves careful examination. While convenient, it's inherently subjective, varying between testers and environments.
When examining your soap's hardness, consider multiple factors that influence results rather than relying solely on touch. Remember that testing for pH levels is crucial to ensure your soap has completed saponification and is safe for skin contact.
| Test Aspect | Reliability Factor |
|---|---|
| Firmness Check | Moderate – Affected by hand temperature |
| Texture Assessment | Variable – Subject to personal interpretation |
| Moisture Evaluation | Good – Detects excess water content |
| Structural Integrity | Reliable – Reveals cracking or deformation |
| Cure Completion | Limited – Cannot detect chemical completion |
For more consistent results, combine your touch test with other methods like pH testing and visual inspection, while accounting for differences in oil types and curing conditions.
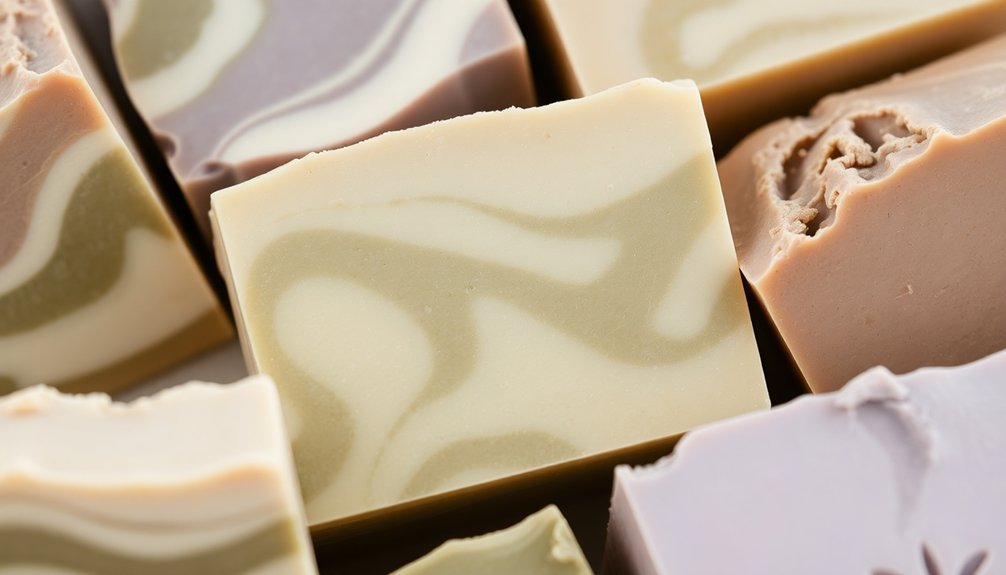
Soap Core Assessment
Beneath the surface appearance of your handmade soap lies its core structure—a critical element that determines both usability and longevity.
To properly assess your soap's core, you'll need to evaluate both hardness and structural integrity through systematic testing.
- Measure hardness using a durometer or simple scratch test to track how your soap solidifies during curing.
- Check weight changes regularly by weighing your soap bars to monitor moisture loss.
- Test cutting resistance by slicing a sample bar—increased resistance indicates proper curing.
- Perform drop tests from a consistent height to evaluate durability and resistance to breakage.
Don't underestimate the importance of compression testing, especially for soap formulations with unique oil combinations that may affect structural integrity differently as they age. Creating a thorough objective data record of testing results will provide valuable insights into your soap's development over time.
Documenting Lather Quality Throughout Curing
You'll notice your handmade soap's lather evolves considerably throughout the curing process, passing through distinct stages from thin bubbles to rich, creamy foam.
Track these changes by testing small samples at regular intervals, recording characteristics like bubble size, stability, and creaminess.
Keeping detailed notes about foam density, slip factor, and moisturizing effects will help you determine the ideal curing time for your specific recipe. As your soap ages in cool, dark places, it will continue to improve in quality and performance, resulting in a harder bar that lasts longer in the shower.
LATHER EVOLUTION STAGES
Tracking lather quality throughout the curing process reveals fascinating transformations in handmade soap. Your newly crafted bars evolve from producing minimal, inconsistent lather to developing rich, creamy bubbles as they properly cure. This progression typically spans 4-6 weeks, with noticeable improvements in moisturizing properties and rinseability. This testing process draws on traditions dating back to ancient Babylon, where the earliest evidence of soap-making was documented 4,800 years ago.
- Initial Phase (Days 1-7) – Hard, dense soap with minimal lather due to incomplete saponification.
- Development Phase (Weeks 1-3) – Increasing bubble formation with improved texture as moisture integrates.
- Maturation Phase (Weeks 3-4) – Lather builds faster with larger bubbles and reduced skin dryness.
- Optimal Phase (Weeks 4-6) – Peak performance with rich, creamy lather that rinses cleanly while moisturizing skin.
Regular testing helps you document these changes and refine future recipes.
RECORDING FOAM CHARACTERISTICS
Documenting your soap's lather characteristics throughout the curing process provides valuable insights into its maturation timeline. As your soap cures, track how hardness affects lather quality and retention. Harder bars typically produce better foam due to decreased solubility and improved crystalline structure.
Monitor your soap's weight weekly—stability across two consecutive measurements often indicates completion of the curing process. The concentration of glycerin also changes as water evaporates, enhancing lather stability while making the soap gentler on skin. Maintaining good air circulation around your soap samples during testing helps ensure consistent and accurate lather observations.
| Curing Stage | Lather Characteristics | Testing Method |
|---|---|---|
| Week 1-2 | Minimal, quick-dissolving | Light finger test |
| Week 3-4 | Increasing volume, short-lived | Palm lather test |
| Week 6-8 | Stable, creamier texture | Washcloth test |
| 3+ Months | Rich, dense, long-lasting | Full shower test |
Measuring Ph Levels at Different Aging Stages
As handmade soap progresses through its aging journey, the pH levels undergo significant changes that reflect the ongoing saponification process. Testing at various stages will help you understand how your soap matures and guarantee it's safe for skin use.
- Fresh soap (1-2 days): pH typically ranges higher (9-10) as saponification is still active.
- Early curing (1-2 weeks): pH begins to stabilize as excess lye is consumed.
- Mid-curing (3-6 weeks): Most soaps reach their standard pH range of 8-9.5.
- Fully cured (6+ weeks): pH stabilizes at its final level, usually between 8-10. Keep in mind that saponification can be uneven throughout soap, affecting the reliability of single-point pH testing.
You'll notice that properly cured soap maintains an alkaline pH, which is normal and doesn't necessarily indicate harshness on skin when properly formulated.
Comparing Storage Methods and Their Effects
Your choice between airtight and open storage greatly impacts soap aging, with airtight containers slowing water evaporation while open-air methods accelerate hardening.
Controlling humidity in your storage area directly affects curing time—dry environments speed up the process while humid conditions can extend it by weeks.
Exposure to light, especially direct sunlight, will fade natural colors and scents faster than storing your soaps in cool, dark places. Document your soap's aging process through detailed notes and observations, as this approach reflects research as inquiry rather than just collecting information about the final product.
Airtight vs. Open Storage
When selecting a storage method for handmade soap during the aging process, the choice between airtight containers and open-air exposure greatly impacts the final product's quality.
Open storage generally yields harder, more durable bars by facilitating better air circulation and moisture evaporation, while airtight storage slows curing but may preserve scents longer.
Consider these key differences:
- Moisture Control – Open storage accelerates water evaporation, creating harder soap, while airtight environments risk condensation.
- Curing Time – Open-air methods typically reduce curing time by weeks compared to sealed containers.
- Texture Development – Proper crystalline structures form more completely with adequate airflow.
- Environmental Adaptability – Open storage responds better to humidity fluctuations, though it requires dust-free conditions. Effective soap testing should include checklist evaluation of both methods to determine which best suits your specific formulation.
Humidity Control Measures
Controlling humidity levels stands as perhaps the most critical factor in properly aging handmade soap, regardless of which storage method you choose. High humidity can transform your beautiful bars into soggy, moldy messes, while excessively dry conditions cause excessive shrinkage and scent loss. The absence of synthetic preservatives in handmade soaps makes humidity control even more important for extending shelf life.
| Storage Method | Humidity Control | Best For | Maintenance |
|---|---|---|---|
| Glass Jars | Excellent when lids are ajar | Essential oil soaps | Weekly inspection |
| Breathable Containers | Good airflow balance | Most soap types | Monthly rotation |
| Drawer Storage | Natural ventilation | Unscented soaps | Seasonal adjustments |
| Cabinet Storage | Protected environment | Delicate formulations | Use of desiccants |
Consider using hygrometers to monitor storage conditions and adjust seasonally. Place soaps on higher shelves where moisture is less likely to accumulate, and incorporate desiccant packs when needed in more humid environments.
Light Exposure Effects
Just as aging fine wine requires darkness, proper soap curing demands protection from light's damaging effects.
Your handmade soap's natural colorants and essential oils are particularly vulnerable to sunlight, which can fade vibrant hues to lighter shades and diminish fragrance intensity over time.
- Direct sunlight accelerates degradation, causing natural pigments to bleach out and potentially turning white soaps yellow or blue soaps green.
- UV-resistant packaging preserves both color and scent, extending your soap's aesthetic shelf life.
- Dark storage areas maintain the integrity of essential oils, preserving their therapeutic properties longer.
- Breathable wrappings like muslin bags offer the ideal balance, protecting from light while allowing proper air circulation to prevent moisture buildup. Adding titanium oxide white to your soap formula can help stabilize color against light exposure effects.
Assessing Skin Feel of Aged vs. Fresh Soap
The tactile experience of handmade soap changes dramatically as it ages, creating notable differences that soap makers and users alike can detect. Fresh soap offers more moisture with its higher glycerin content, delivering superior hydration, while aged soap becomes harder and more durable with evaporated water content. Effectively communicating these differences to your audience requires tailoring messages to their specific interests and experience levels with handmade soap.
| Characteristic | Fresh Soap vs. Aged Soap |
|---|---|
| Moisture | Rich and hydrating vs. Firm and economical |
| Fragrance | Vibrant and intense vs. Subtle and blooming |
| Durability | Soft and quick-dissolving vs. Hard and long-lasting |
| Lather | Recipe-dependent for both (not age-affected) |
| Skin Feel | Creamy and nourishing vs. Sturdy and efficient |
You'll notice these differences aren't quality indicators—rather, they represent different stages in your soap's journey, each with unique benefits for various preferences and needs.
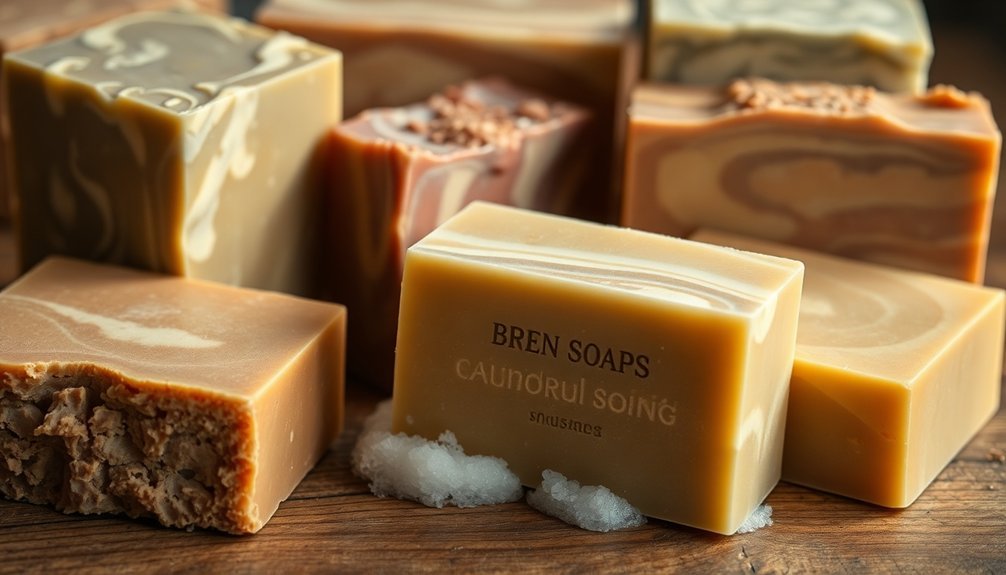
Recognizing Signs of Proper vs. Improper Aging
While many soap makers focus on ingredients and production techniques, recognizing the difference between properly and improperly aged soap remains essential for both crafters and consumers.
Beyond ingredients and techniques, the ability to recognize proper soap aging separates expert crafters from novices.
Well-aged soap delivers superior performance and longevity, while improperly cured bars can disappoint even with the finest ingredients.
- Proper aging signs: Harder bar with slight surface concavity, generous lather production, and stability when wet
- Improper aging signs: Sticky or oily feel, rapid softening in water, and poor lather development
- Quality indicators: Mild scent changes are normal, but rancid smells indicate spoilage
- Environmental impact: Your storage conditions greatly affect aging—cool, dry spaces with good air circulation promote ideal curing, while humid environments can impede the process
Creating a Soap Aging Journal for Artisans
Documenting your soap's aging journey through a structured journal transforms your craft from intuitive guesswork to an evidence-based art form.
Select a dedicated notebook or digital system where you'll record observations about texture, color, hardness, and scent changes.
Equip yourself with essential tools: a camera for visual documentation, scales to track weight loss, and pH strips to monitor chemical stability.
For goat milk, olive oil, or snail slime soaps, establish regular testing intervals—daily checks initially, then weekly as aging progresses. When working with snail slime soap, monitor the preservation of its beneficial properties during the curing process.
Implement a consistent format that includes dates, environmental conditions, and sensory evaluations.
Consider cloud-based solutions if you're collaborating with other artisans.
Analyze your collected data to identify ideal aging periods for different formulations, ultimately refining your recipes and production timeline.
Extending Shelf Life Through Natural Techniques
Now that you've mastered the art of tracking your soap's journey, let's turn our attention to making those bars last longer naturally. Your ingredient choices have a significant impact on longevity—stable oils like olive and coconut provide a solid foundation, while carefully selected botanicals can enhance without spoiling quickly.
- Create a proper drying environment by using soap dishes with drainage holes and ensuring good air circulation around your bars. Utilizing soap dishes made of wood, ceramic, or bamboo will provide better air circulation and keep your handmade soap from deteriorating prematurely.
- Minimize water exposure by using washcloths to lather rather than placing bars directly under running water.
- Store unused soap in breathable materials like linen or paper bags rather than airtight containers.
- Cut larger bars into smaller pieces so only a portion is exposed to moisture while the rest stays safely dry.
Frequently Asked Questions
Can Handmade Soap Ever Expire Completely?
Handmade soap doesn't "expire completely" like food, but it will degrade over time. You'll notice oils becoming rancid, scents fading, and quality diminishing. It's still usable but won't deliver peak cleaning or sensory benefits.
Will My Soap Develop White Spots During Aging?
Your soap might develop white spots during aging if it's exposed to moisture or temperature changes. Recipes high in olive oil are more susceptible. Don't worry—these spots are usually just cosmetic and won't affect performance.
How Do Seasonal Changes Affect Soap Aging Experiments?
Seasonal changes impact your soap aging experiments through fluctuating humidity and temperature. You'll notice faster aging in summer heat, slower in winter cold, and varying lather quality depending on water hardness throughout the year.
Can I Speed up the Natural Aging Process?
You can definitely speed up aging by controlling humidity, improving ventilation, maintaining moderate temperature, and using fans for air circulation. Just be aware you'll likely experience faster scent loss and color changes.
Does Water Quality Affect Aging Test Results?
Yes, water quality greatly affects your aging test results. Hard water creates soap scum that can skew measurements, while soft water allows proper lathering. You'll get more accurate results using filtered or distilled water.
In Summary
You've now learned how to test and document your soap's aging journey! By monitoring changes in color, scent, hardness, and skin feel, you'll better understand your formulations. Remember, proper aging improves your soap's quality and extends its shelf life. With your aging journal in hand, you'll create more consistent products and anticipate how future batches will mature. Your handmade soaps will only get better with time!


Leave a Reply