
Every beginner soap maker should perform these three essential tests: the Zap Test to check for excess lye (touch soap to tongue – no zap means it's safe), basic lather assessment to evaluate cleansing qualities, and water hardness testing to understand how your soap will perform in different conditions. You'll need to wait 2-3 days after making soap before testing for accurate results. These simple checks will save you materials, time and potential skin irritation down the road.
The Zap Test: Checking Your Soap's Ph Level
Every soap maker should understand the zap test – a centuries-old method for checking excess lye in your soap.
While some consider it unscientific, it provides immediate feedback about your batch's safety.
To perform the test, wait 2-3 days after making your soap to allow saponification to complete.
Patience is key—allow your soap 48-72 hours to transform before testing its safety profile.
Dampen your fingertip, touch it to the soap, then to your tongue. If you feel a "zap" (like touching your tongue to a battery), your soap contains excess lye.
Mild tingles indicate slight excess, while strong shocks mean significant lye presence. New soapers should use extra caution due to higher error risk when formulating recipes.
Remember that bitter or metallic taste differs from the distinctive zappy sensation.
If you detect any unpleasantness, spit immediately and rinse your mouth with water.
Properly made soap typically has a pH between 8-10.
Basic Lather Quality Assessment for Beginners
After ensuring your soap's pH is safe, you'll want to evaluate how well it performs as a cleansing agent. Lather quality depends primarily on the fatty acid composition of your soap. Lauric and myristic acids create bubbly lather, while palmitic and stearic acids produce creamy, stable foam.
To test your soap's lather, try both rubbing and rolling techniques with warm water. Rolling typically creates larger bubbles while rubbing produces a denser lather. Measure foam volume for an objective assessment, but don't overlook subjective qualities like feel and consistency. Soap with high ricinoleic acid content will show stabilized lather but may not contribute significantly to bubble size.
Remember that testing conditions matter—water temperature and handling methods can greatly affect results. For consistent evaluation, establish a standardized testing routine. This helps you compare batches effectively and refine your recipes to achieve your desired lather characteristics.
Simple Water Hardness Testing for Optimal Performance
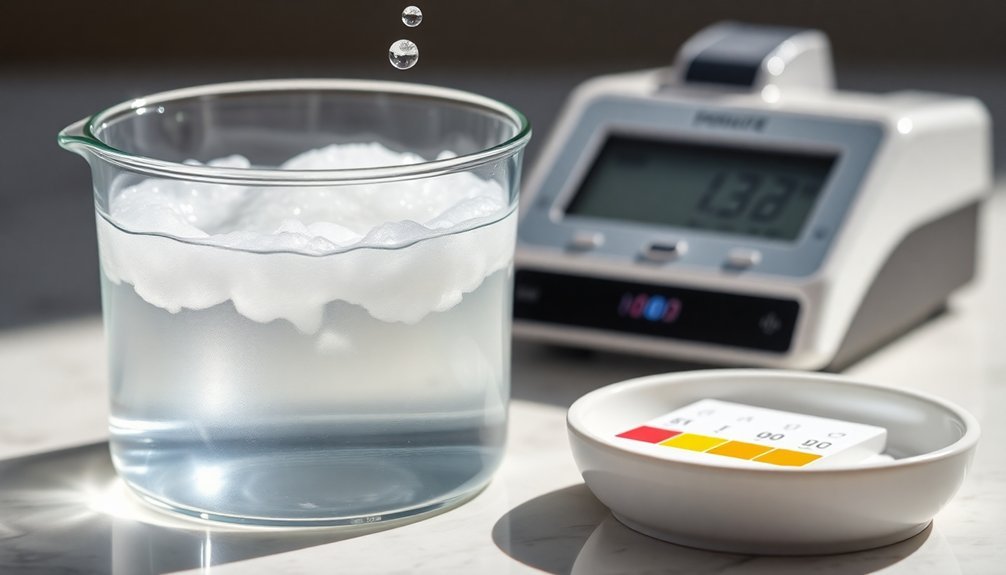
Water hardness directly impacts your soap's performance and can make the difference between a satisfying lather and disappointing suds. Testing your water is surprisingly easy and essential for successful soap making.
Try the simple soap test: fill a clean glass with tap water, add a few drops of true soap (like Castile), and observe. Cloudiness or a milky appearance indicates hard water containing calcium and magnesium minerals. If you need more lather than usual, that's another telltale sign. The chemical reaction occurs because calcium ions bond with soap molecules, preventing proper lather formation.
Understanding your water hardness helps you adjust recipes appropriately, choose effective ingredients, and prevent mineral buildup in your equipment.
Remember that detergent-based soaps can lather regardless of hardness, so use true soap for accurate testing. This knowledge will save you time, materials, and frustration in your soap-making journey.
Frequently Asked Questions
How Long Should I Cure My Soap Before Testing?
You should cure your soap for at least 4-6 weeks before testing. While saponification completes within 48 hours, longer curing improves your soap's hardness, lather quality, and performance characteristics.
Can I Fix a Batch With Too Much Lye?
Yes, you can fix a lye-heavy batch by rebatching with additional oils. Heat the soap gently, add extra oil, mix thoroughly, and test the pH until it's balanced. Be patient as this process takes time.
How Do Different Oils Affect Soap Texture?
Different oils greatly impact your soap's texture. You'll get harder bars from coconut and palm oils, while olive oil creates softer, more moisturizing soap. Castor oil adds silkiness, and shea butter provides conditioning properties.
What Causes Soap to Develop Orange Spots?
Your soap's orange spots are typically caused by rancid oils, hard water with high mineral content, or improper storage. Using fresh ingredients, distilled water, and storing soap in cool, dry places prevents this issue.
Is It Normal for Handmade Soap to Sweat?
Yes, it's normal for your handmade soap to sweat. This happens when humectants like glycerin attract moisture from the air. Don't worry—sweating doesn't affect functionality, though it might look unappealing in humid environments.
In Summary
With these three simple tests—the zap test, lather assessment, and water hardness testing—you're now equipped to evaluate every soap batch you create. You'll know if your soap is safe to use, how well it performs, and how it interacts with your local water. Don't skip these easy quality checks; they're your foundation for consistent, high-quality soapmaking as you develop your craft.


Leave a Reply