Testing your handmade soap guarantees it's safe and effective. For quick assessment, use pH strips to check if your soap falls between 8-10 pH. The zap test offers immediate feedback—if your tongue tingles, your soap needs more curing time. For practical evaluation, conduct a hand washing test to compare lathering and cleansing power. Wait 24-48 hours after molding before testing cold process soap. These simple methods will transform your soap making into consistent, professional-quality creations.
Why Testing Your Handmade Soap Matters
When you're crafting your own soap, testing isn't just an optional step—it's crucial for safety and quality. Testing verifies the saponification process is complete, meaning all lye has reacted properly, creating a product that's safe for skin.
Regular testing helps you maintain consistency between batches, which keeps your customers coming back. It also helps you identify potential irritants before your soap touches anyone's skin. With pH levels ideally between 7 and 10, you'll need to confirm your creation falls within this safe range. Handmade soaps typically have a pH between 8 and 10, which is perfectly normal despite being alkaline.
Beyond safety, testing reveals how your ingredients interact during saponification and how superfatting levels affect the final product. Implementing these quality checks aligns with good manufacturing practices and builds trust with your customers.
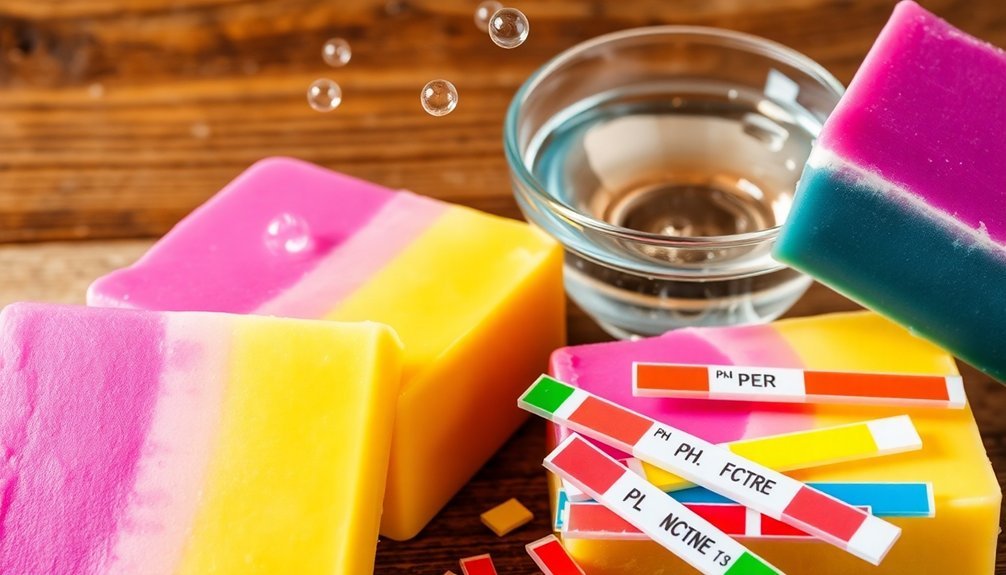
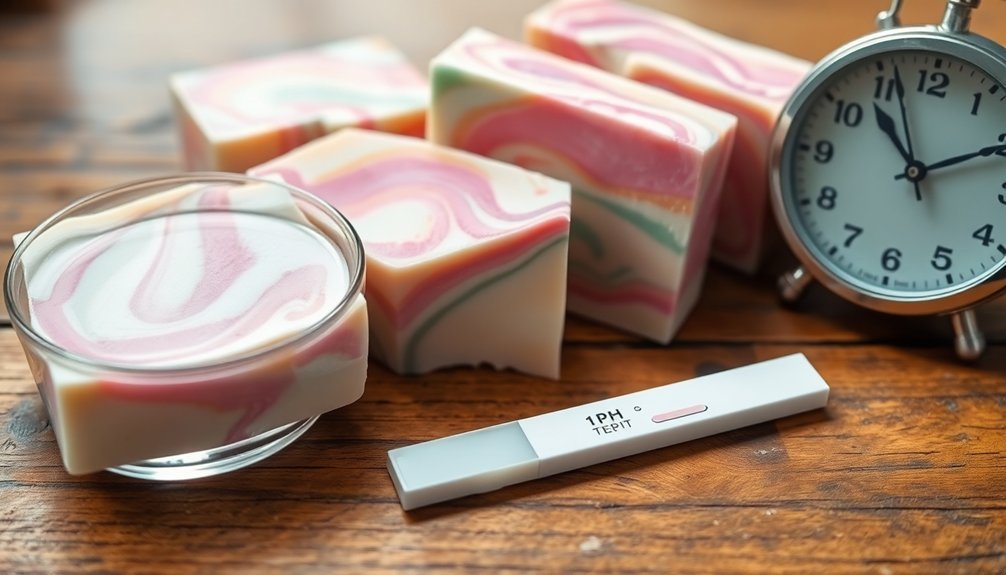
The Ph Strip Method: Quick and Easy Assessment
You'll need quality pH strips, distilled water, and a small sample of your soap to perform accurate testing.
After creating a soap solution by dissolving a piece in distilled water, dip your pH strip into the mixture and wait the recommended time for color development.
Compare the resulting color against the provided chart to determine your soap's pH level, keeping in mind that properly made soap typically falls between 7-10 on the scale. This testing method helps identify excess alkali that could make your soap too harsh for skin use.
Essential Equipment Needed
Testing your handmade soap's pH requires just a few simple tools to guarantee accurate results. First, you'll need quality pH strips with a clear reference chart to accurately interpret color changes.
Always use distilled water rather than tap water, as minerals and contaminants can skew your readings.
Prepare a clean surface for handling your soap samples and testing materials. You'll be creating a lather by wetting your soap with distilled water, so maintaining a consistent soap-to-water ratio is important for reliable results.
Consider wearing gloves when handling soap that hasn't fully cured to protect your skin from potential irritation.
For best results, test your soap after it has completed its curing period, when the pH has stabilized. Ideal handmade soap should have a pH of 9-10, which is considered safe for skin application.
Interpreting Color Results
The pH strip method provides a quick and practical way to assess your soap's safety, though accurate interpretation requires careful attention to color changes. For reliable results, dissolve a small soap sample in distilled water rather than testing directly on the soap, which often yields inaccurate readings.
After dipping your strip, compare the color to the chart provided with your test strips. Don't rush the reading—give it the recommended development time. Using the standard ratio of 99 grams of distilled water to 1 gram of soap creates a 1% solution that allows for the most accurate pH assessment.
| pH Range | Color Result | Interpretation |
|---|---|---|
| 8-9 | Yellow-green | Mild, ideal for sensitive skin |
| 9-10 | Blue-green | Standard soap, safe for most users |
| 10-11 | Blue-purple | Higher alkalinity, may need more curing |
Remember that readings can vary based on water quality and strip quality. If you're getting inconsistent results, consider using a digital pH meter for greater accuracy.
Zap Testing: Using Your Tongue Safely
When performing a zap test, you'll need to touch only a tiny amount of soap slurry to your tongue's tip rather than licking the entire bar.
You'll know your soap contains excess lye if you feel an electric zap sensation similar to touching a battery with your tongue.
If you taste only bitterness without a zap, your soap is safe to use, though you might want to confirm with pH strips for added confidence.
This traditional testing method is described in detail in Scientific Soap Making by Kevin Dunn and has been used by soap makers for generations.
Proper Technique Matters
Mastering the proper technique for zap testing will help guarantee you don't risk unnecessary tongue exposure to potentially caustic substances.
Begin by dampening your finger with water or saliva, then lightly rub it on the soap surface to create a thin slurry. Only a small amount is needed.
Touch this soap-covered finger gently to your tongue – don't lick the bar directly. If you feel a zap similar to a static shock or battery, your soap contains excess alkali.
Immediately spit and rinse your mouth if this occurs.
This technique works best for solid bar soaps, not liquid formulations. Always wait at least 2-3 days after making soap before testing to allow saponification to progress.
If your soap zaps, let it cure longer before retesting. The ideal pH range 8-9 indicates a safely saponified soap that won't irritate skin.
Interpreting Zap Results
Now that you've learned the proper technique, understanding what your tongue is telling you becomes the next step.
A true zap is unmistakable—it's an immediate, electric sensation similar to touching a battery to your tongue. Don't confuse it with the mere unpleasant taste of soap.
If you feel no zap, your soap is likely safe to use. A mild tingle might indicate slight excess lye; give it more curing time.
A strong zap means significant excess lye, and you should consider rebatching. Remember that delayed reactions you might feel are usually just the soap taste rather than actual lye presence.
Hand Washing Test: Practical Evaluation
To properly evaluate handmade soap effectiveness, you'll need a methodical approach that mimics real-world conditions while maintaining scientific validity.
Begin by preparing your hands consistently—wet them with pure water before applying your soap and lather for exactly 20 seconds.
For a thorough assessment:
- Introduce harmless bacteria from everyday surfaces like countertops rather than dangerous sources like raw chicken
- Compare your handmade soap against commercial products by washing one hand with each
- Document results through swabbing before and after washing to calculate bacterial reduction
- Use visual aids like UV lotion to identify missed areas during washing
Control variables such as water temperature and amount of soap used to guarantee your results reflect actual soap performance rather than technique differences.
Advanced Testing Methods for Commercial Standards
You'll need AOCS standardized procedures when moving beyond basic soap testing to meet commercial quality standards.
Precise pH measurement requires specialized equipment like the Fischer Accuphast combination electrode rather than simple pH strips.
Conducting a Total Fatty Matter test is essential for determining the overall quality and effectiveness of your handmade soap products.
Following these advanced methods guarantees your handmade soap can compete with commercial products while maintaining compliance with industry regulations.
AOCS Standardized Procedures
While home soap makers typically rely on simple testing techniques, the American Oil Chemists' Society (AOCS) has established extensive standardized procedures that serve as the backbone of commercial soap quality assessment.
These standards guarantee consistency, safety, and regulatory compliance for soap products entering the marketplace.
AOCS offers several categories of testing methods:
- Official Methods – Fully validated procedures recognized industry-wide for quality assurance
- Acid Value and Glycerin Content Tests – Measure free fatty acids and moisturizing properties respectively
- Foam Stability and Residual Alkalinity Tests – Evaluate consumer experience and product safety
- Moisture Content Tests – Critical for determining shelf life and stability
If you're considering scaling up your soap business, familiarizing yourself with these standards will help you meet commercial requirements and build consumer trust. Documentation of these test results should include residual alkalinity tests as part of the required submission materials for certification evaluations.
Ph Meter Precision
For soap makers serious about achieving commercial-grade quality, pH meters represent the gold standard in testing precision. Unlike pH strips that can be thrown off by soap components, digital meters deliver accuracy to 0.01 pH units across a wide range (-2 to 16 pH).
You'll need to prepare your soap samples properly for testing. Most meters require a dilution rather than direct contact with solid soap. This ensures safe handling of products that may still contain traces of caustic lye.
| Testing Aspect | pH Meter | pH Strips |
|---|---|---|
| Accuracy | ±0.01 pH | ±0.5-1 pH |
| Sample Prep | 10% solution | Direct contact |
| Maintenance | Calibration required | None |
| Cost | Higher investment | Inexpensive |
Remember to calibrate your meter regularly and control environmental factors like temperature for consistent results. The precision pays off when you're establishing product standards or troubleshooting formulations.
Common Signs Your Soap Isn't Ready for Use
Recognizing when handmade soap isn't ready for use can prevent skin irritation and guarantee you're getting the best quality product. Several visual and tactile indicators can help you determine if your soap needs more curing time or has formulation issues.
Watch for these telltale problems:
- A "zap" or tingle when touched to your tongue indicates incomplete saponification and active lye remaining.
- Soft, squishy texture or difficulty removing from molds suggests insufficient curing time.
- pH levels above 10 signal potential lye imbalance that could irritate your skin.
- Unusual textures like "alien brains," cracking, or glycerin rivers point to overheating issues during the process.
Excessive weeping or oozing on the soap's surface typically indicates high humidity causing glycerin beads to form, which can be resolved by curing in a drier environment.
Always test your soap thoroughly before using it on your body or sharing with others.
When to Test: Timing Your Soap Evaluation
Although timing plays an essential role in soap testing, many crafters struggle to determine the perfect moment to evaluate their creations.
You'll want to wait until your soap has hardened but before it's fully cured—typically 24-48 hours after molding for cold process soap.
Testing too early can yield misleading results as saponification may be incomplete or uneven throughout your batch. For accurate assessment, monitor your soap's pH regularly during curing until it stabilizes between 7-10, with most quality soaps falling between 8-10.
Hot process soaps can be tested sooner due to accelerated saponification from heat application.
Always wear gloves when handling soap until you've confirmed it's no longer caustic. Soaps measuring above pH 10 are considered lye-heavy and may cause skin irritation.
Combining pH testing with the zap test provides the most thorough evaluation approach.
Troubleshooting Problem Results in Soap Tests
When your soap test yields unexpected results, identifying the exact problem becomes critical to your future batches.
Most issues stem from lye calculations or oil distribution problems that can be corrected in subsequent batches.
Success in soapmaking requires precision—most failures trace back to improper lye calculations or uneven oil distribution.
Common troubleshooting areas to investigate include:
- Lye imbalance: Too much lye causes skin irritation, while too little prevents proper hardening. Check your measurements and calculations carefully. Using pH strips can provide confirmation that your soap is within the normal pH range of 9-10.
- Color anomalies: Dark spots or rings often indicate lye pockets, while uneven coloration suggests unmixed colorants.
- Texture problems: Excessive softness typically results from too much water, while ricing creates a curdled appearance.
- Oil distribution: Dark streaks appear when oils aren't properly incorporated, affecting both appearance and performance.
Testing each variable individually will help you pinpoint exactly what needs adjustment to achieve the perfect soap.
Record Keeping for Consistent Quality Control
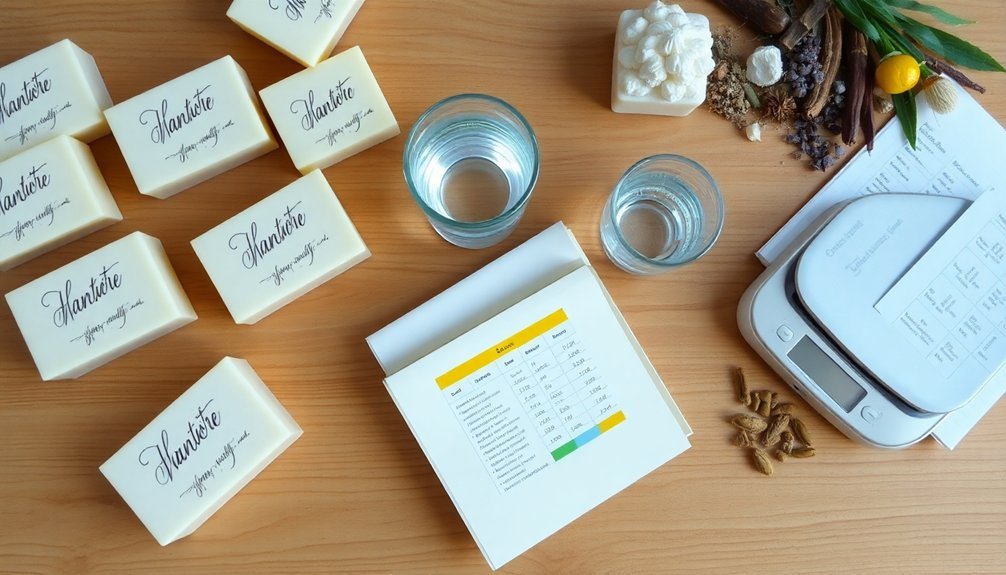
Effective record keeping serves as the backbone of consistent soap quality across multiple batches.
You'll want to track every aspect of your soap making process, including materials used, test results, environmental conditions, production steps, and curing time.
Set up a standardized system using tools like spreadsheets, digital templates, or specialized soap making software.
Mobile apps and barcode scanning can streamline your data entry process. This allows you to analyze trends in TFM, pH levels, and moisture content over time.
Implement a batch numbering system and retain samples for future reference.
Regular audits of your processes guarantee you're following your established standards.
Don't forget to record the results from pH testing using litmus paper, as this is crucial for ensuring your soap's safety and quality.
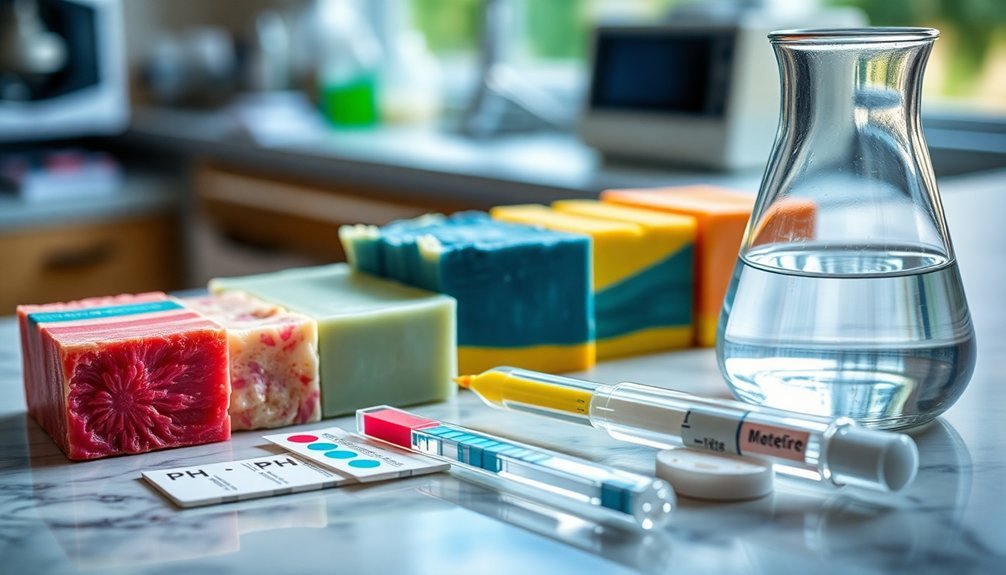
Equipment Needed for Home Soap Testing
Testing handmade soap doesn't require a professional laboratory setup. You'll need some basic tools to effectively monitor your soap's quality and safety at home. With the right equipment, you can confidently evaluate your creations before sharing them with friends or customers.
Evaluate your handmade soaps confidently with simple tools before sharing your creations.
Essential testing supplies include:
- pH strips or a digital pH meter for measuring alkalinity
- Distilled water for creating consistent testing solutions
- Protective gear including gloves and safety goggles
- A notebook for recording your test results and observations
For more advanced testing, consider investing in phenolphthalein drops, which help determine if your soap has properly neutralized. Some soap makers use bromophenol blue as an alternative indicator that changes from blue to yellow when soap is properly titrated.
A small digital scale will also prove invaluable for weighing soap samples accurately. Remember that proper equipment storage extends the life of your testing supplies.
Frequently Asked Questions
Can I Use Ph Testing Paper Instead of Ph Strips?
Yes, you can use pH testing paper instead of strips. It works similarly but may offer less color precision. For the most accurate readings, you'll get better results with quality pH strips or a meter.
How Long Should Cured Soap Last Before Testing?
You'll want to cure your soap for 4-6 weeks before testing. During this time, water evaporates and the bar hardens. You can monitor progress by weighing it until the weight stabilizes.
Do Different Oils Affect Final Ph Levels?
Different oils have minimal impact on your soap's final pH. While each oil requires specific amounts of sodium hydroxide, the end result typically falls within the standard range of 8-10 regardless of oil choices.
Can I Test Soap With Additives the Same Way?
Yes, you can test soaps with additives using the same methods. However, additives might slightly influence pH readings, so it's helpful to compare batches with different additives to understand their specific effects on your soap.
Should Glycerin Soaps Be Tested Differently Than Regular Soaps?
Yes, you'll need to test glycerin soaps differently. Focus on moisture content, clarity tests, and glycerin concentration analysis. You should also use melt-and-pour testing methods and evaluate their humectant properties more carefully.
In Summary
Testing your handmade soap doesn't require expensive equipment or chemistry degrees. With simple methods like pH strips, zap tests, and hand washing evaluations, you'll quickly determine if your soap is safe and effective. Keep good records, test at the right times, and you'll develop consistency in your craft. When problems arise, you'll have the knowledge to troubleshoot effectively. Your soap making journey will be safer and more successful with these testing techniques.


Leave a Reply