These seven cold process soap recipes will help you master basic soapmaking with minimal ingredients and simple techniques. You'll learn to create gentle bars using olive oil and lavender, coconut milk and honey, shea butter, pure castile, oatmeal and goat milk, a three-oil blend, and palm-free variations. Each recipe includes clear instructions for mixing, pouring, and curing your homemade soaps. Let's explore these beginner-friendly formulations that'll transform your DIY skincare routine.
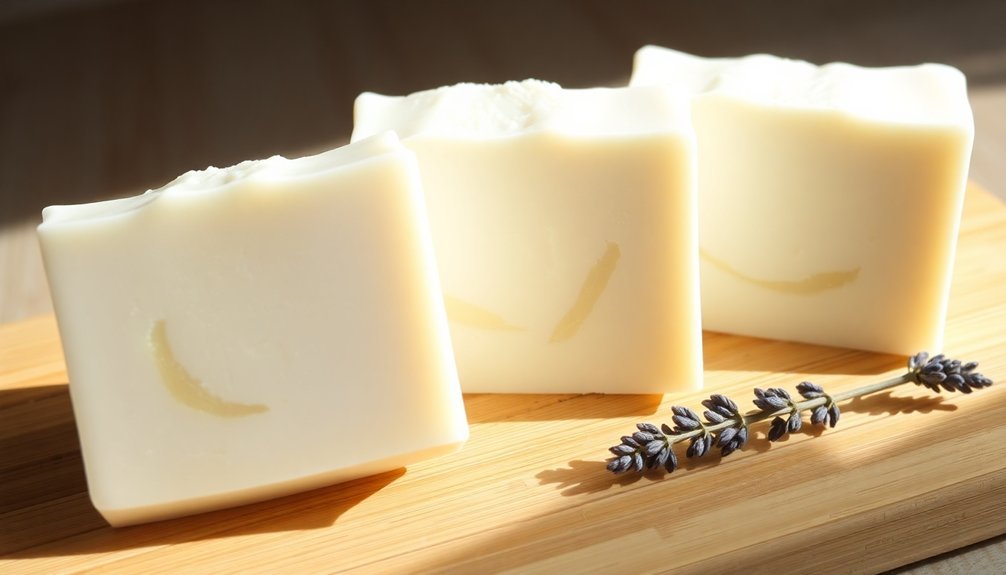
Simple Olive Oil and Lavender Soap
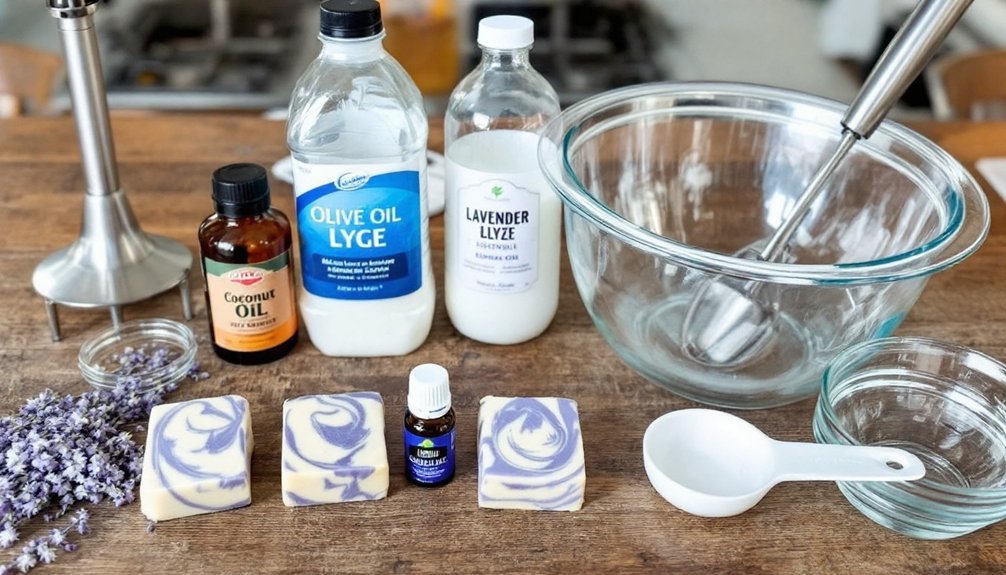
A gentle blend of olive oil and lavender creates one of the most beginner-friendly cold process soaps you'll encounter.
You'll need 567 grams of olive oil, 73 grams of lye, and 215 grams of distilled water as your base ingredients. Add 15-20 drops of lavender essential oil for a soothing fragrance.
Before starting, gather your safety equipment: goggles, gloves, digital scale, and thermometer.
Carefully mix the lye solution by adding lye to water, then heat your olive oil to 110-130°F. When both mixtures reach the proper temperature, combine them using an immersion blender until you achieve a medium trace.
Spray the top of your soap with rubbing alcohol before decorating if you want to add dried lavender buds for visual appeal.
Stir in the lavender oil, pour into molds, and let it sit for 48 hours. Your soap will need 3-6 weeks to cure completely.
Basic Coconut Milk and Honey Recipe
This nourishing coconut milk and honey soap combines five skin-loving oils with natural moisturizers for a luxurious bathing experience. You'll need to prepare your ingredients carefully, ensuring all oils are melted to 90-100°F before combining them with your lye solution. It's crucial to wear protective gear and sleeves while handling ingredients to prevent any accidents or injuries.
| Step | Action | Time |
|---|---|---|
| 1 | Mix lye with coconut milk/water | 5 mins |
| 2 | Combine oils and butter | 10 mins |
| 3 | Blend until trace | 5-10 mins |
| 4 | Add honey and pour | 2 mins |
Once you've reached trace, stir in the honey and pour your mixture into a lined mold. You can refrigerate the soap for 12-24 hours to prevent overheating. After 24-48 hours, remove from the mold, cut into bars, and let cure for 4 weeks. Don't forget your safety equipment – gloves and goggles are essential throughout the process.
Moisturizing Shea Butter Bars
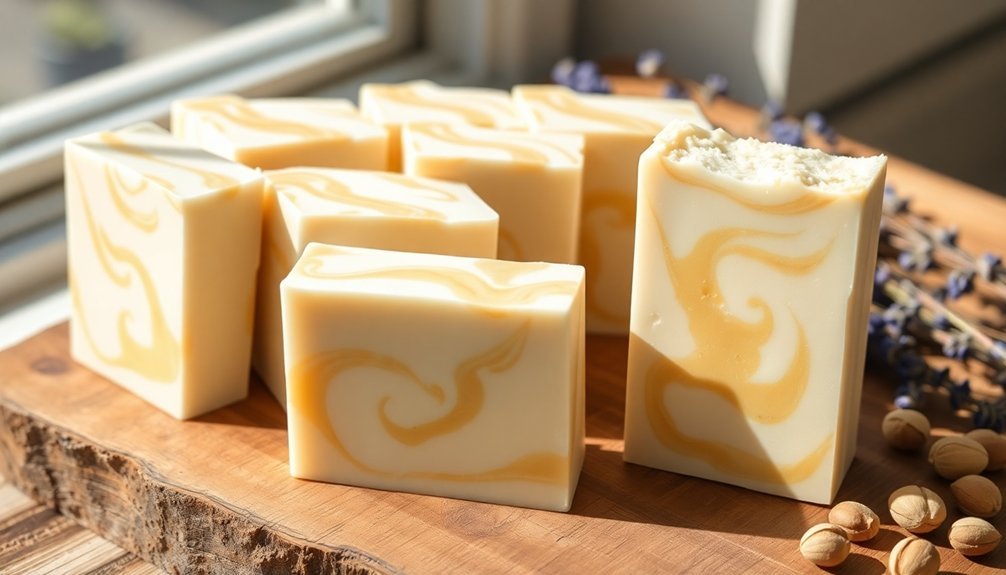
Shea butter soap offers remarkable moisturizing and anti-inflammatory benefits while promoting healthy cell regeneration for your skin.
You'll need to combine shea butter (up to 20%), fractionated coconut oil, olive oil, and castor oil with lye water at 100°F, then blend until reaching a medium trace consistency. Remember to wear proper safety gear when handling the lye solution.
Your finished soap bars will last up to one year when stored in a cool, dry place after the five-week curing period.
Benefits of Shea Soap
When it comes to luxurious skincare, moisturizing shea butter bars offer an impressive array of benefits for your skin and hair.
You'll find this natural ingredient particularly effective at providing deep, long-lasting hydration while protecting your skin from environmental damage. Unrefined versions are especially beneficial since they contain pure natural nutrients that remain unaltered by processing.
Here's what you can expect from incorporating shea butter soap into your routine:
- Soothes and heals skin conditions like eczema, psoriasis, and razor burn through its anti-inflammatory properties
- Reduces the appearance of scars and stretch marks while improving skin elasticity
- Provides UV protection and defends against environmental damage
- Nourishes both skin and hair, making it an excellent choice for your entire body care routine
Whether you have dry, oily, or sensitive skin, you'll appreciate shea butter soap's gentle yet effective moisturizing properties.
Recipe and Measurements
Creating luxurious moisturizing shea butter bars requires precise measurements and careful attention to safety protocols.
You'll need 12 oz of shea butter, 4 oz of fractionated coconut oil, 5.34 oz of water, and 2.39 oz of sodium hydroxide (lye). Add 25 drops of your favorite essential oil, like orange, for a pleasant scent. Consider using sandalwood fragrance oil as a cost-effective alternative to expensive essential oils while still achieving an appealing masculine scent.
Before you begin, verify you're wearing protective gear and working in a well-ventilated area.
You'll combine the lye and water first, then melt your oils separately. Both mixtures should cool to approximately 100°F before combining them with an immersion blender.
Once you've achieved medium trace, pour the batter into molds. Let your soap bars harden for 24-72 hours, then cure them for five weeks before use.
Storage and Shelf Life
Proper storage of your moisturizing shea butter bars will greatly extend their lifespan and maintain their quality.
You'll want to store them in a cool, dry place away from direct sunlight and high humidity areas like bathrooms or kitchens. For best results, use open-air shelving that allows proper air circulation around each bar.
- Cure your soap for 4-6 weeks before storing to guarantee it's properly hardened.
- Don't wrap cold process soap in plastic or airtight containers – it needs to breathe.
- Use breathable materials like cheesecloth or light linen to protect from dust.
- Store bars on coated metal racks or wooden shelves to prevent DOS (Dreaded Orange Spots).
Remember to flip your bars occasionally to prevent bowing, and label them with the date and ingredients for easy identification.
Pure Castile Soap for Sensitive Skin
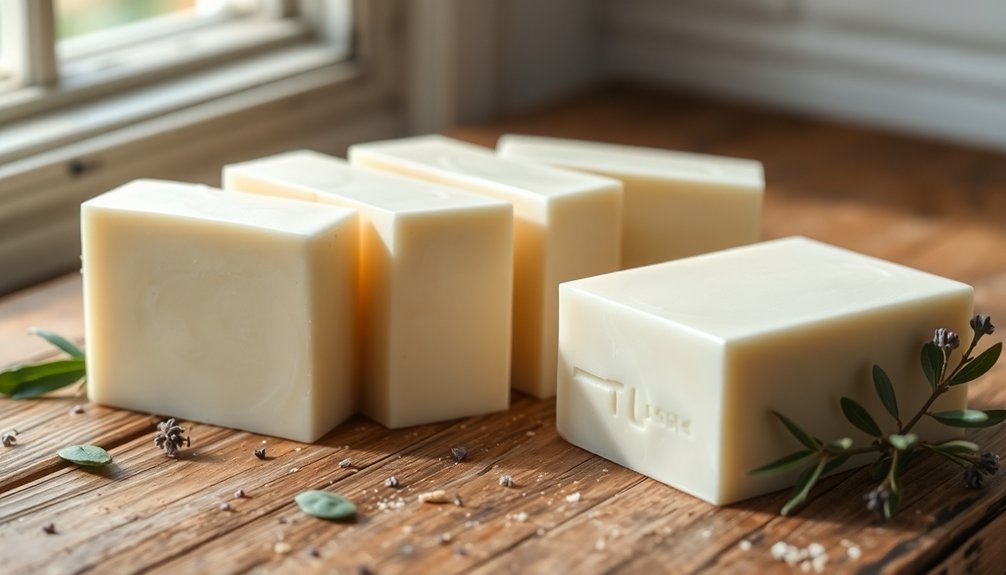
Pure Castile soap stands as an exceptional choice for those with sensitive skin, thanks to its time-tested formula of simple, natural ingredients.
You'll find it's made primarily from vegetable oils like olive, coconut, and palm kernel, often enhanced with moisturizing additions such as shea butter and jojoba oil.
What makes this soap particularly suitable for sensitive skin is its minimal ingredient list and absence of harsh chemicals.
There aren't any parabens, sulfates, or artificial preservatives to worry about. The high glycerin content provides natural hydration, while the gentle formulation reduces the risk of irritation and allergic reactions.
When you're making Castile soap at home, you can choose between extra virgin or pomace olive oil as your base.
Just remember to balance your oil types carefully to create the perfect bar.
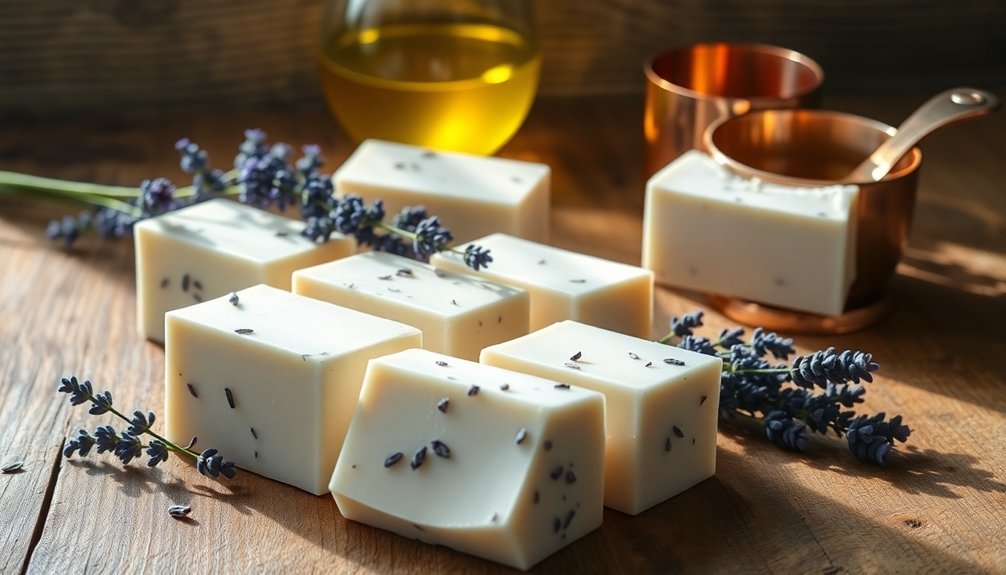
Oatmeal and Goat Milk Gentle Cleanser
When you're looking for a luxuriously gentle cleanser, the combination of oatmeal and goat milk creates a soap that's both nourishing and effective. This recipe combines the soothing properties of finely ground oatmeal with vitamin-rich goat milk to deliver exceptional skincare benefits.
- The lactic acid in goat milk provides gentle exfoliation while reducing oxidative stress, helping maintain youthful skin.
- Natural oatmeal soothes irritation, absorbs excess oil, and helps combat common skin conditions like eczema.
- The blend of olive oil, coconut oil, and shea butter creates a rich, creamy lather that won't strip your skin.
- You'll love how this unscented formula leaves your skin feeling moisturized, potentially reducing your need for additional lotions.
Remember to freeze your goat milk before combining it with sodium hydroxide, and always wear protective gear during the soap-making process.
Essential Three-Oil Beginner Recipe
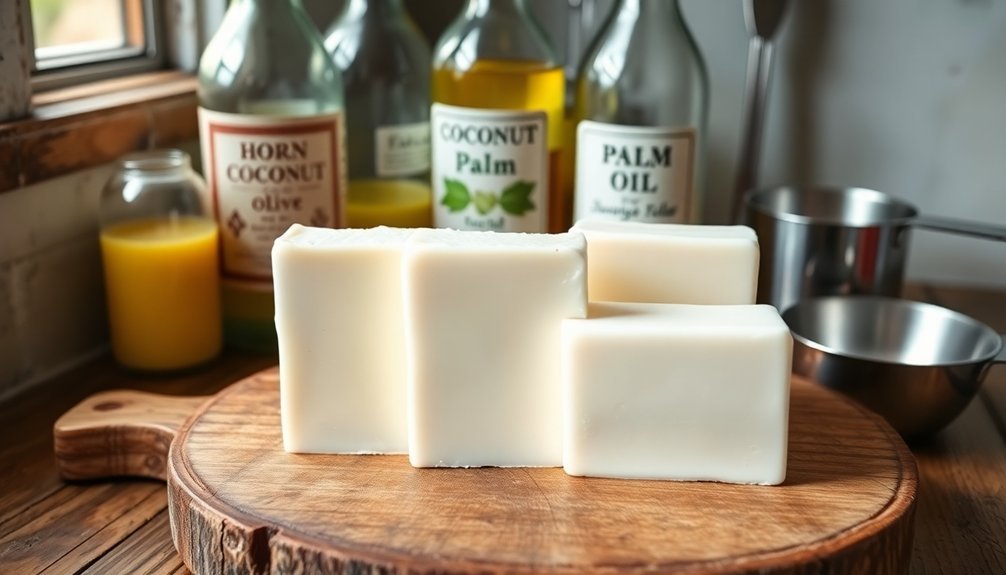
You'll find this three-oil recipe combines olive, coconut, and palm oils in perfect proportions to create a moisturizing yet cleansing bar of soap.
The 50-25-25 ratio guarantees your soap won't dry out your skin while still providing excellent lather and hardness.
Following the straightforward measurements and safety steps makes this recipe ideal for first-time soapmakers who want assured success.
Simple Yet Effective Formula
Starting your soap-making journey with a three-oil recipe offers the perfect balance of simplicity and effectiveness.
You'll need olive oil at 64%, coconut oil at 33%, and either castor or palm oil at 3% of your total oil weight. For best results, skip colorants and fragrances in your first batch, though you can add sodium lactate to help the soap release from the mold faster.
- Wear protective gear (goggles, gloves, long sleeves) and guarantee proper ventilation.
- Mix your lye solution carefully and let it cool to 100-120°F.
- Combine your melted oils, ensuring they're within 10 degrees of your lye solution.
- Mix until you reach trace, pour into your mold, and let it cure for 4 weeks.
Perfect Moisturizing Balance
For an exceptionally moisturizing soap, the perfect balance of three key oils creates a gentle yet effective cleanser.
You'll need 50% olive oil for its conditioning properties, 25% coconut oil to provide hardness and lather, and 25% palm oil for stability and creaminess.
This blend guarantees your soap will moisturize effectively while maintaining the right pH balance for your skin.
The olive oil keeps your skin hydrated, while coconut oil generates a rich lather, and palm oil adds durability to your bars.
You'll find this combination works well for all skin types, especially if you're prone to dryness.
Remember to cure your soap for 2-4 weeks after cutting.
During this time, it'll harden properly and develop its full moisturizing potential.
Safe Beginner-Friendly Steps
Making cold process soap requires four critical safety steps before you begin mixing ingredients.
You'll need to protect yourself with goggles, rubber gloves, and full-coverage clothing while working in a well-ventilated space away from children and pets.
For your first batch, follow these essential steps:
- Mix the lye solution by slowly adding lye to water (never reverse this order), then let it cool to 100°F.
- Melt and combine your solid oils with liquid oils in a non-aluminum pot until they reach 100°F.
- Blend both mixtures with a stick blender until you achieve a light trace consistency.
- Pour into your prepared mold and let it set for 24 hours before cutting.
Once you've cut your bars, they'll need 2-4 weeks to cure in a well-ventilated area.
Classic Palm-Free Basic Bars
While palm oil has traditionally been a staple in soapmaking, creating luxurious palm-free soap bars is both achievable and environmentally conscious.
You'll find success with a basic recipe using 50% olive oil as your moisturizing base, combined with 25-30% coconut oil for hardness and lather. Add 15% shea butter for nourishment and 5% castor oil for a creamy finish.
If you're looking to experiment, you can substitute coconut oil with babassu oil, or add cocoa butter up to 30% for extra firmness.
For non-vegan options, tallow or lard work well at 25-33%.
Remember to always wear proper safety gear, including goggles and gloves, and use your digital thermometer to monitor temperatures.
Your immersion blender will guarantee thorough mixing for consistent results.
Frequently Asked Questions
What Temperature Should My Room Be When Making Cold Process Soap?
You'll want your room temperature between 68-75°F (20-24°C) when making cold process soap. This range helps maintain proper oil and lye temperatures while allowing for consistent saponification without requiring extra adjustments.
Can I Substitute One Type of Oil for Another in Recipes?
Yes, you can substitute oils, but you'll need to match similar properties and fatty acid profiles. Always run your new recipe through a lye calculator and consider making a test batch first.
Why Did My Soap Develop White Spots After Curing?
Your soap's white spots are likely either stearic spots from mixing at too low temperatures, soda ash from air exposure during curing, or wire cutting marks. Each has different causes but won't affect your soap's safety.
How Long Can I Store Premixed Lye Solution?
You can store premixed lye solution for several months when kept in a proper HDPE or PP container with an airtight lid at temperatures above 65°F. Just make sure it's sealed tightly and stored safely away from children.
What Causes Soap Batter to Separate During the Mixing Process?
Your soap batter can separate if you're not mixing properly, using incompatible temperatures between oils and lye, adding problematic fragrance oils, or working with incorrect ingredient ratios. Hand mixing combined with stick blending helps prevent separation.
In Summary
Now you're ready to start your soap making journey! These seven beginner-friendly recipes will help you master cold process techniques while creating beautiful, natural soaps. Don't be afraid to experiment once you've gotten comfortable with the basics. Remember to always follow safety guidelines, measure ingredients precisely, and keep detailed notes of your batches. You'll be crafting unique, luxurious soaps in no time.


Leave a Reply